

Beko 17WLB450S User Manual

COLOUR TELEVISIONS
17” WIDE SCREEN LCD TV
Operating Instructions

Important Information
The LCD display panels are manufactured using an extremely high level of precision technology,
however sometimes some parts of the screen may have missing picture elements or have luminous
spots. This is not a sign of a malfunction.
Cleaning the screen and the cabinet...
After turning off the power, clean the screen and the cabinet with a soft, dry cloth. We
recommend that you do not use any proprietary polishes or solvents on the screen or
cabinet as this may cause damage.
Disposal...
The cold cathode fluorescent lamp in the LCD panel contains a small amount of mercury,
when the set reaches the end of its useful life please dispose of it in accordance with
Local Government Regulations or at a recycling centre.
-4-

Television
Thank you for buying this television which is designed to give you many years
of satisfactory service.
You may already be familiar with using a television but do please take time to
read these instructions. They are designed to familiarise you with the unit’s
many new features and to ensure you get the very best out of your purchase.
Special features
• 17” wide TFT-LCD WXGA Panel
• 1152x864 resolution
• 16,722,216 colors (8 bit)
• PAL
• 450 cd/
• 600:1 Contrast ratio
• 2x3W Stereo Sound
• 124 page teletext
• Wide viewing angles
• 2 Scart , AV , Audio Out.
• Low Power
• AVL
• ATS
• Intelligent programme switch
• On timer
• Off timer
• Graphical equaliser
• On screen display
• Manual fine tuning
• 100 Programme memory
• Full function remote control
• VGA INPUT (P.C.) Model dependant.
brighthess
• Child Lock
• Stereo headphone socket
-5-
Safety is Important
Your safety and the safety of others is important. Please, therefore, ensure you read
the Safety
instructions
before you operate this television.
Safety instructions
Read all the safety instructions before first use of your TV.
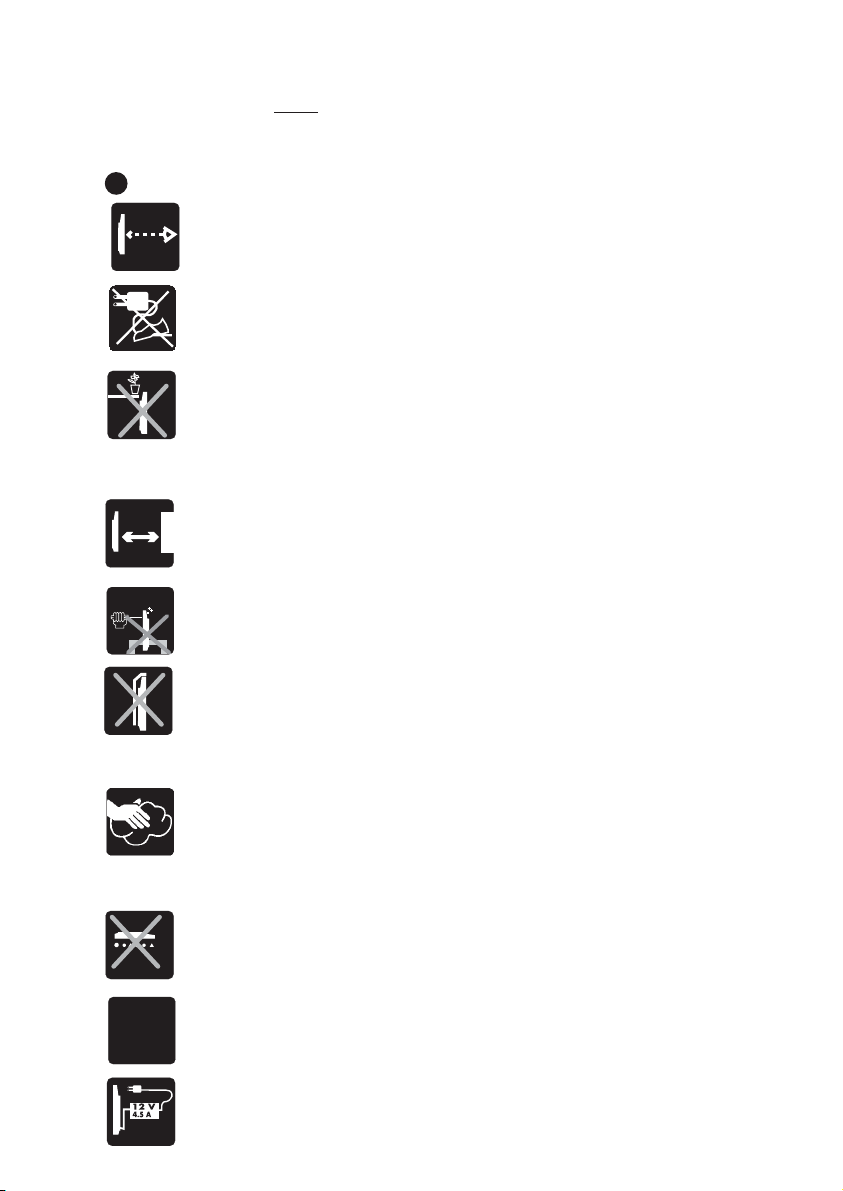
!
• Position the television so that direct light does not fall on
the screen. Excessive light will cause a washed out effect.
• Position the power supply lead and other leads so that
they are not likely to be walked on or pinched by things
placed on or against them.
• Do not place objects filled with liquid such as vase or
flower pot near the television.
• Do not expose the TV to dripping or splashing of liquids.
• Do not place naked flame sources such as lighted candles
on the TV set.
1m
12 V
4.5 A
• Make sure that no naked flame sources, such as lighted
candles, are placed on top of the appliance.
• Do not place the television near heat sources such as
radiators, ovens, stoves, etc.
• Do not push, hit or screw the screen of your product.
• The heat built up in the set escapes through ventilation
holes, so do not cover the set by drapes, clothes etc. that may
block air circulation. Do not place the television on carpet
or soft furnishings.
• NEVER let children push anything into the holes or slots
on the case.
• Clean the TV Screen using a slightly damp cloth or chamois
leather. Never use abrasive cleaning agents like liquid or
aerosol cleaners.
• Remove the mains plug from the socket outlet while cleaning.
• Never apply pressure on the screen when cleaning.
• Never put your screen on hard objects. Your TFT screen
may be damaged.
• Your TV set is designed to operate with the adapter provided
12V DC.-4,5A.
• Use the adaptor supplied with the product. Never connect
any other power sources to the product.
-6-
Getting started
Remove your Television carefully from the box.
You may wish to store the packaging for future
use.
In the box
Inside the carton box you should have:
• Accessories box
• Power cord
• Adapter
• Remote control
• Batteries
Read these instructions before use.
Aerial connection
To connect an aerial, plug the aerial lead
into the aerial socket on the rear of the
TV.
You can use an outdoor or indoor aerial.
However, if you use an indoor aerial the quality
of the reception may be reduced and adjustment
of the aerial may be required when changing
programs.
Please note
If you live in a poor reception area or use an
indoor aerial you may experience loss or
corruption of teletext transmissions.
Switching on and First Use
1. Connect the power cord to the mains adapter.
2.
Connect the input socket of the adapter to
the12 V DC socket at the back panel of the
LCD TV.
3. Connect adapter to a suitable mains socket.
Note 1: Your TV will switch to stand-by mode
in five minutes when there is no broadcast signal.
Note 2: Your TV is equipped to operate with
front panel buttons, “MENU”, “PR+”, “PR-”,
“VOL+”, “VOL–” in case your R/C is broken or
the batteries are exhausted.
Please Note
When not in use disconnect the plug from the
mains power supply.
4. Press the Power button on the side
of the TV. The standby indicator will
illuminate.
5. Press a Numeric button or the
7
Program up or Program down button
on the remote handset or Program
up, Program down or MENU button
on the front panel to switch the TV
on.
The standby indicator remains on.
The picture will appear after a few
seconds.
Press the Standby button to switch the
TV to standby. The standby indicator will
brighten.
Please Note
Do not leave the television in standby unattended
or overnight.
Switching the TV on for the first time
To install your TV, please read the sections
“TV controls” and “ Tuning the television”.
The batteries
Remove the remote back cover to reveal the
battery compartment and make sure you insert
the batteries the right way round.
Suitable battery types for this remote are
UM-4, IEC R03 or AAA 1.5V.
Do not throw your old batteries into a fire, dispose
of them in a designated disposal area.
Do not combine a used, old battery with a new
one or mix battery types.
The performance of the remote control will
deteriorate beyond a distance of 8 metres or
outside an angle of 30 degrees from the centre
of the TV.
-7-
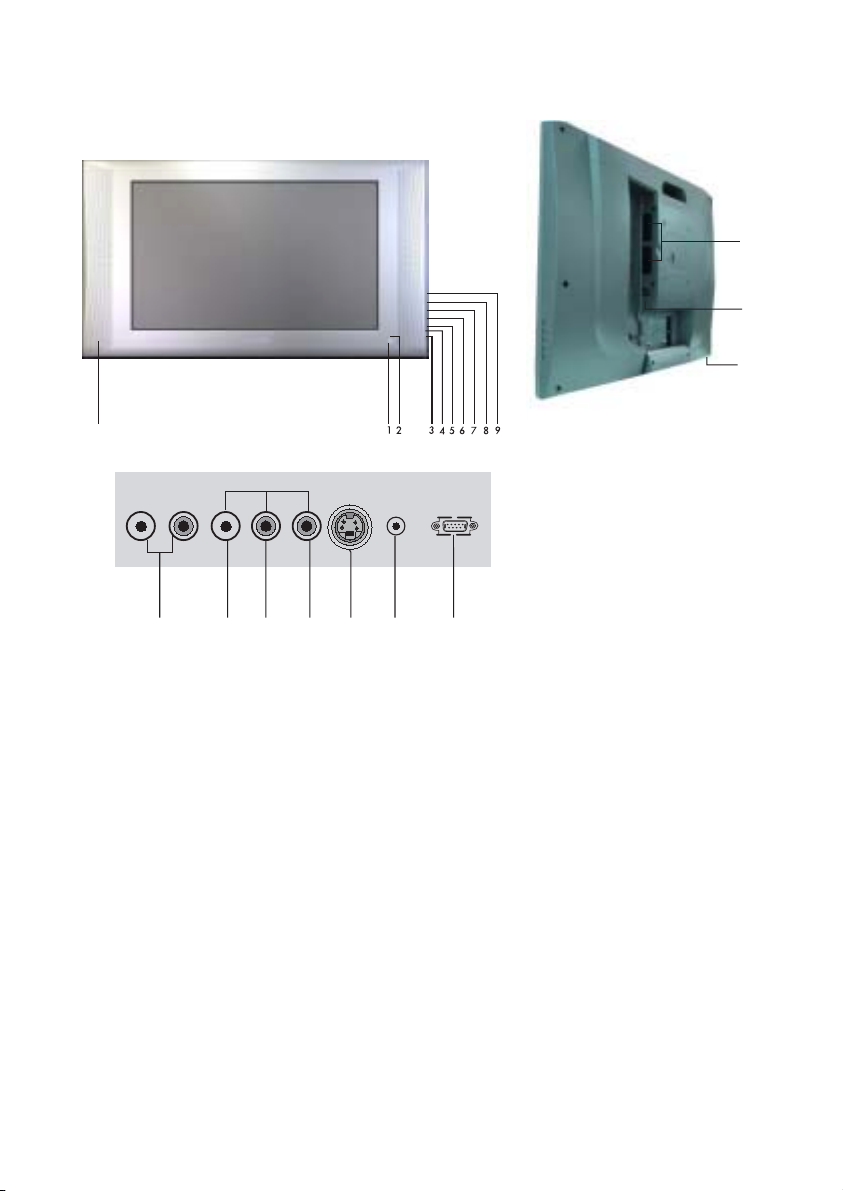
Control Unit
10
18
16
15
AUDIO OUT
1.
Stand-by Led
Remote control sensor
2.
Power on / off
3.
Volume down
4.
Volume up
5.
Menu button
6.
TV/AV
7.
Program down
8.
Program up
9.
Speaker
10.
AV3
L R VIDEOL R S-VHS
1112 13 1417 19 20
AVS
DC 12V VGA
11.
Audio phono (R)
12.
Audio phono (L)
13.
Video input phono connector
14.
S-VHS
15.
Headphone socket
16.
Aerial input
17.
Audio out (R,L)
18.
2 Scart
19.
DC 12V Power supply input
20.
VGA (PC Input)
Please note
• See the external connections table on next page for avaible connections.
• Do not use Video Phono and S-Video connections at the same time, otherwise they
will effect the picture quality.
• RGB inputs from scart will give you better picture quality.
-8-
External connections table
STD
LCD panel
size/type
AV1 Scart
17” 16:9
active
matrix TFT
STD.
: Standard
OPT
: Optional
N/A
: Not available
AV2 Scart
Headphone
socket
Audio/Video
PHONO
S-Video
socket
Back audio
out
STD.
STD.
STD.
STD.
STD.
Remote control
Mute
Index page (Text)
Reveal info (Text)
Double heigth (Text)
Stop button
Sub page button (Text)
TV mode button (Text)
Text mode button
TV/Teletext
Volume down
AV
OK
P100
REVEAL
DOUBLE
HOLD
SUB
UPDATE
MIX
TV/PC
TV/TX
1
4
7
AV
OK
2
5
8
0
MENU
3
6
9
-/--
Standby
Numeric
Two digit
Program up
Menu
Volume up
Personal preference
Green teletext button
Picture Menu button
Red teletext button
Sound Menu button
Picture smart control
Yellow teletext button
Program table button
PP
SMART CONTROLS
16:9
SWAP
-9-
Picture format
Program down
Features Menu button
Blue teletext button
Setup Menu button
Swap
Sound smart control
Using the TV
Turning on for the first time and Tuning
TV controls
Stand-By mode
When your TV is working, press the
red “STAND-BY” button on the right
upper corner of your remote control
to switch off and the Stand-By indicator
(Led) will be brighter. To turn on your
TV again, press the numeric buttons,
or Program up or Program down.
Please Note: If you will not use your TV for
a long period, do not leave it on Stand-By
mode, instead switch it off from the power
button on the side panel of the TV set.
Programme selection
Press the Program up/Program down
buttons on the TV or on the remote
control or press a Numeric button to
select a programme.
1
To select a programme whose number
is greater than 9 using the numeric
buttons, press the -/-- button first and
-/--
then press the two Numeric buttons.
For example, to select programme
1
12, press the -/- button followed by
2
1 then and 2.
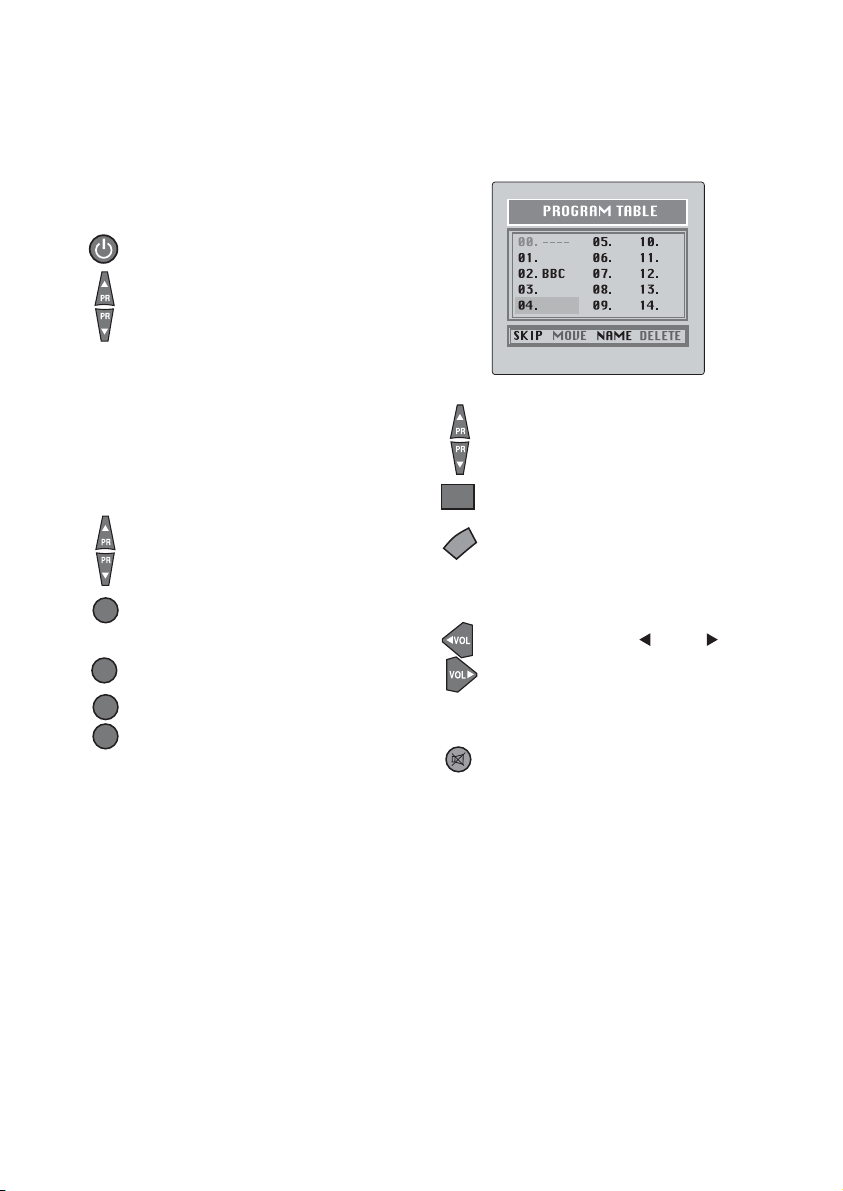
You can also select a program by
pressing the Yellow button to see the
Program Table.
OK
TV/TX
Volume
Mute
Use the Program up and Program
down buttons to scroll through the
programme numbers. When you
find the program number you want
press the OK button.
Press the TV/TX button to close the
Program Table.
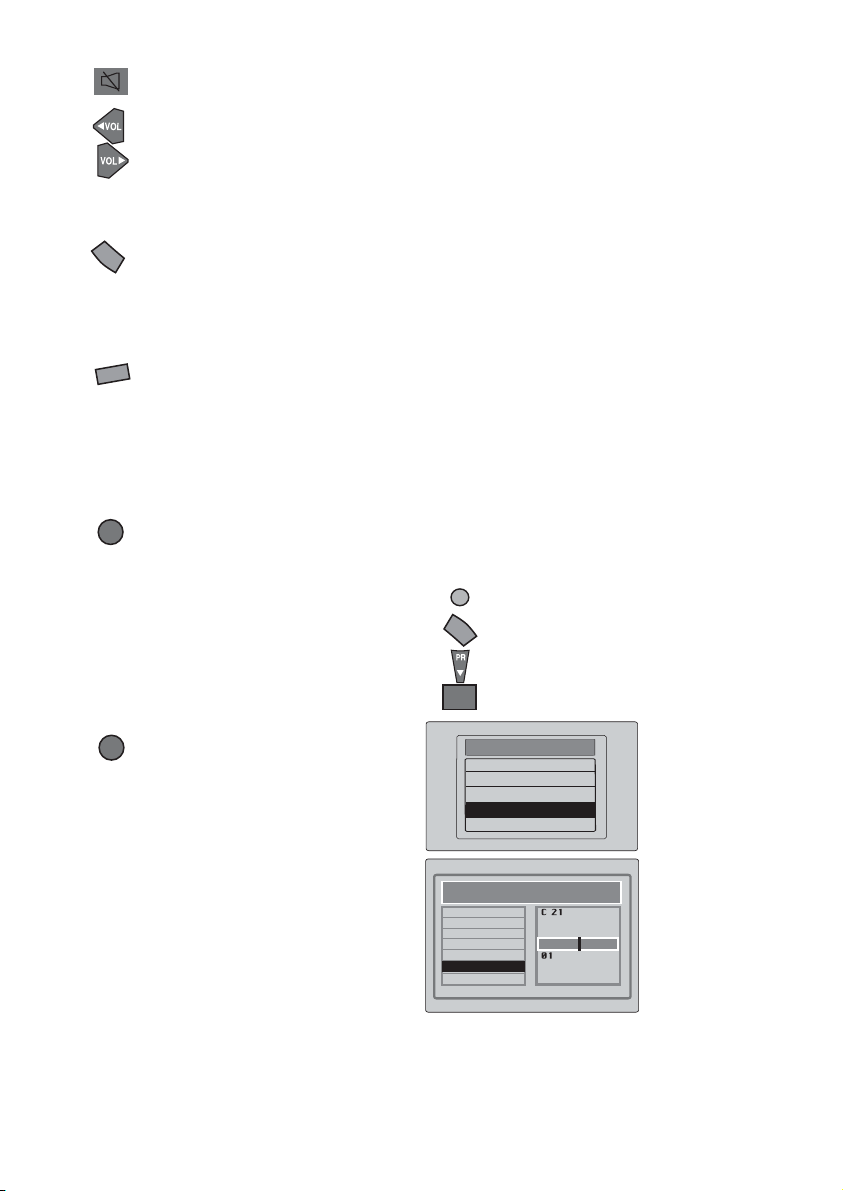
Press the Volume + or Volume - button
on the TV or the Vol
on the remote control. A sound level
bar will appear on the screen.
To mute the sound press the Mute button
on the remote control. A loudspeaker
symbol will appear on the screen.
or Vol button
-10-
PP
PP
Swap
SWAP
the Mute button again to restore
Press
the sound. The symbol will disappear.
Pressing Volume up button will also
restore the sound.
But pressing the Volume down
button will decrease the volume
without restoring.
Personal preference. Press the PP
button to revert to the default settings
for the TV. (See TV setup).
Press swap button to recall the last
programme you watched.
Tuning the television
There are two ways of tuning your television:
Manual, where you control the tuning process
or Autoprogram where the television does it
all automatically.
This function will automatically tune name and
arrange programs found in the followıng order.
PROGRAM NO
1 BBC1
2 BBC2
3 ITV
4 CHANNEL 4
5 CHANNEL 5
Please Note
If the TV is set to a channel with no signal the
TV will return to standby in 5 minutes.
The last minute remaining is displayed on
the screen.
Your TV has 2 scarts so each time you
AV
press your AV button, your input will
change as follows:
1 AV1 when using SCART socket 1
(RGB support).
2 AV2 when using SCART socket 2.
3 AV3 when using the phono sockets
of the TV.
4 AVS when using the S-video socket.
Press the AV button again to return
AV
to TV mode.
Automatic tuning (Autoprogram)
There are two ways to access the SETUP
menu:
Press the blue Setup button. Or Press
the Menu button and use the Program
MENU
down button to select SETUP. Press the
OK button to enter the SETUP menu.
OK
MAIN MENU
SOUND
PICTURE
PROGRAM TABLE
SETUP
FEATURE
CHANNEL
SYSTEM
SEARCH
FINE TUNE
PROGRAM NUMBER
AUTO PROGRAM
STORE
SETUP
I
-11-
 Loading...