

Page 1
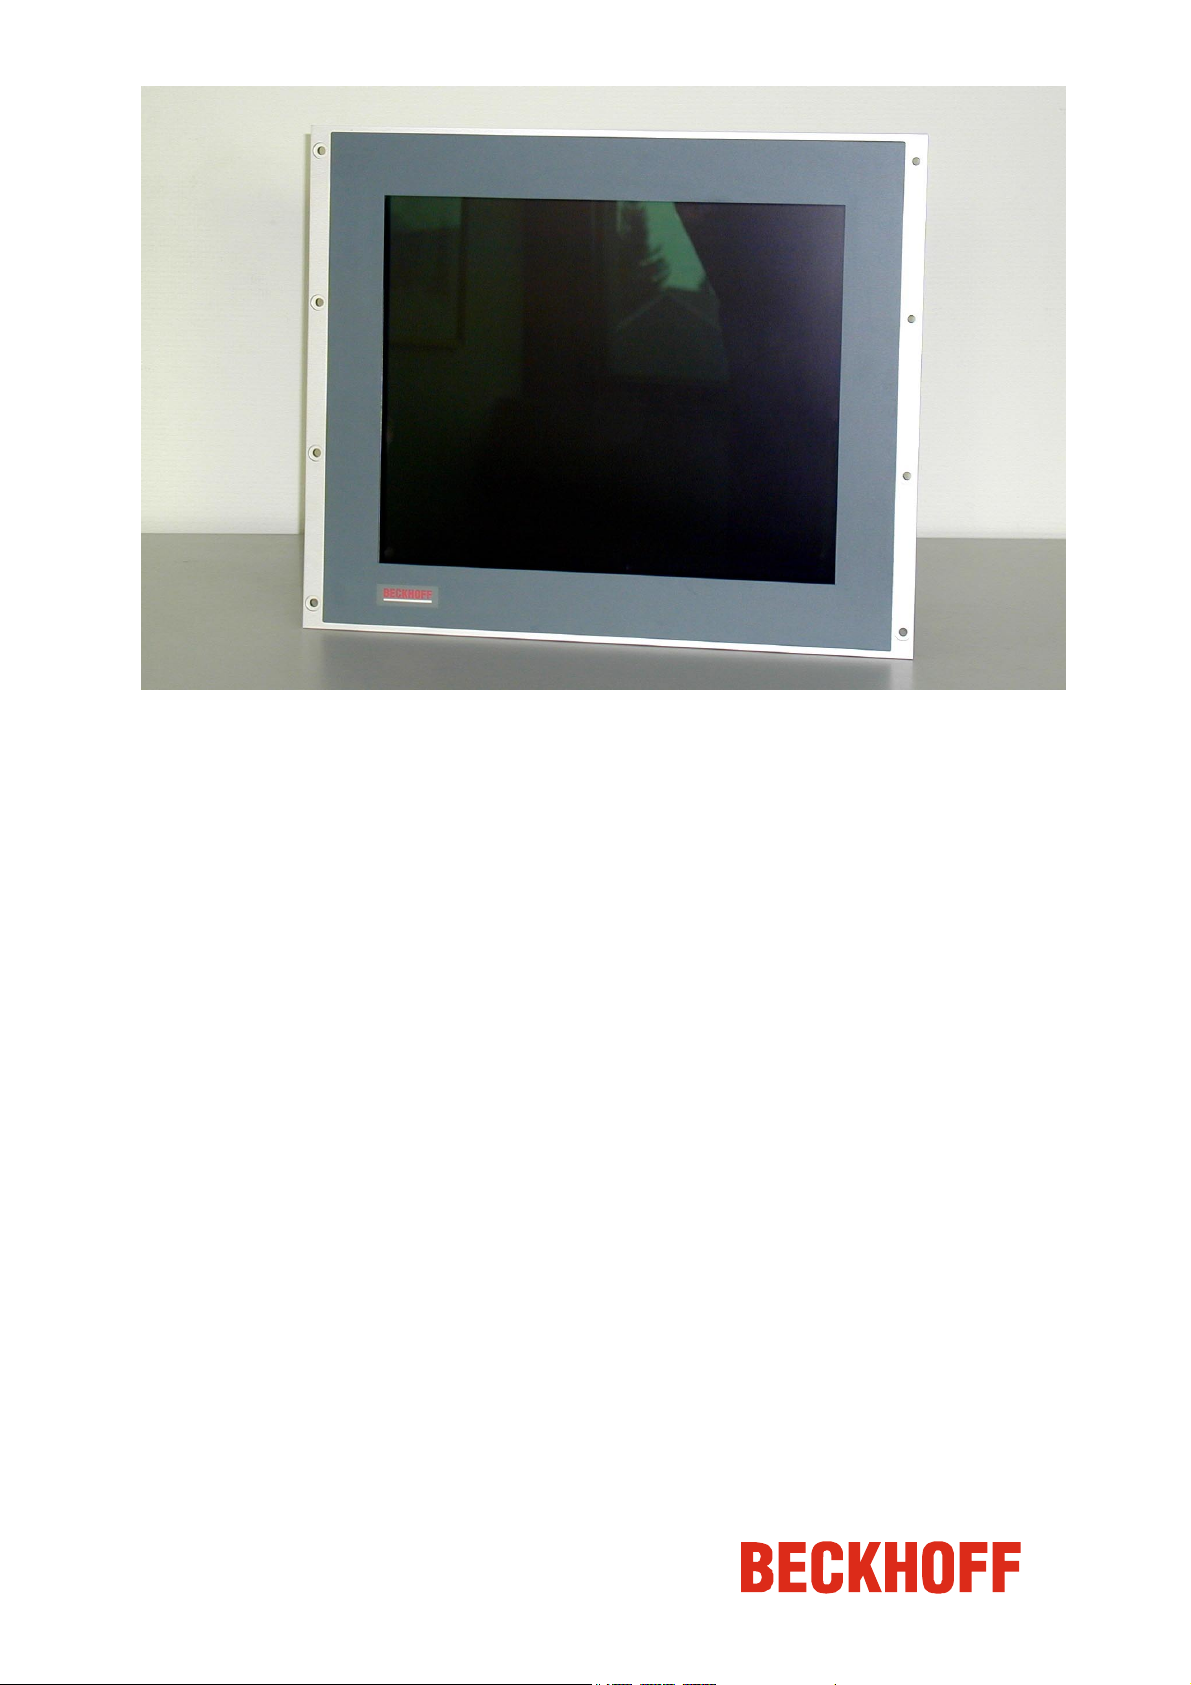
Beckhoff Control Panel
CP6003-1001, CP6003-1002
Operating Instructions
Version: 1.3
Last change: 27.03.2001
Page 2

Page 3

Table of contents
Safety instructions 4
The operator’s duties 4
The user’s duties 4
Appropriate Use 5
Connections 6
1. Power supply 100-240 V AC 6
2. Digital video connection 6
3. Analog video connection 6
4. Touch Screen Connection (version CP6003-1002) 7
Operating the Control Panel 7
Switching on and off 7
The Control Panel and its controller (OSD menu) 8
The main OSD menu 9
Functions for quick adjustment 11
Eiserstr aße 5 / D-33415 Verl / Phone 05246/963-0 / Fax 05246/963-149
Table of contents 3
Emergency procedures 11
Servicing and maintenance 11
Cleaning 11
Disposal 11
Faults 12
Approvals 13
FCC: Federal Communications Commission 13
FCC: Canadian Notice 13
Technical Drawing 14
CP6003
Page 4

Eiserstr aße 5 / D-33415 Verl / Phone 05246/963-0 / Fax 05246/963-149
4 Operating Instructions Control Panel CP6003
Safety instructions
Please read through the following instructions carefully. Keep these
operating instructions for later use.
If the Control Panel is fitted with the optional Touch Screen it must be
switched off in order to clean the LCD screen.
The operator’s duties
National regulations
depending on the machine
type
Test regulations
Only competent personnel
may open the housing of
the control panel
Software knowledge
Make operating instructions
accessible
Procedure in the event of a
fault
Depending on the type of machine and plant in which the control panel is
used, national regulations governing the controllers of such machines will
apply, and must be observed by the operator. These regulations cover,
amongst other things, the intervals between inspections of the controller.
The operator must initiate such inspections in good time.
The operator must ensure that only competent electricians open the control
panel housing.
Every user must be familiar with any of the functions of the software
installed on the PC that he can reach.
The contents of these operating instructions must be known to the user of
the control panel and to every assembly worker who fits, removes or opens
the device.
In the event of faults at the control panel, the list in the section on “Faults”
can be used to determine the measures to be taken.
The BECKHOFF Service number:
for Germany: 05246/963-460
International: +49-5246/963-460
for North America: +1-952-890-0000
The user’s duties
Read the operating
instructions
Software knowledge Every user must be familiar with any of the functions of the software
CP6003
Anyone who uses the control panel must have read these operating
instructions.
installed on the PC that he can reach.
Page 5

Eiserstr aße 5 / D-33415 Verl / Phone 05246/963-0 / Fax 05246/963-149
Operating Instructions Control Panel CP6003 5
Appropriate Use
The CP6003 Control Panel is designed for industrial application in machine
and plant engineering. An LCD display and a Touch Screen (optional) are
mounted in a metal housing.
Do not use the control
panel in areas of explosive
hazard
Environmental conditions Ambient temperature: 0 to 55 °C
Shock resistance Shock resistance: Vibrations 5 G at 10..55 Hz
Power supply Supply voltage: 100-240 V alternating voltage,
Power consumption Power consumption:
Electromagnetic
compatibility
The control panel must not be used where there is a risk of explosion.
The following technical data must be observed during operation:
Atmospheric humidity: Maximum 90%, non-condensing
Vibrations 1 G at 55..500 Hz
Impact resistance 30 G
Protection type: Front:
A tested 3-core cable with a minimum cross-section of 0.75 mm² is to be
used to connect the device.
ON mode: 65 W typical
OFF mode: 5 W maximum
Emission of interference: according to EN 50081-2
Resistance to interference: according to EN 50082-2
IP65
Rear: IP20
50-60 Hz single phase
FCC Class A
Transport and storage
The same values for atmospheric humidity and shock resistance are to be
observed during transport and storage as in operation. Suitable packaging
of the control panel can improve the resistance to impact during transport.
The ambient temperature during storage and transport must be between –
20 °C and +65 °C.
CP6003
Page 6

Eiserstr aße 5 / D-33415 Verl / Phone 05246/963-0 / Fax 05246/963-149
3
5
i
6 Operating Instructions Control Panel CP6003
Connections
The connections are located at the rear of the Control Panel (see
photograph below).
1 4
1. Power supply 100-240 V AC
Power supply
Connect an external power supply unit (100-240V AC 50-60Hz) to this
appliance socket.
2. Digital video connection
Digital video connection
12345678
11 12 13 14 15 16
9
17 18 19 20 21 22 23 24
If your PC has a graphic card with a 24-pin DVI connector, you should
connect it with a Digital 24-pin DVI signal cable.
Pin
Signal Assignment
1 T.M.D.S. Data 2- 13 T.M.D.S. Data 3+
2 T.M.D.S. Data 2+ 14 +5V Power
3 T.M.D.S. Data 2/4 Shield 15 Ground (for +5V)
4 T.M.D.S. Data 4- 16 Hot Plug Detect
5 T.M.D.S. Data 4+ 17 T.M.D.S. Data 0-
6 DDC Clock 18 T.M.D.S. Data 0+
7 DDC Data 19 T.M.D.S. Data 0/5 Shield
8 No Connect 20 T.M.D.S. Data 5-
9 T.M.D.S. Data 1- 21 T.M.D.S. Data 5+
10 T.M.D.S. Data 1+ 22 T.M.D.S. Clock Shield
11 T.M.D.S. Data 1/3 Shield 23 T.M.D.S. Clock+
12 T.M.D.S. Data 3- 24 T.M.D.S. Clock-
3
Pin
Signal Assignment
2
3. Analog video connection
Analog video connections
1
2345
10 9 8 7 6
141
11121
Note
CP6003
The Control Panel has one 15-pin sub-D VGA signal input. You can plug
the VGA cable into this video connection.
Pin
Signal Assignment
1 Video signal red 9 Code (no pin)
2 Video signal green 10 Ground synchronisation
3 Video signal blue 11 Display ID Bit 0
4 Display ID Bit 2 12 Display ID Bit 1
5 Ground 13 Horizontal synchronisation
6 Ground red 14 Vertical synchronisation
7 Ground green 15 Display ID Bit 3
8 Ground blue
Pin
Signal Assignment
If both analog and digital input ports are connected at the same time,
the signal input can be selected with the OSD menu.
Page 7

Eiserstr aße 5 / D-33415 Verl / Phone 05246/963-0 / Fax 05246/963-149
Operating Instructions Control Panel CP6003 7
4. Touch Screen Connection (version CP6003-1002)
Software installation
Hardware installation
Calibration
12345
6789
Installing of the Touch Screen Software "MonitorMice" for Windows
NT 4.0:
1. Shutdown Windows NT and turn off your computer.
2. Connect the 9-pin SUB-D socket of the Control Panel to a serial
interface on your PC.
3. Start your computer.
4. After Windows loads, insert the driver disk for Elotouch Touchscreen in
the floppy drive, click the Start button, and then click Run.
5. Click the Browse button to locate the setup.exe program in the
directory containing the driver install files. Click Open, then OK to run
setup.exe.
6. Follow the directions on the screen to complete the Setup program.
7. Restart your computer when prompted. The touchscreen calibration
program will automatically run when Windows starts up. Touch each of
the three targets as they appear on the screen. Click Yes when the
cursor lines up correctly with your finger.
If you want to calibrate the touchscreen once again, you have to choose
Start/Settings/Control Panel and double-click the Elo Touchscreen object.
Pin
Host Signal Source
1 DCD Controller
2 RXD Controller
3 TXD Host
4 DTR Host
5 GND Common
6 DSR Controller
7 RTS Host
8 CTS Controller
9 RI N/C
Switching on and off
Rocker switch
Operating the Control Panel
Switching on and off
You switch the Control Panel on and off by pressing the rocker switch (see
photograph below) at the rear of the housing.
CP6003
Page 8

Eiserstr aße 5 / D-33415 Verl / Phone 05246/963-0 / Fax 05246/963-149
8 Operating Instructions Control Panel CP6003
The Control Panel and its controller (OSD menu)
Operating elements (see photograph below) for control of the screen
display are located at the rear of the Control Panel.
OSD
i
OSD
The OSD (On Screen Display) assists the adjustment of the various image
values such as width and height, brightness, contrast and so on. It is
displayed on the screed by pressing the adjustment buttons on the Control
Panel, which allow you to read precisely what adjustments you are making.
1
2
4
3
1. Operating display
The LED lights when the Control Panel is switched on. It flashes when the
Control Panel's power saving function is active.
2. Menu button
The OSD menu appears if the "Menu" key is pressed. If you press the key
again, the OSD menu will close.
CP6003
3. Buttons for functional control
With the two "Function up" and " Function down" buttons you can scroll
through the menu options and select one of the control functions.
4. Adjustment buttons
With the two "Adjustment up" and "Adjustment down" buttons you can
adjust the selected control function appropriately for your working
environment. Pressing the "Adjustment up" button will increase the value of
the selected control function, while pressing the "Adjustment down" button
will lower the value.
Page 9

Main OSD menu
Eiserstr aße 5 / D-33415 Verl / Phone 05246/963-0 / Fax 05246/963-149
Operating Instructions Control Panel CP6003 9
The main OSD menu
You can call up the OSD at any time when the PC is switched on. If the PC
is in power saving mode, or is switched off, the OSD can not be called up.
The OSD allows screen adjustments to be made quickly and easily.
In order to call up the main OSD menu, just press the "Menu" button. The
following screen will be displayed:
The control functions are divided into seven categories that are displayed
in the main menu. Scroll through the menu options by repeatedly pressing
the "Function up" and " Function down" buttons. By pressing the
"Adjustment up" and "Adjustment down" keys you reach the sub-menus in
each function group. Each menu item is described below.
Main Menu
BASIC SETTING
POSITION For the adjustment of display size, position, frequency,
AUTO-ADJUST For automatic adjustment of image quality and
COLOR TEMP. For adjustment of the displayed colours
MISCELLANEOUS For adjustment of the audio volume level (no function),
VIDEO For S-Video or CVBS input mode selection (optional)
LANGUAGE To select different language
INPUT PORT To select input signal sources between Port1 (VGA)
RESET For returning to the factory-set standard values for the
EXIT Closes the OSD menu
For the adjustment of contrast, brightness, video level,
gamma, etc.
phase, etc.
alignment. It is advisable to use this function under
Windows or a similar environment. (This function has
no effect on interlaced video modes)
OSD positions and for obtaining information about the
display types
and PORT2 (DVI)
display parameters
Basic Setting
CONTRAST For adjustment of the display's contrast level
BRIGHTNESS For adjustment of the display's brightness level
VIDEO LEVEL For selection of the appropriate voltage level for the
input signal
GAMMA For the selection of an appropriate colour
representation
FRAME For the selection of different border colours from the
64 available, for when the display is not in full-screen
mode
TO MAIN MENU Returns to the main menu
CP6003
Page 10

Eiserstr aße 5 / D-33415 Verl / Phone 05246/963-0 / Fax 05246/963-149
10 Operating Instructions Control Panel CP6003
Position
CLOCK For adjustment of the number of pixels in the display
PHASE For adjustment of the display focus and sharpness
DEFAULT SIZE For increasing the display to full screen
NATIVE SIZE For adjustment of the original size of the display
H-POSITION For adjustment of the horizontal display position
V-POSITION For adjustment of the vertical display position
H-SIZE For adjustment of the image width (horizontal)
V-SIZE For adjustment of the image height (vertical)
GRAPH/TEXT For selection of the graphical or text extended modes.
Only possible with the resolutions 720 x 400 and 640 x
480.
TO MAIN MENU Returns to the main menu
Color Temp. Menu
9300 For selection of the colour temperature to CIE value
9300°
6500 For selection of the colour temperature to CIE value
6.500°
USER If this option is selected, the "User Color" field is
displayed in which the red, green and blue values can
be individually adjusted
TO MAIN MENU Returns to the main menu
Miscellaneous Menu
AUDIO VOLUME For control of the audio volume (no function)
OSD H-POSITION For adjustment of the horizontal position of the OSD
menu
OSD V-POSITION For adjustment of the vertical position of the OSD
menu
DISPLAY MODE When this function is selected the resolution and the
repetition frequency of the present screen display are
displayed
F/W VERSION
TO MAIN MENU Returns to the main menu
Reset Menu
BASIC SETTING For setting the standard values for the function
POSITION For setting the standard values for the function
COLOR TEMP For setting the standard values for the function
MISCELLANEOUS For setting the standard values for the function
ALL FUNCTIONS For returning all the function parameters to their
TO MAIN MENU Returns to the main menu
Selecting this function displays the monitor's firmware
version
parameters in the Basic Setting menu
parameters in the Position menu
parameters in the Color Temp menu
parameters in the Miscellaneous menu
standard values
CP6003
Page 11

Eiserstr aße 5 / D-33415 Verl / Phone 05246/963-0 / Fax 05246/963-149
Operating Instructions Control Panel CP6003 11
Functions for quick adjustment
When the main OSD is not displayed (see OSD , page 8) the following
quick-adjustment functions are available:
Press the "Function up" key to call up the small contrast symbol. The
contrast level is increased with the "Adjustment up" button and lowered
with the "Adjustment down" button.
Press the "Function down" key to call up the small brightness symbol. The
brightness level is increased with the "Adjustment up" button and lowered
with the "Adjustment down" button.
Press the "Adjustment up" key to call up the small volume symbol. The
volume level is increased with the "Adjustment up" button and lowered with
the "Adjustment down" button (in this Control Panel version without
function).
Press the "Adjustment down" key to enable the small port icon. Press it
again to switch to the DVI connection and close the icon.
First switch off the Control
Panel
Dismantle the Control
Panel
Observe national
electronics scrap
regulations
Emergency procedures
In case of fire, the control panel should be extinguished with powder or
nitrogen.
Servicing and maintenance
Cleaning
In order to clean it the Control Panel must first be switched off (see the
section on "Safety instructions"). Do not use any aggressive cleaning
materials, thinners, scouring material or hard objects that could cause
scratches. Spray some mild glass-cleaning agent onto a soft cloth and use
it to wipe the screen.
Disposal
The device must be fully dismantled in order to dispose of it. The housing
can be sent for metal recycling.
Electronic parts such as circuit boards must be disposed of in accordance
with national electronics scrap regulations.
CP6003
Page 12

Eiserstr aße 5 / D-33415 Verl / Phone 05246/963-0 / Fax 05246/963-149
12 Operating Instructions Control Panel CP6003
Faults
Quote the project number If servicing is required, please quote the project number of your Control
Panel.
Service numbers
Fault Cause Procedure
No Control Panel function,
operation display LED does not
light
The following message is
displayed:
The BECKHOFF Service number:
Mains cable not connected
Control Panel not switched on
Power supply at the socket missing
or incorrect
Other cause
No signal being received
for Germany: 05246/963-460
International: +49-5246/963-460
for North America: +1-952-890-0000
Connect mains cable.
Switch on by pressing the
rocker switch (Power on/off).
Measure supply voltage,
check plug wiring, if
necessary check fuse or use
another socket with the
correct voltage.
Call Beckhoff Service.
Connect one end of the
signal cable to the VGA
connection at the PC and the
other end to the VGA
connection on the Control
Panel;
alternative see chapter
"2. Digital video connection"
Other causes
The following message is
displayed:
Blurred or unstable picture The Control Panel's screen is not
The Control Panel has only partial
function, or only functions some of
the time, for instance the picture is
dark or absent
Signal is outside the frequency
range supported by the monitor
Other causes
optimally adjusted
Other causes
Faulty fluorescent bulb in the
display
Other components in the Control
Panel are defective
Call Beckhoff Service.
Use the function and
adjustment keys to slew the
displayed picture. You will
then see the display, and
can change the frequency
range.
Call Beckhoff Service.
Use the display controller to
adjust the contrast,
brightness, display position,
focus, colour temperature
etc..
Call Beckhoff Service.
Call Beckhoff Service.
Call Beckhoff Service.
CP6003
Page 13

Eiserstr aße 5 / D-33415 Verl / Phone 05246/963-0 / Fax 05246/963-149
Operating Instructions Control Panel CP6003 13
Fault Cause Procedure
No Touch Screen function Touch screen is not connected
correctly
Connect the 9-pin SUB-D
socket of the Control Panel
with the serial interface of
the PC which you selected in
the setup of the Elotouch
software
Touch Screen doesn't work
correctly
FCC Approval for USA
FCC Approval for Canada
Other causes
Touch Screen is not calibrated
Other causes
Call Beckhoff Service
Calibrate Touch Screen (see
Page 7).
Call Beckhoff Service
Approvals
FCC: Federal Communications Commission
Radio Frequency Interference Statement
This equipment has been tested and found to comply with the limits for a
Class A digital device, pursuant to Part 15 of the FCC Rules. These limits
are designed to provide reasonable protection against harmful interference
when the equipment is operated in a commercial environment. This
equipment generates, uses, and can radiate radio frequency energy and, if
not installed and used in accordance with the instruction manual, may
cause harmful interference to radio communications. Operation of this
equipment in a residential area is likely to cause harmful interference in
which case the user will be required to correct the interference at his own
expense.
FCC: Canadian Notice
This equipment does not exceed the Class A limits for radiated emissions
as described in the Radio Interference Regulations of the Canadian
Department of Communications.
CP6003
Page 14

Eiserstr aße 5 / D-33415 Verl / Phone 05246/963-0 / Fax 05246/963-149
m
14 Operating Instructions Control Panel CP6003
Technical Drawing
m
0
0
,
0
2
484,000
8,00 mm
m
m
0
0
,
0
2
1
8,00 mm
CP6003
m
m
m
m
0
0
0
,
0
0
0
,
2
1
0
0
4
m
m
0
0
,
0
2
1
"
0
1
,
8
1
m
m
0
0
,
0
2
CP6003
 Loading...