

Becker BAP-50 Owner's Manual
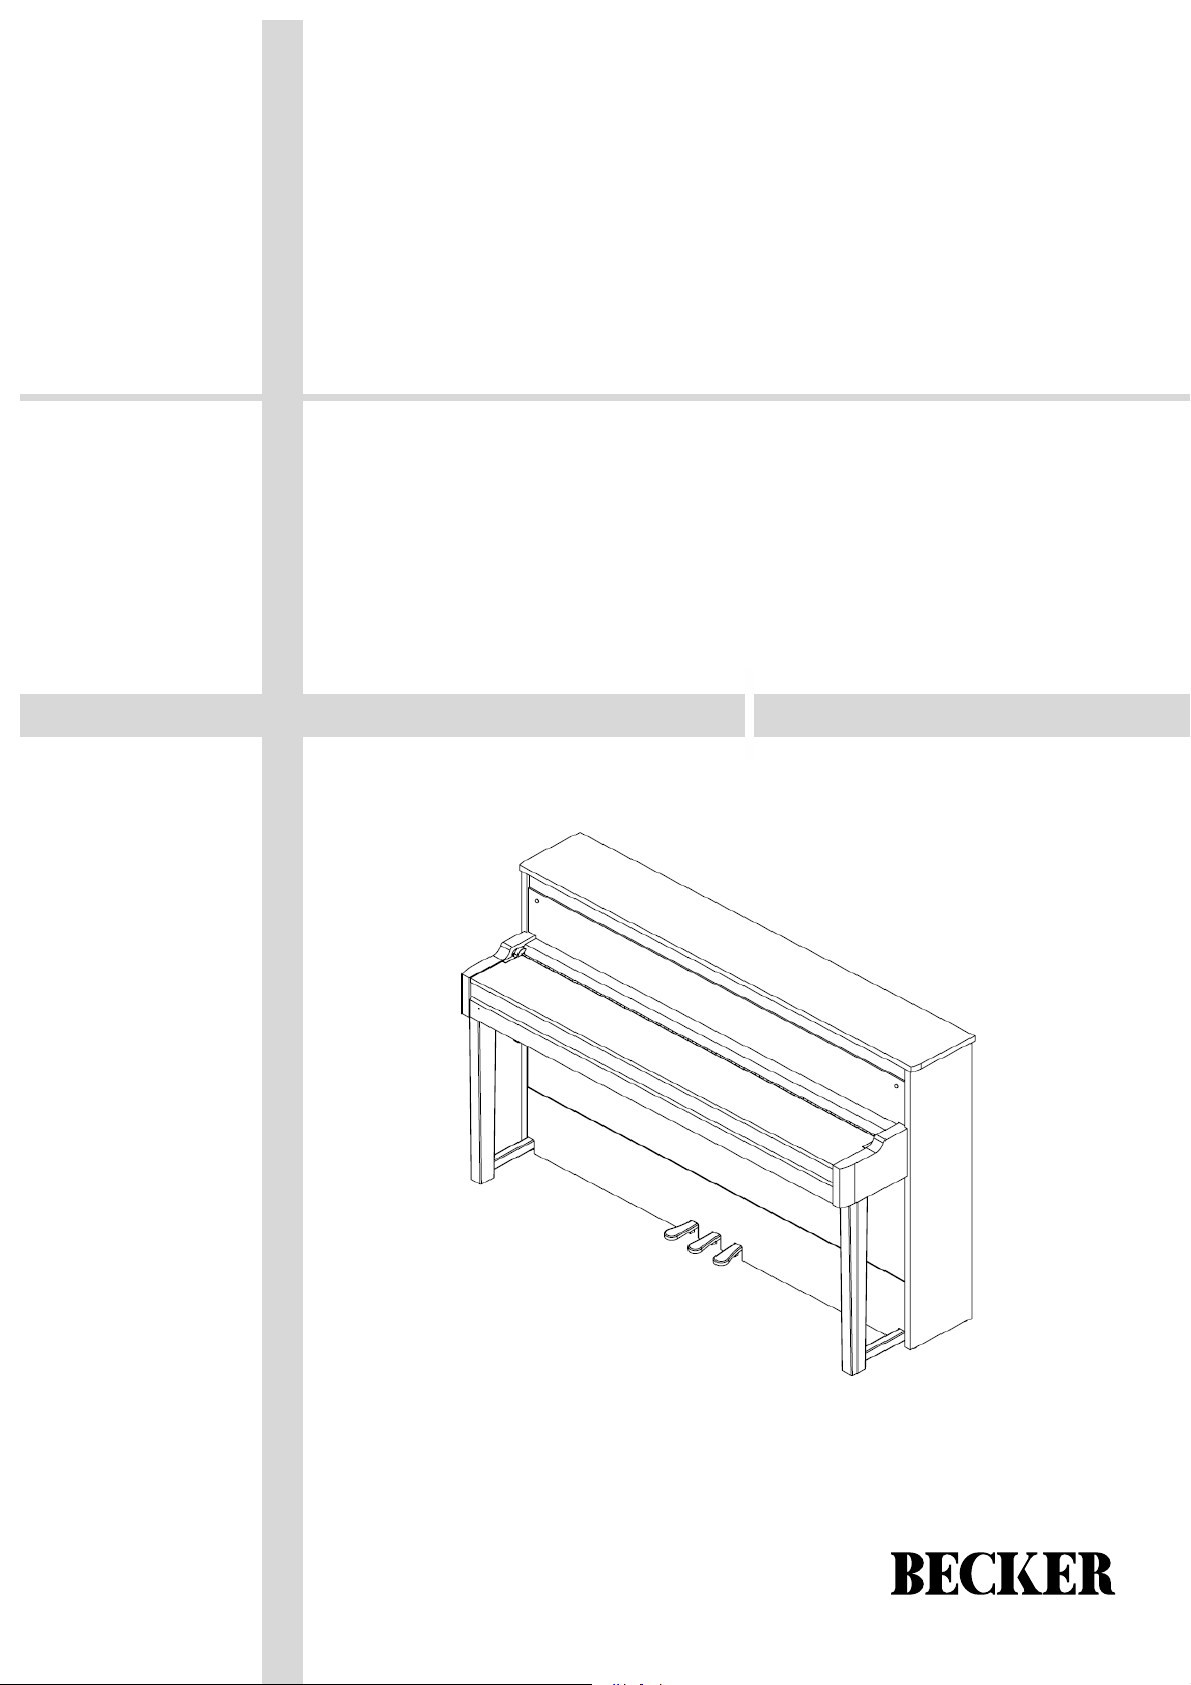
BAP-50
digital piano
owner’s manual
1
CAUTION
RISK OF ELECTRIC SHOCK
DO NOT OPEN
CAUTION: TO REDUCE THE RISK OF ELECTRIC SHOCK,
DO NOT REMOVE COVER OR BACK
NO USER-SERVICEABLE PARTS INSIDE
REFER SERVICING TO QUALIFIED SERVICE PERSONNEL
INSTRUCTIONS PERTAINING TO A RISK OF FIRE, ELECTRIC SHOCK OR INJURY:
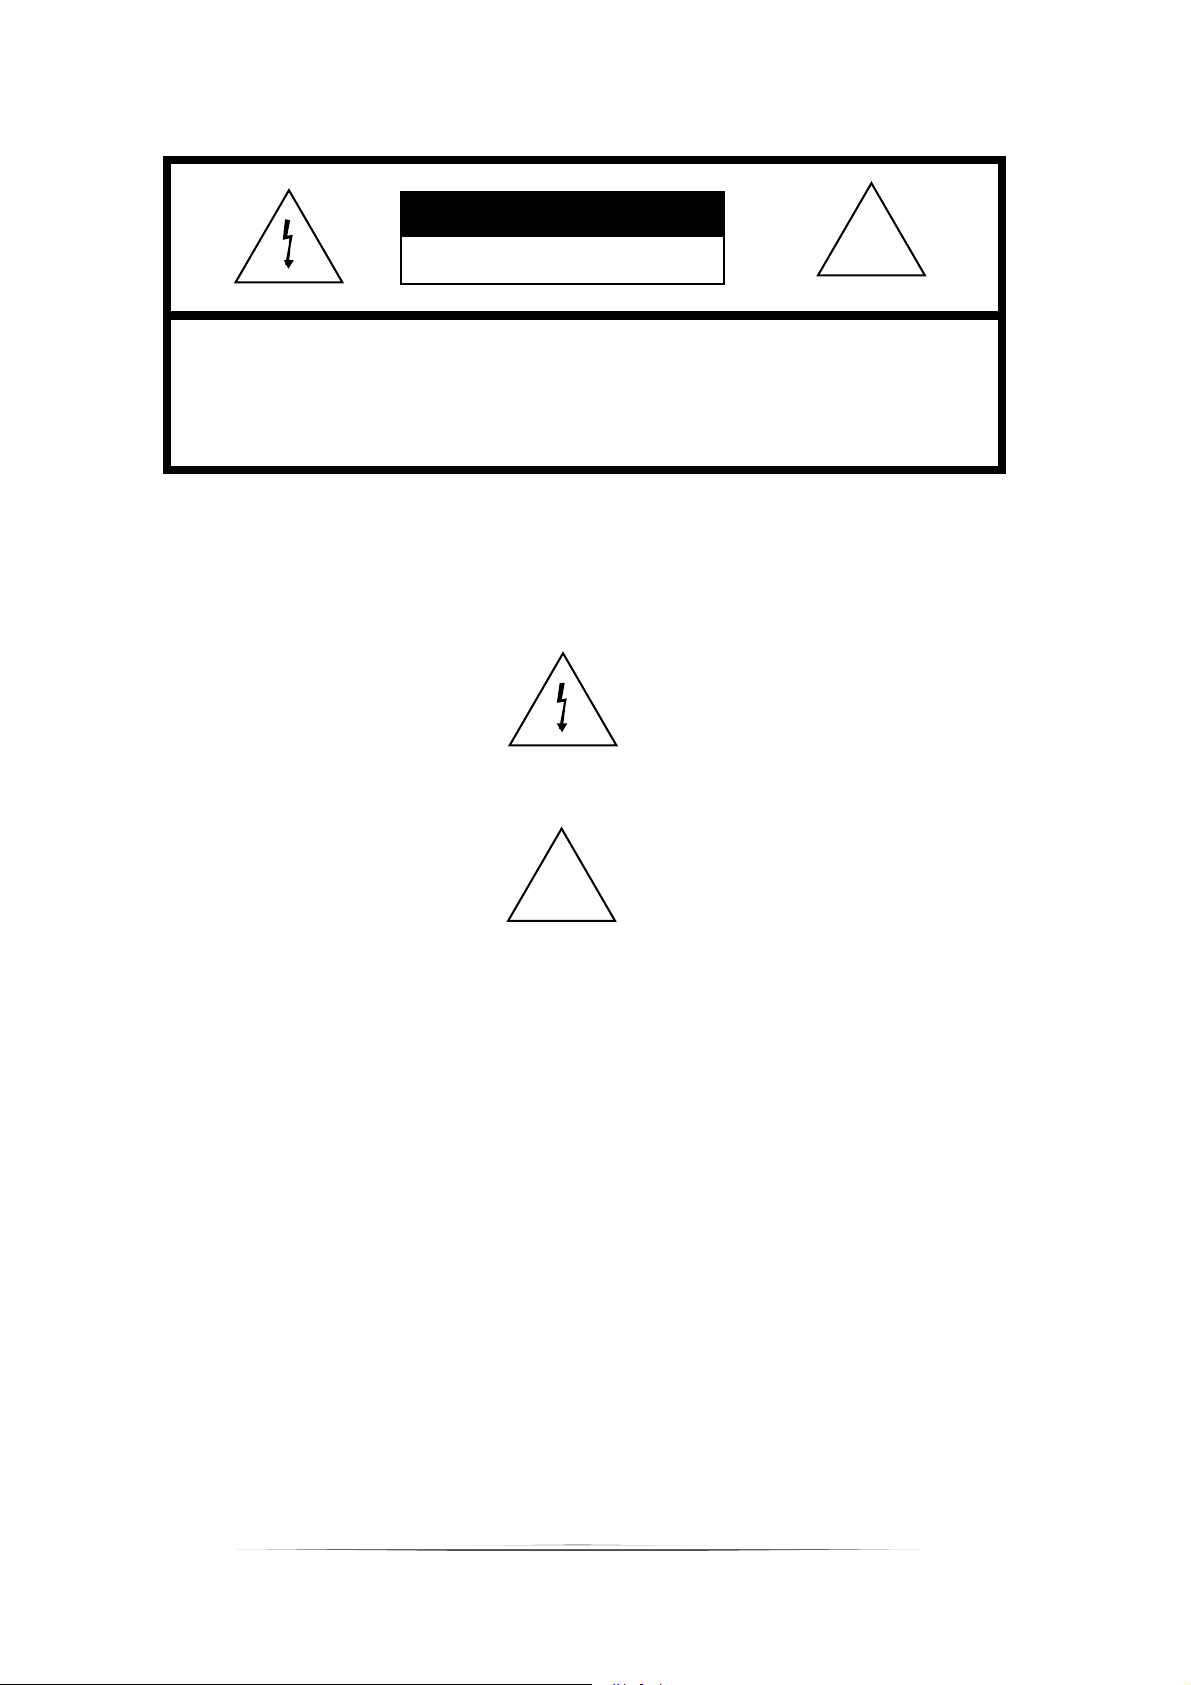
The lightning flash with arrowhead symbol, within an equilateral triangle, is intended to alert the user to the
presence of uninsulated or “dangerous voltage” within the product’s enclosure that may be of sufficient
magnitude to constitute a risk of electric shock to persons.
The exclamation point within an equilateral triangle is intended to alert the user to the presence of important
operation and maintenance or servicing instructions in the manual accompanying the product.
!
!
1. CAUTION: Any changes or modifications in construction of this device which are not expressly approved
by the party responsible for compliance could void the user’s authority to operate the equipment.
2. NOTE: This equipment has been tested and found to comply with the limits for a Class B digital device,
pursuant to Part 15 of the FCC Rules. These limits are designed to provide reasonable protection against
harmful interference in a residential installation. This equipment generates, uses, and can radiate radio
frequency energy and, if not installed and used in accordance with the instructions, may cause harmful
interference to radio communications. However, there is no guarantee that interference will not occur in a
particular installation. If this equipment does cause harmful interference to radio or television reception, which
can be determined by turning the equipment off and on, the user is encouraged to try to correct the interference by one or more of the following measures :
- Reorient or relocate the receiving antenna.
- Increase the separation between the equipment and receiver.
- Connect the equipment into an outlet on a circuit different from that to which the receiver is connected.
- Consult the dealer or an experienced radio/TV technician for help.”
THIS DEVICE COMPLIES WITH PART 15 OF THE FCC RULES.
OPERATION IS SUBJECT TO THE FOLLOWING TWO CONDITIONS :
(1)THIS DEVICE MAY NOT CAUSE HARMFUL INTERFERENCE, AND
(2)
THIS DEVICE MUST ACCEPT ANY INTERFERENCE RECEIVED, INCLUDING INTERFERENCE
THAT MAY CAUSE UNDESIRED OPERETION.
2

TAKE CARE OF YOUR PIANO
This digital piano will supply you with years of musical enjoyment if you follow the simple rules listed below.
WARNING
When using electrical products, basic safety
precautions should always be followed,
including the following:
SAFETY
Power Source - The product should always be
connected to a power supply only of the type
described in the operating instructions or as
marked on the product.
Periods of Nonuse - The power-supply cord of
the product should be unplugged from the
outlet when left unused for a long period of
time.
SERVICE AND MODIFICATION
This product should be serviced by qualified
service personnel when,
• the power supply cord or the plug has been
damaged,
• liquid has been spattered into the unit or it has
been exposed to rain,
• the instrument does not appear to operate
normally or exhibits a marked change in
performance.
• the instrument has been dropped or the cabinet
has been damaged.
• Do not attempt to open the piano or make any
change in the circuits or parts of the unit.
HANDLING AND TRANSPORT
• Never apply excessive force to the controls,
connectors or other parts of the instrument.
• Always unplug cables by gripping the plug
firmly, not by pulling on the cable.
• Disconnect all cables before moving the
instrument.
• Physical shocks caused by dropping,
bumping, or placing heavy objects on the
instrument can result in scratches and/or more
serious damage.
• Carefully check the amplifier volume control
before starting to play. Excessive volume can
cause permanent hearing loss.
CLEANING
• Clean the cabinet and panel with a soft nonabrasive dry cloth. This cloth should be for High
Gloss Lacquer Finish Furniture. A wax based
polish specifically for High Gloss Lacquer
Finish Furniture may be used on the cabinet.
Do not use paint thinner or petrochemical
based polishes.
For Veneer Style Wood finish a standard polish
is “pledge” is acceptable.
• To maintain the luster of the keys and buttons
wipe with a clean, slightly damp cloth, and then
polish with a soft dry cloth.
LOCATION
Do not expose the instrument to the following
conditions to avoid deformation, discoloration, or
more serious damage:
- direct sunlight (near a window)
- high temperatures (near a heat source, outside,
or near a window)
- rain or excessive humidity
- excessive dust
-strongvibration
• Leave enough space around the piano for it to
be properly ventilated.
• This instrument contains digital circuitry and
may cause interference if placed too close to
radio or television receivers. If interference
occurs, move the instrument further away from
the affected equipment.
• Avoid placing vinyl objects on top of the
instrument, vinyl can stick to and discolor the
surface.
• The instrument shall not be exposed to dripping
or splashing and no objects filled with liquids,
such as vases, shall be placed on the
instrument.
POWER
• The instrument should be placed where it is
easy to unplug the power plug
• The instrument is unplugged the power plug
during lightning storn, cleaning or not unused
for long periods of time.
• Turn the power switch off when the instrument is
not in use.
• To avoid damage to the instrument and other
devices to which it is connected, turn the power
switches of all related devices off prior to
connection or disconnection of MIDI cables.
• Turn the power off if the main cable is damaged
or the instrument is spattered with liquid.
• Do not switch the unit on and off in quick
succession, this places an undue load on the
electronic components.
• Avoid plugging the AC power cord into the same
AC outlet as appliances with high power
consumption, such as electric heaters or
refrigerators.
3
3

CONTENTS TABLE
PORT .................................................................................................................................... 5
CONTROL PANEL ............................................................................................................. 7
KEYBOARD FIGURE ........................................................................................................ 8
START PLAYING .............................................................................................................. 9
VOLUME ..................................................................................................................... 9
DEMO ........................................................................................................................... 9
SONG ............................................................................................................................ 9
VOICE ........................................................................................................................ 10
REVERB ..................................................................................................................... 10
METRO....................................................................................................................... 10
RECORD .................................................................................................................... 11
FUNCTION ................................................................................................................ 12
BLUETOOTH ............................................................................................................. 20
PEDAL ........................................................................................................................ 20
APPENDIX ........................................................................................................................ 22
SPECIFICATIONS ............................................................................................................ 25
4

PORT
The following socket board is located on the back of the piano.
1. LINE IN — This interface provides stereo audio input to this piano.
2. LINE OUT — This interface provides stereo audio output to an external amplifier
(such as speaker).
3. MIDI OUT/IN — This piano can send or receive MIDI information through the
standard MIDI cable.
The following socket board is located at the left front side of piano bottom case.
1. HEADPHONES — This piano is equipped with two stereo headphone jack. One
socket is for sound in headphone only. When headphone is plugged to another socket,
you may hear sound from both headphone and piano speakers.
5

2. MIC.VOLUME — This knob can control the volume of the microphone.
3. MICROPHONE — Plug the microphone cable here please.
4. USB — This USB port is for communicating with a computer through a USB cable.
6
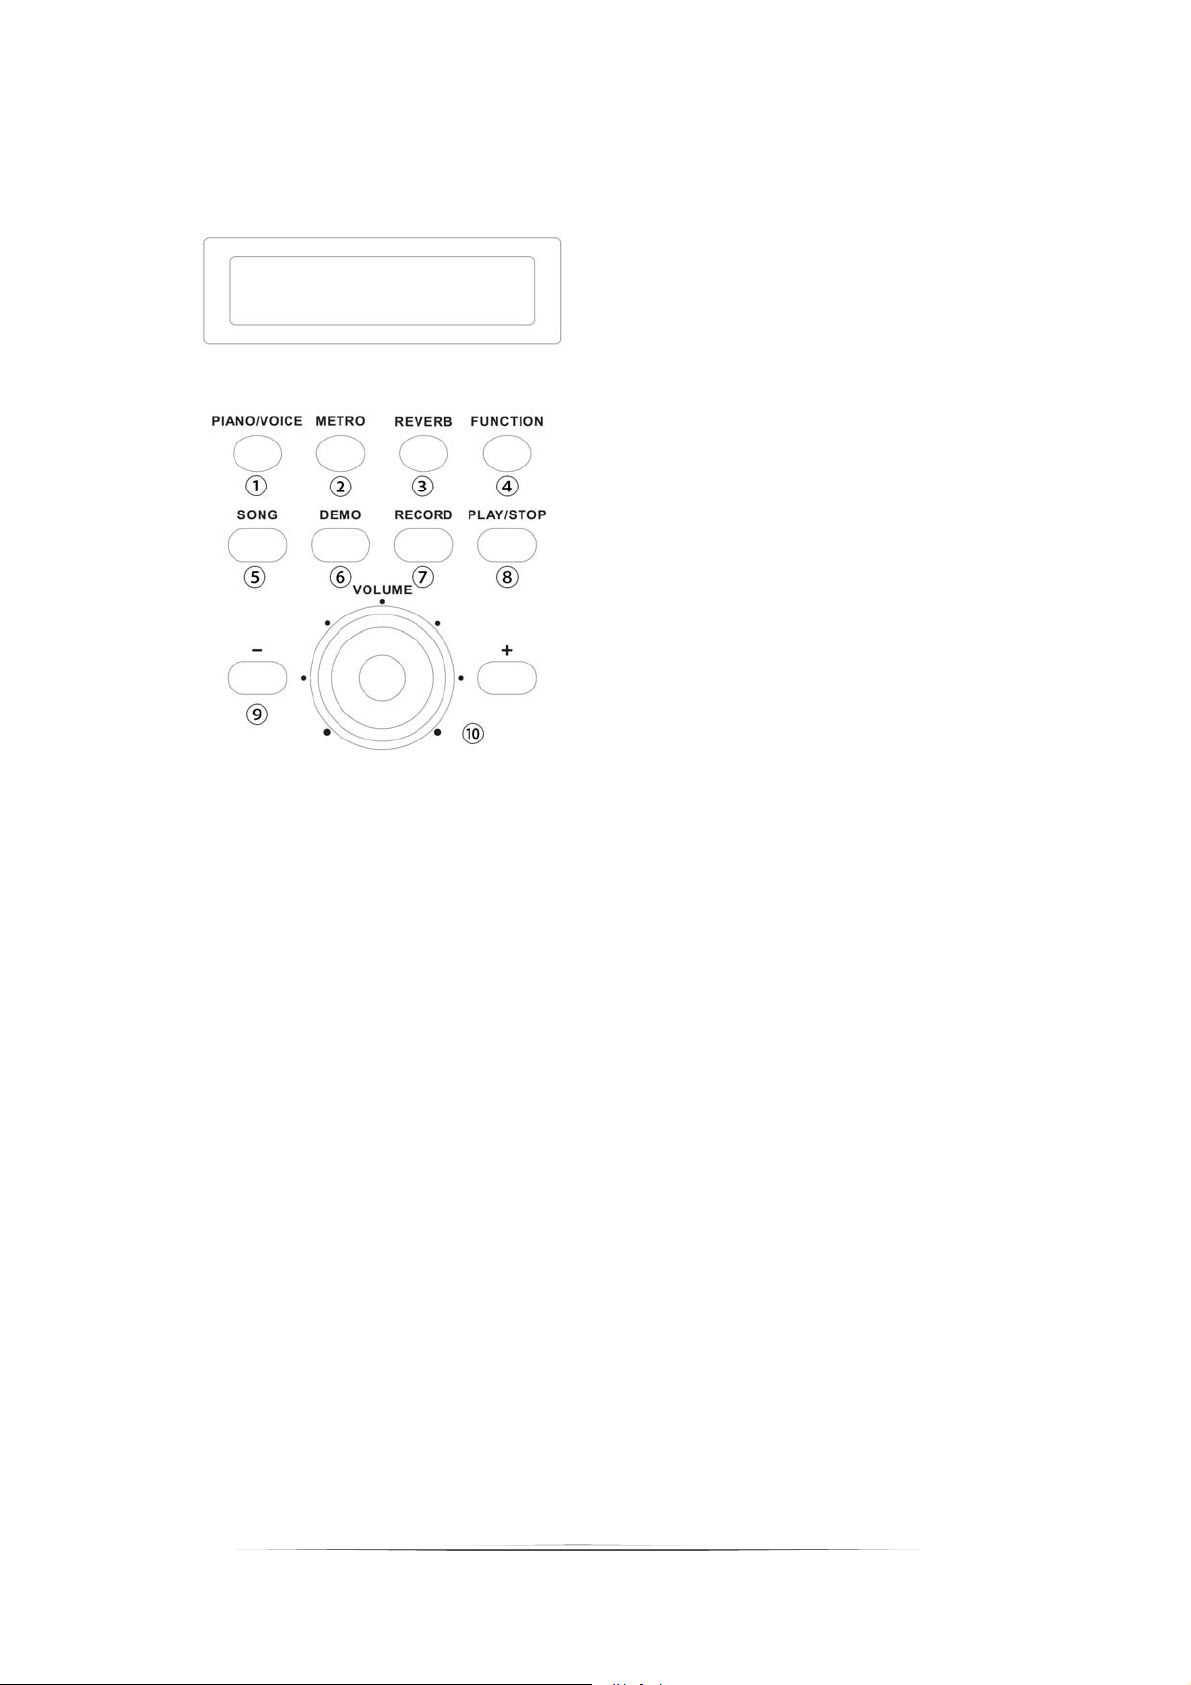
CONTROLPA NE L
1. PIANO/VOICE — This piano has 16 voices to select.
2. METRO — Metronome function can help cultivate a good rhythm sensation when
playing.
3. REVERB — Reverb effect on/off.
4. FUNCTION — Values and effects can be set with this mode.
5. SONG — This piano has 58 simple songs for listening.
6. DEMO — This piano has 15 demonstration songs for listening.
7. RECORD — One user song can be recorded.
8. PLAY/STOP — This button used to play or stop the demo/song/user song.
9. +/- — This two button is used to the choice of music or feature set.
10. VOLUME — Rotate knob to the right can increase the main volume; rotate knob to
the left, reduce the main volume.
7
 Loading...