

Page 1

STEP 1
STEP 2
Remove air filter box. Remove the first and second nuts on the top row of studs on the stock
STEP 3
Raise car up and support on stands or place on car lift.
STEP 4
Unhook O2 sensor plugs for the front and rear O2 sensors,
STEP 5
Loosen clamps at front of stock H pipe and then loosen the barrel style clamps at the rear. These
STEP 6
Remove nuts on converters at the header collectors. Remove converter pipes.
STEP 7
Remove the four nuts on the round tube support brace under the oil pan and remove brace.
STEP 8
Loosen the three small bolts on the plastic cover that covers the area around and forward of the
STEP 9
Remove the two bolts from the steering u joint at the rack and pinion, remove u-joint so shaft
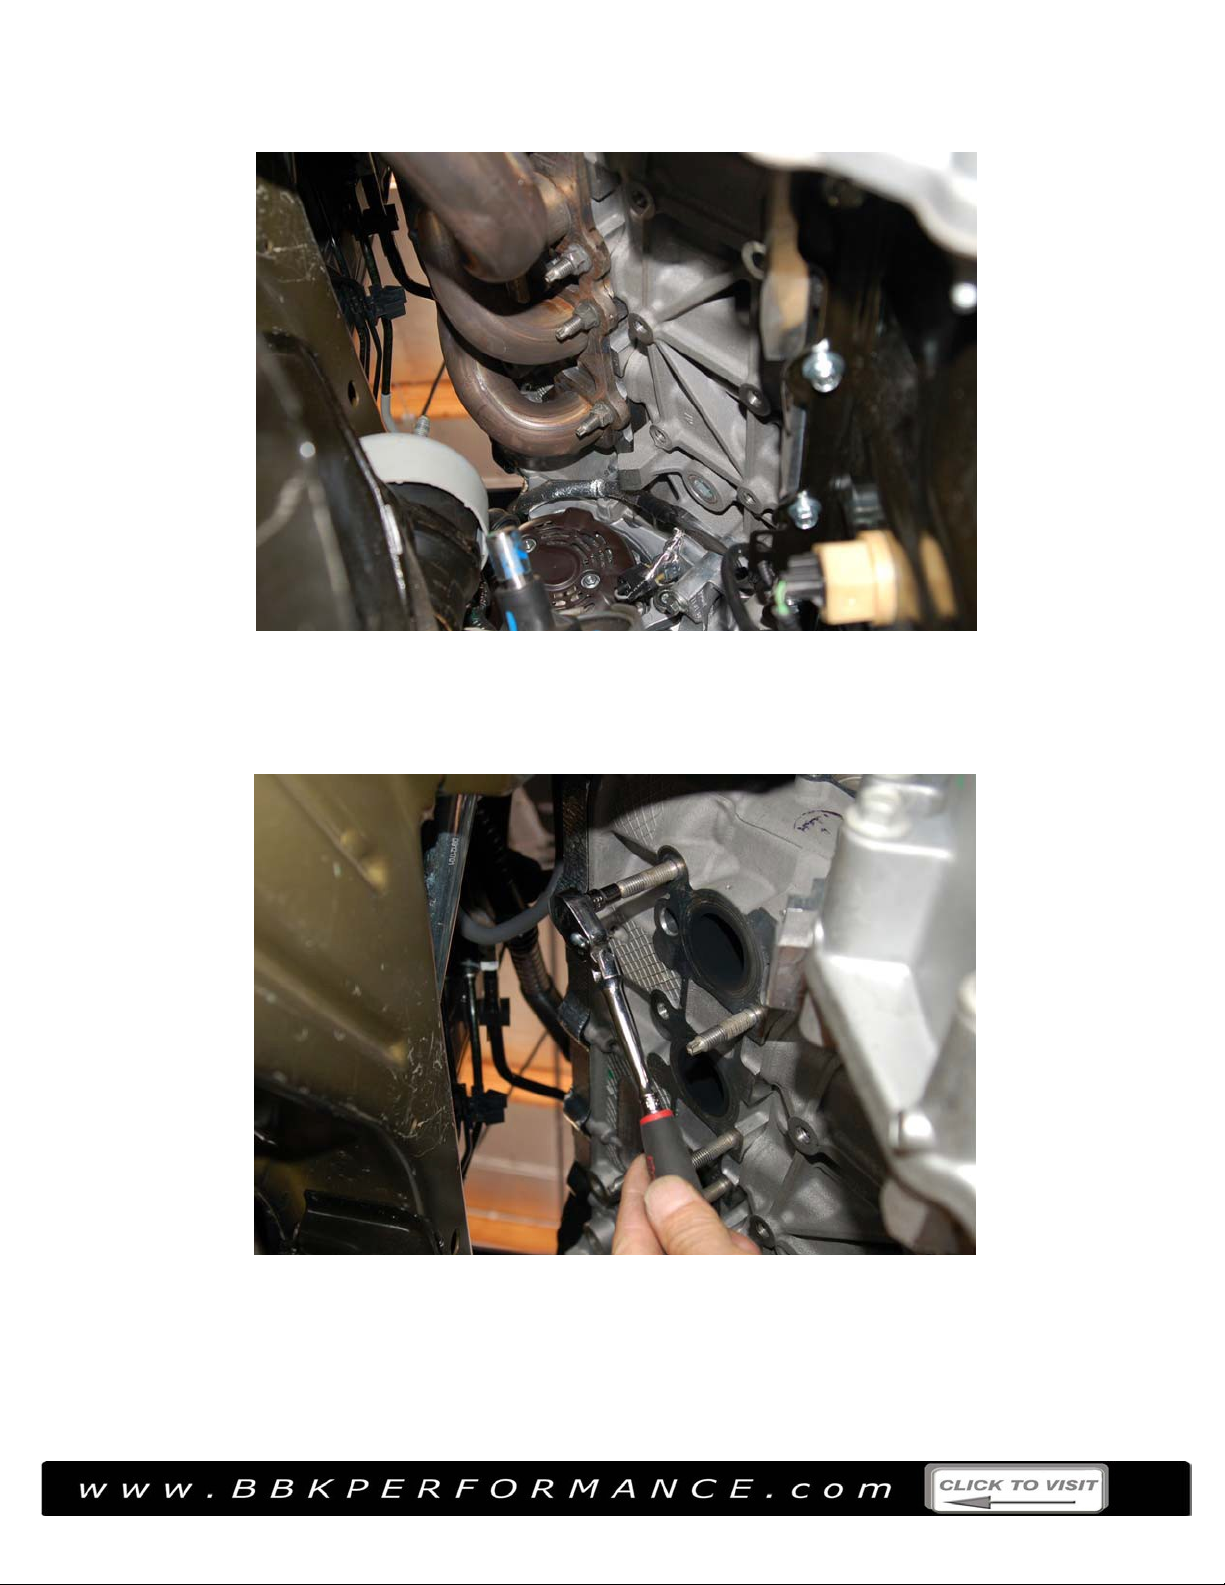
Fig. 1
STEP 10
Remove the starter.
STEP 11
With a jacking device in place under the bellhousing and a block of wood between the jack and
Fig’s 2 and 3
STEP 12
Remove all exhaust nuts and remove stock header. Remove stock gasket.
STEP 13
Remove the studs that
correspond
to the notches in the BBK header flange. You will install
STEP 15
Install nuts and bolts and tighten.
STEP 16
Reinstall motor mount and lower engine back down, Reinstall nut on mount stud.
STEP 17
Repeat steps 11 thru 16 for passenger side. NOTE: The first notch on the passenger side
cover.
STEP 19
Install supplied front and rear O2 sensor extension wires.
STEP 20
Remove front and rear O2 sensors. Install the front ones in the collectors of the headers, connect
STEP 21
Install the supplied studs in the collector flanges.
INS163
2011-2014 FORD MUSTANG
GT 5.0L FULL LENGTH
HEADERS PART# 1633/0/5
TOOLS REQUIRED-6, 8, 10, 13, 15mm socket, 8, 10, 13, 15, 22mm wrenches, ratchet, universal for sockets, various
length extensions,
You will be reusing most of the stock manifold studs for
header
Disconnect negative battery cable.
header on the driver side. On the passenger side, remove the first top nut that is behind the AC
hose. Use long extensions and socket to remove the outside converter pipe nut at the collector
of the stock header on the pass side. You won’t be able to access it when under the
Loosen
rear clamps will be reused with the BBK X-pipe assembly. Remove stock H pipe.
rack and pinion. Let plastic cover hang. This will give access to front header nuts.
can hang out of the way.
bellhousing,
bolts that secure the aluminum mount to the engine block. Remove the aluminum mount.
supplied bolts in these spots. Fig’s 4 and 5. NOTE: There are 2 thread pitches supplied,
because the
compare the supplied bolt to the factory stud to confirm which thread pitch to use.
STEP 14 Install gasket on remaining studs and install BBK header. You might have to raise motor a bit
more to get header to slide in place. The stock metal gasket will also work if you’d like to reuse it.
installation.
the motor mount nuts on the studs that face up but don’t remove yet.
remove the motor mount nut on the driverside, jack up engine and remove the four
manufacturer
Five required bolts are supplied.
changed the thread pitch used after 2011, you will have to
car.
header will re-use the factory stud and the remaining notches will use the supplied bolts (2).
STEP 18
Reinstall starter, steering u-joint and shaft and round tube lower brace. Reinstall front plastic
to the front O2 sensor extension wires.
IMPORTANT- All appropriate safety equipment and gear must be used during the installation of this or any BBK Performance products or any time you work on a vehicle. BBK
Performance Inc. accepts no responsibility for injuries or damage caused by or during the installation of this product
Revised 2/25/2013
Page 2

STEP 22
STEP 23
Install the BBK X pipe section into the barrel clamps and then connect the front of the X pipe
STEP 24
Level out the X pipe and tighten the collector nuts, then tighten the barrel clamps.
STEP 25
Install the rear O2 sensors into the bungs on the X pipe and connect the O2 sensor extensions.
STEP 26
From the engine
compartment,
make sure to tighten any header nuts or bolts that you could not
STEP 27
Reinstall the air cleaner box.
STEP 28
Reconnect the negative battery cable.
STEP 29
Start engine and check for any exhaust leaks.
STEP 30
Header bolts and nuts should be rechecked after 500 miles or so.
Slide the stock barrel clamps onto the front of the stock exhaust system about halfway.
to the collectors of the headers. Use supplied nuts and washers to secure.
reach from below the car. The front ones are usually easier to tighten from above. Make sure
you tighten the motor mount nuts on the studs that face up. They are easier to get at from the
engine
compartment,
looking down on them.
ATTENTION:
Please follow the ECU Relearn procedure on page 6 before
driving on the road.
IMPORTANT- All appropriate safety equipment and gear must be used during the installation of this or any BBK Performance products or any time you work on a vehicle. BBK
Performance Inc. accepts no responsibility for injuries or damage caused by or during the installation of this product
Revised 2/25/2013
Page 3

le. BBK
Revised 2/25/2013
Fig. 1
Steering Shaft Removal. Remove
shaft, then remove U-joint.
Fig. 2
Motor mount
IMPORTANT- All appropriate safety equipment and gear must be used during the installation of this or any BBK Performance products or any time you work on a vehic
Performance Inc. accepts no responsibility for injuries or damage caused by or during the installation of this product
removal.
Page 4
le. BBK
Revised 2/25/2013
Fig. 3
Motor mount
removed.
Fig. 4
Removing stock
IMPORTANT- All appropriate safety equipment and gear must be used during the installation of this or any BBK Performance products or any time you work on a vehic
Performance Inc. accepts no responsibility for injuries or damage caused by or during the installation of this product
studs.
Page 5

le. BBK
Revised 2/25/2013
Fig. 5
Remove stock studs that correspond with
notches in flange. Use supplied bolts.
IMPORTANT- All appropriate safety equipment and gear must be used during the installation of this or any BBK Performance products or any time you work on a vehic
Performance Inc. accepts no responsibility for injuries or damage caused by or during the installation of this product
Page 6

le. BBK
Revised 2/25/2013
Because your vehicle's engine is electronically controlled by a computer, some control conditions are maintained by power
from the battery. When the battery is disconnected or a new battery is installed, the engine must relearn its idle and fuel
trim strategy for optimum driveability and performance. To begin this process:
1.) With the vehicle at a complete stop, set the parking brake.
2.) Put the gearshift in P (Park) (automatic transmission) or the neutral position (manual transmission), turn off all
accessories and start the engine.
3.) Run the engine until it reaches normal operating temperature. Approximately 4-5 minutes.
4.) Allow the engine to idle for at least one minute.
5.) Turn the A/C on and allow the engine to idle for at least one
minute.
6.) Drive the vehicle to complete the relearning process.
• The vehicle may need to be driven 10 miles or more to relearn
the idle and fuel trim strategy.
• If you do not allow the engine to relearn its idle trim, the idle
quality of your vehicle may be adversely affected until the idle
trim is eventually relearned.
IMPORTANT- All appropriate safety equipment and gear must be used during the installation of this or any BBK Performance products or any time you work on a vehic
Performance Inc. accepts no responsibility for injuries or damage caused by or during the installation of this product
 Loading...