


Biometric Fingerprint Safes
No one but YOU has the right touch that opens the safe! The BARSKA Biometric Safe is
compact, convenient and state of the art! It is a unique firearms and valuables lock box with
a tech twist: it opens at the touch of a finger.....but only yours! The safe recognizes only the
fingerprints you select and does not recognize any others. No complicated combinations to
remember either. One touch of a finger is all you need to access your valuables, or firearms
to protect yourself and your family in an instant!
Biometric Fingerprint Safe
- Stores up to 30 unique
fingerprints
- Operates on 4 AA batteries
- Includes emergency back-up
keys and mounting hard ware
- Dimensions:
16½” x 14½” x 7¾”
- Inner Dimensions:
16¼” x 12” x 7”
- Weight: 31 lbs.
Digital Keypad Safe
Biometric Top Opening Safe
- Stores up to 30 unique fingerprints
- 2 steel locking bolts
- Operates on 4 AA batteries
- Hydraulic door system, open the safe’s
door for easy access to stored items
- Includes emergency back-up keys and
mounting hard ware
- Dimensions: 14¾” x 11¼” x 5”
- Inner Dimensions: 14½” x 11” x 2½”
- Weight: 21 lbs.
2/11 BC184
For more safes visit www.barska.com
Features
- Easy to read four digit bright light
LED display
- Two solid steel locking bolts
- Pre drilled holes in the back and bottom
of safe
- Operates on 4 AA batteries
- Faceplate removes to reveal a backup
key lock in case of battery failure
©2011 BARSKA® | La Verne, CA 91750
ww w.barska.com
- Dimensions 16½” x 14½” x 7¾”
- Inner dimensions 16” x 12” x 6¼”
- Weight 26.5 pounds
- Includes protective floor mat ensuring that
items are not scratched, set of emergency
back-up keys and mounting hardware
- Backed by BARSKA’s One-Year Limited
Warranty
Digital Keypad Safe
Digital Keypad Safe
SETTING YOUR PIN
1. Open the door with the existing code,
factory code is 1234
Note: The door must be in the open position or you will
not be able to change the code
NOTE
For security purposes,
change the factory
default code as soon
2. Press “**68#”. The screen will display
“NEW”. Enter your new pin number and
press #.
3. TEST your new code by opening the safe.
as possible.
Factory default code is
“1234”.
Note: If you press the wrong code 4 times in a row, the
keypad will lock out for 15 minutes. Pressing any button
will show the remaining time in the lockout.
Opening and Closing the Safe With The Pin
Type in your PIN and the bolts will retract
automatically. Open the door by pulling from
the bottom of the keypad.
Close the door and press the “#” button.
The bolts will extend automatically.
Pin Number Being Displayed
WARNING
Keep the override keys in
a safe place other than
the inside of the safe
These keys are to be used
in emergencies when your
PIN is lost or the keypad
malfunctions.
If you wish for your pin to not be displayed,
Press “0#” and your pin number
Note: This must be each time you enter your pin to open the safe door if you wish for your pin not to be
displayed
CHANGING YOUR PIN
1. Open the door using your pin
2. With the door open press “**” PROG will appear and press “68#”
(NEW will appear)
3. Enter you new pin number and press “#”, bolts will extend
4. Type in your pin, bolts will retract
5. Close door press “#”, bolts will extend
Note: Safe maintains only ONE pin at a time.
LOCKOUT
After 4 failed attempts, screen will shows “H15” to show that it is in lockout mode
for 15mins; Pressing any button will show the remaining time in the lockout.
1
ww w.barska.com
BATTERY REPLACEMENT
1. Press “#” to check the battery status. “HI” means the batteries are good.
“LO” means that the batteries are low.
2. Open safe using your PIN or if the batteries are dead use the override key.
3. Remove the battery cover on the inside of the door.
4. Replace the 4 AA Alkaline batteries and replace the battery cover.
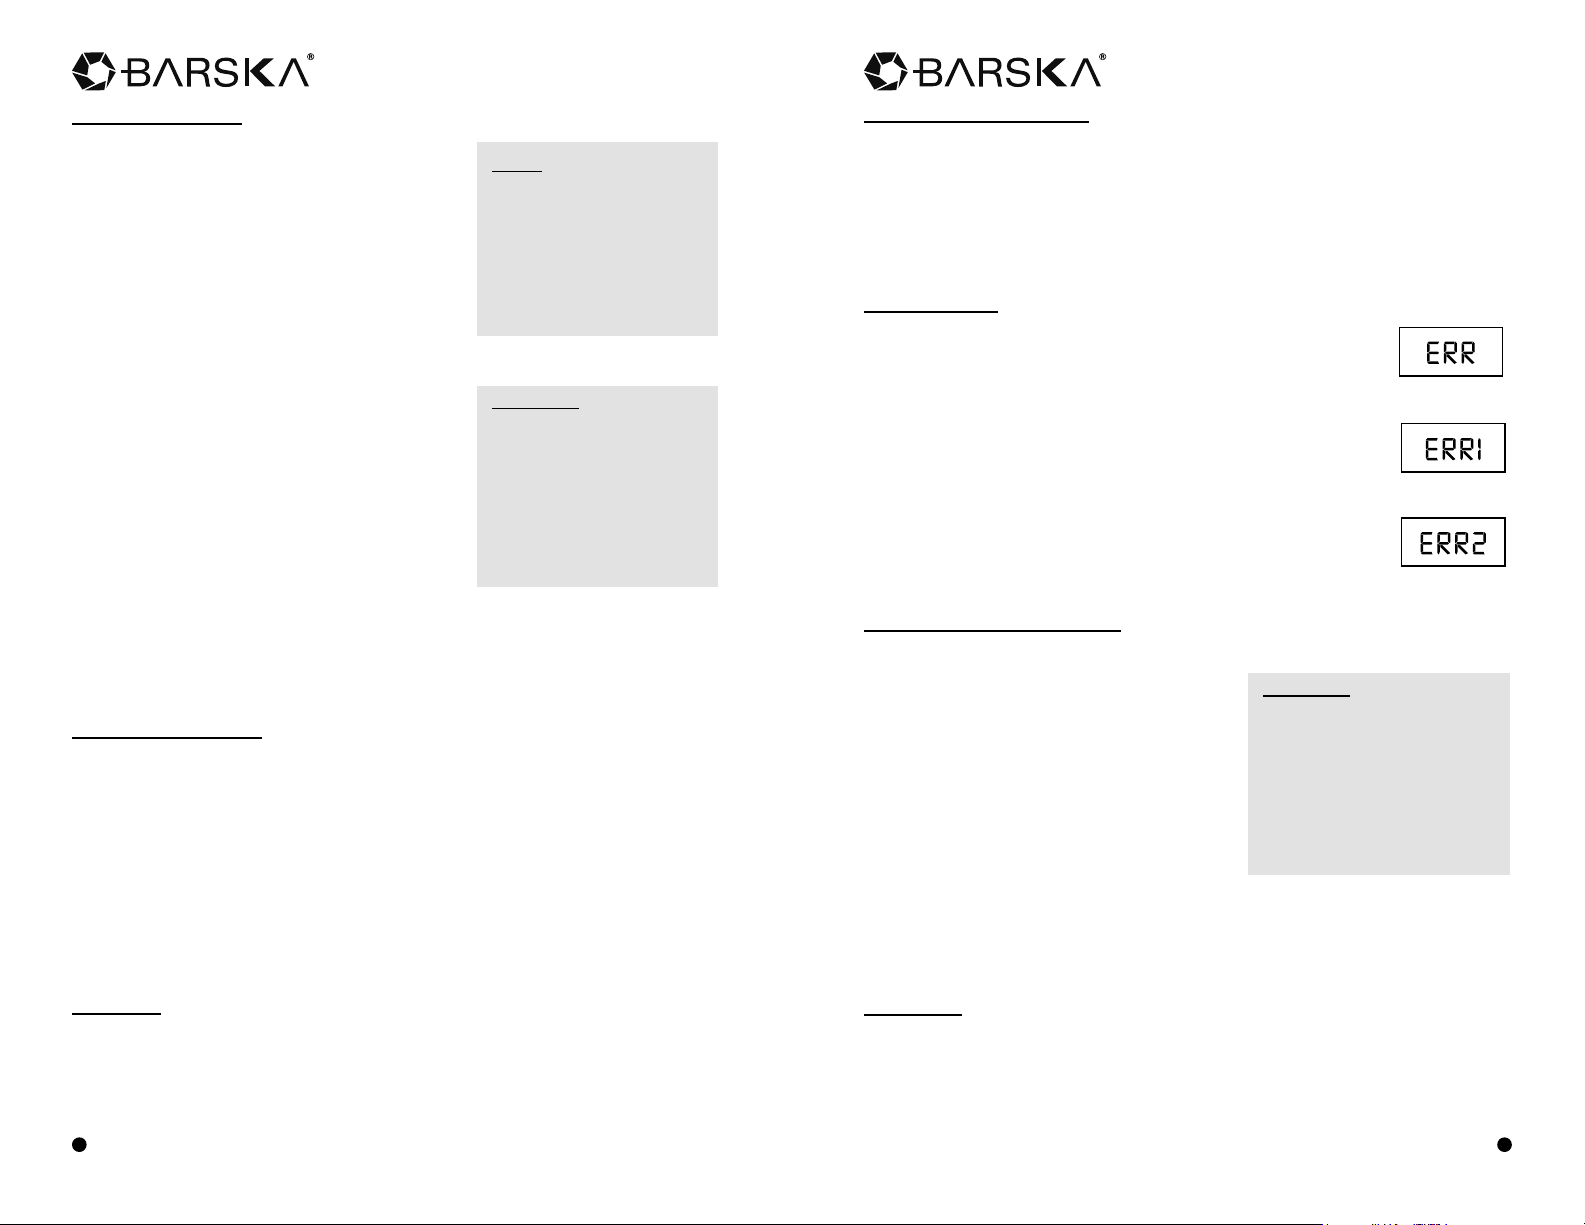
ERROR CODES
This means you have pressed an incorrect pin. Verify your pin
and try again. If you get this error 4 times in a row, the keypad
will lockout mode. The door cannot be opened. Pressing any
button will show the remaining time in the lockout.
This means that the bolts failed to retract fully. Try pressing the
door in as you press you pin. If you still cannot open your safe,
contact you distributor.
This could also mean that the bolts failed to extend fully, most
likely because the content of the safe is too full. Press in on the
door to close it fully while pressing your PIN. If you still cannot
lock your safe, contact your distributor.
EMERGENCY OVERRIDE KEY
1. Using the supplied Allen key unscrew one
of the screws holding the plate and
rotate to expose key cylinder.
2. Using one the of the override keys, insert
into the cylinder and turn clockwise
WARNING
Keep the override keys in
a safe place other than
the inside of the safe
to open the safe
3. While the door is open and the key is still
turned, follow the directions to set
your PIN.
These keys are to be used
in emergencies when your
PIN is lost or the keypad
malfunctions.
Note:
When you set the new PIN, the key will rotate
to the locked position. If you get an error message wait until the motor stops
moving and then turn the key back to locked position and remove it. Your new
PIN will still remain
MOUNTING
The safe may be mounted to wall or the inside of a cabinet or on the floor
When mounting to a wall or cabinet, be sure of the load bearing so as to hold
the weight of the safe and the contents. Failure to do so could result in the safe
falling and damaging property and or people
ww w.barska.com
2

Digital Keypad Safe
Digital Keypad Safe
Mounting Through The Bottom Of The Safe
1. Check the floor for what type it is (wood, tile and or concrete)
2. Get the appropriate anchors for the type of floor you have.
3. Check location on the floor for concealed wires or pipes
4. Mark the floor to drill your anchor.
5. Drill the appropriate size hole for the anchors you have
6. Mount the safe and make sure it is securely mounted
7. For mounting to the top of a cabinet you may want to use carriage bolts
through the top of the cabinet.
DO NOT mount safe to a shelf in a cabinet or closet without anchoring to the wall
behind the safe!
Mounting Through The Back Of The Safe
1. Check the wall or cabinet for structural soundness
2. For safety, have someone help to hold the safe during mounting.
3. Check location for concealed wires or pipes.
4. Mark the surface to drill holes for the anchors you will be using.
5. Drill the appropriate size holes for the anchors you are using
6. While having someone hold the unit, anchor the safe to the wall
7. Test the strength of the mounted safe so it will not fall off the wall or cabinet
DO NOT place safe on a shelf without proper mounting into a wall.
IMPORTANT INSTRUCTIONS
Please keep this manual and override key in a safe place
(NOT INSIDE OF THE SAFE)
DO NOT use any liquid while cleaning the keypad, if necessary use a damp cloth
to clean the keypad
Make sure the safe is anchored properly as it can fall and hurt people and or
property
DO NOT place any liquid on top of the safe; a spill on the keypad may render the
safe inoperable
DO NOT open the back cover or try to repair the safe yourself
DO NOT over stuff the contents of the safe or you can damage the motor
mechanism or the contents
DO NOT keep the override keys inside of the safe
3
ww w.barska.com
WARRANTY POLICY
1. BARSKA warrants this Digital Keypad Safe against original defects in material
and/or workmanship under normal use for a period of twelve (12) months from
the date product is received by purchaser.
2. This warranty is limited to original purchaser and is not transferable.
3. This Warranty applies only to products purchased in the United States.
4. BARSKA will examine and test returned product and repair or replace
defective part(s) or units with new part(s) or a new unit if necessary within the
warranty period. Purchaser is required to remit $40.00 to BARSKA for return
shipping and handling at time product is returned.
5. If repair is required after warranty period expiration, purchaser will be charged
for replacement parts and return shipping.
6. Purchaser must contact BARSKA at 1.909.445.8168 to request a Returned
Merchandise Authorization (RMA) number. The RMA number must appear
on the outside of the shipping package. Product must be packed carefully and
sturdily in its original packaging to prevent damage in transit and returned
freight pre-paid to:
BARSKA
Repair Department
1721 Wright Avenue
La Verne, CA 91750
Please include all of the following when returning BARSKA products for service
and/or replacement:
1. Please write your complete details (Name, Address, Telephone #,
E-mail address, RMA#, etc.)
2. Purchase receipt or Proof of Purchase. (Original/Copy)
3. A brief explanation of the defect.
4. A Check/Money Order of $40.00 to cover inspection, shipping and handling.
*Please allow 6-8 weeks for delivery.
What is not covered by this Warranty?
1. Damage caused by improper installation or maintenance.
2. Damage from misuse, abuse, accident (such as dropping), fire, flood, or
acts of nature.
3. Damage from service or repairs other than those performed by BARSKA.
4. Labor, cost and shipping charges for the removal and replacement of defective
parts beyond the initial twelve-month warranty period.
5. All transportation and shipping charges.
6. Removing or altering the seal on the rear of the front part of the safe
under any circumstances will automatically void the warranty.
4
 Loading...