

Page 1
BARCPROJECTION
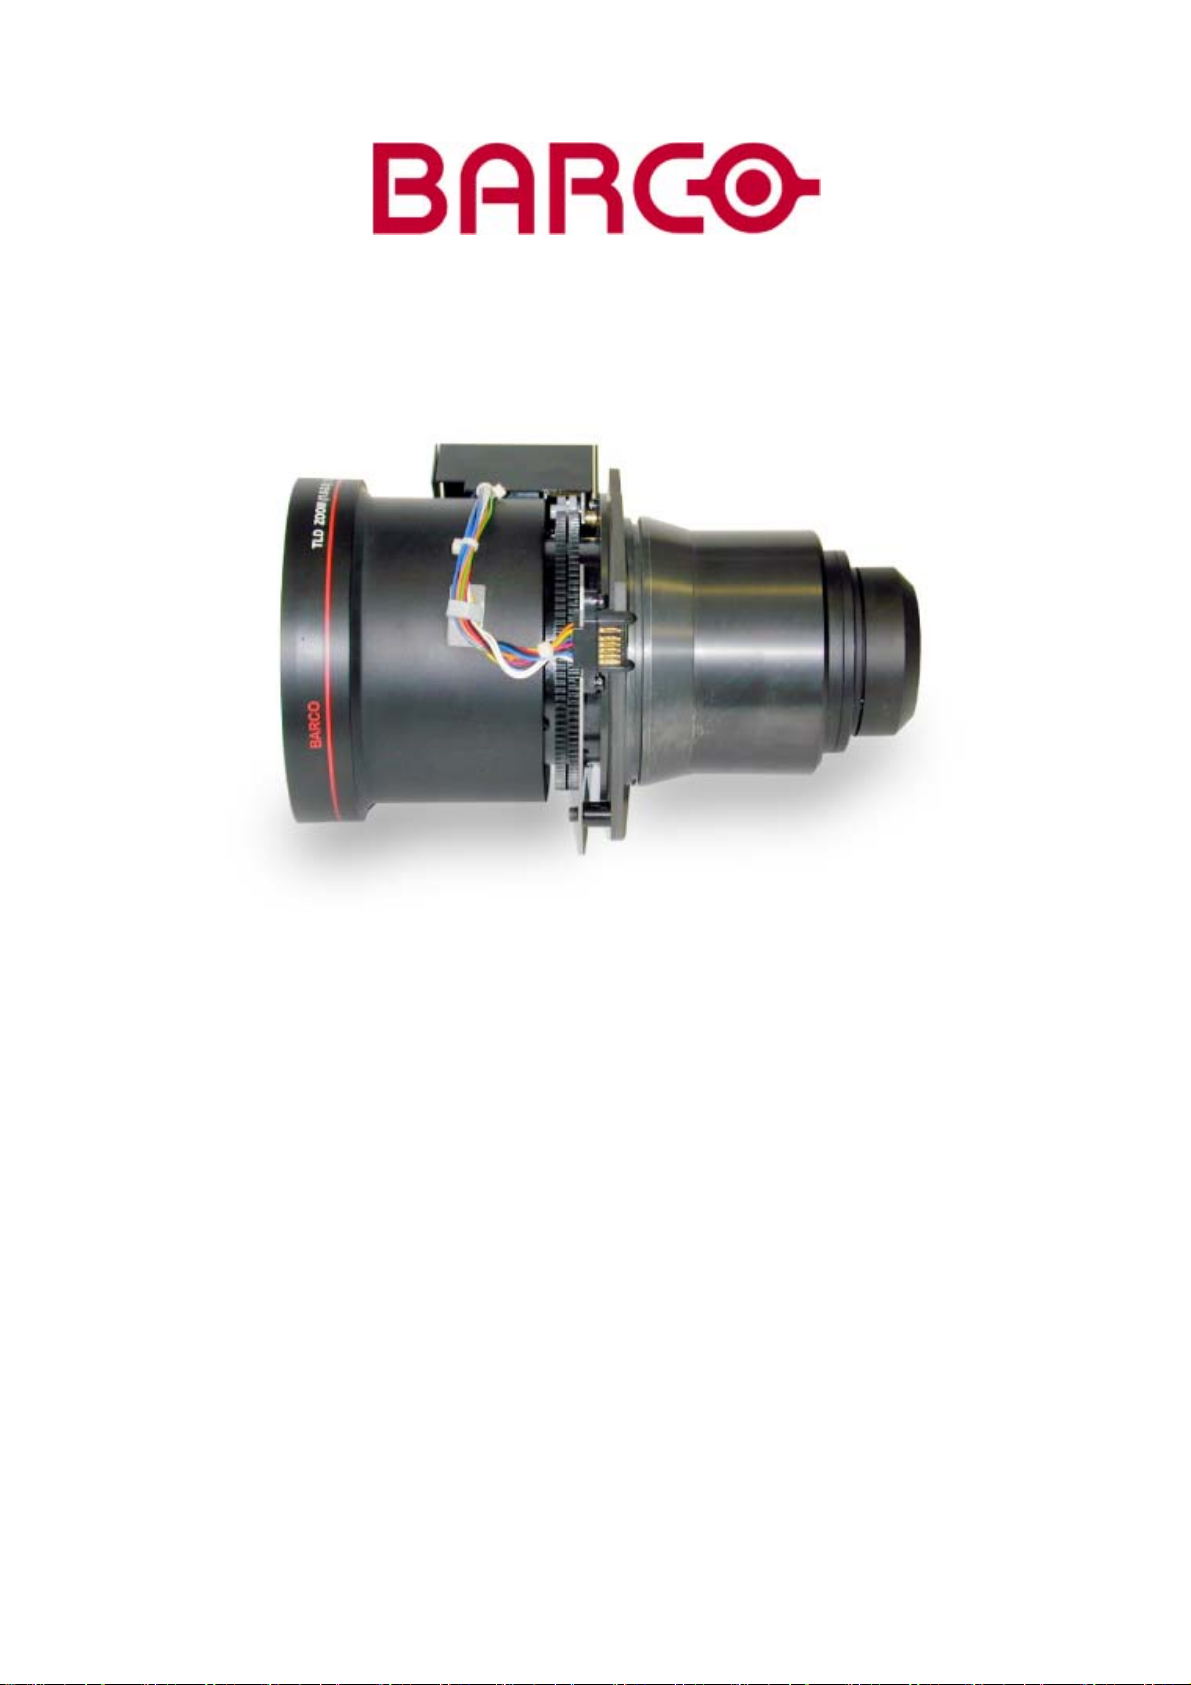
TLD HB (1.6-2.0:1) LENS KIT
R9842060
INSTALLATION MANUAL
14102003 R5976663/00
Page 2

Barco nv Events
Noordlaan 5, B-8520 Kuurne
Phone: +32 56.36.89.70
Fax: +32 56.36.88.24
E-mail: events@barco.com
Visit us at the web: www.barco.com
Barco nv Intelligent Displays
laan 5, 8520 Kuurne
Noord
Phone: +32 56.36.82.11
Fax: +32 56.35.86.51
presentations.bid@barco.com
E-mail:
Visit us at the web: www.barco.com
Printed in Belgium
Page 3

Changes
Barco provides this manual ’as is’ without warranty of any kind, either expressed or implied, including but not limited to the implied warranties or merchantability and fitness for a particular purpose. Barco may make improvements and/or changes to the product(s) and/or the
program(s) described in this publication at any time without notice.
This publication could contain technical inaccuracies or typographical errors. Changes are periodically made to the information in this
publication; these changes are incorporated in new editions of this publication.
Copyright ©
All rights reserved. No part of this document may be copied, reproduced or translated. It shall not otherwise be recorded, transmitted or
stored in a retrieval system without the prior written consent of BARCO.
Trademarks
Brand and product names mentioned in this manual may be trademarks, registered trademarks or copyrights of their respecti
All brand and product names mentioned in this manual serve as comments or examples and are not to be understood as advertising for
the products or their manufactures.
ve holders.
Page 4

Page 5

Table of contents
TABLE OF CONTENTS
1. TLD HB (1.6-2.0:1) Lens Kit....................................................................................... 3
1.1 Kit Contents............................................................................................................................ 3
1.2 Removingthe installedlens ........................................................................................................... 3
1.3 Installingthe new lens ................................................................................................................. 4
1.4 Quick Lens Adjustment . ............................................................................................................... 5
1.5 Lens Formulas ......................................................................................................................... 6
1.6 Cleaning the lens. . . . ................................................................................................................... 7
R5976663 TLD HB (1.6-2.0:1) LENS KIT 14102003
1
Page 6

Table of contents
2 R5976663 TLD HB (1.6-2.0:1) LENS KIT 14102003
Page 7

1. TLD HB (1.6-2.0:1) LENS KIT
1.1 Kit Contents
Kit Contents
Contents
• TLD HB (1.6-2.0:1) Lens.
• Installation Manual.
• Toraysee
1.2 Removing the installed lens
What has to be done?
Removing the installed lens on the SLM series projector.
Necessary Tools
No tools necessary.
TM
Cloth.
1. TLD HB (1.6-2.0:1) Lens Kit
Risk of personal injury. Instructions for lens installation must be followed thoroughly.
How to remove the installed lens?
To remove the lens, follow the next procedure:
1. Support the lens with one hand. (image 1-1)
2. Move the handle of the lens anchor system to the left. (image 1-2)
3. Take the lens unit out of the lens block. (image 1-3)
Image 1-1
Support the lens with one hand
R5976663 TLD HB (1.6-2.0:1) LENS KIT 14102003 3
Page 8

1. TLD HB (1.6-2.0:1) Lens Kit
Image 1-2
Move the handle of the lens anchor system to the left
Image 1-3
Take the lens out of the lens block
1.3 Installing the new lens
What has to be done?
This new lens has to be installed on the SLM series projector.
Necessary Tools
No tools necessary.
Risk of personal injury. Instructions for lens installation must be followed thoroughly.
4 R5976663 TLD HB (1.6-2.0:1) LENS KIT 14102003
Page 9

1. TLD HB (1.6-2.0:1) Lens Kit
How to install the new lens?
To install the lens, follow the next procedure:
1. Take the lens assembly out of its packing material and remove the lens caps on both sides.
2. Move the handle (A) of the lens anchor system to the right. (image 1-4)
3. Push the lens, motors at the top, in the lens block gap horizontally, lining up the motor connector on the lens with the connector
on the lens block (B), until the lens clicks in the lens anchor system.
Caution: For a table mounted projector, hold the projector when pushing the lens into the lens block to avoid sliding off from
the table.
Image 1-4
Lens installation
1.4 Quick Lens Adjustment
Quick zoom/focus adjustment
1. Press the Selection key *, Barco key.
Thezoom/focusmenuwillbedisplayed. (image1-5)
2. Push the cursor key ↑ or ↓ to zoom and ← or → to focus the image.
3. When finished, press EXIT key to return or ENTER to continue to the shift adjustment.
LENS ADJUSTMENT ZOOM/FOCUS
ZOOM with or ,
FOCUS with or
<ENTER> to shift
<EXIT> to return
Image 1-5
R5976663 TLD HB (1.6-2.0:1) LENS KIT 14102003 5
Page 10

1. TLD HB (1.6-2.0:1) Lens Kit
Quick shift adjustme nt
1. Press the Selection key *, Barco key.
The zoom/focus menu will be displayed (image 1-5).
2. Press ENTER.
The shift menu will be displayed. (image 1-6)
3. Push the cursor key ↑ or ↓ to shift the image up or down and ← or → to shift the image left or right.
4. When finished, press EXIT key to return or ENTER to continue to zoom/focus.
LENS ADJUSTMENT SHIFT
SHIFT with or , or
<ENTER> to zoom/focus
<EXIT> to return
Image 1-6
1.5 Lens Formulas
Lens Formulas
PD
Projector
Screen
Image 1-7
To calculate the distance between the projector frontside and the screen (PD) for a given screenwidth (SW), use the following formula:
Metric formulas (PD and SW in meter)
Barco Projector SLM Graphics (G) series Barco Projector SLM Reality (R) series
PD
=1.62xSW-0.09 PD
min
PD
=2.03xSW-0.13 PD
max
SW = Screen Height (Image Height)
PD = Projector Distance, distance between screen and projector
=1.59xSW-0.09
min
=2.00xSW-0.13
max
Inch formulas (PD and SW in inch)
Barco Projector SLM Graphics (G) series Barco Projector SLM Reality (R) series
PD
=1.62xSW-3.54 PD
min
PD
=2.03xSW-5.12 PD
max
=1.59xSW-3.54
min
=2.00xSW-5.12
max
6 R5976663 TLD HB (1.6-2.0:1) LENS KIT 14102003
Page 11

1. TLD HB (1.6-2.0:1) Lens Kit
1.6 Cleaning the lens
To minimize the possibility of damaging the optical coating or scratching exposed lens surface, we have developed recommendations for cleaning the lens. FIRST, we recommend you try to remove any material from
the lens by blowing it off with clean, dry deionized air. DO NOT use any liquid to clean the lenses.
Necessary tools
To ra ys e eTMcloth (delivered together with the lens kit). Order number : R379058.
Howtocleanthelens?
Proceed as follow :
1. Always wipe lenses with a CLEAN Toraysee
2. Always wipe lenses in a single direction.
Warning: Do not wipe back and forwards across the lens surface as this tends to grind dirt into the coating.
3. Do not leave cleaning cloth in either an open room or lab coat pocket, as doing so can contaminate the cloth.
4. If smears occur when cleaning lenses, replace the cloth. Smears are the first indication of a dirty cloth.
Do not use fabric softener when washing the cleaning cloth or softener sheets when drying the cloth.
Do not use liquid cleaners on the cloth as doing so will contaminate the cloth.
TM
cloth.
Other lenses can also be cleaned safely with this TorayseeTMcloth.
R5976663 TLD HB (1.6-2.0:1) LENS KIT 14102003 7
Page 12

1. TLD HB (1.6-2.0:1) Lens Kit
8 R5976663 TLD HB (1.6-2.0:1) LENS KIT 14102003
Page 13

Revision Sheet
To :
Barco nv Events/Documentation
Noordlaan 5, B-8520 Kuurne
Phone: +32 56.36.89.70, Fax: +32 56.36.88.24
E-mail: antoon.dejaegher@barco.com, Web: www.barco.com
From:
Date:
Please correct the following points in this documentation (R5976663/00):
page
wrong
correct
R5976663 TLD HB (1.6-2.0:1) LENS KIT 14102003
 Loading...