

Page 1
TRIM MOULDING DECK PORCH RAIL PAVERS
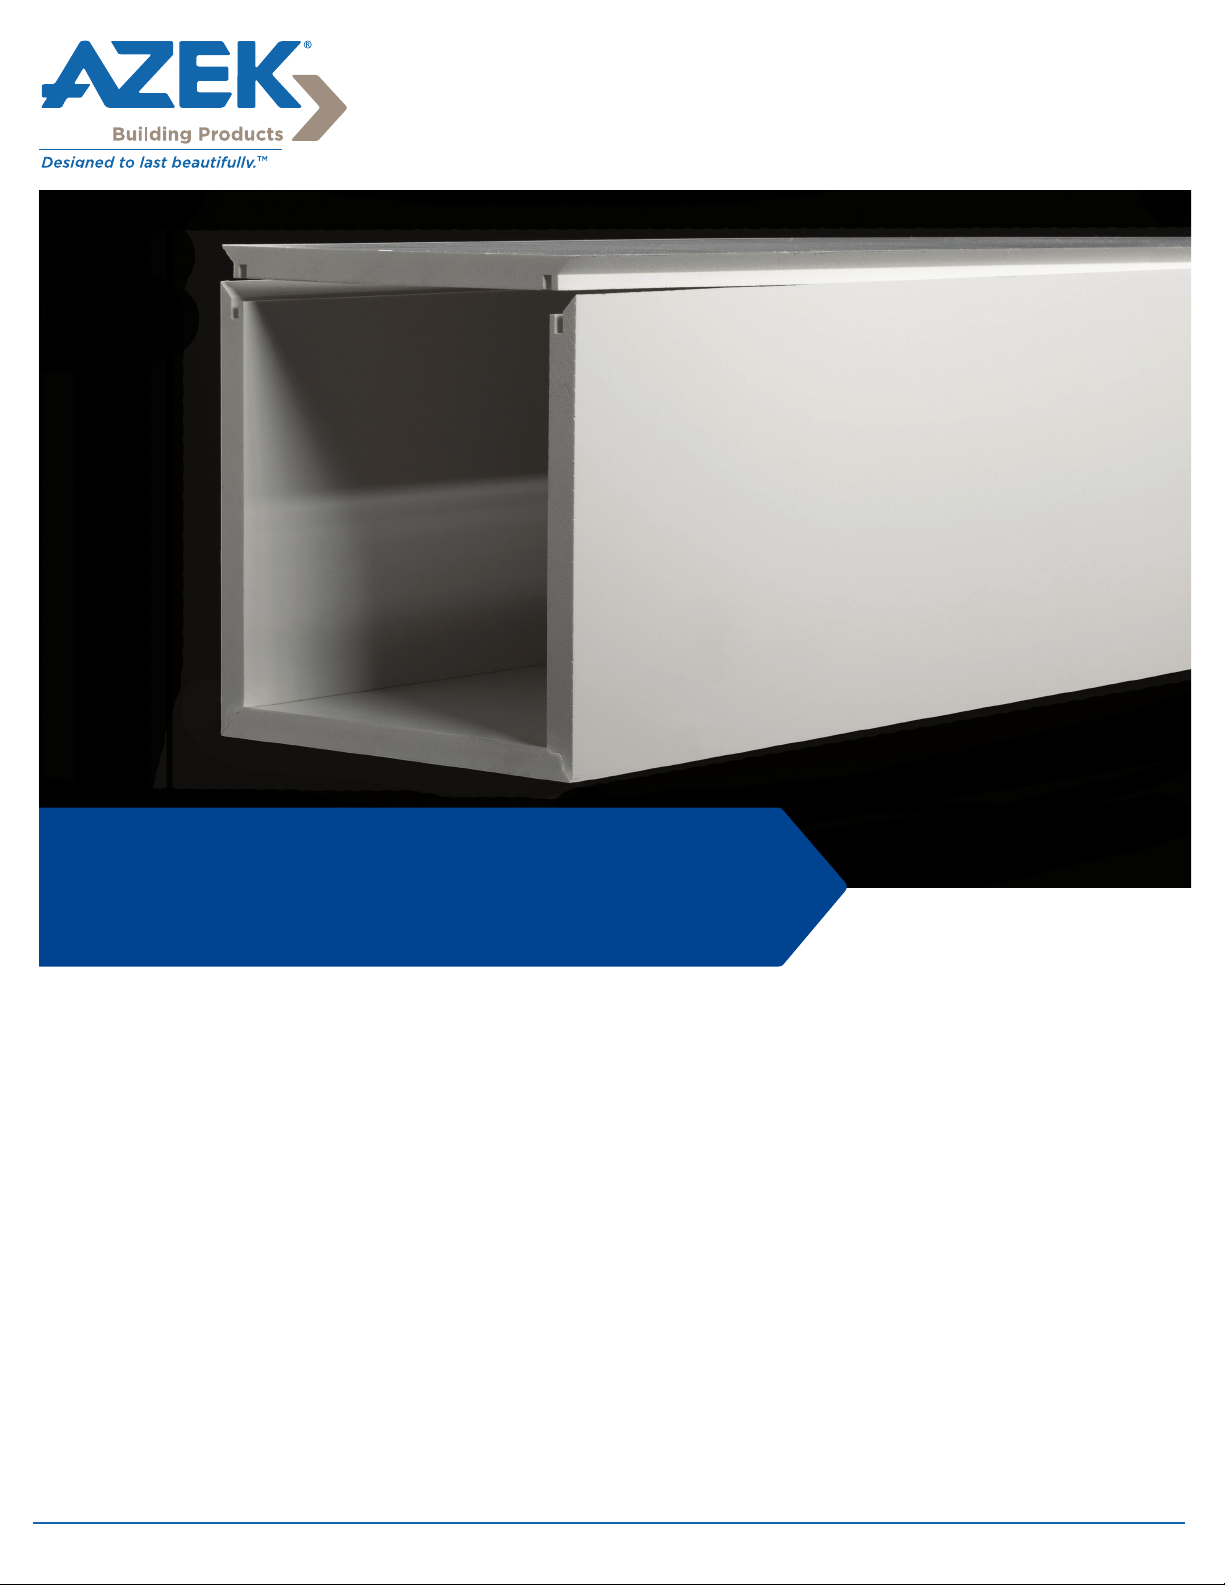
AZEK Column Wrap
Install Guide
Page 2
Installing Column Wrap
WARNING! Please read all instructions completely before starting any part of the installation.
• AZEK Column Wraps are not structural and are not intended for load bearing
applications.
• Manufactured edges of the column wrap are sharp and should be handled with
care.
• AZEK Column Wrap should be installed in accordance with the local building
codes and the installation guidelines included below. AZEK Building Products
Inc. accepts no liability or responsibility for the improper installation of this
product. Failure to install AZEK Column Wrap in accordance with applicable
building codes and this Installation Guide may lead to personal injury, affect
product performance and void the product warranty.
• AZEK Column Wrap may not be suitable for every application. It is the sole
responsibility of the installer to be sure that AZEK Column Wraps are t for
the intended use. Since all installations are unique, it is also the installer’s
responsibility to determine specic requirements in regards to each application.
• AZEK Building Products recommends that all applications be reviewed by a licensed
architect, engineer, or local building ofcial before installation. If you have any
questions or need further assistance, please call AZEK Customer Service at 877-ASKAZEK (877-275-2935) or visit our website at www.AZEK.com.
Storage & Handling
• Care should be taken in handling the individually wrapped column
wraps to prevent tearing of tape or cracking at miter lock corner joints.
• Store AZEK Column Wrap on a at level surface.
• Since AZEK Trim products are more exible than wood, they may
conform to uneven surfaces. Ensure that storage areas, as well as all
framing and substructures, are at and level to minimize uneven surfaces.
• AZEK Column Wrap has a density comparable to pine and should be
handled in similar fashion as pine to avoid damage.
• Units of AZEK products are shipped from the manufacturer in a
protective covering. If covering has been removed, take care to keep
product free of dirt and debris at jobsite. If product gets dirty, clean
after installation.
Cutting
• AZEK Column Wrap can be cut using the same tools used to cut
lumber.
• Carbide tipped blades designed to cut wood work well. Avoid using
ne tooth metal cutting blades.
• Rough edges from cutting may be caused by excessive friction, poor
board support, worn or improper tooling.
Fastening
• For best results, use fasteners designed for wood trim and wood siding.
These fasteners have a thinner shank, blunt point, and full round head.
• To take advantage of the performance of AZEK products, use a highly
durable fastener such as stainless steel or hot dipped galvanized.
• The fasteners should be long enough to penetrate the solid wood
substrate a minimum of 1 1/2".
• Standard nail guns work well with AZEK Trim products. If using
pneumatic tools, the air pressure should be regulated so fasteners
slightly penetrate the surface.
• AZEK COLUMN WRAP FASTENING CONSIDERATIONS
(Use one of the following):
• #7 trim screw
• 16 gauge T-nail
• 15 gauge round head
• Fasteners should be a minimum of 1 1/2” in length
Gluing
• For best results, eliminate debris from grooved joints prior to applying
glue so that joints can maintain good contact with each other.
• For best results, apply adhesive to all joints to prevent joint
separation.
• The glued joint should be secured to allow adequate bonding time.
Do not use a fastener to secure the joint.
• AZEK Adhesive has a working time of approximately 10 minutes and
will be fully cured in at least 24 hours.
• If standard PVC cements are used, these products typically cure
quickly which will result in limited working time and may reduce
adhesive strength.
Painting
• AZEK Column Wrap does not require paint for protection, but
accepts and holds paint very well.
• If you choose to paint, use a 100% acrylic latex paint with colors
having a Light Reective Value (LRV) of 55 or higher.
• For darker colors (LRV of 54 or lower) use paints with heat
reective characteristics specically formulated for use on vinyl/
PVC products. These paints/coatings are designed to reduce
excessive heat gain.
• WARNING: It is recommended that should you choose to paint a
darker color (LRV of 54 or lower) all aforementioned installation
steps should be followed.
• Follow the paint manufacturers recommendations for use and
compatibility with AZEK Column Wrap.
• AZEK Column Wrap surfaces must be clean, dry, and void of any
foreign material such as dirt, oil, grease or other contaminates that
may come from normal handling, storage and/or installation prior
to painting.
• Moisture cycling is a main reason for paint failure on wood. Since
AZEK material absorbs almost no moisture, paints last longer on
AZEK products than it does on wood.
• Since AZEK products have almost no moisture absorption, paints
may take longer to cure on AZEK material than on wood. Generally
paints on AZEK products will be dry to the touch quickly, but may
take up to 30 days to fully cure depending on the humidity and
temperature.
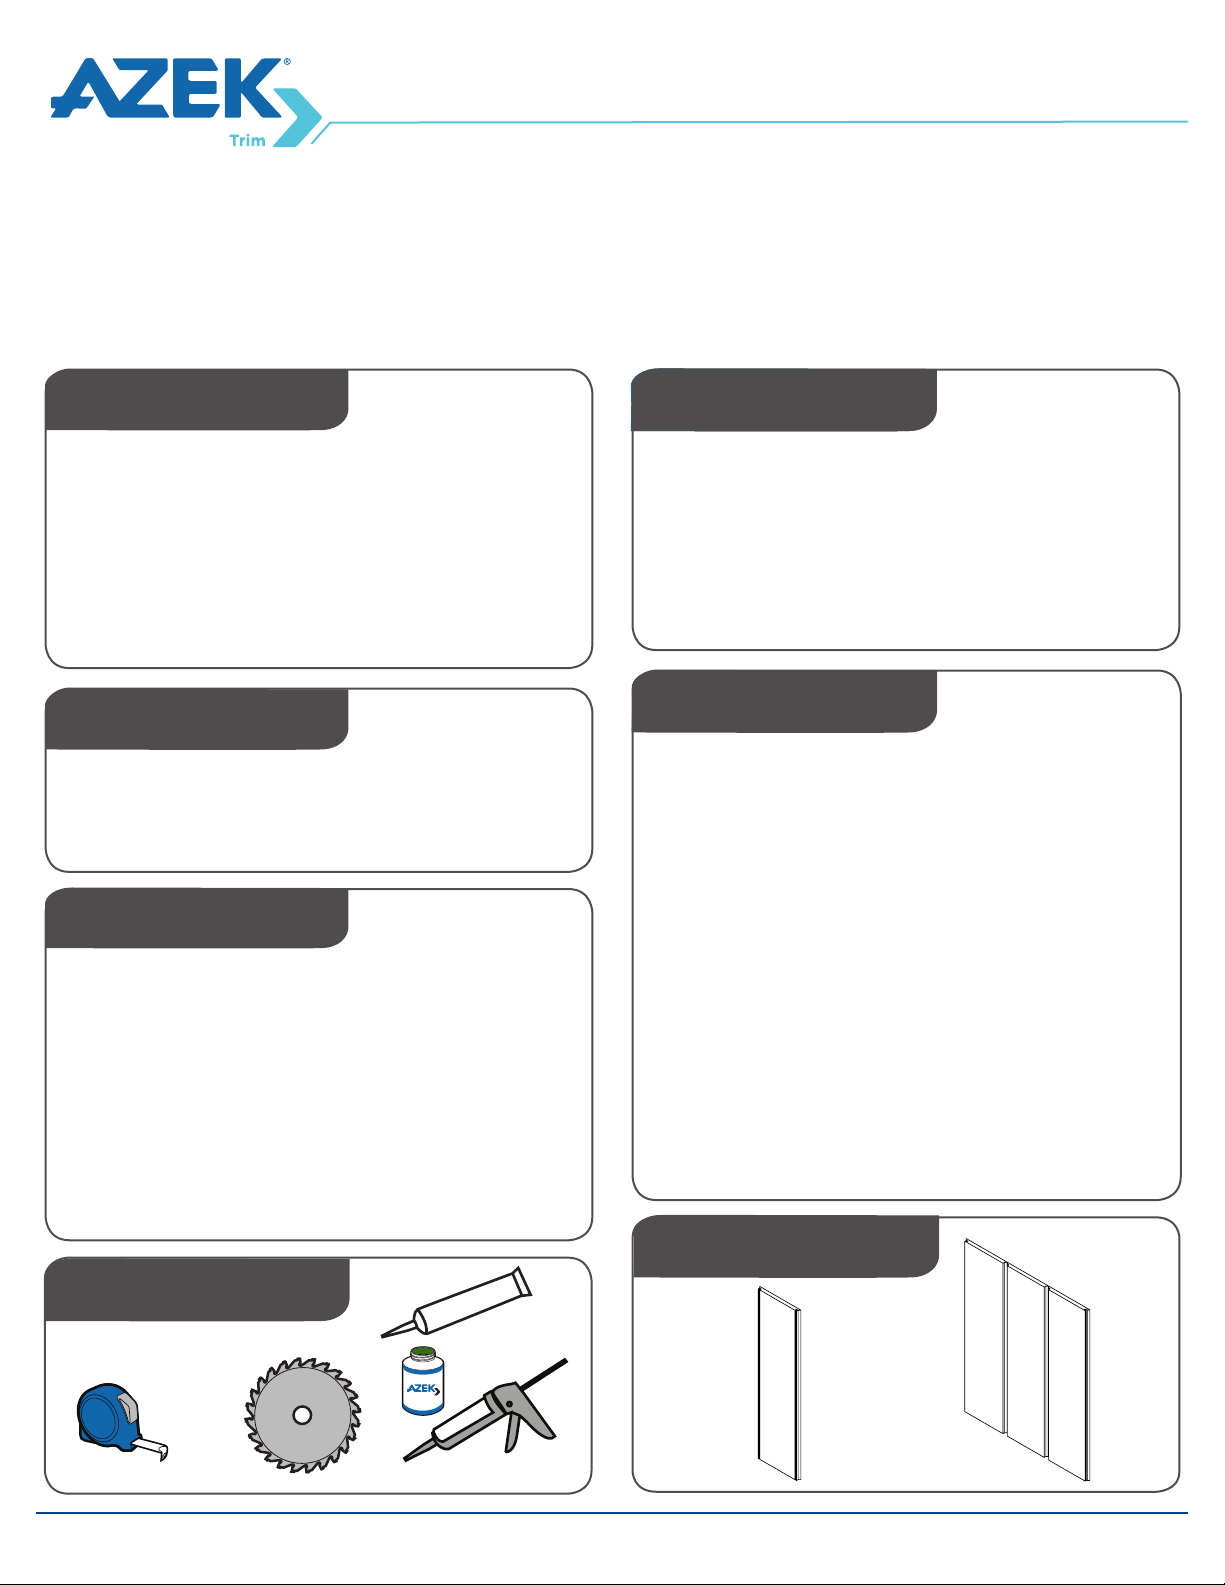
Parts
Tools Required
Adhes ive
Page 2
Page 3
Installing Column Wrap
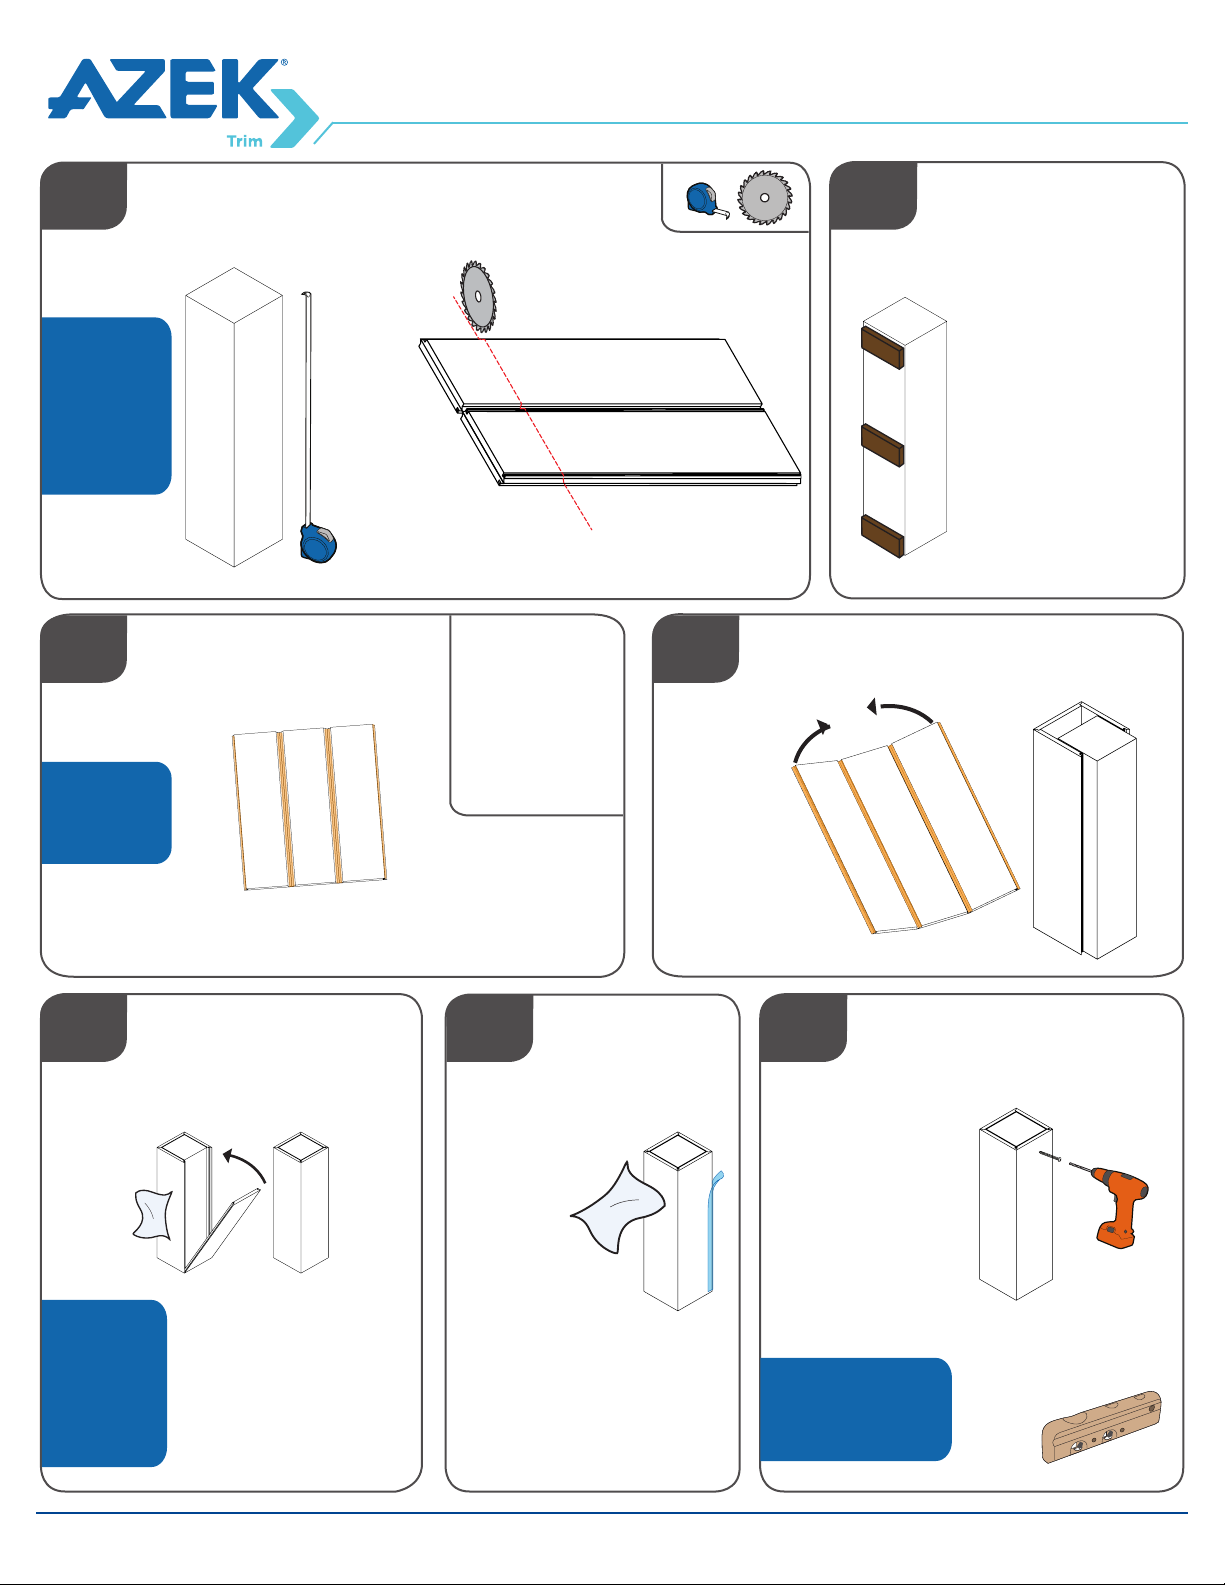
1
Make sure
three
connected
panels and
locking
panel are
cut evenly.
3
Apply
adhesive in
the orange
areas.
MEASURE POST HEIGHT
AND CUT COLUMN WRAP TO
DESIRED LENGTH
Three panel
column attached
Stack and cut
AZEK Column
Wrap to desired
length.
Measure height of post.
ADD ADHESIVE TO
THREE PANEL
COLUMN WRAP
Apply a small bead of Cellular PVC adhesive to the
bead/groove corner joints and grooved female
ends of the three panel column wrap.
Acceptable
Adhesives:
• AZEK Adhesive
• Devcon
Trimbonder
• Extreme
Adhesives
(Fast Cure)
• OSI TeQBond
Warning: Do not apply
*
excessive adhesive to
corner joints.
Align loose locking panel
4
Fold and
lock panels
together
horizontally
and place
the column
wrap around
the post as
shown.
2
(Optional)
TO POST IF
NEEDED
If necessary, install
thin shims to the top,
middle and bottom of
the structural post so
that the Column Wrap
ts tightly around the
structural post. Shim all
four (4) sides evenly to
maintain equal spacing
around the post. Be sure
the shimmed outside
dimensions are no
wider than the inside
dimensions of the AZEK
Column Wrap.
PLACE THREE PANEL COLUMN
WRAP AROUND POST
INSTALL SHIMS
5
Start at the
bottom of
the three
panel
AZEK
Column
Wrap.
SNAP THE LOCKING
PANEL TO THE
THREE PANEL
COLUMN WRAP
Fit the tongue of the locking panel into the grooved
ends of the folded three
connected panels. Carefully
apply pressure with a clean
rag so it snaps into place.
Secure/clamp Column
Wrap to allow adhesive to
cure.
6
ADHESIVE
OFF WITH
CLEAN
RAG
Remove
tape
from joint
prior to full
cure and wipe
excess adhesive
off edges.
Note:
When using AZEK Column
Wrap around a post in a
railing application, solid
blocking must be attached
between the post and the
AZEK Column Wrap. Refer to
your local building code for
details.
Page 3
WIPE EXCESS
FASTEN COLUMN
7
(Optional)
Column Wrap may
be fastened to the
post using stainless
steel nails or exterior
grade screws. Nail
or screw holes
can be easily lled
using a sealant
or comparable
products formulated
specically for use
with cellular PVC.
If possible position
fasteners where
they can be covered
by mouldings.
WRAP TO POST /
EASE EDGES
Recommendation: Use
hand held Slickplane®
tool to ease edges
after tape is
removed.
Slickplane® Tool
Page 4

AZEK Building Products, Inc.
888 North Keyser Avenue • Scranton, PA 18504
www.AZEK.com • (877) ASK-AZEK (877) 275-2935
© 2013 AZEK LIT-ACWINSTALL | 01/14
Page 4
 Loading...