

Page 1

NL - GEBRUIKSAANWIJZING AXA
COMPACTLINE 20 / 35
1. Aan/Uit & Indicatie LED
2. Micro USB
3. Stuurhouder
1.
2.
3.
AAN/UIT
Door 1 maal kort op de knop (1.) te drukken
(1 seconde) kan de Compactline worden aangezet.
Door nogmaals op de knop te drukken kan de
tussen high power en low power geschakeld kan
worden.
• Lang drukken low power beam (10 lux) aan
• Kort drukken high power beam (20 - 35 lux) aan
• Lang drukken uit
schuiven. Controleer bij eerste gebruik of de goed
staat afgesteld en de lamp op de rijbaan is gericht
en niet tegemoetkomend verkeer verblind.
Laden
De Compactline lamp is voorzien van vaste ingebouwde lithium accu. Voor het eerste gebruik
dient de accu vol geladen te worden. De volledige
capaciteit wordt naar enkele laadprocedures
bereikt. Voor het opladen van de accu het
meegeleverd snoer op de micro-USB bus van de
lamp aansluiten. Het andere eind van het snoer
verbinden met een standaard USB transformator
of computer.
Tijdens het laden brand een rode LED (1.) om aan
te geven dat de lamp opgeladen wordt, indien de
lamp volledig geladen is brand een blauwe LED.
Accu Indicatie
Indien de accu een capaciteit van minder dan
20% heeft bereikt gaat een rode LED (1.) branden
om aan te geven dat de lamp opgeladen dient te
worden.
Garantie
Schade door oneigenlijk gebruik, (zoals vallen van
de lamp, onderdompelen in het water), is van de
garantie uit gesloten. De garantie vervalt tevens,
wanneer de lamp geopend wordt.
EN - OPERATING INSTRUCTIONS
FOR AXA COMPACTLINE 20 / 35
1. On/Off & LED display
2. Micro USB
3. Handlebar bracket
1.
2.
3.
ON/OFF
The Compactline light is switched on by briefly
pressing the button (1.) (1 second). by pressing the
button again allows you to switch between high
and low performance.
• Long press: low-power light beam (10 Lux) on
• Briefly press: high-power light beam (20 -35
Lux) on
• Long press: off
Check the position of the light when you first use
it, and make sure that the light is directed at the
road and does not blind the oncoming traffic.
Charging
The Compactline light is equipped with a built-in
lithium battery. The battery should be fully
charged before fi rst use. The full capacity
will be reached after several charging cycles. To
recharge the battery, connect the supplied cable to
the micro USB socket of the light (2.). Connect the
other end of the cable to a standard USB power
supply unit or a computer.
If the battery has reached a capacity of less than
20%, a red LED (1.) indicates that the light still has
to be charged.
Battery indicator
If the battery has reached a capacity of less than
20%, a red LED (1.) indicates that the light still has
to be charged.
Warranty
Damage which is caused by improper use
(dropping the light, immersion in water) shall be
excluded from the warranty. The warranty shall
expire if the light is opened.
Monteren
Verwijder de lamp van de stuurhouder middels
hendel (3.) ingedrukt te houden en de lamp naar
voren te schuiven. Monteer de stuurbevestiging
met de rubberen band stevig om het stuur
(22 – 32 mm). Stel de stuurbevestiging zo in dat
de lamp horizontaal staat.
Lamp opzetten en afnemen
Om de lamp op de fiets te zetten, de lamp van voor
naar achter in de stuurhouder schuiven. De lamp
kan worden afgenomen middels hendel (3.) ingedrukt te houden en de lamp naar voren te
AXA Nederland
Energiestraat 2 - 3903 AV Veenendaal - Nederland
T: +31 318 536 220 - www.axabikesecurity.com
Mounting
Remove the light from the handlebar bracket by
keeping the lever (3.) pressed down and sliding
the light forward. Use the fastening strap to mount
the handlebar bracket tightly on the handlebar
(22-32mm). Adjust the handlebar bracket so that
the light is in a horizontal position.
Attaching and removing light
To attach the light to the bicycle, slide it from front
to back on the bracket. The light is removed from
the handlebar bracket by keeping the lever (3.)
pressed down and sliding the light forward.
AXA Netherlands
Energiestraat 2 - 3903 AV Veenendaal - Nederland
T: +31 318 536 220 - www.axabikesecurity.com
Page 2
DE - GEBRAUCHSANWEISUNG
AXA COMPACTLINE 20 / 35
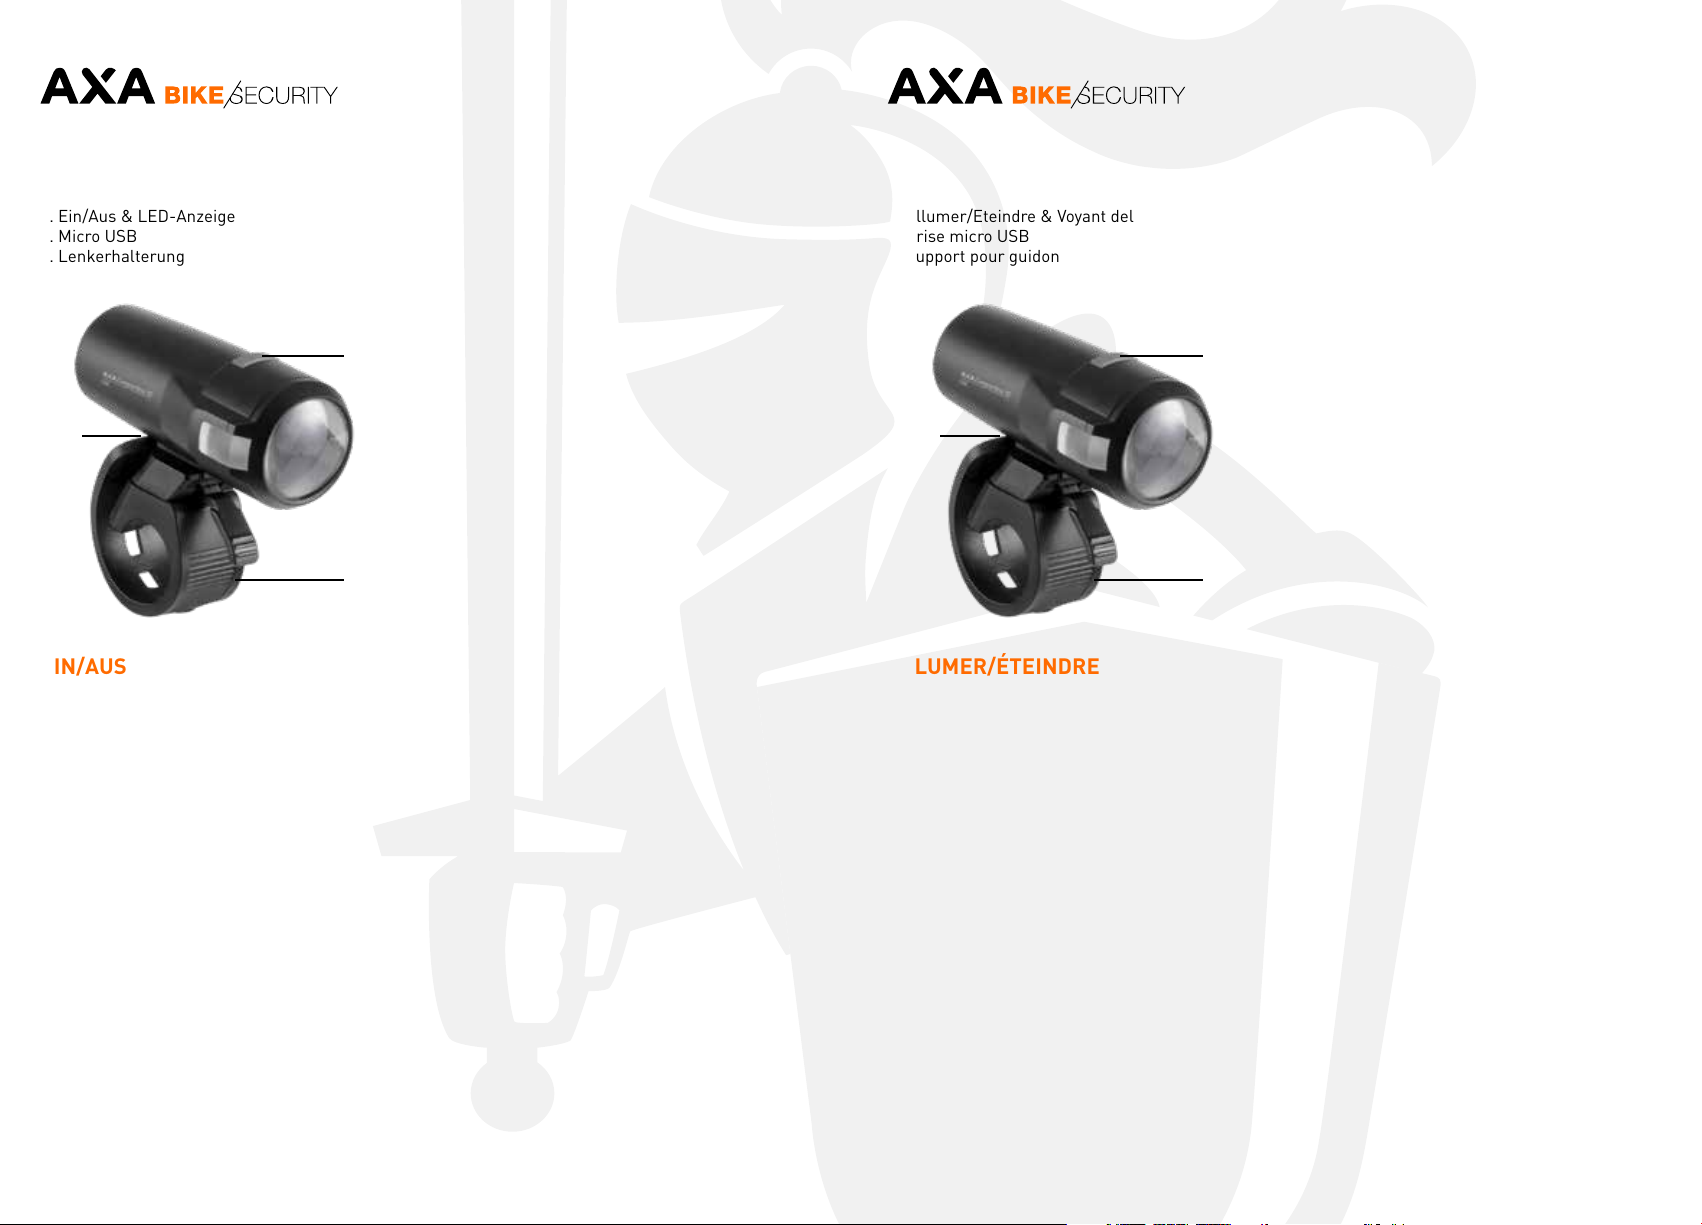
1. Ein/Aus & LED-Anzeige
2. Micro USB
3. Lenkerhalterung
1.
2.
3.
EIN/AUS
Durch einmaliges kurzes Drücken auf die Taste(1.)
(1 Sekunde) wird die compactline eingeschaltet.
Durch nochmaliges Drücken kann die Lampe umschalten zwischen hoher und niedriger Leistung.
* Lange drücken: Lichtstrahl niedriger Leistung
(10 Lux) ein
* Kurz drücken: Lichtstrahl hoher Leistung
(20 - 35 Lux) ein
* Lange drücken: aus
Die Lampe wird aus der Lenkerhalterung entfernt,
indem Sie den Hebel (4.) gedrückt halten und die
Lampe nach vorne schieben. Kontrollieren Sie
beim ersten Gebrauch die Position der Lampe,
und stellen Sie sicher, dass die Lampe auf die
Fahrbahn gerichtet ist und den Gegenverkehr
nicht blendet.
Laden
Die Compactline-Lampe ist mit einem fest eingebauten Lithium-Akku ausgestattet. Vor dem ersten
Gebrauch sollte der Akku vollständig aufgeladen
sein. Die vollständige Kapazität wird nach einigen
Ladevorgängen erreicht. Zum Aufl aden des Akkus
schließen Sie das im Lieferumfang enthaltene
Kabel an die Micro-USB-Buchse der Lampe an
(2.). Verbinden Sie das andere Ende des Kabels
mit einem Standard-USB-Netzteil oder einem
Computer.
Während des Ladevorgangs weist eine rote
LED-Anzeige (1.) darauf hin, dass die Lampe noch
geladen wird. Nach Abschluss des Ladevorgangs
leuchtet eine blaue LEDAnzeige (1.).
Akkuanzeige
Wenn der Akku eine Kapazität von weniger als
20% erreicht hat, weist eine rote LED (1.) darauf
hin, dass die Lampe aufgeladen werden muss.
Garantie
Schäden, die durch unsachgemäßen Gebrauch
(Fallenlassen derLampe, Eintauchen in Wasser)
verursacht werden, sind von der Garantie ausgeschlossen. Der Garantieanspruch verfällt, wenn
die Lampe geöffnet wird.
FR - MODE D’EMPLOI POUR
AXA COMPACTLINE 20 / 35
1. Allumer/Eteindre & Voyant del
2. Prise micro USB
3. Support pour guidon
1.
2.
3.
ALLUMER/ÉTEINDRE
Pour allumer la Greenline, appuyer une fois
brièvement (1 seconde) sur la touche (1.).
Appuyer encore une fois pour commuter entre
puissance élevée et puissance faible.
• Appuyer longuement : allumer le rayon lumineux
de faible puissance (10 lux)
• Appuyer brièvement : allumer le rayon lumineux
de forte puissance (20 - 35 lux)
• Appuyer longuement : éteindre
levier (3.) enfoncé tout en poussant la lampe vers
l’avant. Lors de la première utilisation, contrôlez la
position de la lampe. Assurez-vous qu’elle est bien
dirigée vers la chaussée et n’éblouit pas les automobilistes et cyclistes qui viennent d’en face.
Chargement
La lampe Compactline est équipée d’un accumulateur au lithium intégré. L’accumulateur doit être
complètement chargé avant la première utilisation. La capacité complète est atteinte après
plusieurs chargements. Pour charger l’accumulateur, raccordez le câble fourni à la prise micro
USB de la lampe (2.). Reliez l’autre extrémité du
câble à un bloc d’alimentation USB standard ou à
un ordinateur.
Pendant le chargement, un voyant DEL rouge
indique (1.) que la lampe est en cours de chargement. Une fois le chargement terminé, un voyant
DEL bleu s’allume.
Affichage de l’accumulateur
Lorsque l’accumulateur a atteint une capacité
inférieure à 20 %, une DEL rouge (1.) indique que
la lampe doit être chargée.
Garantie
Les dommages dus à une utilisation impropre
(chute de la lampe, immersion dans de l’eau) ne
sont pas couverts par la garantie. Le droit à la
garantie expire si la lampe est ouverte.
Montage
Entfernen Sie die Lampe aus der Lenkerhalterung,
indem Sie den Hebel (4.) gedrückt halten und die
Lampe nach vorne schieben. Montieren Sie die
Lenkerhalterung mit dem Befestigungsband
fest am Lenker (22 – 32 mm). Stellen Sie die
Lenkerhalterung so ein, dass die Lampe sich in
horizontaler Position befi ndet.
Lampe anbringen und abnehmen
Um die Lampe am Fahrrad anzubringen, schieben
Sie sie von vorne nach hinten auf die Halterung.
AXA Stenman Deutschland GmbH
Energiestraat 2 - 3903 AV Veenendaal - Nederland
T: +31 318 536 220 - www.axabikesecurity.com
Montage
Enlevez la lampe du support pour guidon en maintenant le levier (3.) enfoncé tout en poussant la
lampe vers l’avant. Montez le support pour guidon
sur le guidon (22 à 32 mm) avec la bande de
fixation. Réglez le support pour guidon de manière
que la lampe soit en position horizontale.
Monter la lampe et l’enlever
Pour monter la lampe sur le vélo, poussez-la de
l’avant vers l’arrière sur le support. La lampe est
retirée du support pour guidon en maintenant le
AXA Bike Security
Usine de beaulieu, B.P. 50 - F-58502 Clamecy - France
T: +33 (0)386 270 701 - www.axabikesecurity.com
 Loading...