AW-Lake TA-3 Operating Manual

COMPANY
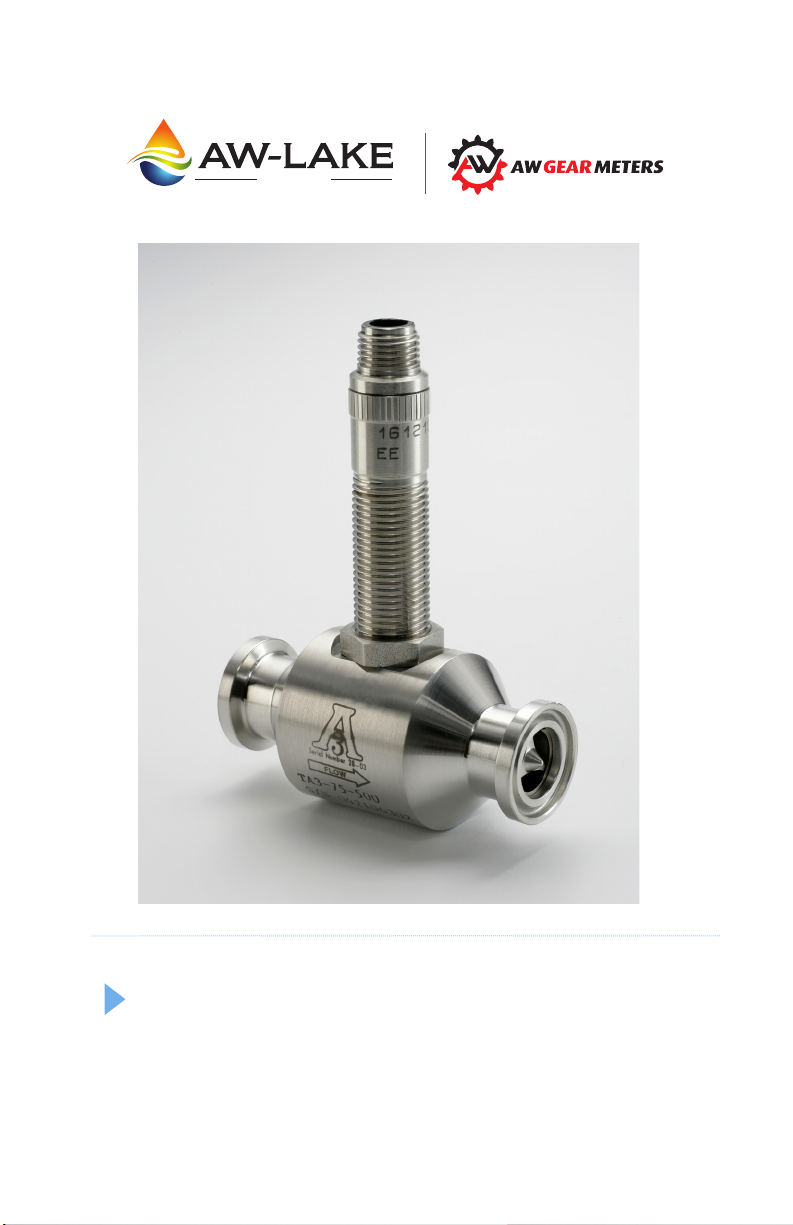
Sanitary Turbine Flow Meter - TA3
Installation, Operating &
Maintenance Manual
©2016 AW-Lake Company. All rights reserved. Doc ID:SANITARYMAN16

Mechanical Specications
Measuring Accuracy
± 1.0% of reading or better
Repeatability
± 0.1%
Flow Measuring Range
0.6 to 400 GPM (gal/min)
Turn Down Ratio
10:1
*Sensor & seal dependent. ** Depends on connecon size & clamp. Note: .COP (Clean-Out-of-Place)
Maximum Operating Pressure
Working pressure up to 1,000 psi
Temperature Range
Fluid temperature up to 300°F
*
Electrical Connection
NEMA 6 Connector
Port Connection
Tri-clamp
**
Materials of Construction
Body & Rotor Support 316L Stainless Steel
Rotor Nickel Plated Stainless Steel
Bearings Nickel Bindery Tungsten Carbide
Electronics
Model Sensor Type
RT-10R Baery-Powered Monitor 0 to 140
RT-30SD 15-24 VDC Powered Monitor 0 to 140
MAG-INVA Amplied Pulse Output 0 to 140
MG-300 Non-Amplied (external amplifer needed) 0 to 300
MG-450 Non-Amplied (external amplifer needed) 0 to 450
*Contact factory for addional sensor opons.
2
Temp (°F)

Meter Specications
Part
Number
Range
(gal/min)
K-Factor *
(Pulses/ gal)
Meter
Size
Clamp Size Weight
TA3-75-375 0.6 to 3 20,000 3/8” 3/4” 1
TA3-75-500 0.75 to 7.5 13,000 1/2” 3/4” 1
TA3-75-750 2 to 15 2,750 1/2” 3/4” 1
TA3-150-500 0.75 to 7.5 13,000 1/2” 1-1/2” 3
TA3-150-750 2 to 15 2,750 1/2” 1-1/2” 3
TA3-150-875 3 to 30 2,600 7/8” 1-1/2” 3
TA3-150-100 5 to 50 870 1” 1-1/2” 3
TA3-150-150 15 to 180 330 1-1/2” 1-1/2” 5.5
TA3-250-200 40 to 400 50 2” 2-1/2” 8.5
* K-Factors given are averaged. A calibraon sheet accompanies every meter sold.
(lbs)
3

Introduction
The TA-3 Sanitary turbine flow meter is designed with wear resistant moving
parts to provide trouble-free operation and long service life. The durable 316L
stainless steel construction provides a cost efficient flow measurement system
that offers excellent accuracy and repeatability. The TA-3 Sanitary turbine meter
repair kit is designed for easy field service of a damaged flow meter, rather than
replacing the entire flow meter. See Repair Kits on page 8 for information.
Theory of Operation
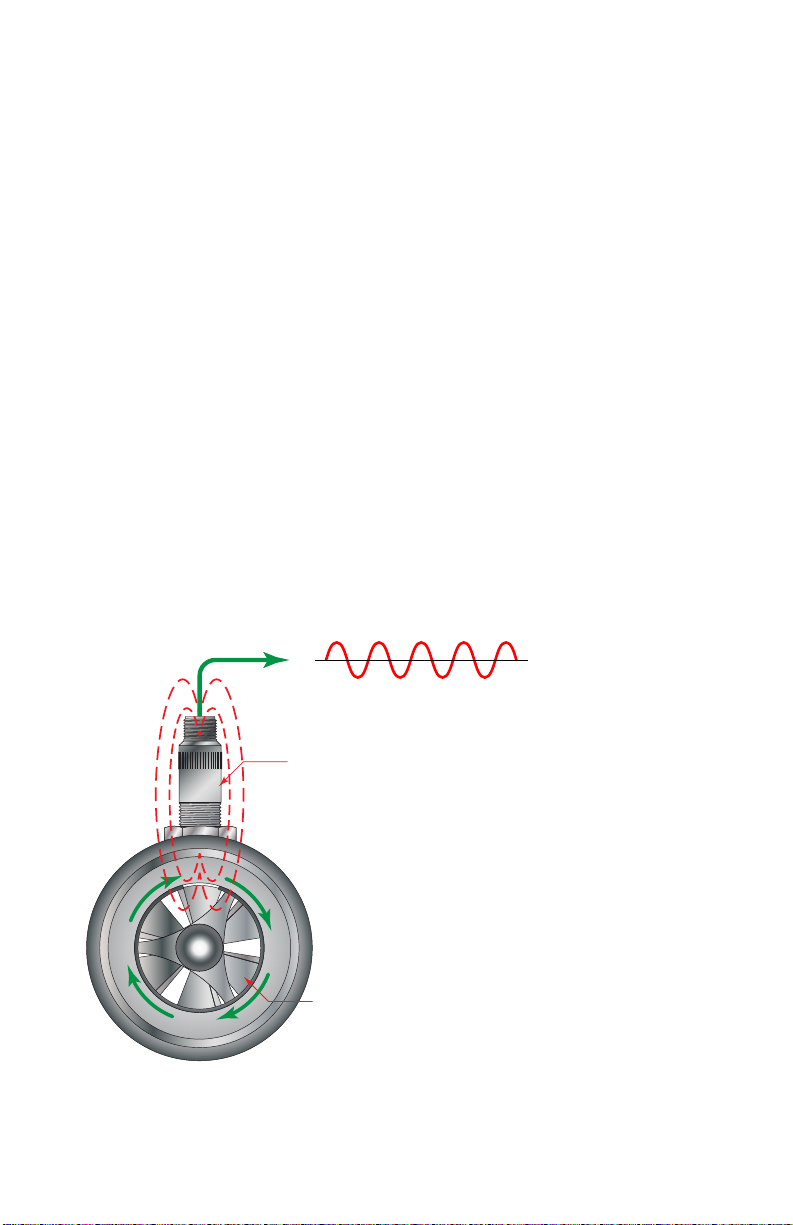
Fluid entering the meter passes through the inlet flow straightener which reduces
its turbulent flow pattern and improves the fluid’s velocity profile. Fluid then
passes through the turbine, causing the rotor to rotate at a speed proportional
to the fluid velocity. As each turbine blade passes through the magnetic field,
the blade generates an AC voltage pulse in the pickup coil at the base of the
magnetic pickup (see Figure 1). These pulses produce an output frequency
proportional to the volumetric flow through the meter. The output frequency
represents flow rate and/or totalization of fluid passing through the turbine flow
meter.
Figure 1. Theory of Operation
4
Output Signal
Magnetic
Pickup
Rotor

Installation
WARNING: The meter should not be subjected to temperatures above 300°
F (149° C), below -150° F (-101°C) or the freezing point of the metered
liquid. High temperatures will damage the magnetic pickup, while lower
temperatures will limit the rotation of the rotor.
WARNING: Incompatible fluids could deteriorte internal parts and cause the
meter to read inaccurately.
Plumbing
Install the flow meter with the flow arrow, which is etched on the exterior of the
meter body, pointing in the direction of fluid flow. Install the meter horizontally
with the magnetic pickup facing upward.
The liquid being measured must be free of any large particles that may obstruct
spinning of the rotor. If particles are present, install a mesh strainer.
If small particles are present in the fluid, install a strainer upstream of the meter.
See Table 1 for filtration recommendations.
Table 1
Bore Size Ferrule Size
3/8 in. (9.53 mm) 0.984 in. (24.99 mm) 60 × 60 0.0092 in. (0.23 mm)
1/2 in. (12.7 mm) 0.984 in. (24.99 mm) 60 × 60 0.0092 in. (0.23 mm)
3/4 in. (19.05 mm) 0.984 in. (24.99 mm) 60 × 60 0.0092 in. (0.23 mm)
1/2 in. (12.7 mm) 1.984 in. (50.39 mm) 60 × 60 0.0092 in. (0.23 mm)
3/4 in. (19.05 mm) 1.984 in. (50.39 mm) 60 × 60 0.0092 in. (0.23 mm)
7⁄8 in. (22.23 mm) 1.984 in. (50.39 mm) 60 × 60 0.0092 in. (0.23 mm)
1 in. (25.4 mm) 1.984 in. (50.39 mm) 60 × 60 0.0092 in. (0.23 mm)
1-1/2 in. (38.1 mm) 1.984 in. (50.39 mm) 20 × 20 0.034 in. (0.86 mm)
2 in. (50.8 mm) 3.047 in. (77.39 mm) 10 × 10 0.065 in. (16.51 mm)
Strainer
Size
Clearance
5
 Loading...