

Avanti WCR4600S User Manual
INSTRUCTION MANUAL
MANUAL DE INSTRUCC I O NE S
Model Number / No. de Modelo: WCR4600S
Wine Chiller / Vinera
BEFORE USE, PLEASE READ AND FOLLOW ALL SAFETY RULES AND OPERATING
INSTRUCTIONS.
La sección en español empieza en la página 17.
Avanti Products has a policy of continuous improvement on its products and reserves the right to change materials and
specifications without notice.
Avanti Products, A Division of The Mackle Co ., Inc.
P.O. Box 520604 - Miami, Florida 33152
www.avantiproducts.com

TABLE OF CONTENTS
Important Safety Instructions 3
Appliance Safety 3
Important Safeguides 4
Help Us Help You … 5
Parts and Features 6
Electrical Connection 7
Extension Cord / Surge Protector 7
Installation Instructions 8
Before Using Your Appliance 8
Installation of Your Appliance 8
Built-in Cabinet Instructions 8
Operating Your Appliance
ON/OFF Power
Setting the Temperature Control
Special Features
Economy / Vacation Mode
Power Outage / Loss Indicator
Door Ajar Indicator
Filter Change Indicator
Storage
Interior Light
Control Panel Lock
Door Lock
Shelves
Pull-out Roller Shelves 11
Care and Maintenance 12
Cleaning Your Wine Chiller 12
Power Failure 12
Moving Your Wine Chiller 12
Energy Saving Tips 12
Charcoal Filtration System
Troubleshooting Guide 13
Service for Your Appliance 14
Wiring Diagram 14
Your Avanti Products Warranty 15
Instrucciones en Español 17 - 21
Registration Information and Registration Card Last Page
9 - 11
12
2
IMPORTANT SAFETY INSTRUCTIONS
∼WARNING∼
• Read all instructions before using the Wine Chiller.
• DANGER or WARNING: Risk of child entrapment.
Child entrapment and suffocation are not problems of the past. Junked or abandoned
appliances are still dangerous . . . even if they will “just sit in the garage a few days”.
• Before you throw away your old Wine Chiller: Take off the door. Leave the
shelves in place so that children may not easily climb inside.
• Never allow children to operate, play with, or crawl inside the appliance.
• Never clean appliance parts with flammable fluids. The fumes can create a fire
hazard or explosion.
• Do not store or use gasoline or any other flammable vapors and liquids in the vicinity
of this or any other appliance. The fumes can create a fire hazard or explosion.
-Save these instructions-
APPLIANCE SAFETY
Your safety and the safety of others are very important.
We have provided many important safety messages in this manual and on your appliance. Always
read and obey all safety messages.
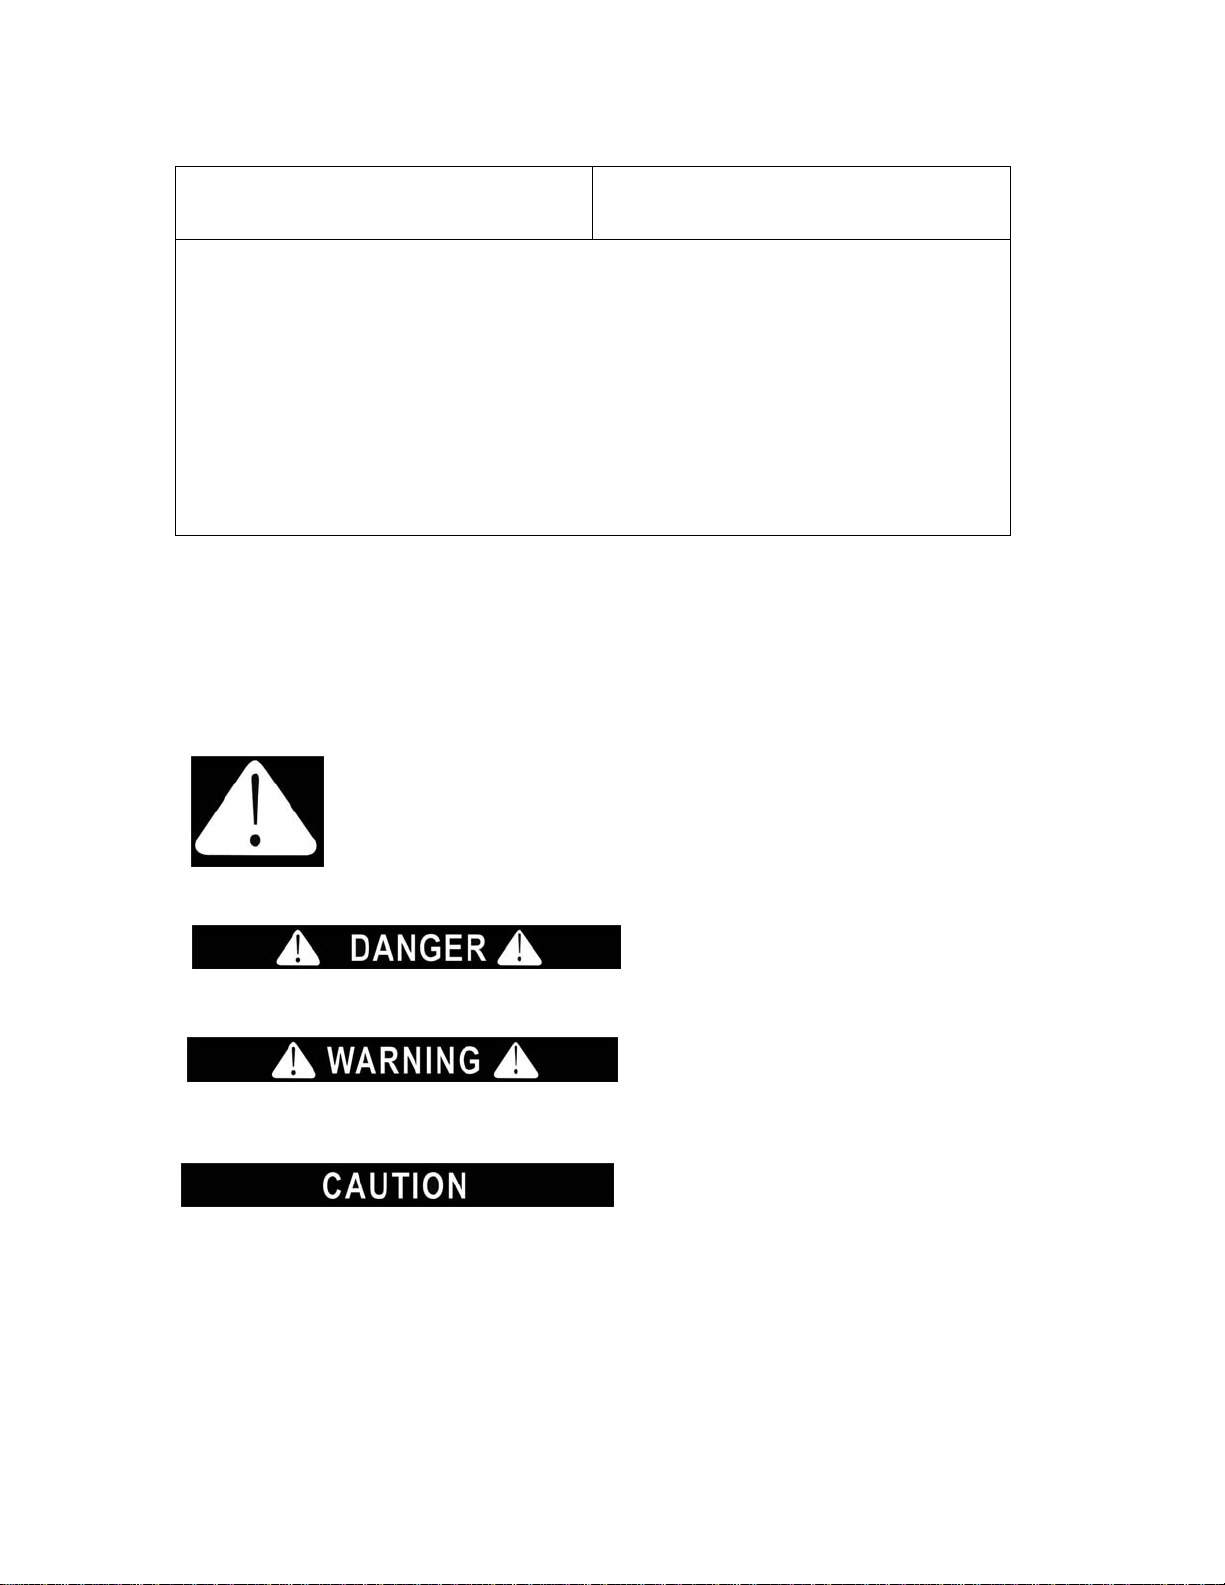
This is the Safety Alert Symbol. This symbol alerts you to potential hazards that
can kill or injure you and others. All safety messages will follow the Safety
Alert Symbol and either the words “DANGER”, “WARNING” or “CAUTION”.
Danger means that failure to heed this
Warning means that failure to heed this
Caution means that failure to heed this
All safety messages will alert you do what the potential hazard is, tell you how to reduce the chance of
injury, and let you know what can happen if the instructions are not followed.
To reduce the risk of fire, electrical shock,
or injury when using your appliance, follow
these basic precautions:
safety statement may result in severe
personal injury or death.
safety statement may result in extensive
product damage, serious personal injury, or
death.
safety statement may result in minor or
moderate personal injury, or property or
equipment damage.
3
IMPORTANT SAFEGUIDES
Before the appliance is used, it must be properly positioned and installed as
described in this manual, so read the manual carefully. To reduce the risk of fire,
electrical shock or injury when using the appliance, follow basic precaution,
including the following:
• Plug into a grounded 3-prong outlet, do not remove grounding prong, do not use an adapter, and
do not use an extension cord.
• Replace all panels before operating.
• It is recommended that a separate circuit, serving only your appliance be provided. Use
receptacles that cannot be turned off by a switch or pull chain.
• Never clean appliance parts with flammable fluids. These fumes can create a fire hazard or
explosion. And do not store or use gasoline or other flammable vapors and liquids in the vicinity of
this or any other appliance. The fumes can create a fire hazard or explosion.
• Before proceeding with cleaning and maintenance operations, make sure the power line of the
unit is disconnected.
• Do not connect or disconnect the electric plug when your hands are wet.
• Unplug the appliance or disconnect power before cleaning or servicing. Failure to do so can result
in electrical shock or death.
• Do not attempt to repair or replace any part of your appliance unless it is specifically
recommended in this material. All other servicing should be referred to a qualified technician.
FOLLOW WARNING CALL OUTS BELOW ONLY WHEN APPLICABLE TO YOUR MODEL
• Use two or more people to move and install appliance. Failure to do so can result in back or other
injury.
• To ensure proper ventilation for your appliance, the front of the unit must be completely
unobstructed. Choose a well-ventilated area with temperatures above 60°F (16°C) and below
90°F (32°C). This unit must be installed in an area protected from the element, such as wind, rain,
water spray or drips.
• The appliance should not be located next to ovens, grills or other sources of high heat.
• The appliance must be installed with all electrical, water and drain connections in accordance with
state and local codes. A standard electrical supply (115 V AC only, 60 Hz), properly grounded in
accordance with the National Electrical Code and local codes and ordinances is required.
• Do not kink or pinch the power supply cord of appliance.
• The fuse (or circuit breaker) size should be 15 amperes.
• It is important for the appliance to be leveled in order to work properly. You may need to make
several adjustments to level it.
• Never allow children to operate, play with or crawl inside the appliance.
• Do not use solvent-based cleaning agents of abrasives on the interior. These cleaners may
damage or discolor the interior.
• Do not use this apparatus for other than its intended purpose.
4

HELP US HELP YOU...
Read this guide carefully.
It is intended to help you operate and maintain
your new Wine Chiller properly.
Keep it handy to answer your questions.
If you don't understand something or you
need more assistance, please call:
Avanti Customer Service
800-220-5570
Keep proof of original purchase date (such as
your sales slip) with this guide to establish the
warranty period.
CAUTION:
THIS WINE CHILLER IS NOT
DESIGNED FOR THE STORAGE
OF MEDICINE OR OTHER
MEDICAL PRODUCTS.
IF YOU NEED SERVICE
We're proud of our service and want you to be
pleased. If for some reason you are not happy
with the service you receive, here are some
steps to follow for further assistance.
FIRST, contact the people who serviced your
Wine Chiller. Explain why you are not pleased.
In most cases, this will solve the problem.
Write down the model and serial numbers.
You'll find them on a plate located on the rear
outside wall of the Wine Chiller.
Please write these numbers here:
____________________________________
Date of Purchase
____________________________________
Model Number
____________________________________
Serial Number
Use these numbers in any correspondence or
service calls concerning your Wine Chiller.
If you received a damaged Wine Chiller,
immediately contact the dealer (or builder) that
sold you the Wine Chiller.
Save time and money. Before you call for
service, check the Troubleshooting Guide. It
lists causes of minor operating problems that
you can correct yourself.
NEXT, if you are still not pleased, write all the
details, including your telephone number, and
send it to:
Customer Service
Avanti Products
10880 NW 30 Street
Miami, FL 33172 USA
5
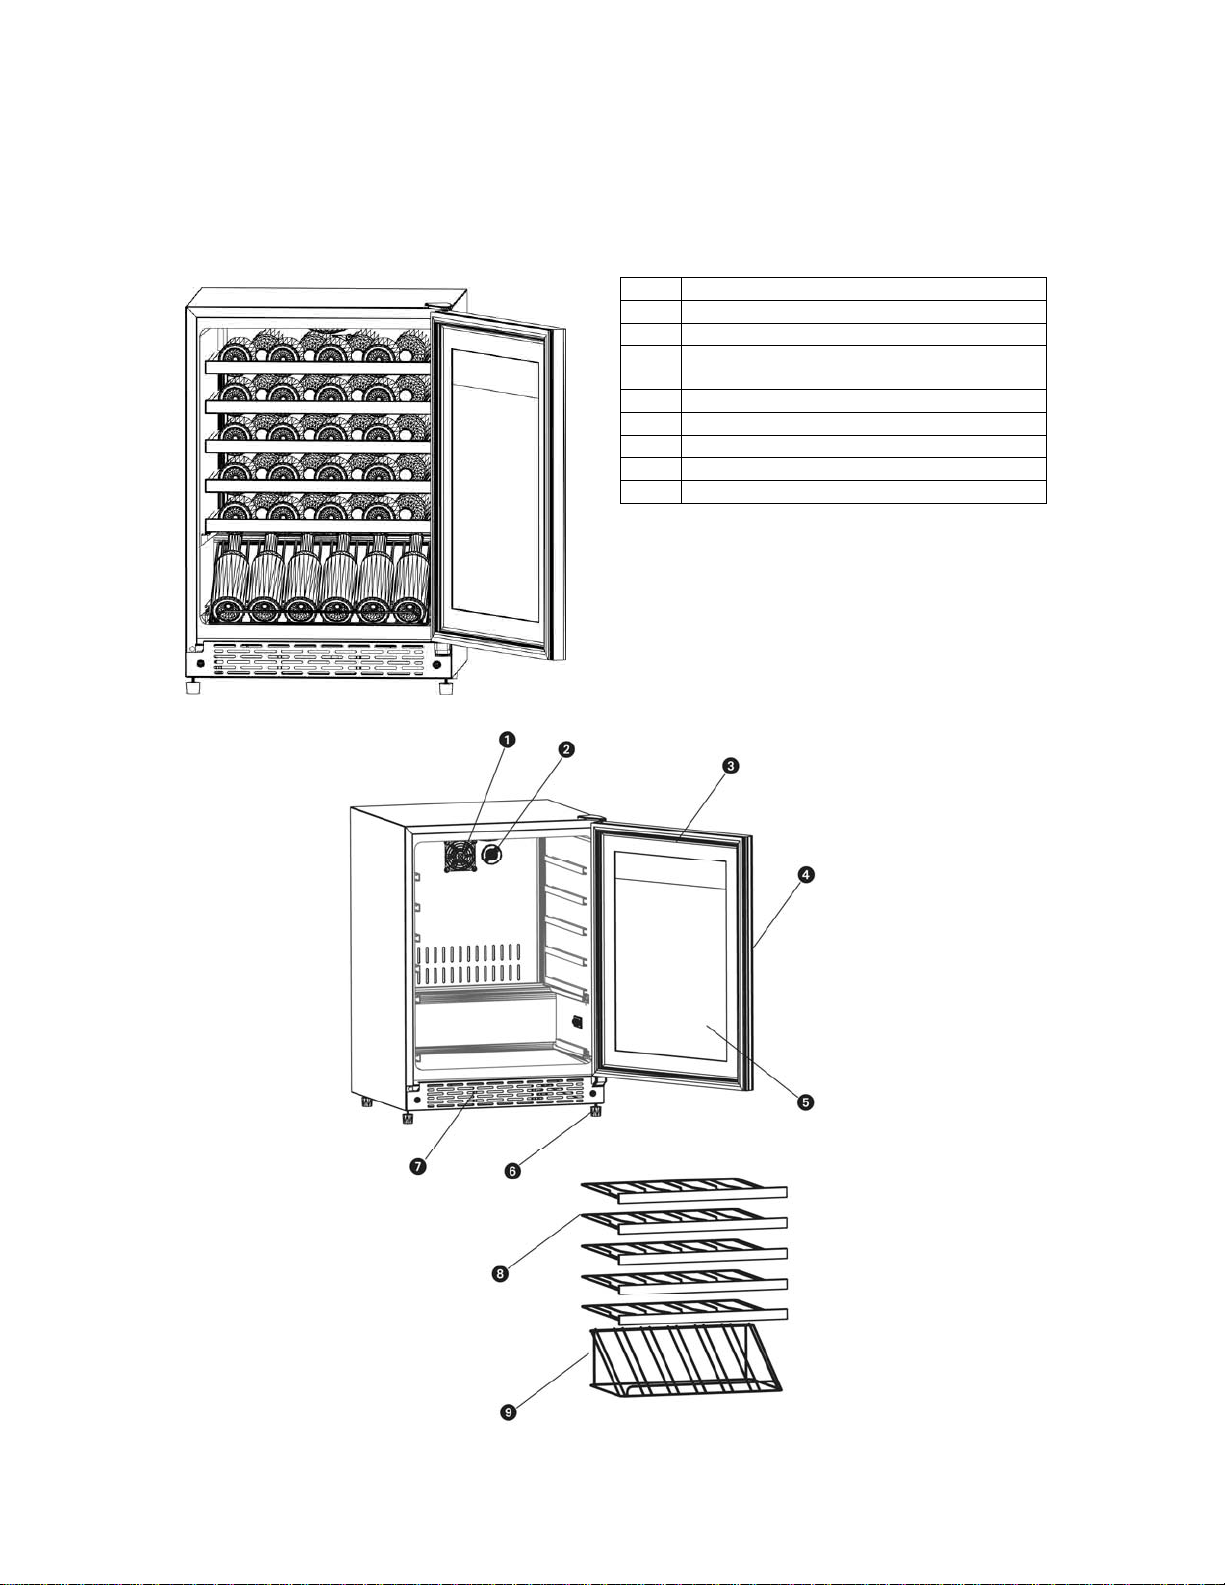
PARTS & FEATURES
r
r
WCR4600S – Wine Chiller
1 Interior Fan
2 Charcoal Filte
3 Control Panel (Front of Door)
4 Stainless Steel Door frame with
Stainless Handle
5Glass Doo
6 Leveling Leg
7 Front Grille
8 Roll-out Shelves (100% Roll-out)
9 Display Shelf
6

ELECTRICAL CONNECTION
Improper use of the grounded plug can result in the risk of electrical shock. If the power cord is
damaged, have it replaced by an authorized Avanti Products service center.
This appliance should be properly grounded for your safety. The power cord of this appliance is
equipped with a three-prong plug which mates with standard three prong wall outlets to minimize the
possibility of electrical shock.
Do not under any circumstances cut or remove the third ground prong from the power cord supplied.
For personal safety, this appliance must be properly grounded.
This appliance requires a standard 115/120 Volt AC ~/60Hz electrical ground outlet with three-prong.
Have the wall outlet and circuit checked by a qualified electrician to make sure the outlet is properly
grounded. When a standard 2-prong wall outlet is encountered, it is your responsibility and obligation
to have it replaced with a properly grounded 3-prong wall outlet.
The cord should be secured behind the appliance and not left exposed or dangling to prevent
accidental injury.
The appliance should always be plugged into its own individual electrical outlet which has a voltage
rating that matches the rating label on the appliance. This provides the best performance and also
prevent overloading house wiring circuits that could cause a fire hazard from overheated. Never
unplug the appliance by pulling the power cord. Always grip the plug firmly and pull straight out from
the receptacle. Repair or replace immediately all power cords that have become frayed or otherwise
damaged. Do not use a cord that shows cracks or abrasion damage along its length or at either end.
When moving the appliance, be careful not to damage the power cord.
¬ EXTENSION CORD
Because of potential safety hazards under certain conditions, it is strongly recommended that you do
not use an extension cord with this appliance. However, if you must use an extension cord it is
absolutely necessary that it be a UL/CUL-Listed, 3-wire grounding type appliance extension cord
having a grounding type plug and outlet and that the electrical rating of the cord be 115 volts and at
least 10 amperes.
¬ SURGE PROTECTOR
Most electrical appliances use a series of electric control boards to operate. These boards are very
susceptible to power surges and could be damaged or destroyed.
If the appliance is going to be used in an area or if your city / country is prone to power surges /
outages; it is suggested that you use a power surge protector for all electrical devices / appliances
you use. The surge protector that you select must have a surge block high enough to protect the
appliance it is connected to. If you have any questions regarding the type and size of surge protector
needed contact a licensed electrician in your area.
Damages due to power surges are not considered a manufacturer covered defect and will void your
product warranty.
∼Warning∼
7

INSTALLATION INSTRUCTIONS
1/2
¬ BEFORE USING YOUR WINE CHILLER
• Remove the exterior and interior packing.
• Check to be sure you have all of the following parts:
1 Instruction Manual
5 Large Shelves
1 Display Shelf
2 Keys
• Before connecting this appliance to the power source, let it stand upright for approximately 2
hours. This will reduce the possibility of a malfunction in the cooling system from handling
during transportation.
• Clean the interior surface with lukewarm water using a soft cloth.
¬ INSTALLATION OF YOUR WINE CHILLER
• This appliance is designed to be for free standing installation or built-in (fully recessed).
• Place your Wine Chiller on a floor that is strong enough to support it when it is fully loaded. To
level your Wine Chiller, adjust the front leveling legs at the bottom of the Wine Chiller.
• Locate the Wine Chiller away from direct sunlight and sources of heat (stove, heater, radiator,
etc.). Direct sunlight may affect the acrylic coating and heat sources may increase electrical
consumption. Extreme cold ambient temperatures may also cause the unit not to perform
properly.
• Avoid locating the unit in moist areas.
• Plug the Wine Chiller into an exclusive, properly installed-grounded wall outlet. Do not under
any circumstances cut or remove the third (ground) prong from the power cord. Any questions
concerning power and/or grounding should be directed toward a certified electrician or an
authorized Avanti Products service center.
¬ BUILT – IN CABINET INSTRUCTIONS
This unit is designed for both built-in or free standing installation. If you plan to use this unit in a builtin application please follow the requirements shown to the right.
← Figure shown
Cabinet Opening Dimensions
IN (min) MM (min)
Width 24” 610 mm
Depth 26” 661 mm
Height 35” 889 mm
Figure shown →
Unit Dimensions
IN (min) MM (min)
Width
Depth
”
23
24 ½” 623 mm
597 mm
(with handle)
Depth
22 3/4” 578 mm
(without Handle)
Height 34 ¼” 889 mm
8
 Loading...