

Page 1
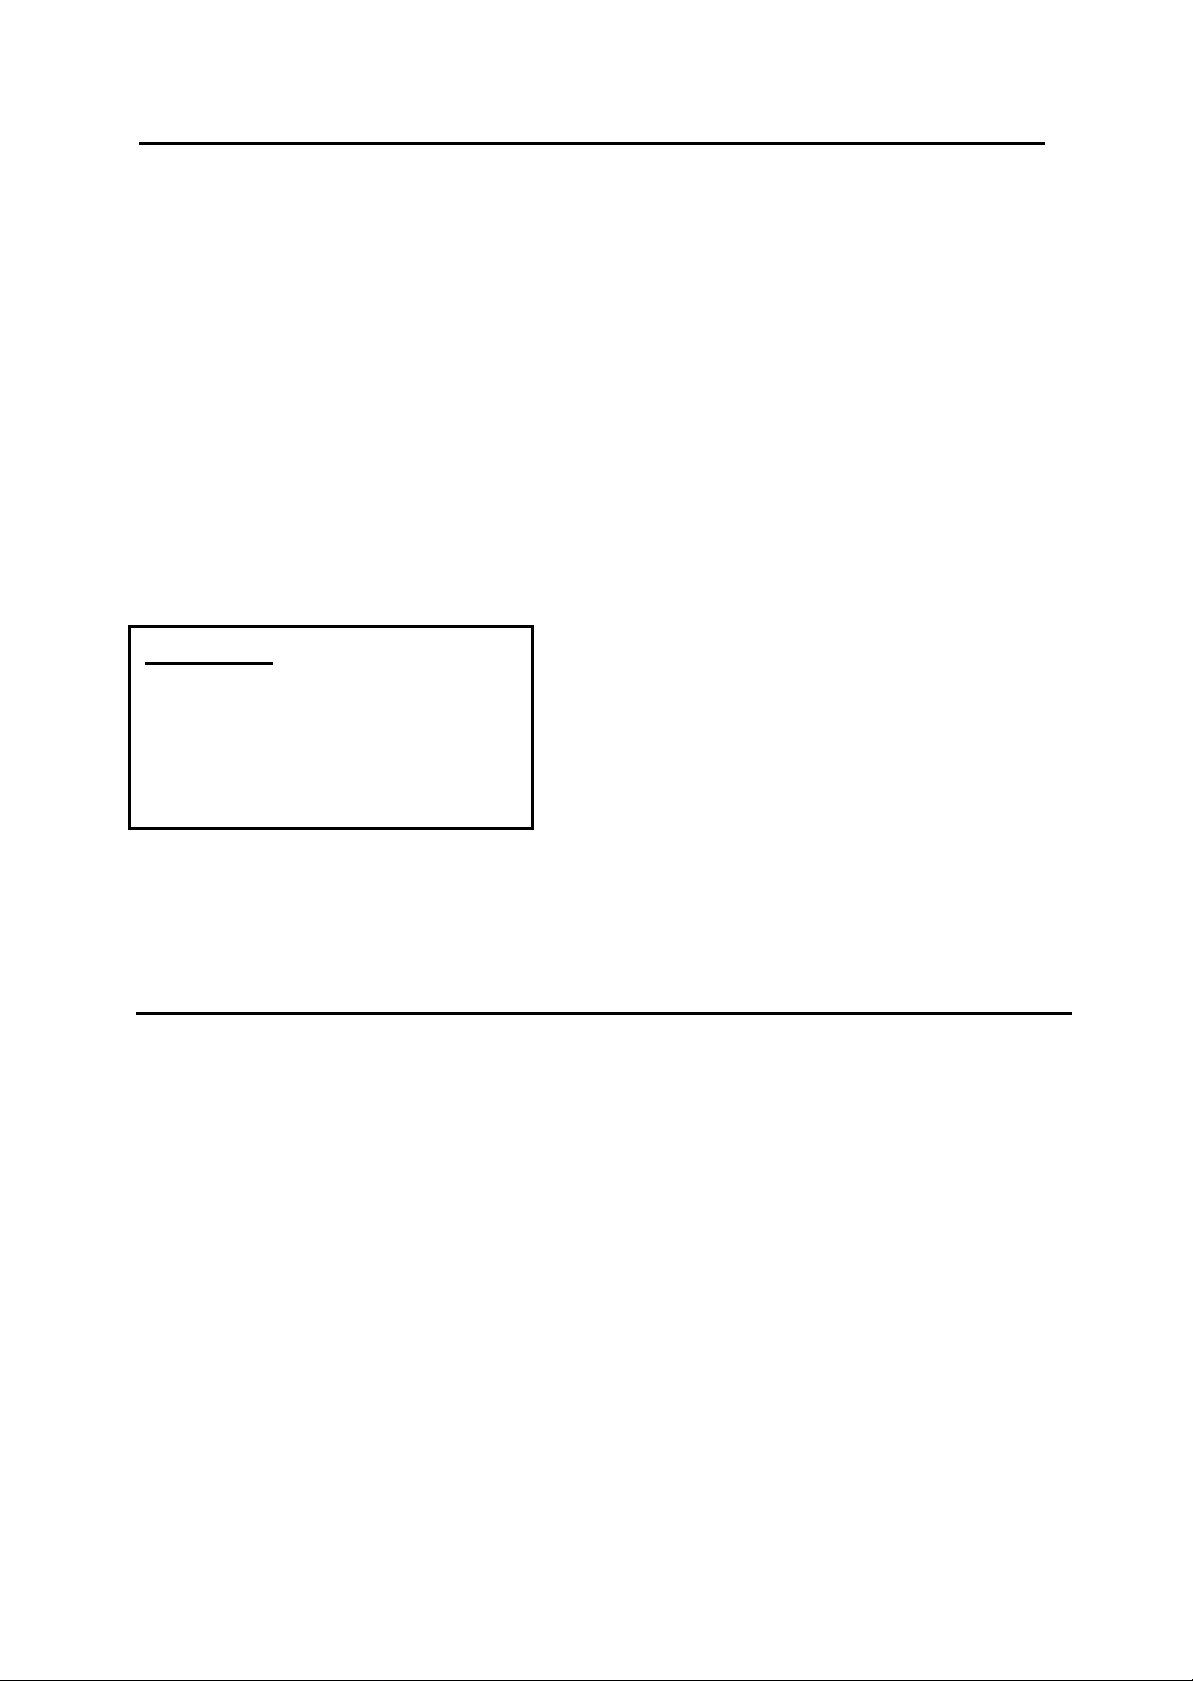
EWC801-IS
EWC1201
MANUAL DE INSTRUCCIONES
Model Numbers / No. de Modelos:
WINE CHILLER / VINERA
INSTRUCTION MANUAL
EWC801-IS / EWC1201
(Image may vary)
BEFORE USE, PLEASE READ AND FOLLOW ALL SAFETY RULES AND OPERATING
INSTRUCTIONS.
La sección en español empieza en la página 12.
Avanti Products has a policy of continuous improvement on its products and reserves the right to change materials and
specifications without notice.
Avanti Products LLC
P.O. Box 520604 - Miami, Florida 33152
www.avantiproducts.com
Page 2

2
TABLE OF CONTENTS
Help Us Help You
3
Parts and Features
4
Important Safety Instructions
5
Installation Instructions
5
Before Using Your Wine Chiller
5
Installation of Your Wine Chiller
5
Electrical Connection
6
Extension Cord
6
Operating Your Wine Chiller
7
Temperature Control
7
Storage Capacity
8
Interior Light
8
Care and Maintenance
8
Cleaning Your Wine Chiller
8
Power Failure
8
Moving Your Wine Chiller
8
Energy Saving Tips
8
Troubleshooting Guide
9
Service for Your Appliance
10
Wiring Diagram
10
Your Avanti Products War rant y
11
Instrucciones en Español
12 – 14
Registration Information and Registrat ion Card
15
Page 3
3
CAUTION:
HELP US HELP YOU...
Read this guide carefully.
It is intended to help you operate and maintain
your new Wine Chiller properly.
Keep it handy to answer your questions.
If you don't understand something or you
need more assistance, please call:
Avanti Customer Service
800-220-5570
Keep proof of original purchase date (such as
your sales slip) with this guide to establish the
warranty period.
THIS WINE CHILLER IS NOT
DESIGNED FOR THE STORAGE
OF MEDICINE OR OTHER
MEDICAL PRODUCTS.
IF YOU NEED SERVICE
We're proud of our ser vice and want you to be
pleased. If for som e reason you are not happ y
with the service you receive, here are some
steps to follow for further assistance.
FIRST, contact the people who serviced your
Wine Chiller. Ex pla in wh y you are not ple ased.
In most cases, this will solve the problem.
Write down the model and serial numbers.
You'll find them on a plate located on the rear
outside wall of the Wine Chiller.
Please write these numbers here:
____________________________________
Date of Purchase
____________________________________
Model Number
____________________________________
Serial Number
Use these numbers in any correspondence or
service calls concerning your Wine Chiller.
If you received a damaged Wine Chiller,
immediately contact t he de aler (or bu ilder) that
sold you the Wine Chiller.
Save time and money. Before you call for
service, check the Troubleshooting Guide. It
lists causes of minor operating problems that
you can correct yourself.
NEXT, if you are still not pleased, write all the
details, including your telephone number, and
send it to:
Customer Servic e
Avanti Products
10880 NW 30 Street
Miami, FL 33172 USA
Page 4

4
PARTS & FEATURES
1
Cabinet
6
Leveling legs
2
Vertical Shelf Assembly
7
Upper Door Hinge w/ Cover
3
Cold sink fan
8
Glass Door
4
Cold sink Fan Cover
9
Gasket
5
Ventilation Holes
10
Bottom hinge
1
Cabinet
7
Leveling legs
2
Shelf(Total 2)
8
Upper Door Hinge w/ Cover
3
Cold sink fan
9
Glass Door
4
Cold sink Fan Cover
10
Gasket
5
Ventilation Holes
11
Bottom hinge
6
Vertical Shelf Assembly
EWC801-IS
EWC1201
Page 5
5
IMPORTANT SAFETY INSTRUCTIONS
To reduce the risk of fire, electrical shock,
these basic precautions:
• Read all instructions before using the Wine Chiller.
-Save these instructions-
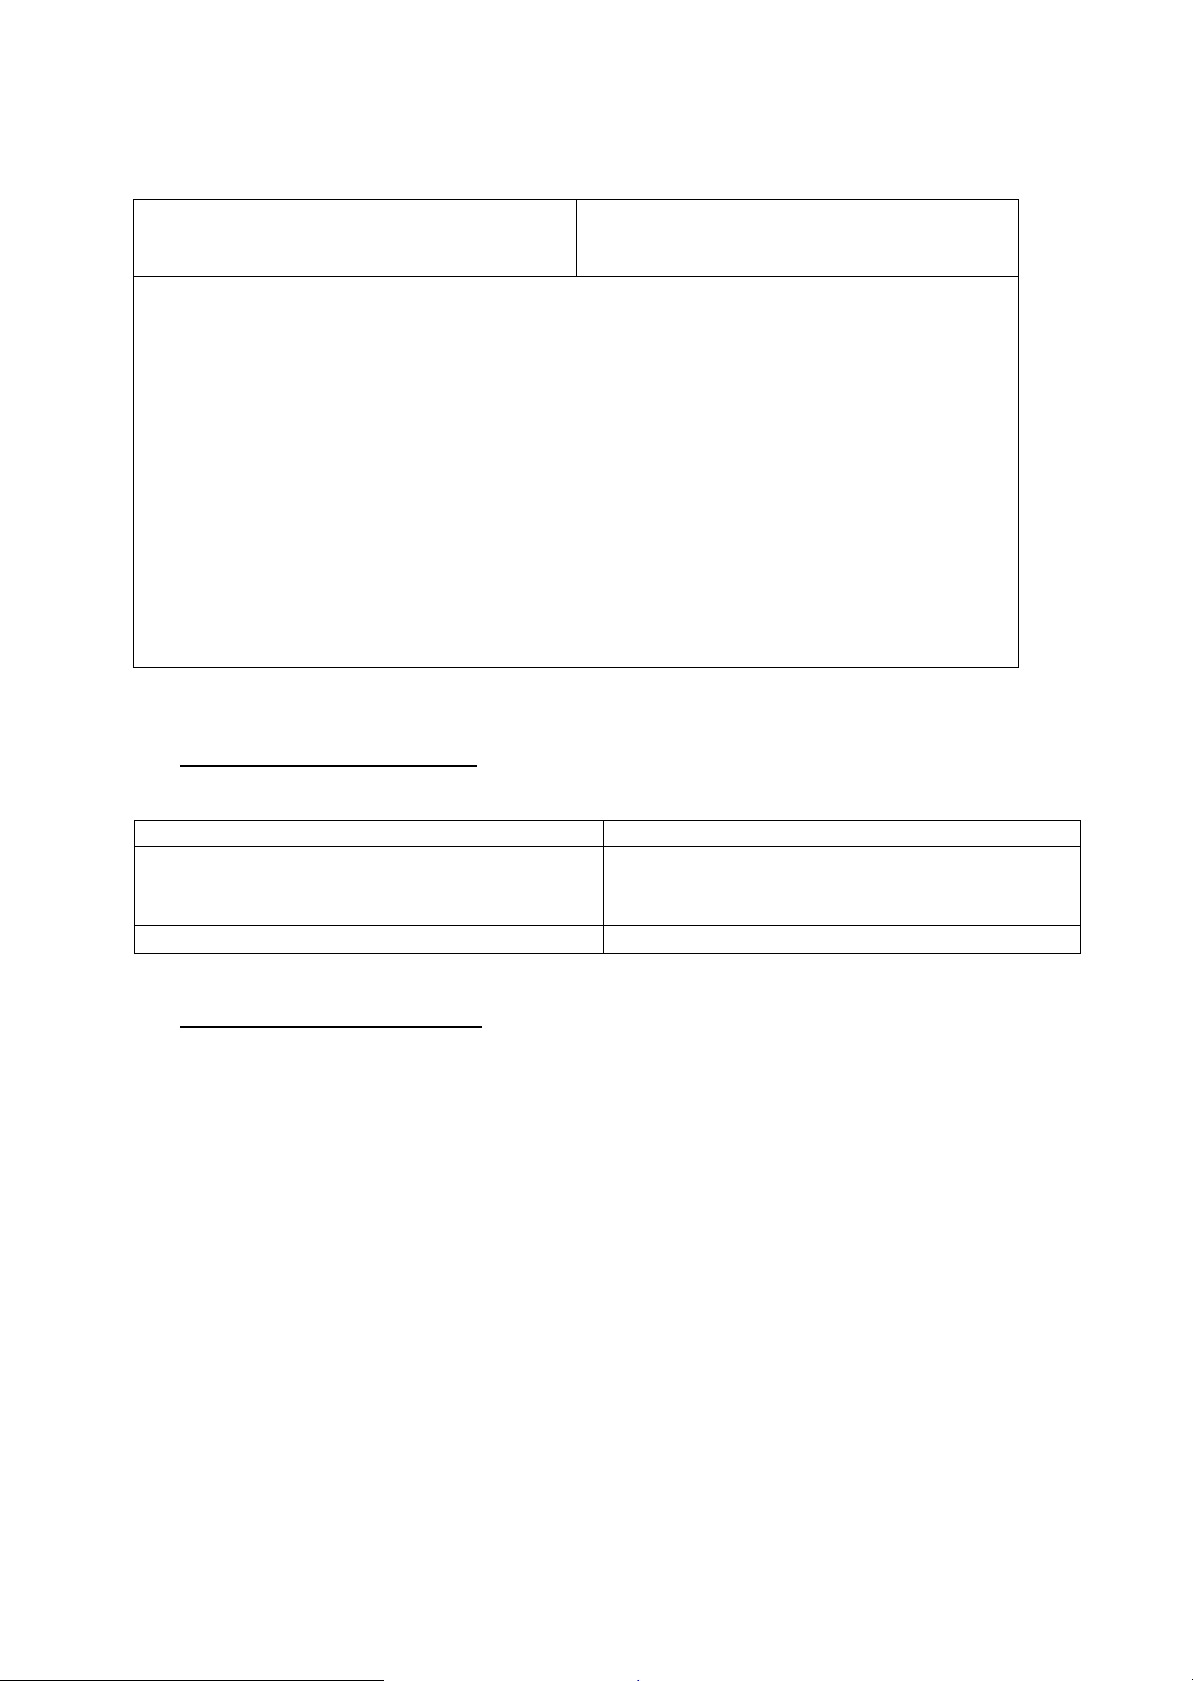
Model EWC801-IS
Model EWC1201
(4) Vertical Bottles / (4) Bottles Horizontal
(1) Instruction Manual
(1) Instruction Manual
WARNING
or injury when using your appliance, follow
• DANGER or WARNING: Risk of child entrapment.
Child entrapment and suffocation are not problems of the past. Junked or abandoned
appliances are still dangerous . . . even if they will “just sit in the garage a few days”.
• Before you throw away your old Wine Chiller: Take off the door. Leave the
shelves in place so that children may not easily climb inside.
• Never allow children to operate, play with, or crawl inside the appliance.
• Never clean appliance parts with flammable fluids. The fumes can create a fire
hazard or explosion.
• Do not store or use gasoline or any other flammable vapors and liquids in the vicinity
of this or any other appliance. The fumes can create a fire hazard or explosion.
• Do not repair or replace any part of the wine chiller or attempt any servicing unless
specifically recommended in the user-maintenance instructions or in published userrepair instructions. Replace the fuse with the same type.
INSTALLATION INSTRUCTIONS
Before Using Your Wine Chiller
• Remove the exterior and interior packing.
• Check to be sure you have all of the following parts:
(1) Vertical Shelf Assembly:
(4) Vertical Bottles / (4) Bottles Horizontal
• Clean the interior surface with lukewarm water using a soft cloth.
Installation of Your Wine Chiller
• This Wine Chiller is designed to be free standing installation only, and should not be recessed or
built-in (Fully recessed).
• Place your Wine Chiller on a surface that is strong enough to support it when it is fully loaded.
• Allow 5 inches of space between the back and sides of the wine chiller, which allows the proper
air circulation to cool the heat sink.
• Locate the Wine Chiller away from direct sunlight and sources of heat (stove, heater, radiator,
etc.). Direct sunlight may affect the acrylic coating and heat sources may increase electrical
consumption. Extreme cold ambient temperatures may also cause the unit not to perform
properly.
• This Wine Chiller uses thermoelectric refrigeration technology (no compressor) and is not
designed for storage in hot areas like garages, warehouses or outdoors since it is designed to
operate at a maximum of 30 degrees below the ambient temperature.
• Avoid locating the unit in moist areas.
• Plug the Wine Chiller into an exclusive, properly installed-grounded wall outlet. Do not under any
circumstances cut or remove the third (ground) prong from the power cord. Any questions
concerning power and/or grounding should be directed toward a certified electrician or an
authorized Avanti Products s ervice cen ter .
• After plugging the Wine Chiller into a wall outlet, allow the unit to cool down for 2-3 hours before
placing any items in the compartment.
(2) Standard Horizontal Shelves
(1) Vertical shelf Assembly
Page 6

6
Electrical Connection
Warning
Improper use of the grounded plug can result in the risk of electrical shock. If the power cord is
damaged, have it replaced by an authorized Avanti Products service center.
This appliance should be properly grounded for your safety. The power cord of this appliance is
equipped with a three-prong plug which mates with standard three prong wall outlets to minimize the
possibility of electrical shock.
Do not under any circumstances cut or remove the third ground prong from the power cord supplied.
For personal safety, this appliance must be properly grounded.
This appliance requires a standard 115 Volt AC / 60Hz electrical ground outlet with three-prong. Have
the wall outlet and circuit checked by a qualified electrician to make sure the outlet is properly
grounded. When a standard 2-prong wall outlet is encountered, it is your responsibility and obligation
to have it replaced with a properly grounded 3-prong wall outlet.
The cord should be secured behind the appliance and not left exposed or dangling to prevent
accidental injury.
The appliance should always be plugged into its own individual electrical outlet which has a voltag e
rating that matches the rating label on the appliance. This provides the best performance and also
prevent overloading house wiring circuits that could cause a fire hazard from overheated. Never
unplug the appliance by pulling the po wer cord. Always grip the plug firmly and pull straight out from
the receptacle. Repair or replace immediately all power cords that have become frayed or otherwise
damaged. Do not use a cord that shows cracks or abrasion damage along its length or at either end.
When moving the appliance, be careful not to damage the power cord.
Extension Cord
Because of potential safety hazards under certain conditions, it is strongly recommended that you do
not use an extension cord with this appliance. However, if you must use an extension cord it is
absolutely necessary that it be a UL/CUL-Lis t ed, 3-wire grounding type appliance extension cord
having a grounding type plug and outlet and that the electrical rating of the cord be 300 volts and at
least 10 amperes.
Page 7

7
OPERATING YOUR WINE CHILLER
Red Wines
14º - 18º C
57– 64º F
Dry/White Wines
9º - 14º C
48 – 58º F
Rose Wines
10º - 11º C
51 – 53º F
Temperature Range
9 - 18º C
48 – 64º F
You can select temperature display setting from Fahrenheit to Celsius degree by pushing
It is recommended you install the Wine Chiller in a place where the ambient temperature is between
23º-26ºC/ 72º-78ºF. If the ambient temperature is above or below recommended temperatures, the
performance of the unit may be affected. For example, placing your unit in extreme cold or hot
conditions may cause interior temperatures to fluctuate. The range of 9º-18ºC/48º-64ºF may not be
reached.
Recommended Temperatures for Chilling Wine.
Temperature Ranges For Your Wine Chiller
CONTROL PANEL
SETTING THE TEMPERATURE CONTROL
this button. (Fahrenheit or Celsius indicator will appear in green color) The degrees
will appear in blue color in the temperature display window.
Your Wine Cellar has been equipped with an “automatic” control panel lock, that will activate 12
seconds after the last time a button has been touched.
Push the and button simultaneously for 3 seconds to unlock the control panel. You will
hear a “BEEP” sound to alert you that the contr o l is now acti ve.
You can set the temperature as you desire by pushing the or button on the control
panel for each zone. The temperature that you desire to set will increase 1ºF or 1ºC if you push
the button once, on the contrary the temper atur e will decreas e 1ºF or 1ºC if you push the
button once.
When you store mostly red wines, the temperature needs to be set at between 14º - 18ºC (57º -
64ºF). The indicator marked “ R” will light up in Red.
When you store mostly white wines, the temperature needs to be set at between 9º - 14ºC (48º -
58ºF). The indicator marked “ W” will light up in White.
NOTE:
• When you use the wine chiller for the first time or restart the wine chiller after having been shut off
for a long time, there could be a few degrees variance between the temperature you select and
the one indicated on the LED readout. This is normal and it is due to the length of the activation
time. Once the wine chiller is running for a few hours everything will be back to normal.
Page 8

8
Storage Capacity
Model EWC801-IS: You can place 8 standard bottles in this wine chiller
Model EWC1201: You can place 12 standard bott les or 4 standard bott les and 8 burg undy bot tles in
this wine chiller.
Many bottles may differ in size and dimensions. As such the actual number of bottles you may be able
to store may var y. Bottle capacities are approxim ate maximums when storing tr aditional Bordeaux
750ml bottles and include bulk storage.
Interior Light
Push the and button simultaneously for 3 seconds to unlock the control panel. You will
hear a “BEEP” sound to alert you that the control is now active.
You can turn the interior light ON or OFF by pushing the button marked with the “Light” symbol
The light will be turned off automatically if it remains ON for 10 minutes. You have to push the button
marked with the “Light” symbol
again and the light will turn back on.
CARE AND MAINT ENANCE
Cleaning Your Wine Chiller
• UNPLUG the Wine Chiller, and remove all items including shelves.
• Wash the inside sur faces with a warm water and b aking soda solution. The so lution should be
about 2 tablespoons of baking soda to a quart of water.
• Wash the shelves with a mild detergent solution.
• Wring excess water out of the sponge or cloth when cleaning area of the controls, or any
electrical parts.
• Wash the outside cabinet with warm water and mild liquid detergent. Rinse well and wipe dry with
a clean soft cloth.
CAUTION
Failure to unplug the Wine Chiller could result in electrical shock or personal injury.
Power Failure
• Most power failures are corrected within a few hours and should not affect the temperature of
your appliance if you m inimize the number of times the door is opened. If the po wer is going to be
off for a longer period of time, you need to take the proper steps to protect your contents.
Moving Your Wine Chiller
• Remove all bottles.
• Securely tape down all loose items (shelves) inside your appliance.
• Tape the door shut.
• Protect outside of appliance with a blanket, or similar item.
Energy Saving Tips
• The Wine Chiller sh ould be located in the coolest area of the room, away from heat producing
appliances, and out of the direct sunlight.
• One characteristic of thermoelectric units is the l ength of time it req uires to recover fr om having
the door opened and shut frequently. It may be necessary to wa it longer for the temper ature to
return to its former level once the door has been op ened for too lon g. This is nor mal for this t ype
of unit.
Page 9

9
PROBLEM
POSSIBLE CAUSE
Wine Chiller does not operate.
The circuit breaker tripped or a blown fuse.
Control panel is locked
Push the and button simultaneously for
Wait for beep sound.
Wine Chiller is not cold enough.
Check the temperature control setting.
Abnormal voltage.
The light does not work.
Not plugged in.
The light button is “OFF”.
Vibrations.
Check to assure that the Wine Chiller is level.
The door will not close properly.
The Wine Chiller is not level.
PROBLEMS WITH YOUR WINE CHILLER?
You can solve many common Wine Chiller problems easily, saving you the cost of a possible service
call. Try the suggestions below to see if you can solve the problem before calling the servicer.
TROUBLESHOOTING GUIDE
Not plugged in.
3 seconds to unlock the control panel.
External environment may require a higher
setting.
The door is opened too often.
The door is not closed completely.
The door gasket does not seal properly.
The Wine Chiller does not have the correct
clearances.
The circuit breaker tripped or a blown fuse.
The door was not properly installed.
The gasket is dirty.
The shelves are out of position.
Page 10

10
SERVICE FOR YOUR WINE CHILLER
800-323-5029
help is available.
check, money order, Master Card, or Visa.
know your appliance inside and out.
Rated Voltage
115V
Rated Frequency
60Hz
Rated Input Power
65W
We are proud of our customer service organization and the network of professional service
technicians that provide service on your Avanti appliances. With the purchase of your Avanti
appliance, you can have th e conf idence t hat if you ever need addit ional inf orm ation or as sistanc e, the
Avanti Products Customer Service team will be here for you. Just call us toll-free.
AVANTI PRODUCTS CUSTOMER SERVICES
Product Information
Whatever your questions are about our products,
Part Orders
800-220-5570
In-Home Repair Service
800-220-5570
TECHNICAL / ELECTRICAL SPECIFICATIONS
You may order parts and accessories that will be
delivered directly to your hom e b y personal
An Avanti Products authorized service center will
provide expert repair service, scheduled at a time
that is convenient for you. Our trained servicers
WIRING DIAGRAM
Page 11

11
Staple your sales receipt here. Proof of original
warranty.
WHAT IS COVERED – LIMITED ONE-YEAR WARRANTY
center for repair.
WARRANTY EXCLUSIONS / WHAT IS NOT COVERED:
Products, including without limitation, one or more of the following:
•
lightning, power surges, structural failures surrounding the appliance, and acts of God.
•
the complete sealed system.
• Shipping and handling costs associated with the
remote areas.
In no event shall Avanti Products have any liability or responsibility whatsoever for damage to surrounding
cabinetry, walls, floors, shelving etc., as well as the resetting of breakers or fuses.
OUT OF WARRANTY PRODUCT
repairs, pro-rates, or product replacement, once this warranty has expired.
WARRANTY – REFRIGERATION – NON COMPRESSOR
YOUR AVANTI PRODUCTS
WARRANTY
Avanti Products warrants that the product is free from defects in materials and/or workmanship for a period of
twelve (12) months from the date of purchase by the original owner. The foregoing timeline begins to run upon
the date of purchase, and shall not be stalled, tolled, extended, or suspended for any reason whatsoever unless
described in detail in the warranty document. For one year from the date of purchase by the original owner,
Avanti products will, at its option, repair or replace any part of the product which proves to be defective in
material or workmanship under normal use. Avanti Products will provide you with a reasonably similar product
that is either new or factory refurbished. During this period Avanti Products will provide all parts and labor
necessary to correct such defects free of charge, so long as the product has been installed and operated in
accordance with the written instructions in this manual. In rental or commercial use, the warranty period is 90
days. All Avanti appliances of 4.2 cubic feet capacity or less must be brought/sent to the appliance service
The warranty coverage described herein excludes all defects or damage that are not the direct fault of Avanti
A failure to comply with any applicable state, local, city, or county electrical, plumbing and/or building codes,
regulations, or laws, including failure to install the product in strict conformity with local fire and building codes
and regulations.
purchase date is needed to obtain service under
• Any external, elemental and/or environmental forces and factors, including without limitation, rain, wind, sand,
floods, fires, mud slides, freezing temperatures, excessive moisture or extended exposure to humidity,
Content losses of food or other content due to
spoilage.
• Incidental or consequential damages
• Parts and labor costs for the following will not be
considered as warranty:
• Evaporator doors, door springs, and/or frames.
• Inner door panels, door shelves, door rails,
and/or door supports.
• Chest freezer lid liners.
• Vegetable crispers.
• Light bulbs and/or plastic housing.
• Plastic cabinet liners .
• Punctured evaporator that voids the warranty on
replacement of the unit.
• Repairs performed by unauthorized servicers.
• Service calls that are related to external problems,
such as abuse, misuse, inadequate electrical
power, accidents, fire, floods, or any other acts of
God.
• Failure of the product if it is used for other than it
intended purpose.
• The warranty does not apply outside the
Continental USA.
• Surcharges including but not limited to, any after
hour, weekend, or holiday service calls, tolls, ferry
trip charges, or mileage expense for service calls to
property, including cabinetry, floors, ceilings, and other structures and/or objects around the product. Also
excluded from this warranty are scratches, nicks, minor dents, and other cosmetic damages on external surfaces
and exposed parts; Products on which the serial numbers have been altered, defaced or removed; service visits
for customer education, or visits where there is nothing wrong with the product; correction of installation problems
(you are solely responsible for any structure and setting for the product, including all electrical, plumbing and/or
other connecting facilities, for proper foundation/flooring, and for any alterations including without limitation
Avanti Products is under no obligation, at law or otherwise, to provide you with any concessions, including
Page 12

12
INSTRUCCIONES DE SEGURIDAD
ATENCION
INSTRUCCIONES PARA
LA CONEXION A TIERRA
Este aparato electrodoméstico debe estar conectado a tierra. En caso de un cortocircuito eléctrico, la
conexión a tierra reduce el riesgo de choque eléctrico proporcionando un cable a tierra con una
enchufe de conexión a tierra. Este enchufe debe estar conectado en un tomacorriente instalado
correctamente y conectado a tierra.
ADVERTENCIA – El uso inadecuado del enchufe de conexión a tierra puede resultar en un riesgo de
choque eléctrico. Consulte con un electricista o persona de reparaciones competente si no
comprenden bien las instrucc iones de conexión a tierra o si existe alguna duda sobre si el aparato
esta conectado a tierra correctamente.
NO USE UN CORDON DE
PROLONGACION ELECTRICA
Use un tomacorriente de pared exclusivo. No conecte su vinera a cordones de prolongación eléctrica
o junto a cualquier otro electrodoméstico en el mismo tomacorriente de pared.
ADVERTENCIA IMPORTANTE:
Una vinera vacía es una atracción muy peligrosa para los niños. Saque todas las juntas, pestillos,
tapas o puerta de todo electrodoméstico que no esté en uso, o tome alguna medida para asegurar
que no presente peligro.
INSTRUCCIONES DE INSTALACION
Saque los embalajes exteriores, limpie bien el exterior con un paño suave seco, y el interior con un
paño húmedo y tibio. Evite colocar la vinera cerca de una fuente de calor, luz de sol directa, o lugar
húmedo.
Ubicación
1. Seleccione un lugar con su piso fuerte y nivelado.
2. Deje cinco pulgadas de espacio entre la parte posterior de la vinera y toda pared conti gua.
3. Las bodegas thermoelectrica necesitan cierto tiempo de recuperación cuando la puerta se
abre y se deja abierta por mucho tiempo. Esto es normal para este tipo de unidad.
4. Evite la luz directa del sol o calor. La luz directa del sol puede afectar la capa de acrílico.
Las fuentes de calor en su proximidad provocarán un consumo mayor de electricidad.
5. Para un mejor desempeño, nivele la vinera utilizando las patas ajustables o tornillos
niveladores.
OPERACION
Para evitar vibraciones, el compartimiento interior deb e estar bien nivelado. La tem peratura variará
dependiendo de la cantidad de botellas almacenadas y la frecuencia con que se abre la puerta.
Cuando la vinera no se use por un período largo, desconecte el enchufe y deje la puerta entreabierta.
Page 13

13
CONTROL DE TEMPERATURA:
Vinos rojos
14º - 18º C
57 – 64º F
Vinos blancos
9º - 14º C
48 – 58º F
Vinos tintos
10º - 11º C
51 – 53º F
Rango De Temperatura
9 - 18º C
48 – 64º F
Se recomienda que Ud coloque su vinera en un lugar donde la temperatura ambiental se mantenga
entre 23º-26ºC / 72º-78ºF.
Si la temperatura ambiental oscila fuera de esos límites, pueda afectar la temperatura de la unidad.
Por ejemplo, si su unidad está situada en lugares donde hay temperaturas muy frías o calientes
también puede afectar la temperatura de la unidad y no alcanzará los límites 9º-18ºC/48º-64ºF).
Temperaturas recomendadas para enfriar vinos:
Rango de Temperatura de su vinera
Panel de controles
Control de temperatura
El panel de control de su vinera se anulará automáticamente 12 segundos después que cualquier
botón haya sido presionado.
Para activar el panel de control de su vinera, presione simultaneamente los botones marcados
y por 3 segundos. Espere por el sonido.
Ud. se puede seleccionar la temperatura preferida presionando los botones marcados
▲ o ▼. Cuando Ud. presione uno de los dos botones por primera vez la temperatura
seleccionada originalmente en la factoría aparecerá en la pantalla. (12ºC / 54ºF).
La temperatura que Ud. selecciona subirá 1ºC/F cada vez que presione el botón marcado
contrario la temperatura bajará 1ºC/F cada vez que presione el botón marcado
AVISO:
Cuando Ud. encienda su vinera por primera vez o después de un largo tiempo de estar apagado,
habrá una diferencía entre la temperatura que Ud. selecciona y la temperatura indicada en la pantalla
digital. Este situación es normal debido al tiempo de que estuvo apagado. En cuanto la unidad esté
encendida por un par de horas la temperatura volverá a su nivel normal.
.
Luz interior
Para activar el panel de control de su vinera, presione simultáneamente los botones marcados
y por 3 segundos. Espere por el sonido.
Ud. puedes encender o apagar la luz interior presionando el botón marcado . La luz interior se
▲ al
apagará automáticamente si está encendida por 10 minutos seguidos. Ud. necesita presionar el
botón de nuevo para encender la luz.
Page 14

14
CUIDADO Y MANTENIMIENTO
Capacidad
Modelo: EWC801-IS: 8 botellas de tamaño normal (standard)
Modelo: EWC1201: 12 botellas de tamaño normal (standard)
El tamaño de las botellas pueden variar y afectará la cantidad de botellas que Ud. puede
almacenar.
Limpieza
Para limpiar el interior, use un paño suave con una solución de una cucharada de bicarbonato de
sodio por cada cuarto de agua, o una solución de espuma de jabón suave, o un detergente suave.
Para lavar las rejillas, sáquelas deslizándolas con cuidado, y use una solución de detergente suave;
luego séquelas con un paño suave. Limpie el exterior con un paño húmedo suave y un poco de
detergente suave o productos de limpieza para electrodomésticos.
Corte de corriente
La mayoría de los cortes de corriente se corrigen en una o dos horas y no afectarán las temperaturas
de su vinera. Sin embargo, Ud. deberá reducir la cantidad de veces que abra la puerta cuando la
corriente esté apagada. Durante los cortes de corriente de larga duración, tome medidas para
proteger sus botellas de vino.
Si Ud. se muda
Saque o asegure todos los artículos dentro de su vinera. Para evitar que los tornillos nivelantes se
averíen, gírelos completamente hacia la base.
Algunas reglas importantes para el uso correcto de la vinera.
• Las bebidas deben guardarse en botellas cerradas.
• No sobrecargue el compartimiento interior.
• No abra la puerta a menos que sea necesario.
Nunca cubra los estantes del compartimiento par a vinos con papel de aluminio o cualquier
otro material para cubrir estantes que puedan obstruir la circulación del aire
.
Page 15

15
Registration Information
-------------------------------------------------------(detach here)--------------------------------------------------------------
---
Name
Model # Serial #
Address
Date Purchased Store / Dealer Name
City State Zip
E-mail Address
Area Code Phone Number
Occupation
Did You Purchase An Additional Warranty
As your Primary Residence, Do You:
Extended
Own Rent
None
Your Age:
Reason for Choosing This Avanti Product:
this product:
under 18 18-25 26-30
Married Single
Price
Other: _____________ ______
Comments:
Thank you for purchasing this fine Avanti product. Please fill out this form and return it to the
following address within 100 days from the date of purchase and receive these important benefits:
Avanti Products LLC
P.O.Box 520604 – Miami, Florida 33152
Protect your product:
We will keep the model number and date of purchase of your new Avanti product on file to
help you refer to this information in the event of an insurance claim such as fire or theft.
Promote better products:
We value your input. Your res pons es will he lp us deve lop produc ts des ig ned to best m eet
your future needs.
Avanti Registration Card
Please indicate the most important factors
That influenced your decision to purchase
Product Features
Avanti Reputation
Product Quality
Salesperson Recommendation
Other: ___________________
Friend / Relative Recommendation
Warranty
31-35 36-50 over 50
Marital Status:
Is This Product Used In The:
Home Business
How Did You Learn About This Product:
Advertising
In-Store Demo
Personal Demo
Page 16

16
EWC801-IS/EWC1201 – 0508/2012
PRINTED IN CHINA
 Loading...