

Page 1
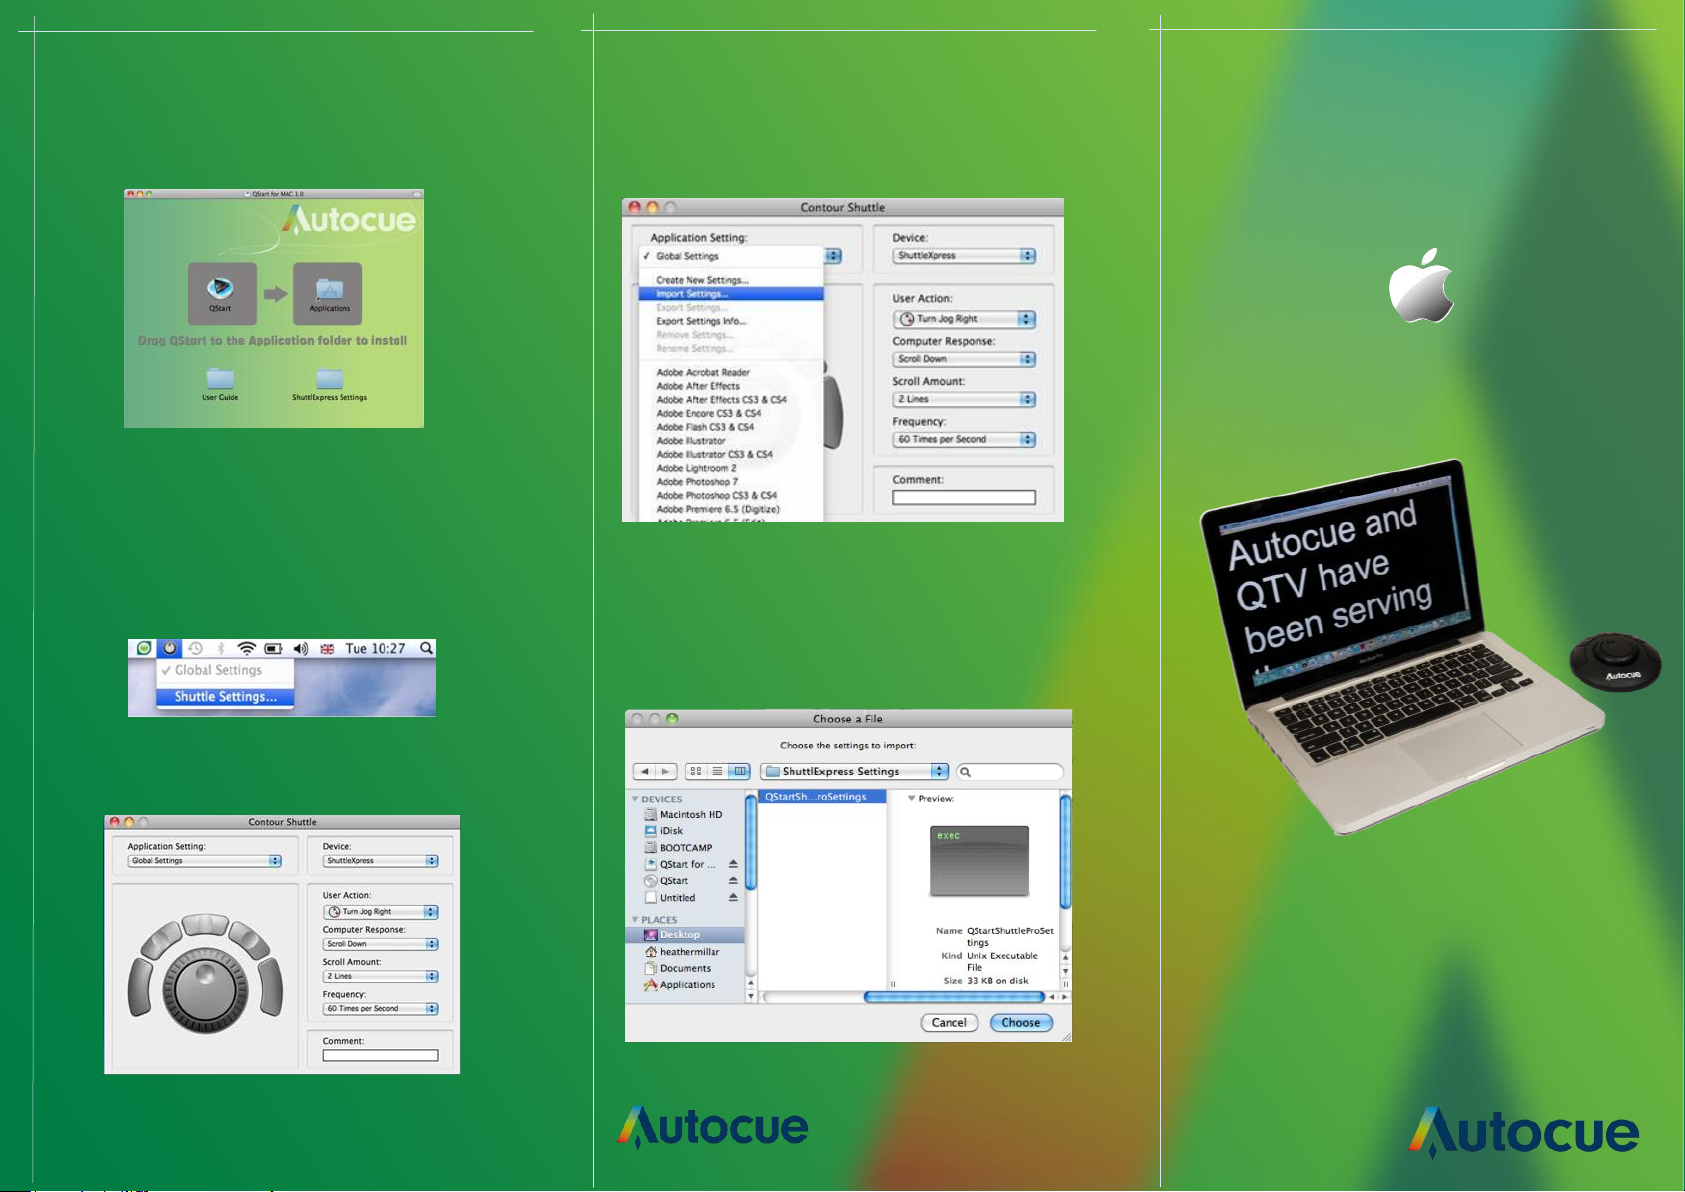
Scroll Controllers Shuttle Express
Keyboard and mouse control are supported
devices for basic control of the prompt output.
Please drag the ShuttleExpress folder from
the .dmg file onto the desktop.
Moving on from here:
Install the drivers for the Shuttle Express
from the CD.
Within the Global Settings section,
choose the Import Settings option.
Navigate to the desktop and choose
the folder ShuttleExpress Settings.
Click on the QStart Shuttle Express
Template and press the “Choose”
QStart
Software Guide
For Mac
Within the Shuttle Express Control Panel
choose Global Settings
autocue.com
Page 2
Installation
Registration
Monitor Configuration
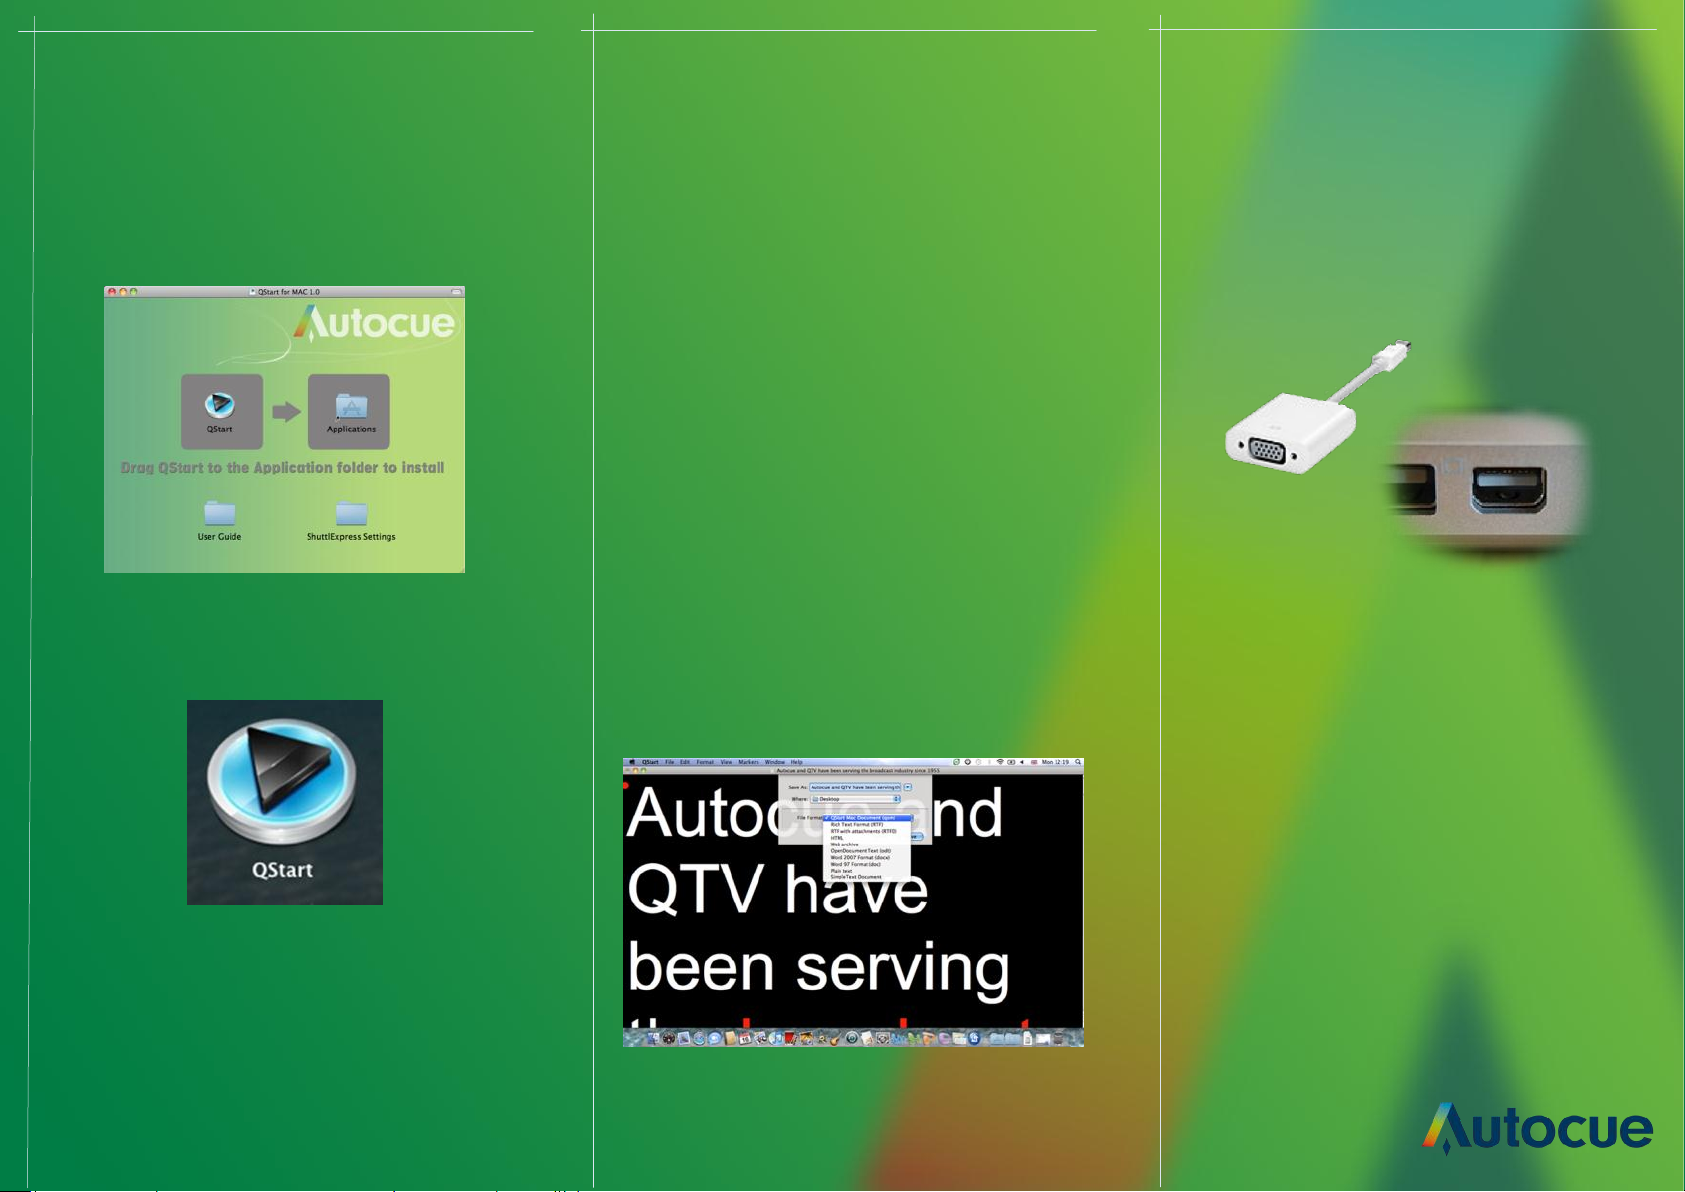
1. QStart for Mac is distributed as a DMG file
(*.dmg) via e-mail or CD. If you have the QStart
CD, navigate to the QStart for Mac folder and
run the .dmg file and agree to the license.
2. Click and drag the QStart icon to the
applications folder to install.
How to register QStart Mac:
To register your QStart Mac application, please
use the serial number printed on your QStart CD.
Moving on from here you will need internet con-
nectivity on your Mac and you need to fill all
fields in the registration window, inputting your
serial number (without hyphens). Once these
steps are completed, your QStart Mac is ready to
prompt
Scripts
QStart for Mac uses a specific file format that
stores not only the script text but also marker, size
and formatting data.
The file suffix for QStart for Mac files is .qms. This
is short for QStart Mac Script.
In order to prompt out successfully, you will need
to output to an external monitor. If you have a
modern apple device, it is likely you will need to
purchase the Apple Mini DisplayPort adapter.
Refer to the user manual for more information.
When an external monitor is connected and
powered on, OSX will discover the monitor and
automatically extend the desktop. Next is to
configure the display settings for the secondary
monitor.
Now inside the Application folder you can
find the QStart icon as shown above. Double-
click on the icon to launch QStart for Mac.
To see the image correctly in the mirror (if using
an on-camera unit) we need to change the
Prompt output to Reversed (reverse text vertically
for use with an on-camera unit). This option is
found within the Basic tab within Preferences.
 Loading...