

Page 1
3. Screw the single Steady Bar Clamp to the hood as
shown and insert the Steady Bar into the clamp.
Over Hood
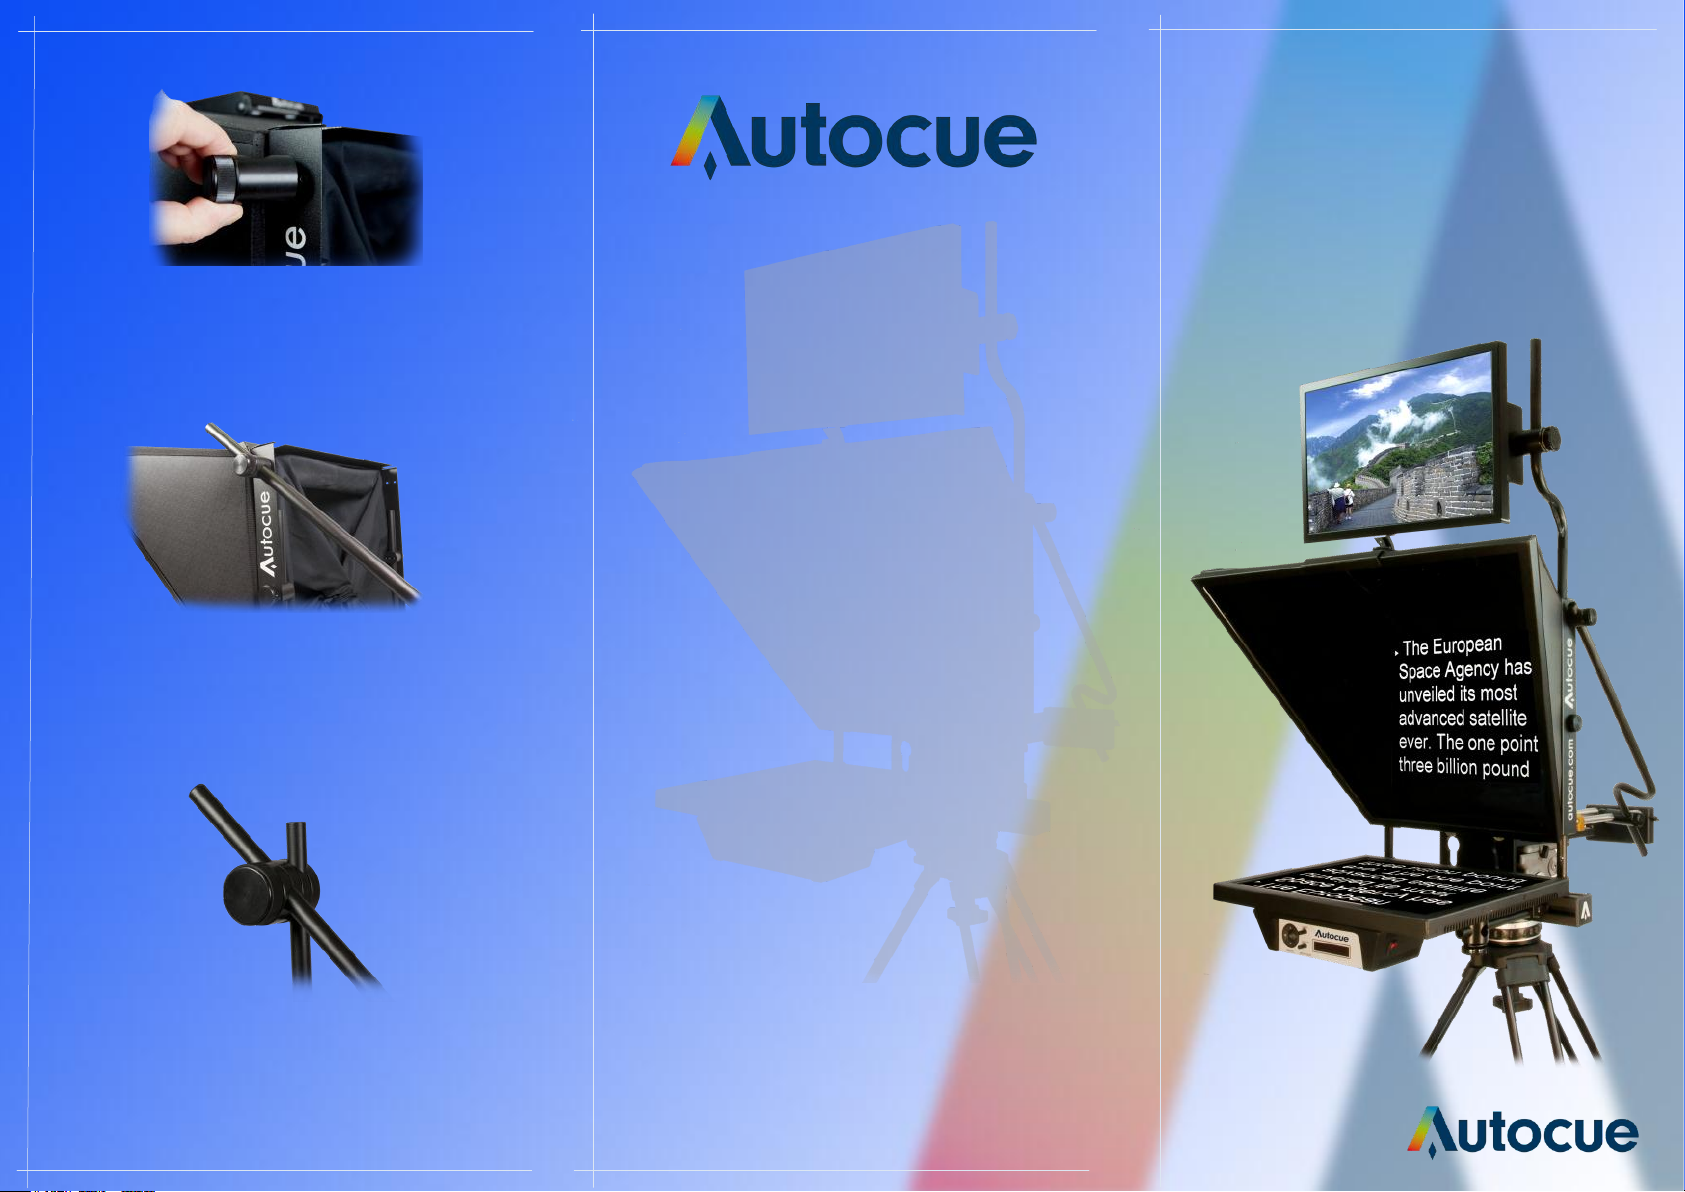
TFM
Lightweight 17" widescreen
Guide
SD talent feedback monitor
provides on-camera talent
with precise, live broadcast
output. Conveniently mounted
above the hood with a
Note: The Steady Bar may need cutting to length
as it is designed to cope with many different
lengths of lens package.
If you have a Professional Series hood there, there is an
alternative Steady Bar hood clamp.
adjustable mounting.
Suitable for Master and
Professional Series
prompters.
autocue.com
Page 2
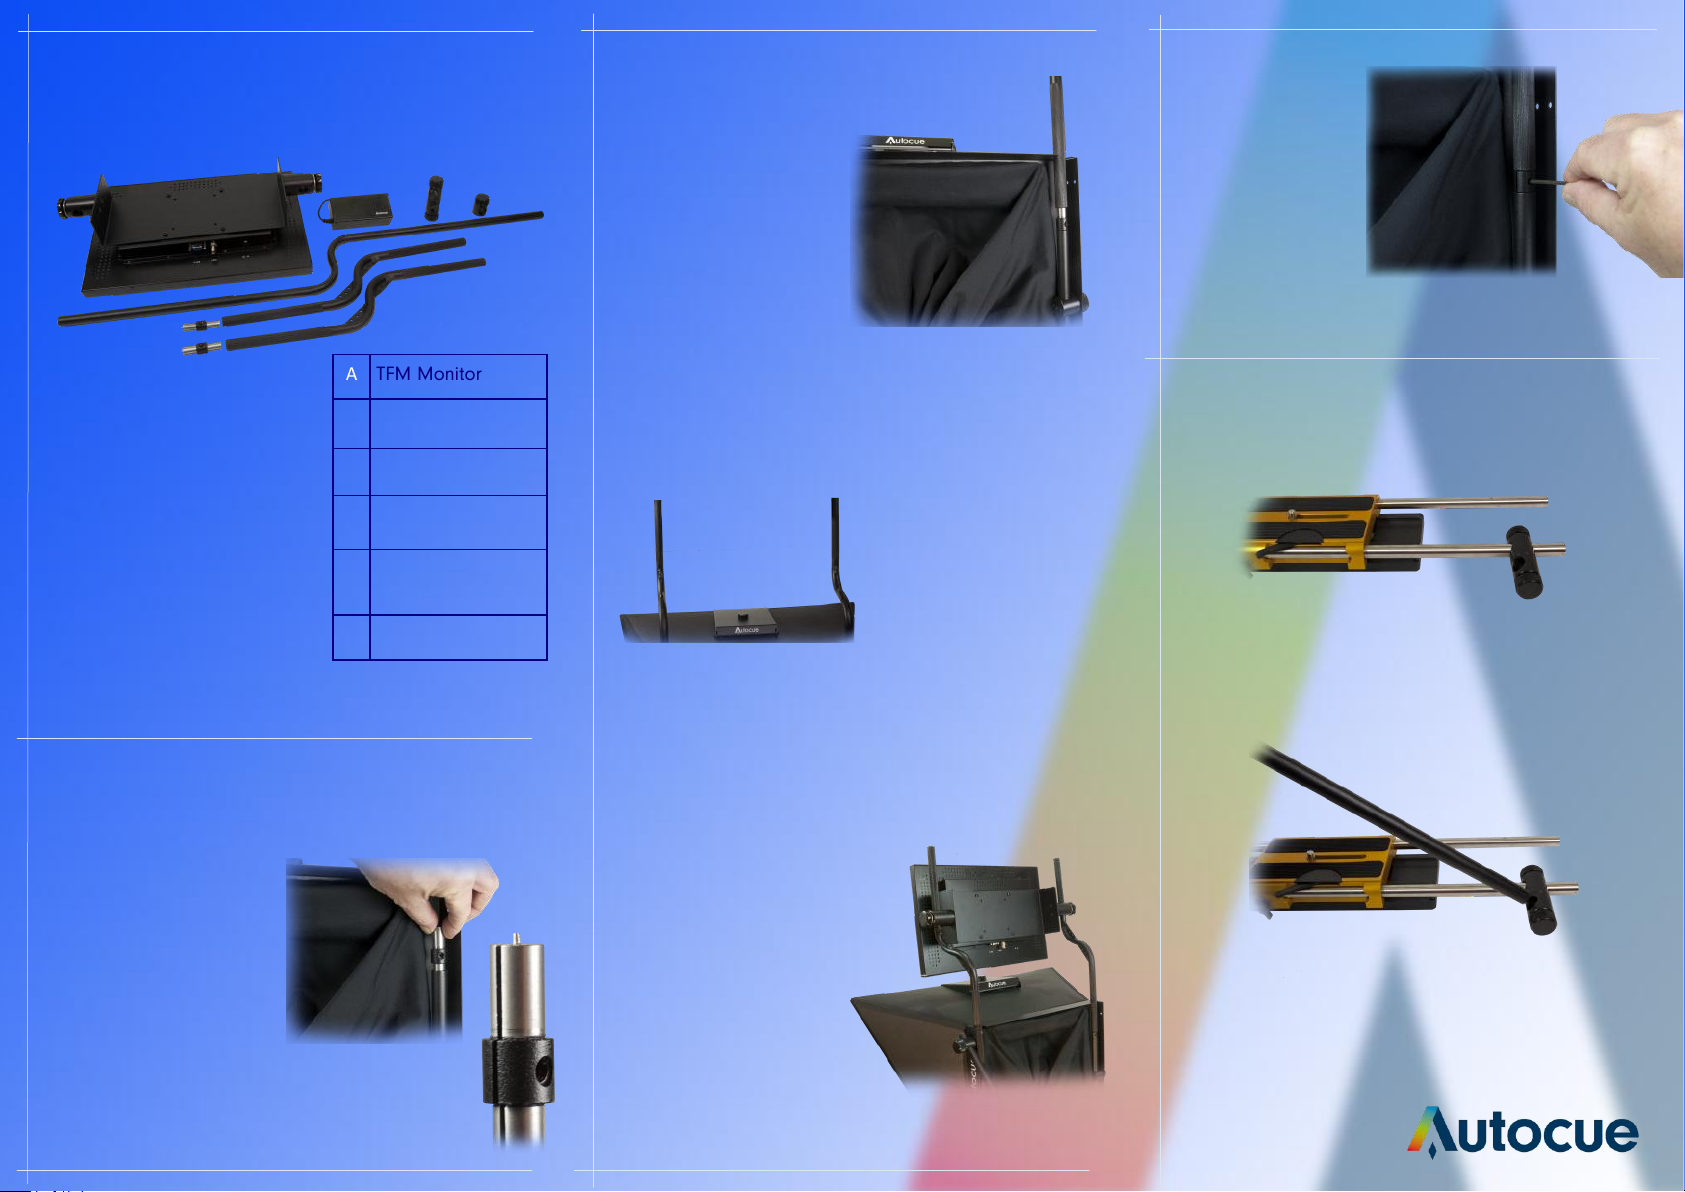
Components
A
B
D
C
F
Mounting Assembly
1. Insert the tube
joints in the top of
the hood tube with
the spiked end
uppermost. (A)
A
2. Fit the two monitor
mounting bars onto the
spiked ends of the tube
joints.
E
3. Rotate both tubes to
align them to the same
spacing as the clamps
on the monitor mounting
plate.
4. Mount the monitor by
sliding it over the monitor
mounting bars and secure
in place by tightening the
clamps.
5. Secure the
monitor mounting
rods in place by
tightening the joint
screw with an Hex
Key/Allen Key.
Steady Bar Assembly
2.Insert one end of the Steady bar into the Dual
Clamp. Do not tighten the clamp at this stage.
1. Fit Dual Steady Bar Clamp onto the rear of
the Pro Plate this can be fitted either side,
whichever is most convenient.
TFM Monitor
A
Power Supply
B
Steady Bar Clamps
C
Steady Bar
D
Monitor Mounting
E
Bars
Tube Joints
F
 Loading...