

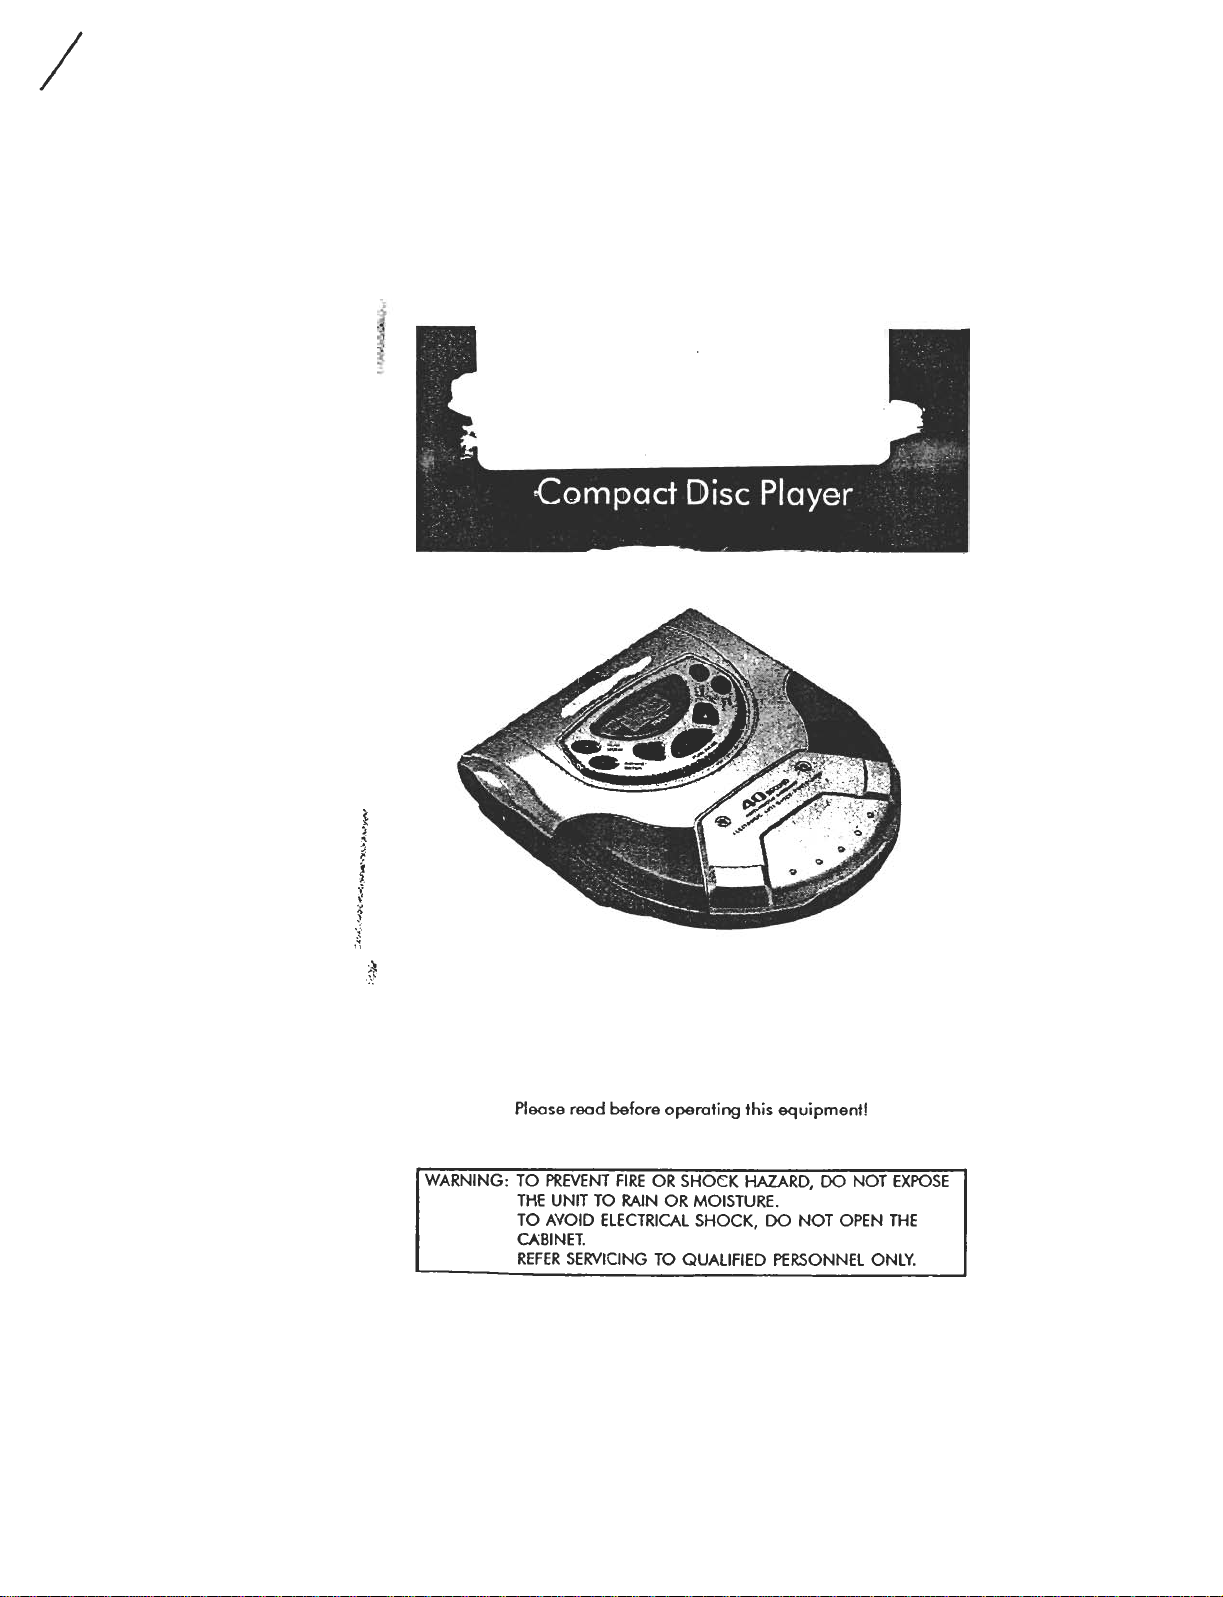
Page 1
/
t
~
;
,
$
l
~
~
.~
~F
Please read before operating this equipment!
Page 2
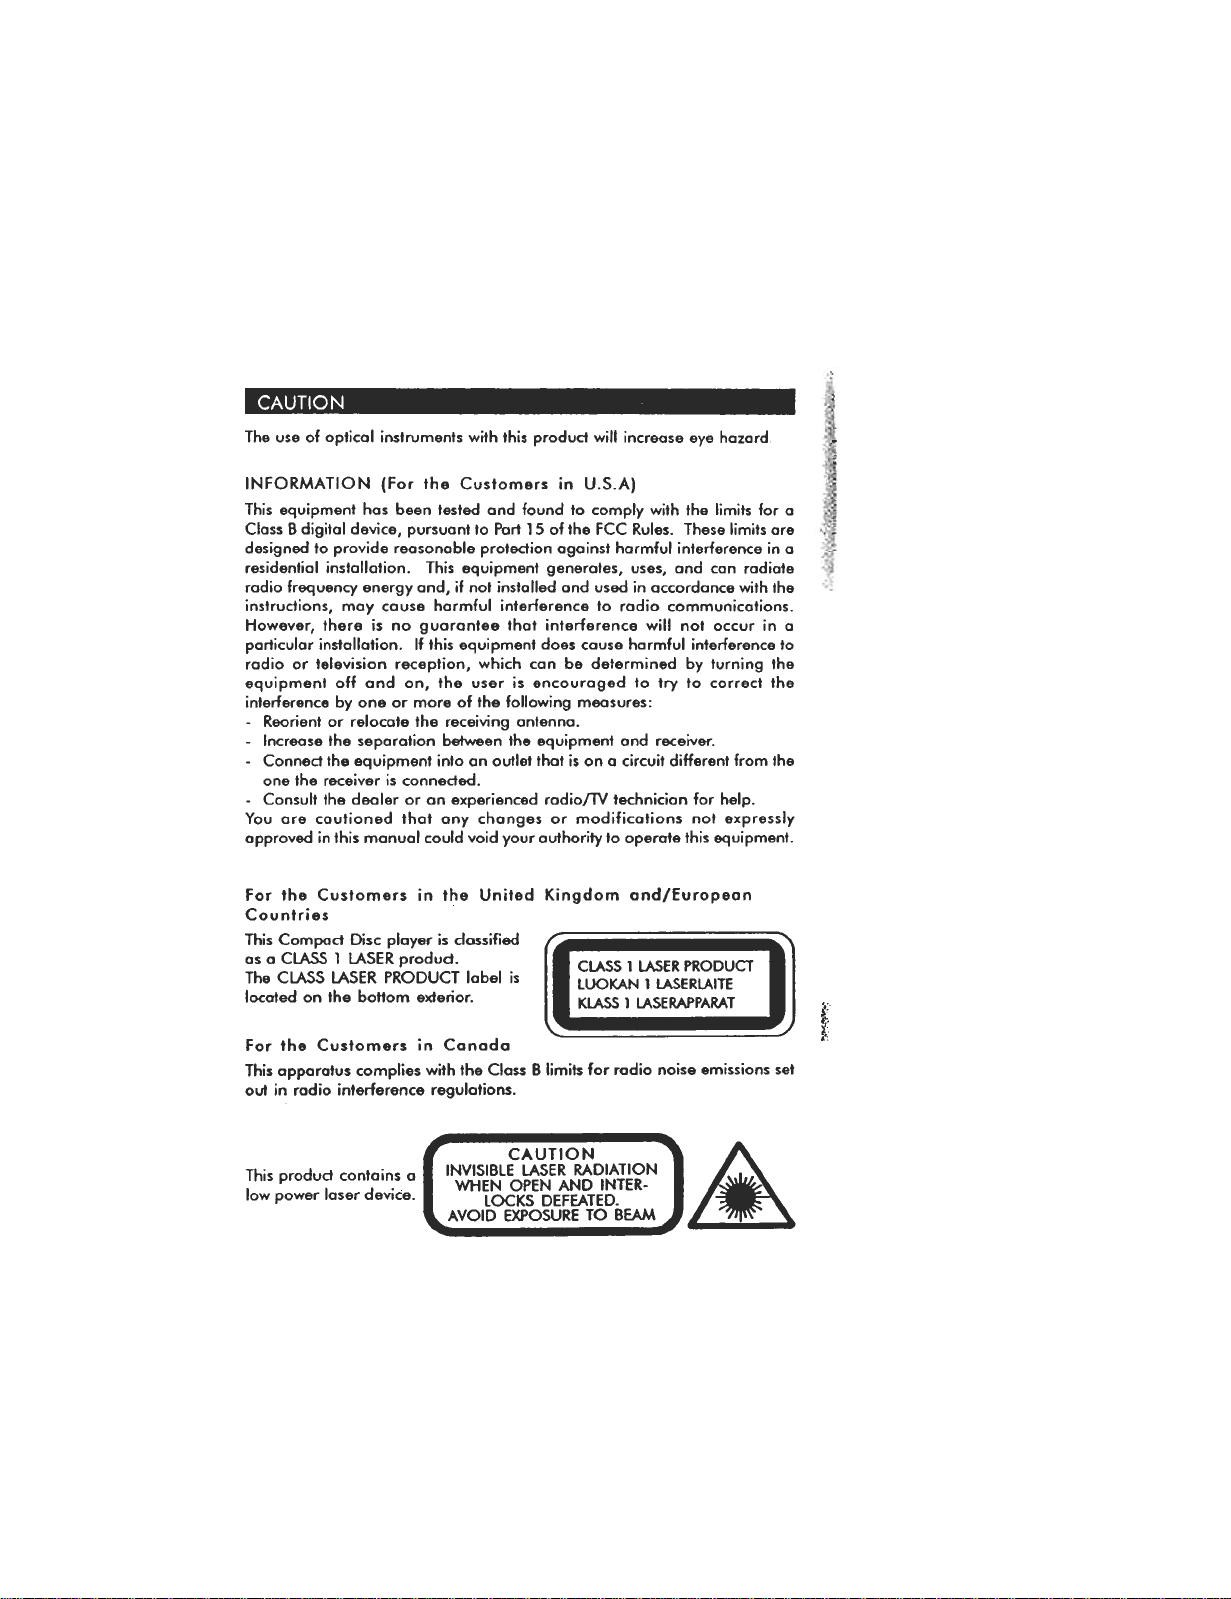
The use of optical instruments with this product will increase eye hazard
INFORMATION (For the Customers in U.S.A)
This equipment has been tested and found to comply with the limits for a
Class B digital device, pursuant to Part lS of the FCC Rules. These limits ore
designed to provide reasonable protection against harmful interference in a
residential installation. This equipment generates, uses, and can radiate
radio frequency energy and, if not installed and used in accordance with the
instrudions, may cause harmful interference to radio communications.
However, there is no guarantee that interference will not occur in a
particular installation. If this equipment does cause harmful interference to
radio or television reception, which can be determined by turning the
equipment off and on, the user is encouraged to try to correct the
interference by one or more of the following measures:
-Reorient or relocate the receiving antenna.
-Increase the separation between the equipment and receiver.
-Conned the equipment into an outlet that is on a circuit different from the
one the receiver is conneded.
-Consult the dealer or an experienced radio/1V technician for help.
You are cautioned that any changes or modifications not expressly
approved in this manual could void your authority to operate this equipment.
This product contains a
low power laser device.
Page 3
On safely
As Ihe laser beam used in Ihis compact disc player is harmful to the eyes, do
not attempt to disassemble the casing. Refer servicing to qualified personnel
only.
Do not put any foreign objects in the safety slot inside the disc compartment.
If you do so, the loser beam may come out when the lid is opened.
Do not put any foreign objects in the DC IN 6V (external power input) jack.
Should any solid objects or liquid fall into Ihe unit, disconnect Ihe power
supply and have Ihe unil checked by qualified personnel before operating it
any further.
On operation
Since the CD system offers a wide dynamic range, the peaks of the high level
inputs are recorded with high fidelity, and the noise level is very low. Do not
turn up the volume while listening to a part of the disc with no
audio signals or very low level inputs. If you do, the speakers may be
damaged when the peak level of the sound is played. The lens on the disc
table should be kept clean. Do not touch the lens or poke at it. If you do, the
lens may be damaged and the unit will not operate properly.
~-'".~.
f
Page 4
On installation
Never install the unit where it would be subjected to:
-heat sources such as radiators or airduds
-direct sunlight
-excessive dust
-moisture or rain
-mechanical vibration or shock
-unleveled surface
' ,..-~ """'"~""=
.Do not place ony heavy object on top of the unit.
.When the unit is used with an AC power adaptor, do not wrap the unit in
a cloth, blanket, etc. If you do, the temperature inside and outside the unit
may rise considerably, resulting in malfunctioning of the unit or serious
accidents.
.If the unit is brought directly from o cold to o warm location, or is placed
in a very damp room, moisture may condense on the lens inside the unit.
Should this occur, the unit will not operote. In this case, remove the disc
and leave the unit in a warm place for several hours until the
moisture evaporates.
.For the unit to operate at its best, it should not be subjeded to tempera-
tures below 5°C (41°F) or above 35°C (95°F).
Notes on headphones/eorphone
Do not use headphones/earphone while driving, cycling, or operating ony
motorized vehicle, it moy create a troffic hazord and is illegal in some areas.
It can also be potentially dangerous to play your headsets at high volume
while walking, especially at pedestrian crossings. You should exercise extreme
caution or discontinue use in potentially hazardous situations.
Avoid using headphones/earphone at high volume. Hearing experts advise
against continuous, loud and extended play. If you experience a ringing in
your ears, reduce volume or discontinue use.
Keep the volume at a moderate level. This will allow you to hear outside
sounds and to be considerate to the people around you.
If you have any questions or problems concerning your unit, please consult
your nearest dealer.
;-~CC"-"-"..".."..cC"C ., .",:: "",--~-,,--y--,,~--~-..~=~"';-~-~".C~'
Page 5
1 .Read Instructions -All the safety and operating instructions should
be read before the appliance is operated.
2. Retain Instructions -The safety and operating instructions should
be retained for future reference.
3 .Heed Warnings -All warnings an the appliance and in the operating
instructions should be adhered to.
4. Follow Instrudions .All operating and use instrudions should be
followed.
5. Water and Moisture -The appliance should not be used near water
-for example, near a bathtub, washbowl, kitchen sink, laundry tub, in
a wet basement, or near a swimming pool, and the like.
6 .Ventilation -The appliance should be situated sa that its locotion or
position does not interfere with its proper ventilation. For example, the
opplionce should not be situated on a bed, sofa, rug, or similar surfoce
that may block the ventilation openings; or, placed in a built-in installa-
tion, such as a book case or cabinet, that may impede the flow of air
through the ventilation openings.
7 .Heat .The appliance should be situated away from heat sources such
as radiators, heat registers, stoves, or other appliances (including
amplifiers) that produce heat.
8. Power Sources -The appliance should be conneded to a power
supply only of the type described in the operating instrudions or as
marked on the appliance.
9. Grounding or Polarization -Precautions should be taken so that
the grounding or polarization means of an appliance are not defeated.
Page 6

1 0. Power-Cord Protedion -Power-supply cords should be routed so
that they are not likely to be wolked on or pinched by items placed upon
"
~
i
;1
or against them, paying particular attention to cords at plugs,
convenience receptacles, and the point where they exit from the
appliance.
11 .Cleaning -The appliance should be deaned only as recommended by
Ihe manufadurer.
12.Nonuse Periods -The power cord of Ihe appliance should be
unplugged from Ihe oullel when left unused for a long period of lime.
-.,., ,.,.~
13 .Object and Liquid Entry .Care should be taken so that objects do
not fall, and liquids are not spilled, into the enclosure through
openings.
14.Damage Requiring Service -The appliance should be serviced by
qualified service personnel when:
A. The power-supply cord or the plug hos been damaged; or
B. Objects hove fallen, or liquid has been spilled into the appliance;
or
C. The appliance has been exposed to rain; or
D. The appliance does not appeor to ope rote normally or exhibits a
marked change in performonce; or
E. The appliance has been dropped, or the enclosure damaged.
1 5.Servicing -The user should not attempt to service the appliance
beyond that described in the operating instructions. All other servicing
should be referred to qualified service personnel.
Page 7

1 (IIIIIOPEN..)
Opening the CD tray
to insert or remove a CD
PLAY/PAUSE ~II
Press ~lllo pause.
To release pause, press ~II.
POWER
OFF
I~
~I
PlAY
MODE
,
jl
'I
j
REPEAT/
ENTER
STOPPOWER OFF/STOP .
Disc playing stops
Track search and fast forward/fast
reverse
Press 1-+4 lightly/repeatedly:
To locate the beginning of the current selection or
previous selections-AMS.
Keep1-+4 depressed:
To go back at high speed (search)
Press ~~ lightly/repeatedly:
To locate the beginning of next selection/selections.
N./..s°
Keep ~ depressed :
To go ahead at high speed (search)
°AMS- auto music sensor
PlAY MODE
Button for seleding the various play mode
REPEAT/ENTER
Repeat button/Enter button
.for programs entering
.for repeat function
i
~
1
Mains socket
1
~
UNE our
O
line out jack
For conneding an external amplifier (stereo unit, adive
loudspeakers etc.).
Page 8

'~".'~"'-~
PHONES
O
Wl ~
BASS BOOST
ON OFF
..
GIJ
LOOC..IKOO(
OlD
Phones jack
For connecting the headphones/earphone.
Volume
Adjust the VOLUME.
Bass
OFF: normal sound
ON: bass sounds are amplified
Lock switch
Slide the LOCK switch to the "LOCK" direction to
prevent accidentol selection of an unwanted function
during playback or stop mode.
In the LOCK position, no function button on the unit
can operate. Moving the switch to the UNLOCK
position, the unit returns back to the normal
operations.
ANTI-
SHOCK
ANTI-SHOCK
Press ANTI-SHOCK button to prevent sound
s:kipping.
II]
II
-~
Charge switch
(on the underside of the opplionce)
Using with batteries
Insert two size M batteries(LR6 or SUM.3 alkaline or rechargeable)
according to the .ffi. and .8. indications in the battery compartment.
Notes on batteries
.Fully charge the RECHARGEABLE BATTERIES before using it for the first
time.
.Insert batteries with correct polority.
.Do not use old batteries together with new ones or different types of
batteries together.
.If the electrolyte inside the battery should leak, wipe the contaminated
parts in the battery comportment with a cloth and replace the old
batteries with new ones.
.When the unit is not to be used for a long period of time, remove the
batteries.
Page 9

~
Note$ on CJ
.During ploybock (batterie$ are in u$e), CJ i$ off .
.When the battery voltage level i$ low, CJ will light for approx. 10 -15
minute$, playbock still continue$ in thi$ period.
.Playback will automatically come to a $top when the batterie$ have no
more power. Do not repeat pre$$ing ~II a$ the unit moy operate incorrectly. Replace 011 the batterie$ with new one$.
.CJ will not be on if an AC adaptor i$ U$ed.
Using on house current
If the unit you purchased does not include an AC power adaptor, please use
a 6V 450rnA AC power adaptor. Otherwise use only the supplied AC power
adaptor.
Be sure to disconnect the AC power adaptor when the unit is not in use.
Charging rechargeable batteries
1. Insen twa size M RECHARGEABLE BAmRIES according to the .ffi. and
.8. indications in the battery companrnent.
2. The unit has to be in the stop mode.
3. Connect the AC power adaptor to AC outlet.
4. Set the switch (on the underside of the appliance) to CHARGE.
5. The batteries will be fully charged in approximately 12-15 hours.Do not charge continuously for 24 hours or more. Doing so can cause the
performance of the rechargeable batteries to deteriorate.More time may be required for charging in cold temperatures.
.Replace the rechargeable batteries if the operating time decreases dras-
tically even when they are properly charged.
WARNING
DO NOT CHARGE NORMAL BATTERIES AS IT MAY CAUSE EXPLOSION.
CHARGE ONLY RECHARGEABLE NI-CAD BATTERIES.
ALWAYS MAKE SURE THE CHARGE SWITCH IS IN THE .OFF. POSITION
WHEN USING WITH NORMAL BATTERIES.
-:~~~~";<.~.,.. ..".0: ..,...,.-, ,"-""C.-,c."--cc-.-,,,e-,~-.~"
Page 10

1. Open the CD tray with the OPEN button.
2. Insert the CD with the printed side facing upwards ond push the disc
gently until it clicks so thot the disc fits into the pivot.
3. Press the CD door to close.
Note: To play an 8 cm (3-inch) disc, you can play it without an adaptor.
On display window
When you press ...II, the display window shows:-
I -,\III I 1 ,n 1 1 n, 1
I..';,-; 17, J -po- I iU J -po- I U i J
Total number of First track playing
tracks begins
During play
The track number of the current seledion appears.
When "POWER OFF" is pressed during play.total number of tracks on the
disc will be displayed and the unit is still on. If "POWER OFF" is pressed
again the unit will be returned to full stop mode. If "PlAY" is pressed the
unit returns to play mode. The unit will be returned to full stop mode
automatically after approximotely 30 seconds if no button is pressed.
When no disc is inseffed onto the ployer and when" ~II " is pressed, the
display window ShoWS "Er."
The unit cannot be operated when err-or message is displayed. After
approx.30 seconds the unit will return 10 full Stop mode, or reset the player
by pressing "STOP" once and then inseff 0 disc 10 staff playing.
~"~"'~'-~-'"'"«¥~c,,--,,-'"",~,,"c"/ "~",C': :: ' cc ""-c,"" ,,- ;-"c",c,x,c '.":c'C'--~~~
Page 11

During playback, every time the PLAY MODE key is pressed, the mode will
change to the next one as follows:
NORMAL play -> INTRO -> SINGLE MUSIC -> SHUFFLE -> PROGRAM
* Repeat play of each mode is possible.
Normal Play -Playing the Whole Disc
The CD is played once from beginning to end.
Intro Play -Playing the First Ten Seconds
of All the Selections
WJ1. Press PLAY MODE during play until" tNTRO " , 1":12
flashes in the display window. WJ1IO,-
2. Press ~II to begin the INTRO play.
3. Pressing ~II again will cease the INTRO play
and continue playback in the NORMAL play WJ1IO1 ..
mode. -
* INTRO play always starls from the first track.
r::a =u. .
'C-:.'-~7~--~.".-",=",,=
Single Music -Playing Only One
Selection
[]IJ1. Press PLAY MODE during play until '1. r .
appears in the display window. J .
2. Select desired track to be played only once by
pressing ~ or ~ .
[]IJ1 3. To play only one track repeatedly, press
Ut. .
"REPEAT/ENTER" and '1;:1' will appear in the. .
display window.
Shuffle Play -Playing the Selections in
Random Order
Press PLAY MODE until .SHUFF' appears in the -U .:1
display window. -
Shuffle Play starls from the next track, or when
is pressed.
EO}J' ::1
EQ:BJTo play the selections in random order repeatedly, -n
press REPEAT/ENTER. After every selection has been U
played in random order, they will be reshuffled
and played repeatedly in a different order each
time.
* To locate the beginning of the track being
played: press1-+4 .
* To locate the next track: press ~ .However,
you cannot locate a previous track even if you
keep H.o4 pressed.
8'
Page 12

.--~,.".,-~-~
~
j
,
"
"
,:i
ili
";
~
;5
PROG (P,og,om) Ploy -Ploying the
Selections ;n the Desi,ed O,de,
1 P'ess PLAY MODE du,;ng ploy unl;1 .PROG .
ond .DD. flosh ;n th. d;sploy W;ndow
2. P,ess ~ 0, »t to select the des;,ed
seled;on
4. Repeat steps 2 and 3
.To repeat progrom play, press .REPEAT/ENTER. .
.If "STOP" is pressed or if the lid is opened, a/1 the programs will be
t!
,;
:~
.
cleared.
.If the program mode is exited by means of the "PLAY MODE" key, 0/1
the programs will remain in memory.
.During the program play, the AMS operates in the programed order.
To Edit Program Ploy:
To check: Press .REPEAT/ENTER" lightly during programming before you
press ~IL Each time .REPEATENTER. is pressed the track
To change: When checking press either ~ or ~ to 01ter the frock
To delete: When checking if the trock number of O program is seleded
REPEAT Play -Playing the Whole Disc Continuously
To repeat the whole disc (or selected tracks in Various Playing mode);
press REPEAT/ENTER and '0' will appear in the display window.
Notes on the LINE OUT jack
If the CD Player you purchased includes a set of line cords, you con
conned it to the input terminols of a stereo system for enhanced sound.
Adjust the volume control of the stereo system to a desired level.
.Please note the volume control of the CD Player will have no effect on
the sound level when the LINE OUT jack is used for connection.
.Do not use the headphones jack for connection to a stereo system as
sound may be distorted.
number appears in the display window.
number for the progrom currently displayed. Press .REPEAT/
ENTER. to register the newly seleded trock into memory.
oS .00., 011 the subsequent progrorns starting from ond
including that program will be cancelled.
EEl
Page 13

The Digital Anti-Shock System "DASS" incorporates a special electronic
circuit that prevents sound from skipping when the unit is subjected to
shocks and vibration during play.
When listening while walking or in a car, you should press "ANTISHOCK" button to prevent sound skipping. When it is pressed during
play the " ~1"'I-..:r"I..;. " indicator appears in the display and the Digital Anti-
Shock System turns on.
When the unit receives a physical shock which prevents the laser pick-up
from "reading" the CD, this system immediately starts playing the sound
stored in its memory and continues until the laser pick-up recovers.
If the unit is subjected to continuous shocks and all the data stored in
memory is used up the " ~1"'I-..:[8I..:. " mark will flash and the sound will skip.
If Ihe vibration SlopS then Ihe dala memory will be restored. If continuoUS
vibralion is applied when Ihe data memory is empty, an error message "
E,." will be displayed. To reset the CD player press" POWER OFF" once.
NOTES:
.In the "DIGITAL ANTI-SHOCK SYSTEM", battery power consump-
lion is more because the disc rotates fasler than normal and the
memory circuit is active.
.When Ihe Digital Anti-Shock System is switched on or off, Ihe sound will
be interrupted for a short time. This is normal.
.Under some conditions, noise may be heard or sound skipping may
occur.
-when the disc is dirty or scratched.
-when the disc contains certain signals.
-when the unit is subjected to a certain kind of shock.
In these conditions, try 10 release "DIGITAL ANT/-SHOCK SYS-
TEM."
Should any problem persist after you have made the following checks,
consult your nearest service facility.
Disc play does not star1:
.The LOCK switch of the CD player or the wired remote control-(if
supplied) is set to LOCK. The disc is inser1ed upside down or incorrectly.
Inser1 the disc correctly with the label surface up. Dusty or defective disc .
Dir1y or dusty lens. .The disc comportment lid is not closed .Moisture
condensation -> Leave the unit in a warm place until the moisture
evoporates .The AC power adaptor is not plugged into the wall outlet .
The unit is not placed on a level surface. Weak batteries
No sound from the headsets:
.The headphones/earphone plug is not firmly connected to the PHONES
jack. Adjust the VOL control. Dir1y plug
No sound from the connected speakers:
.Check the connections. The amplifier is not turned on
Skipping of sound:
.Dir1y or defective disc. Dir1y lens. .Strong vibration
When using with batteries the battery life is shor1:
.Manganese batteries are used. Use alkaline batteries
Display window shows "E,." error message and the unit cannot be
operated:
.Na disc, dir1y disc or scratched disc. The unit will return to full stop
mode after approx.30 seconds, or reset the ployer by pressing "STOP"
once and then inser1 a disc to start playing.
Cleaning the unit
Do not use volatile chemicals on this unit. Clean by lightly wiping with a
soft cloth.
Page 14

Cleaning CD
If the CD skips or will not play, the disc may need ta be cleaned. Before
playing, wipe the disc in a circular mation from the centre out with 0
cleaning cloth. After playing, store the disc in its case.
Handling the disc
Only touch the CD on the edge to avoid finger prints on its surface. Do
not stick paper or tape nor write anything on the surface.
General
Compad disc digital audio system
.Digital filter two-time oversampling
.Three-spot optical pick up
Output (at 1 KHz odB level) Line output (stereo minijack)
Power requirements 2 size AA (LR6 or SUM-3) alkaline batteries,
Dimensions
Weight
Operating voltage.
Design and specificatians ore subjed to change without notice.
Note: This appliance conforms with EEC Diredive 87/JO8/EEC regarding
interference suppression.
Output level 0.4V (Rms) at 47 Kil at 1 KHz
Heodphones/earphone (stereo minijack)
15 mW + 15 mWat 160 to 320
or DC IN 6V; 450mA power adaptor
Polarity of plug
e-c~
Approx. 130 x 33 x 145 mm (w/h/d)
Approx. 2359 (not incl. batteries)
U.S.A., Canada: 120V AC :!: 5% 60 Hz
Middle East and Australia: 240V AC :!: 5%
50Hz
UK and Germany: 230V AC :!: 5% 50 Hz
Chile: 230V AC :!: 5% 50 Hz
Singapore,Malaysia & Thailand: 200-240V
AC :!: 5% 50 Hz
japan: 100VAC :!:5% 50/60Hz
Before Use
Check your car stereo tape insert system before use. If necessary, change
the cord strain orientation (side of back edge of the cassette.) Some car
stereos do not work with the supplied car cassette adaptor.
liNE OUT
Page 15

~
.
1. Plug the cord into the LINE OUT jock.
2. Insert the car cassette odoptor into the cor stereo.
Cigarette lighter odaptor
Plug one end of the cigarette lighter adaptor into the DC6V jack and then
plug the other end into the cigorette lighter socket.
~
"
Cautions on the cigarette lighter adaptor
~,
.Use this unit only with the supplied cigarette lighter adoptor.
Use with other cigarette lighter adaptors could damage the unit.
~1
.When the inside of the cigarette lighter socket is dirty with ashes or dust,
the plug section may become hot due to poor contact. Be sure to dean
the cigarette lighter socket before use.
.After use, disconnect the cigarette lighter adaptor plugs from both this
unit and the cigarette lighter socket.
.The cigarette lighter adaptor may cause interference with reception from
the car radio or another radio inside the vehicle.
If this is the case, disconned the cigarette lighter adaptor from the
cigarette lighter socket, or use the radio at a distance from the cigarette
lighter adaptor.
ATTENTION: Please note the charge indicator may not light when the
batteries are being charged while using the supplied Car
Adaptor. In this case the batteries will still be fully charged as
long as the Car Adaptor is properly connected.
.The supplied cigarette lighter adaptor is designed for use with
vehicles that have a 12\1; negative ground electrical system.
.Most vehicles have this type of electrical system, but if you are unsure
aboulthe type your vehicle has, conlaclthe vehicle dealer
replacement or refund (see
other White-Westinghouse
Printed in CHINA
811-880391-010
 Loading...