

Audionet AMPERE User Manual

AMPERE
External Power Supply
User's Manual


3
Content
1! Preface 4!
1.1! Includes items 5!
1.2! Transport 5!
2! Overview front panel 6!
3! Overview back panel 7!
4! Installation and connection 8!
4.1! Placement 8!
4.2! Mains connection 9!
4.3! Connecting the mother unit 10!
5! Usage 11!
5.1! Powering up 11!
5.2! Switching on and off 11!
6! Protection system 13!
7! Technical Information 14!
8! Security advice 15!
9! Technical Data 16!

4
1 Preface
The Audionet Scientists Team and its leading scholars congratulate you on your
purchase of this unit, sending cheers directly from our research and development
center.
Surely you are already a satisfied owner of an Audionet device. With the external
power supply AMPERE you have the possibility to provide all connected units
with a more sophisticated foundation.
Even if you're an experienced aficionado of ultra-highend components, please
start listening to your new Audionet AMPERE by reading this manual carefully
before you plug it in. This will ensure you'll enjoy all functions of this unit without
any compromise or potential disruption.

5
1.1 Includes items
You will find the following items included:
• The External Power Supply AMPERE
• The user's manual (that you are currently reading)
• One AMPERE connection cable
• One standard mains cord
1.2 Transport
Important
• Please transport the AMPERE only in the included package.
• Always use the plastic bag to prevent scratches on the casing.
• Please allow the AMPERE to adapt to the climatic conditions in your listening
room before you switch on the unit for the first time after transport.
6
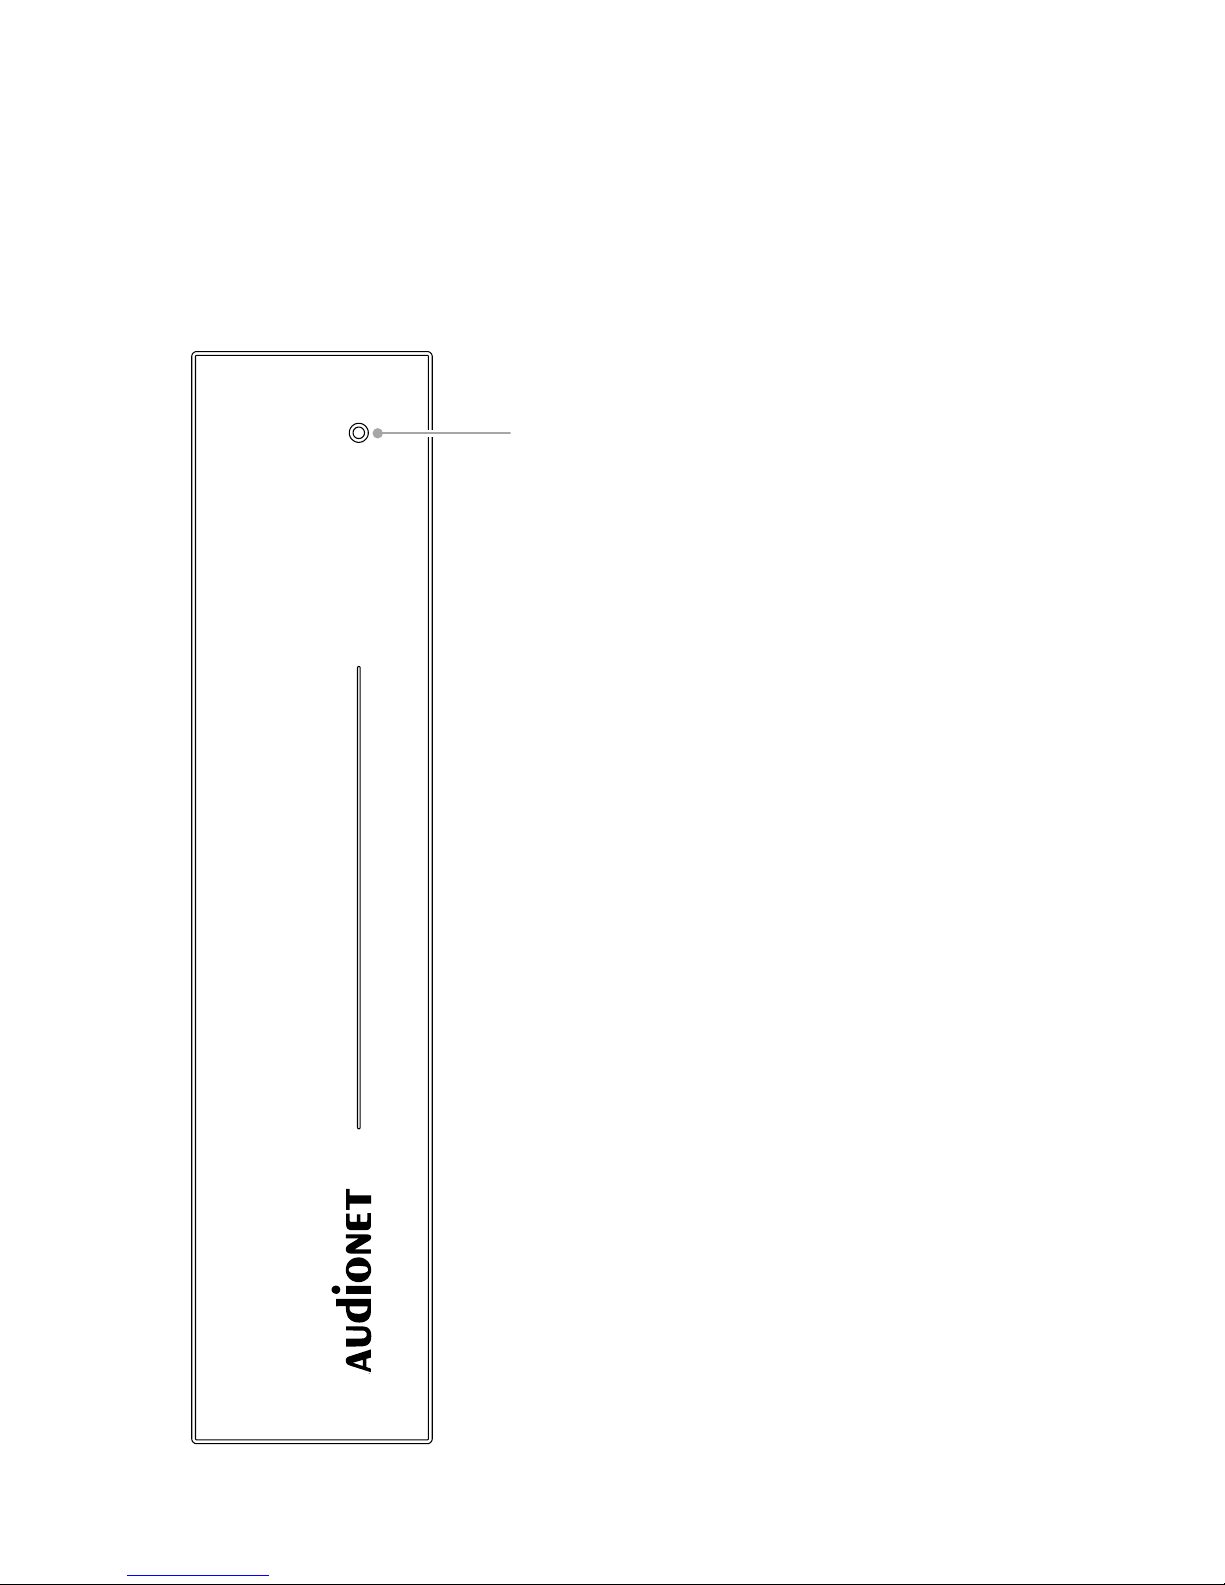
2 Overview front panel
AMPERE
audionet
AMPERE
LED
(power indicator)
 Loading...