

Page 1
User's Guide
AudioCodes Media Gateways & Session Border Controllers
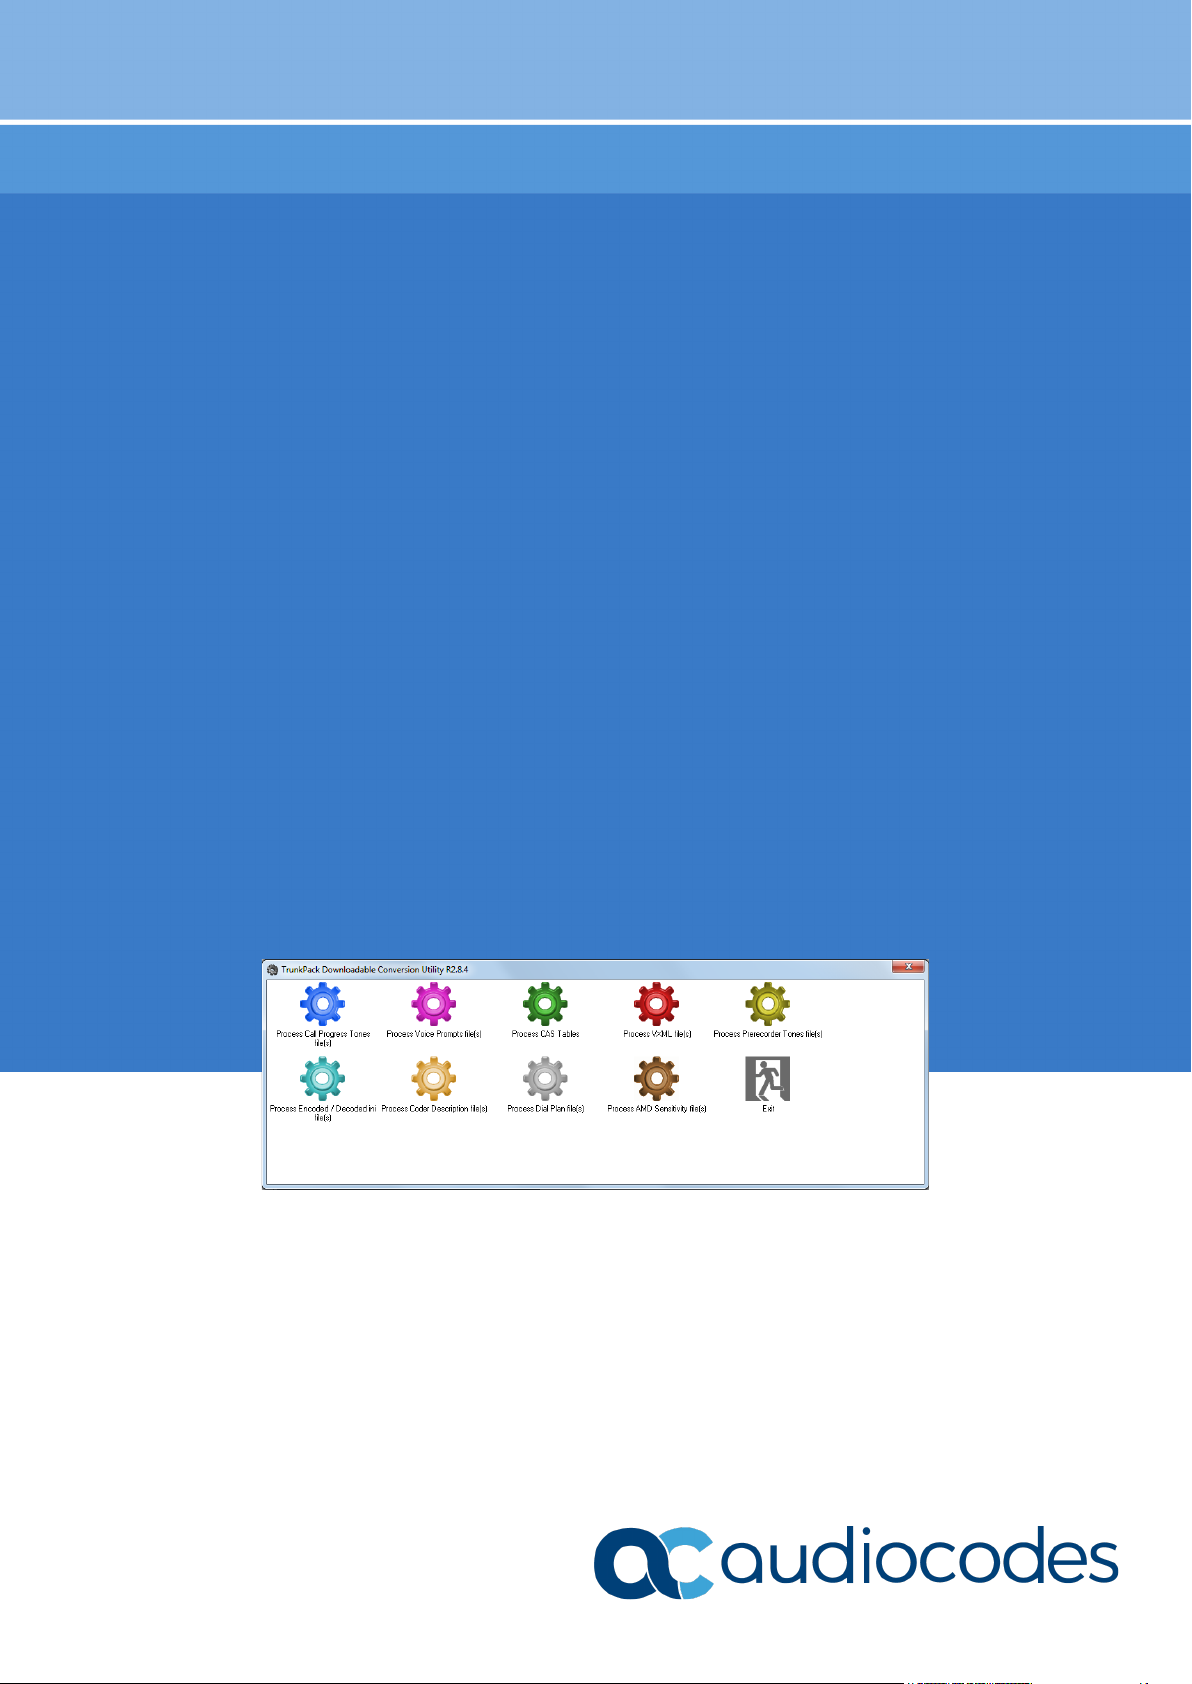
TrunkPack Downloadable
Conversion Utility
Version 2.8
Page 2

Page 3

User's Guide Contents
Table of Contents
1 Introduction ......................................................................................................... 7
2 Starting the DConvert Utility .............................................................................. 9
3 Converting a CPT ini File to a Binary dat File ................................................. 11
4 Creating a Loadable Voice Prompts File ......................................................... 13
5 Creating a Loadable CAS Protocol Table File ................................................ 15
6 Creating a Dial Plan File ................................................................................... 17
7 Encoding and Decoding an ini File .................................................................. 19
8 Creating a Loadable Prerecorded Tones File ................................................. 21
9 Creating a Loadable AMD Sensitivity File ....................................................... 25
Version 2.8 3 DConvert Utility
Page 4

DConvert Utility
This page is intentionally left blank.
User's Guide 4 Document #: LTRT-30524
Page 5

User's Guide Notices
Notice
Information contained in this document is believed to be accurate and reliable at the time of
printing. However, due to ongoing product improvements and revisions, AudioCodes cannot
guarantee accuracy of printed material after the Date Published nor can it accept responsibility
for errors or omissions. Updates to this document can be downloaded from
https://www.audiocodes.com/library/technical-documents.
This document is subject to change without notice.
Date Published: November-23-2020
WEEE EU Directive
Pursuant to the WEEE EU Directive, electronic and electrical waste must not be disposed of
with unsorted waste. Please contact your local recycling authority for disposal of this product.
Customer Support
Customer technical support and services are provided by AudioCodes or by an authorized
AudioCodes Service Partner. For more information on how to buy technical support for
AudioCodes products and for contact information, please visit our website at
https://www.audiocodes.com/services-support/maintenance-and-support.
Abbreviations and Terminology
Each abbreviation, unless widely used, is spelled out in full when first used.
Document Revision Record
LTRT Description
30521 Initial document release for Version 2.8
30522 Updated with new logos and URLs
30523 PRT file updated (acUserDefineTone)
30524 AcUserDefineTone for playing tone upon call connect
Version 2.8 5 DConvert Utility
Page 6

DConvert Utility
Documentation Feedback
AudioCodes continually strives to produce high quality documentation. If you have any
comments (suggestions or errors) regarding this document, please fill out the Documentation
Feedback form on our website at https://online.audiocodes.com/documentation-feedback.
User's Guide 6 Document #: LTRT-30524
Page 7
User's Guide 1. Introduction
1 Introduction
This document describes the AudioCodes proprietary TrunkPack Downloadable Conversion
(DConvert) utility.
This utility is used to create the following files for loading (installing) to the device:
Call Progress Tones (CPT) file – see Section 3 on page 11
Voice Prompts (VP) file from prerecorded voice messages – see Section 4 on page 13
CAS protocol table file – see Section 5 on page 15
Dial Plan file – see Section 6 on page 17
Encode / decode an ini file – see Section 7 on page 19
Prerecorded Tones file – see Section 8 on page 20
AMD Sensitivity file – see Section 9 on page 25
Note: Some file types are applicable only to specific features and telephony
interfaces and thus, may not be relevant for certain devices.
Version 2.8 7 DConvert Utility
Page 8

DConvert Utility
This page is intentionally left blank.
User's Guide 8 Document #: LTRT-30524
Page 9

User's Guide 2. Starting the DConvert Utility
2 Starting the DConvert Utility
The DConvert file is supplied with your software package.
To start DConvert, do one of the following:
On your desktop, click the icon.
Double-click the DConvert.exe file.
Figure 2-1: Main Screen
Note: The Process VXML file(s) and Process Coder Description files(s) options
are not applicable.
Version 2.8 9 DConvert Utility
Page 10

DConvert Utility
This page is intentionally left blank.
User's Guide 10 Document #: LTRT-30524
Page 11

User's Guide 3. Converting a CPT ini File to a Binary dat File
3 Converting a CPT ini File to a Binary dat
File
The procedure below describes how to convert a Call Progress Tones (CPT) ini file to a
binary *.dat file, using DConvert. For detailed information on creating a CPT ini file, refer to
the device>s User's Manual.
To convert a CPT ini file to a binary dat file:
1. Click the Process Call Progress Tones File(s) button; the 'Call Progress Tones'
dialog box opens, shown in the figure below.
Figure 3-1: Call Progress Tones Dialog Box
2. Under the 'Call Progress Tones File' group, click the Select File button.
3. Navigate to the folder that contains the CPT ini file that you want to convert.
4. Select the ini file, and then click the Open button; the name and path of both the ini file
and the (output) dat file appears in the fields below the Select File button.
5. Under the 'User Data' group, enter the perform the following:
a. In the 'Vendor' field, enter the vendor's name (maximum length is 256 characters).
b. In the 'Version' field, enter the version number. The format is composed of two
integers separated by a period '.' (e.g., 1.2, 23.4, 5.22)/
c. In the 'Version Description' field, enter a brief description of this file. The
maximum length is 256 characters.
Version 2.8 11 DConvert Utility
Page 12

DConvert Utility
6. The default value of the 'CPT Version' drop-down list is Version 3. Perform one of the
following:
• If the software version you are using is prior to version 4.4, select Version 1 (to
maintain backward compatibility).
• If the software version you are using is 4.4, select Version 2.
• Otherwise, leave the value at its default.
7. Select the 'Use dBm units for Tone Levels' check box. Note that the levels of the call
progress tones (in the CPT file) must be in -dBm units.
8. Click the Make File button; the file is created and a message box is displayed when
successfully complete.
9. Close the application.
User's Guide 12 Document #: LTRT-30524
Page 13

User's Guide 4. Creating a Loadable Voice Prompts File
4 Creating a Loadable Voice Prompts File
The procedure below describes how to create a loadable Voice Prompts file, using DConvert.
For detailed information on the Voice Prompts file, refer to device's User's Manual.
To create a loadable Voice Prompts dat file from your voice recording files:
1. Click the Process Voice Prompts File(s) button; the 'Voice Prompts' dialog box
opens.
Figure 4-1: Voice Prompts Screen
2. To add the prerecorded voice files to the 'Voice Prompts' screen, perform one of the
following:
• Select the files and drag them into the 'Voice Prompts' screen.
• Click the Add File(s) button; the 'Select Files' screen opens. Select the required
Voice Prompt files, and then click the Add button. Close the 'Select Files' screen.
3. Arrange the files according to your requirements by dragging and dropping them from
one location in the list to another. Note that the order of the files determines their
assigned Voice Prompt ID.
Tips:
Version 2.8 13 DConvert Utility
• Use the Play button to listen to the wav files.
• Use the Remove and Remove all buttons to delete files from the list.
Page 14

DConvert Utility
4. For each of the raw files, select a coder that corresponds to the coder in which it was
originally recorded, by completing the following steps:
a. Double-click or right-click the required file(s); the 'File Data' window (shown in the
figure below) appears.
b. From the 'Coder' drop-down list, select the required coder type.
c. In the 'Description' field, enter additional identifying information.
d. Close the 'File Data' window.
Note: For wav files, a coder is automatically selected from the wav file's header.
Figure 4-2: File Data Window
5. In the 'Output' field, specify the directory to which the Voice Prompts file is generated,
followed by the name of the Voice Prompts file (the default name is voiceprompts.dat).
6. Click the Make File(s) button; the Voice Prompts loadable file is produced.
User's Guide 14 Document #: LTRT-30524
Page 15

User's Guide 5. Creating a Loadable CAS Protocol Table File
5 Creating a Loadable CAS Protocol Table
File
The procedure below describes how to create a loadable CAS Protocol Table file, using
DConvert.
To create a loadable CAS protocol table file:
1. Create the CAS protocol files (xxx.txt and UserProt_defines_xxx.h).
2. Copy the files generated in the previous step to the same directory in which DConvert is
located. Ensure that the files CASSetup.h and cpp.exe are also located in the same
directory.
3. Start DConvert.
4. Click Process CAS Tables button; the Channel Associated Signaling (CAS) screen
opens, shown in the figure below.
Figure 5-1: Call Associated Signaling (CAS) Screen
5. Under the 'CAS File' group, click Select File, navigate to the folder in which the file is
located, and then select the txt file you want converted; the 'Output File' field displays
the file name and path, but with a dat extension. The table's name is also automatically
designated.
Version 2.8 15 DConvert Utility
Page 16

DConvert Utility
6. Under the 'User Data' group, perform the following:
a. In the 'Vendor' field, enter the vendor's name (maximum of 32 characters).
b. In the 'Version' field, enter the version number. The value must be in the following
format: [number] [single period '.'] [number] (e.g., 1.2, 23.4, 5.22)
7. In the 'Table Name' field, modify the name according to your requirements.
8. To create a file (for troubleshooting purposes) that contains the name of the States and
their actual values, select the 'Output state names to file' check box; the default file name
TableStateNames.txt appears in the adjacent field (you can modify the name of the file).
The generated file is to be located in the same directory as DConvert.
9. From the 'Table Format' drop-down list, select the format you want to use:
• Old Format: supported by all versions. Many CAS features are not supported in
this format.
• New Format: supported from 4.2 and later. From 5.2 and later a few new features
are not supported by this format.
• Dynamic Format: supported from 5.2 and later. Some 5.2 features are only
supported by this format. The size of the file with dynamic format is significantly
lower that other formats.
10. Click Make File; the dat file is generated and saved in the directory specified in the
'Output File' field. A message box informing you that the operation was successful
indicates that the process is completed. In the pane at the bottom of the Call Assisted
Signaling (CAS) Files(s) screen, the CAS output log box displays the log generated by
the process. It can be copied as needed. The information in it isn't retained after the
screen is closed.
User's Guide 16 Document #: LTRT-30524
Page 17

User's Guide 6. Creating a Dial Plan File
6 Creating a Dial Plan File
The procedure below describes how to create a Dial Plan file, using DConvert.
To create a Dial Plan file:
1. Construct a Dial Plan text file. For detailed information on creating a Dial Plan file, refer
to the device's User's Manual.
2. Start DConvert.
3. Click the Process Dial Plan File(s) button; the 'Dial Plan File(s)' window appears.
Figure 6-1: Dial Plan Screen
4. Click the Select File button, navigate to the desired folder, and then select the file to be
converted; the selected file name (but with the .dat extension) and path is displayed in
the 'Output File' field. The output file name may be altered.
5. Click the Make File button. The .dat file is generated and saved in the same directory
as shown in the 'Output File' field. A message box informing you that the operation was
successful indicates that the process has been completed.
6. On the bottom of the 'Coders' window, the 'Output' log box displays the log generated
by the process. It may be copied as needed. This information is not retained after the
window is closed.
Note: The process verifies the input file for validity. Invalid data causes an error and
aborts the process. In such a case, the log box contains further information.
Version 2.8 17 DConvert Utility
Page 18

DConvert Utility
This page is intentionally left blank.
User's Guide 18 Document #: LTRT-30524
Page 19

User's Guide 7. Encoding and Decoding an ini File
7 Encoding and Decoding an ini File
The procedure below describes how to encode and decode an ini file, using DConvert. For
detailed information on secured ini file, refer to the device's User's Manual.
To encode an ini file:
1. Click the Process Encoded/Decoded ini file(s) button; the 'Encode/Decode ini
File(s)' screen, shown below, opens.
Figure 7-1: Encode / Decode ini File(s) Screen
2. Under the 'Encode ini File(s)' group, click the Select File button.
3. Navigate to the folder that contains the ini file you want to encode.
4. Select the ini file, and then click the Open button; the name and path of both the ini file
and the output encoded file appear in the fields under the Select File button. Note that
the name and extension of the output file can be modified.
5. Click the Encode File(s) button; an encoded ini file with the name and extension you
specified is created.
To decode an encoded ini file:
1. Under the 'Decode ini File(s)' group, click the Select File button.
2. Navigate to the folder that contains the file you want to decode.
3. Click the file and click the Open button; the name and path of both the encode ini file
and the output decoded file appear in the fields under the Select File button. Note that
the name of the output file can be modified.
4. Click the Decode File(s) button; a decoded ini file with the name you specified is
created.
Note: The decoding process verifies the input file for validity. Any change made to
the encoded file causes an error and the decoding process is aborted.
Version 2.8 19 DConvert Utility
Page 20

DConvert Utility
This page is intentionally left blank.
User's Guide 20 Document #: LTRT-30524
Page 21

User's Guide 8. Creating a Loadable Prerecorded Tones File
8 Creating a Loadable Prerecorded Tones
File
The procedure below describes how to create a loadable Prerecorded Tones (PRT) file with
all your recorded tones, using DConvert. For detailed information on PRT files, refer to the
device's User's Manual.
Note: It is highly recommended to avoid using the Linear PCM coder.
To create a loadable PRT dat file from your raw data files:
1. Prepare the recorded tone files (.wav), using a standard third-party, recording program.
2. Start DConvert.
3. Click the Process Prerecorder Tones File(s) button; the Prerecorded Tones
File(s) screen opens.
Figure 8-1: Prerecorded Tones Screen
Version 2.8 21 DConvert Utility
Page 22

DConvert Utility
4. To add the recorded files (that you created in Step 1) that you want to combine into a
single PRT (.dat file), perform one of the following:
• Select the files and drag them into the 'Prerecorded Tones File(s)' screen.
• Click the Add File(s) button; the 'Select Files' screen opens. Select the required
PRT files, and then click the Add button. Close the 'Select Files' screen.
5. For each raw data file, define a tone type, a coder, and the default duration, by
completing the following steps:
a. Double-click or right-click the required file; the 'File Data' window (shown in the
figure below) appears.
b. From the 'Type' drop-down list, select the tone type with which this raw data file is
associated.
If you want to specify a tone for the below features, you need to select the
acUserDefineTone<Index> type. You can then configure the following
parameters with the index number of the user-defined tone:
♦ Playing Local Ringback Tone per IP Profile (IPProfile_LocalRingbackTone)
♦ Playing Local Held Tone per IP Profile (IPProfile_LocalHeldTone)
♦ Playing Test Call Tone (Test_Call_PlayToneIndex)
♦ Playing Tone upon Call Connect (using the
var.call.src|dst.PlayToneOnConnect variable in SIP Message Manipulations)
Figure 8-2: Selecting acUserDefineTone<Index> for User-Defined Tones
c. From the 'Coder' drop-down list, select the coder that corresponds to the coder
with which this raw data file was originally recorded.
d. In the 'Description' field, enter brief identifying information (optional).
e. In the 'Default' field, enter the default duration this raw data file is repeatedly
played.
Figure 8-3: File Data Window
User's Guide 22 Document #: LTRT-30524
Page 23

User's Guide 8. Creating a Loadable Prerecorded Tones File
The following figure shows an example of a PRT file being created with multiple recorded
tones:
Figure 8-4: Added Recorded Files to PRT File
6. Close the 'File Data' window (press the Esc key to cancel your changes); you are
returned to the 'Prerecorded Tones File(s)' screen.
7. In the 'Output' field, specify the output directory in which the PRT file is generated,
followed by the name of the PRT file (the default name is prerecordedtones.dat).
Alternatively, use the Browse button to select a different output file, navigate to the
desired file, and then select it; the selected file name and its path appear in the 'Output'
field.
8. Click the Make File(s) button; the progress bar at the bottom of the window is activated.
The dat file is generated and saved in the directory specified in the 'Output' field. A
message box informing you that the operation was successful indicates that the process
is completed.
Version 2.8 23 DConvert Utility
Page 24

DConvert Utility
This page is intentionally left blank.
User's Guide 24 Document #: LTRT-30524
Page 25

User's Guide 9. Creating a Loadable AMD Sensitivity File
9 Creating a Loadable AMD Sensitivity File
The procedure below describes how to create a loadable AMD Sensitivity file (*.dat), using
DConvert. For detailed information on this file, refer to the device's User's Manual.
To convert an AMD Sensitivity *.xml file to a binary dat file:
1. Start DConvert.
2. Click the Process AMD Sensitivity File(s) button; the ‘AMD Sensitivity File(s)’
dialog box opens, shown in the figure below.
Figure 9-1: AMD Sensitivity File(s) Dialog Box
3. Click the Select File button and then navigate and select the AMD file in XML format.
Figure 9-2: Select File
4. Click the Make File button to convert it to a *.dat file.
Version 2.8 25 DConvert Utility
Page 26

International Headquarters
1 Hayarden Street,
Airport City
Lod 7019900, Israel
Tel: +972-3-976-4000
Fax: +972-3-976-4040
AudioCodes Inc.
200 Cottontail Lane,
Suite A101E,
Somerset, NJ 08873
Tel: +1-732-469-0880
Fax: +1-732-469-2298
Contact us: https://www.audiocodes.com/corporate/offices-worldwide
Website:
©2020 AudioCodes Ltd. All rights reserved. AudioCodes, AC, HD VoIP, HD VoIP Sounds Better, IPmedia, Mediant,
MediaPack, What’s Inside Matters, OSN, SmartTAP, User Management Pack, VMAS, VoIPerfect, VoIPerfectHD, Your
Gateway To VoIP, 3GX, VocaNom, AudioCodes One Voice, AudioCodes Meeting Insights, AudioCodes Room Experience
and CloudBond are trademarks or registered trademarks of AudioCodes Limited. All other products or trademarks are
property of their respective owners. Product specifications are subject to change without notice.
https://www.audiocodes.com/
Document #: LTRT-30524
 Loading...