Audac CMP30 User Manual
CMP30
User Manual
www.audac.eu

2

Index
Introduction |
4 |
Precautions |
5 |
Safety requirements |
5 |
Caution servicing |
5 |
EC Declaration of Conformity |
5 |
Waste of Electrical and Electronic Equipment (WEEE) |
6 |
Caution |
6 |
Class 1 laser product |
6 |
Chapter 1: Pin connections and connectors |
7 |
Connection standards |
7 |
Chapter 2: Front & rear panel |
8 |
Front panel overview |
8 |
Front panel description |
8 |
Functions overview |
11 |
Rear panel overview |
13 |
Rear panel description |
13 |
Chapter 3: Quick start guide |
14 |
Chapter 4: Additional information |
15 |
Technical specifications |
15 |
Notes |
16 |
3

Introduction
Digital audio source - CD, MP3 & Tuner
The CMP30 is an All-In-One audio source device which accommodates three different kinds of audio sources into one single device.
It combines a CD-Player, MP3-player and AM/FM tuner into one single rack space 19” housing. On the front side is a CD slot, an USB slot and a SD/MMC memory card slot provided. This makes it possible to play regular audio CD’s as well as MP3 files from either CD’s, USB memory sticks or SD/MMC memory cards.
On the rear side of the device are three stereo outputs provided. Two of them are dedicated to the tuner and CD/MP3 function, while the third output is a variable output. Because of the two separate stereo outputs, the tuner and CD/MP3 player can operate simultaneously.
This feature can be useful for applications such as Multi-Zone systems where multiple audio sources are required at the same time.
The variable output has a volume control function and carries the signal from the CD/MP3 player when a track is playing, but when the CD/MP3 has ended, the variable output will automatically switch to tuner function.
4
Precautions
READ FOLLOWING INSTRUCTIONS FOR YOUR OWN SAFETY
ALWAYS KEEP THESE INSTRUCTIONS. NEVER THROW THEM AWAY
ALWAYS HANDLE THIS UNIT WITH CARE
HEED ALL WARNINGS
FOLLOW ALL INSTRUCTIONS
NEVER EXPOSE THIS EQUIPMENT TO RAIN, MOISTURE, ANY DRIPPING OR SPLASHING LIQUID. AND NEVER PLACE AN OBJECT FILLED WITH LIQUID ON TOP OF THIS DEVICE.
DO NOT PLACE THIS UNIT IN AN ENCLOSED ENVIRONMENT SUCH AS A BOOKSHELF OR CLOSET. ENSURE THERE IS ADEQUATE VENTILATION TO COOL THE UNIT. DO NOT BLOCK THE VENTILATION OPENINGS.
DO NOT STICK ANY OBJECTS THROUGH THE VENTILATION OPENINGS.
DO NOT INSTALL THIS UNIT NEAR ANY HEAT SOURCES SUCH AS RADIATORS OR OTHER APPARATUS THAT PRODUCE HEAT
DO NOT PLACE THIS UNIT IN ENVIRONMENTS WHICH CONTAIN HIGH LEVELS OF DUST, HEAT, MOISTURE OR VIBRATION
THIS UNIT IS DEVELOPED FOR INDOOR USE ONLY. DO NOT USE IT OUTDOORS
PLACE THE UNIT ON A STABLE BASE OR MOUNT IT IN A STABLE RACK
ONLY USE ATTACHMENTS & ACCESSORIES SPECIFIED BY THE MANUFACTURER
UNPLUG THIS APPARATUS DURING LIGHTNING STORMS OR WHEN UNUSED FOR LONG PERIODS OF TIME
ONLY CONNECT THIS UNIT TO A MAINS SOCKET OUTLET WITH PROTECTIVE
EARTHING CONNECTION
CAUTION - SERVICING
This product contains no user serviceable parts. Refer all servicing to qualified service personnel. Do not perform any servicing (unless you are qualified to)
EC DECLARATION OF CONFORMITY
This product conforms to all the essential requirements and further relevant specifications described in following directives: 2004/108/EC (EMC) and 2006/95/EC (LVD)
5
WASTE ELECTRICAL AND ELECTRONIC EQUIPMENT (WEEE)
The WEEE marking indicates that this product should not be disposed with regular houshold waste at the end of its working life. This regulation is created to prevent any possible harm to the environment or human health.
This product is developed and manufactured with high quality materials and components which can be recycled and/or reused. Please dispose this product to your local collection point or recycling centre for electrical and electronic waste. This will make to sure that it will be recycled on an environmentally friendly manner, and will help to protect the environment in which we all live.
CAUTION
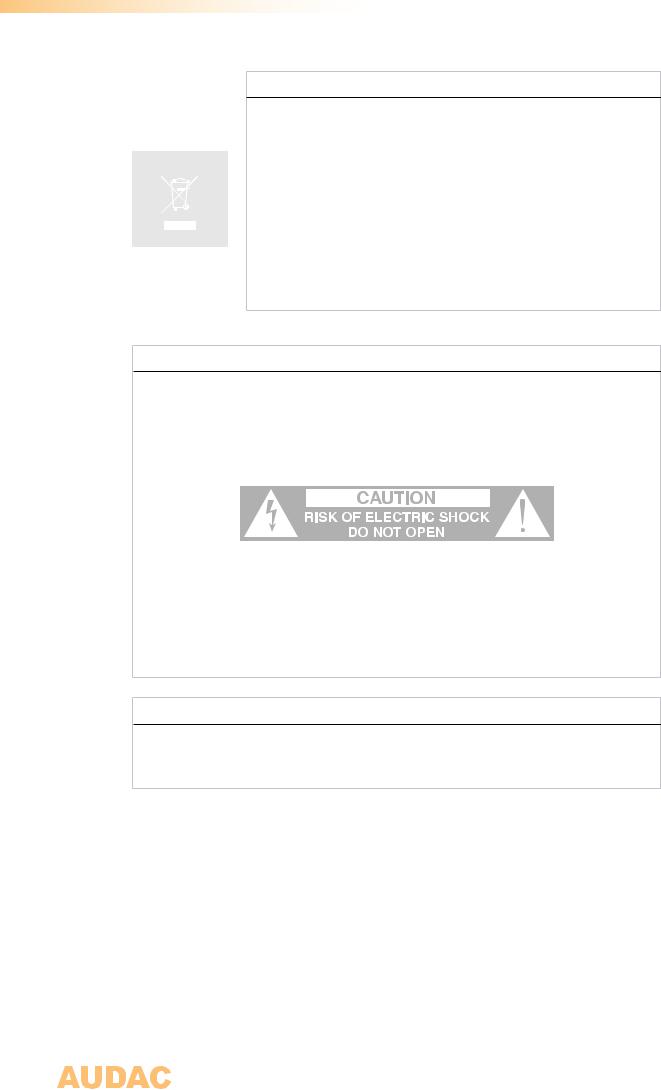
The symbols shown are internationally recognized symbols that warn about potentional hazards of electrical products. The lightning flash with arrowpoint in an equilateral triangle means that the unit contains dangerous voltages. The exclamation point in
an equilateral triangle indicates that it is necessary for the user to refer to the users manual.
These symbols warn that there are no user serviceable parts inside the unit. Do not open the unit. Do not attempt to service the unit yourself. Refer all servicing to qualified personnel. Opening the chassis for any reason will void the manufacturer’s warranty. Do not get the unit wet. If liquid is spilled on the unit, shut it off immediately and take it to a dealer for service. Disconnect the unit during storms to prevent damage.
CLASS 1 LASER PRODUCT
This product is equipped with an optical unit containing a Class 1 laser.
Improper use can result in hazardous radiation exposure. This product should not be adjusted or repaired by anyone except properly qualified service personnel.
6
Chapter 1
Pin connections and connectors
CONNECTION STANDARDS
The inand output connections for AUDAC audio equipment are performed corresponding to international wiring standards for professional audio equipment.
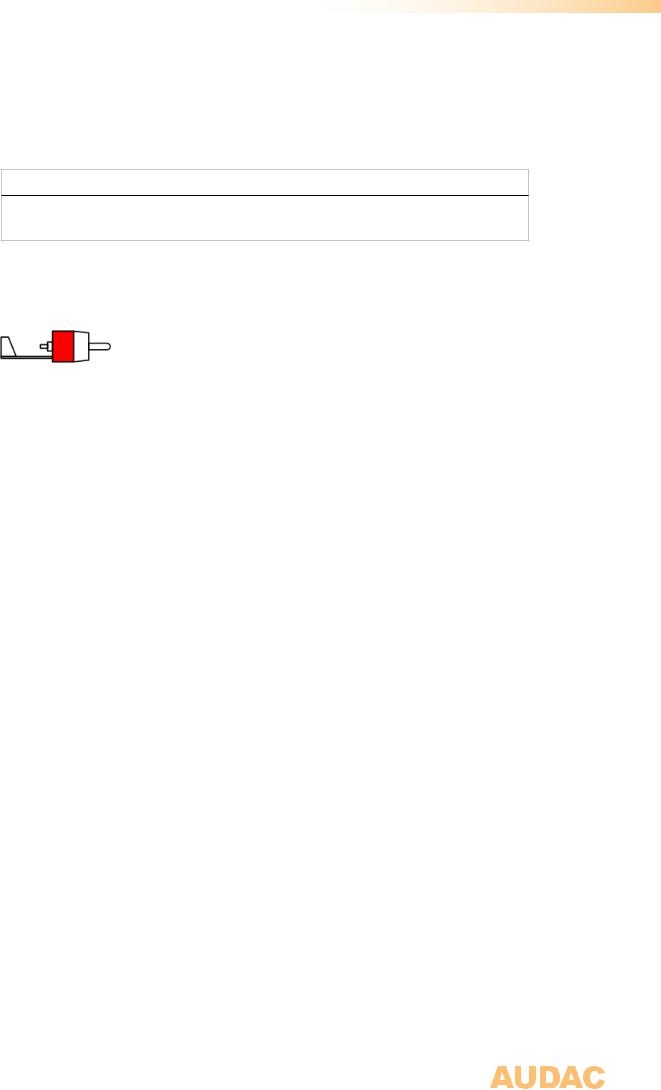
Cinch (RCA):
For unbalanced output connections:
Tip: |
Signal |
Sleeve: |
Ground |
White: |
Left |
Red: |
Right |
7
Chapter 2
Front & rear panel
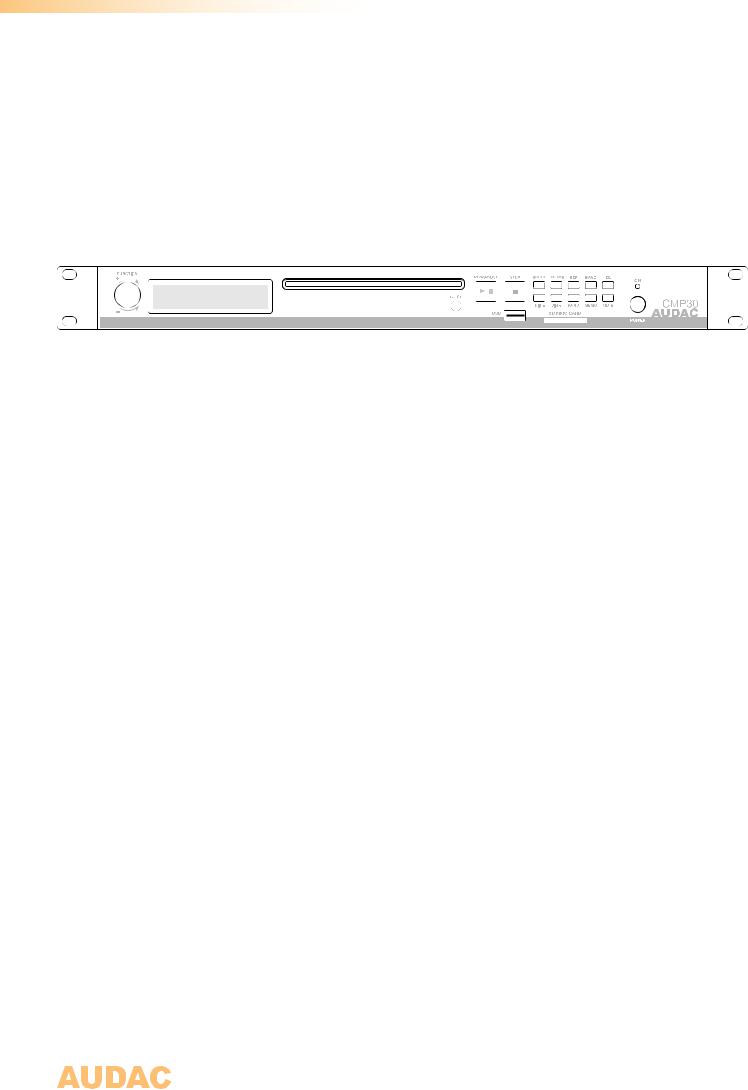
Front Panel overview
Front panel description
Function rotary dial (FUNCTION):
The function rotary dial allows to switch the device between Tuner, CD or USB & SD/MMC operation mode by pressing a short term. It will switch between the several modes in this sequence. By rotating this dial, the output volume for the ‘Variable audio output’ can be adjusted.
By pressing and holding this button, the playback mode will be switched between ‘Single Play’ and ‘Normal Play’ mode. In ‘Normal play’ mode, the next track will automatically start playing when the current track is finished. In ‘Single play’ mode, the player will fall into stop mode after the current track being finished, waiting for a ‘Play’ command (press the Play button) before playing the next track. In situations where the device is used for music, usually the ‘Normal Play’ mode will be desirable, while in other situations such as educational purposes, houses of worships or gym’s the ‘Single Play’ mode can provide great user convenience.
LCD Display:
The LCD Display shows the current operation mode of the unit. It shows which radio station is playing, which audio track is playing, which functions are enabled, …
CD Slot:
Audio CD’s shall be inserted into this drive. The drive will load the CD automatically when it is inserted into this slot. Only use CD’s with normal round shape and with normal size (12 cm). Always check if the CD slot is empty before inserting a CD and don’t force the CD into the slot when it doesn’t accept the CD automatically. When a CD is inserted, the device will automatically start playing it.
CD Eject button (EJECT):
This button shall be pressed to remove the CD from the drive. After this button being pressed, the CD will be ejected from the drive and can be taken out by the user. If the CD is not taken within ~10 seconds, the CD will be automatically inserted to the drive again.
8
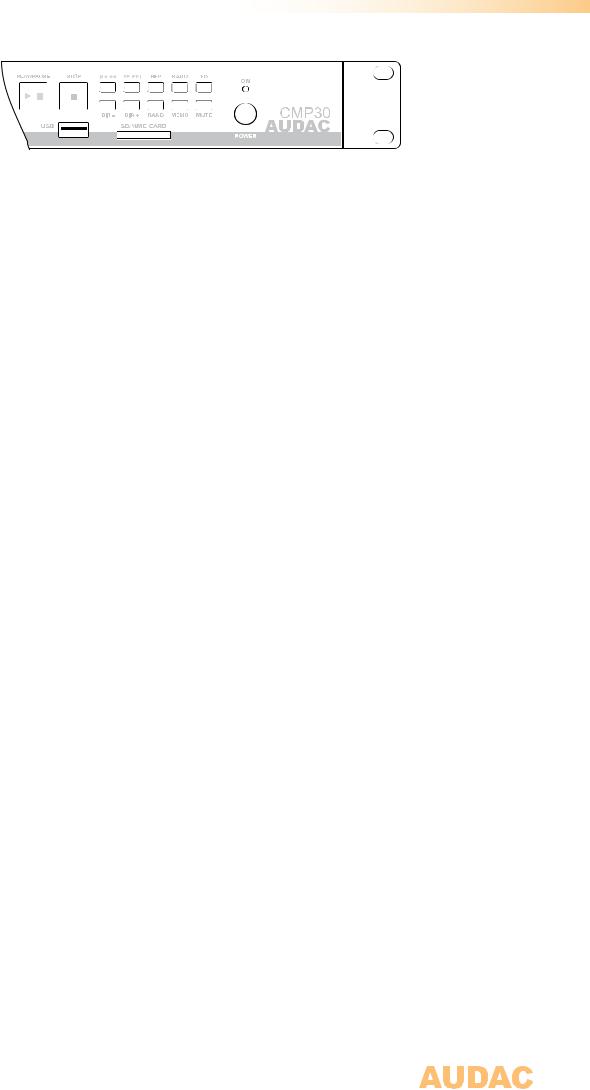
Play / Pause button (PLAY/PAUSE):
• CD, USB & SD/MMC mode:
Press: The music from the CD or USB & SD/MMC can be started and paused with this button. When a track currently is playing, it will be paused after pressing this button and the current position (Track no and time) will be shown on the display. It will resume to play after pressing this button again.
• Tuner mode:
Press & Hold: By pressing and holding this button, the current chosen radio frequency will be stored on ‘Position 1’ of the selected band.
Stop button (STOP):
• CD, USB & SD/MMC mode:
The currently playing track will be stopped when pressing this button. After pressing ‘Play’ again, it will resume to play at the absolute beginning of the inserted data carrier.
• Tuner mode:
Press & Hold: By pressing and holding this button, the current chosen radio frequency will be stored on ‘Position 2’ of the selected band.
Tuning down / CD-Mp3 Track selection down ( ):
):
• CD, USB & SD/MMC mode:
In CD or USB & SD/MMC mode, the playing track and position in the track can be selected with this button.
Press: By pressing this button for a short term, the previous track will be selected
Press & Hold: By pressing and holding this button, the position in the currently playing track can be selected (backwards). After the button is released the track will resume to play from this point.
• Tuner mode:
In tuner mode, the desired radio station can be selected with this button.
Press: By pressing this button one single time, the previous radio station will be searched in auto seek mode, and when used in manual seek mode the selected frequency will decrease one step.
Press & Hold: By pressing and holding this button, the selection mode for the tuner will be switched to manual seek mode and the frequency can be decreased by holding / pressing this button. It will resume automatically to auto seek mode after about ~3 seconds.
Tuning up / CD-Mp3 Track selection up ( ):
):
• CD, USB & SD/MMC mode:
In CD or USB & SD/MMC mode, the playing track and position in the track can be selected with this button.
Press: By pressing this button for a short term, the next track will be selected
9

Press & Hold: By pressing and holding this button, the position in the currently playing track can be selected (forward). After the button is released the track will resume to play from this point.
• Tuner mode:
In tuner mode, the desired radio station can be selected with this button.
Press: By pressing this button one single time, the next radio station will be searched in auto seek mode, and when used in manual seek mode the selected frequency will increase one step.
Press & Hold: By pressing and holding this button, the selection mode for the tuner will be switched to manual seek mode and the frequency can be increased by holding / pressing this button. It will resume automatically to auto seek mode after about ~3 seconds.
Repeat (REP):
• CD, USB & SD/MMC mode:
With this button, the repeat mode can be selected between Repeat One (Repeats currently playing track), Repeat Folder (Repeats all tracks in currently playing folder), Repeat All (Repeats all tracks on inserted data carrier) and Repeat Off (Stops playing after all tracks are played once) in this sequence. Press this button to toggle between the different repeat modes.
• Tuner mode:
Press & Hold: By pressing and holding this button, the current chosen radio frequency will be stored on ‘Position 3’ of the selected band.
Band select for the tuner (BAND):
• Tuner mode:
Press this button to select between the different tuner bands. The different tuner bands are FM1 / FM2 / FM3 / MW1 / MW2 and will be selected in this sequence.
• CD, USB & SD/MMC mode:
Press this button to display the information of the ID3 tag of the current track. (Folder / File / Title / Artist / Album)
Press & Hold: By pressing and holding this button, the loudness can be switched On and Off.
Equalizer select (Flat / Classic / Pop / Rock / Off ) (EQ):
Press this button to switch between different equalizer presets: Flat / Classic / Pop / Rock / Off. They will be selected in this sequence.
Search down (DIR -):
• CD, USB & SD/MMC mode:
Press this button to jump to a lower folder.
• Tuner mode:
Press: Press this button in tuner mode to select the previous programmed radio preset.
Press & Hold: By pressing and holding this button, the current chosen radio frequency will be stored on ‘Position 5’ of the selected band.
10
 Loading...