

Page 1
Get started Total approximate installation time: 35 minutes
AT&T U -verse® Wi-Fi
Gateway Replacement
For use with
High Speed
Internet and TV.
Begin anytime! You don’t need to wait until the
Service Activation Date listed on your packing slip.
Need more help?
Go online: Visit att.com/uversesupport
Call us: Dial 800.288.2020 and ask for “U-verse technical support.”
Having trouble?
Many issues can be resolved with these simple steps:
ATT130950864-2
(UV NVG589 to NVG 589 (like for like)
without Voice swap guide)
4/13
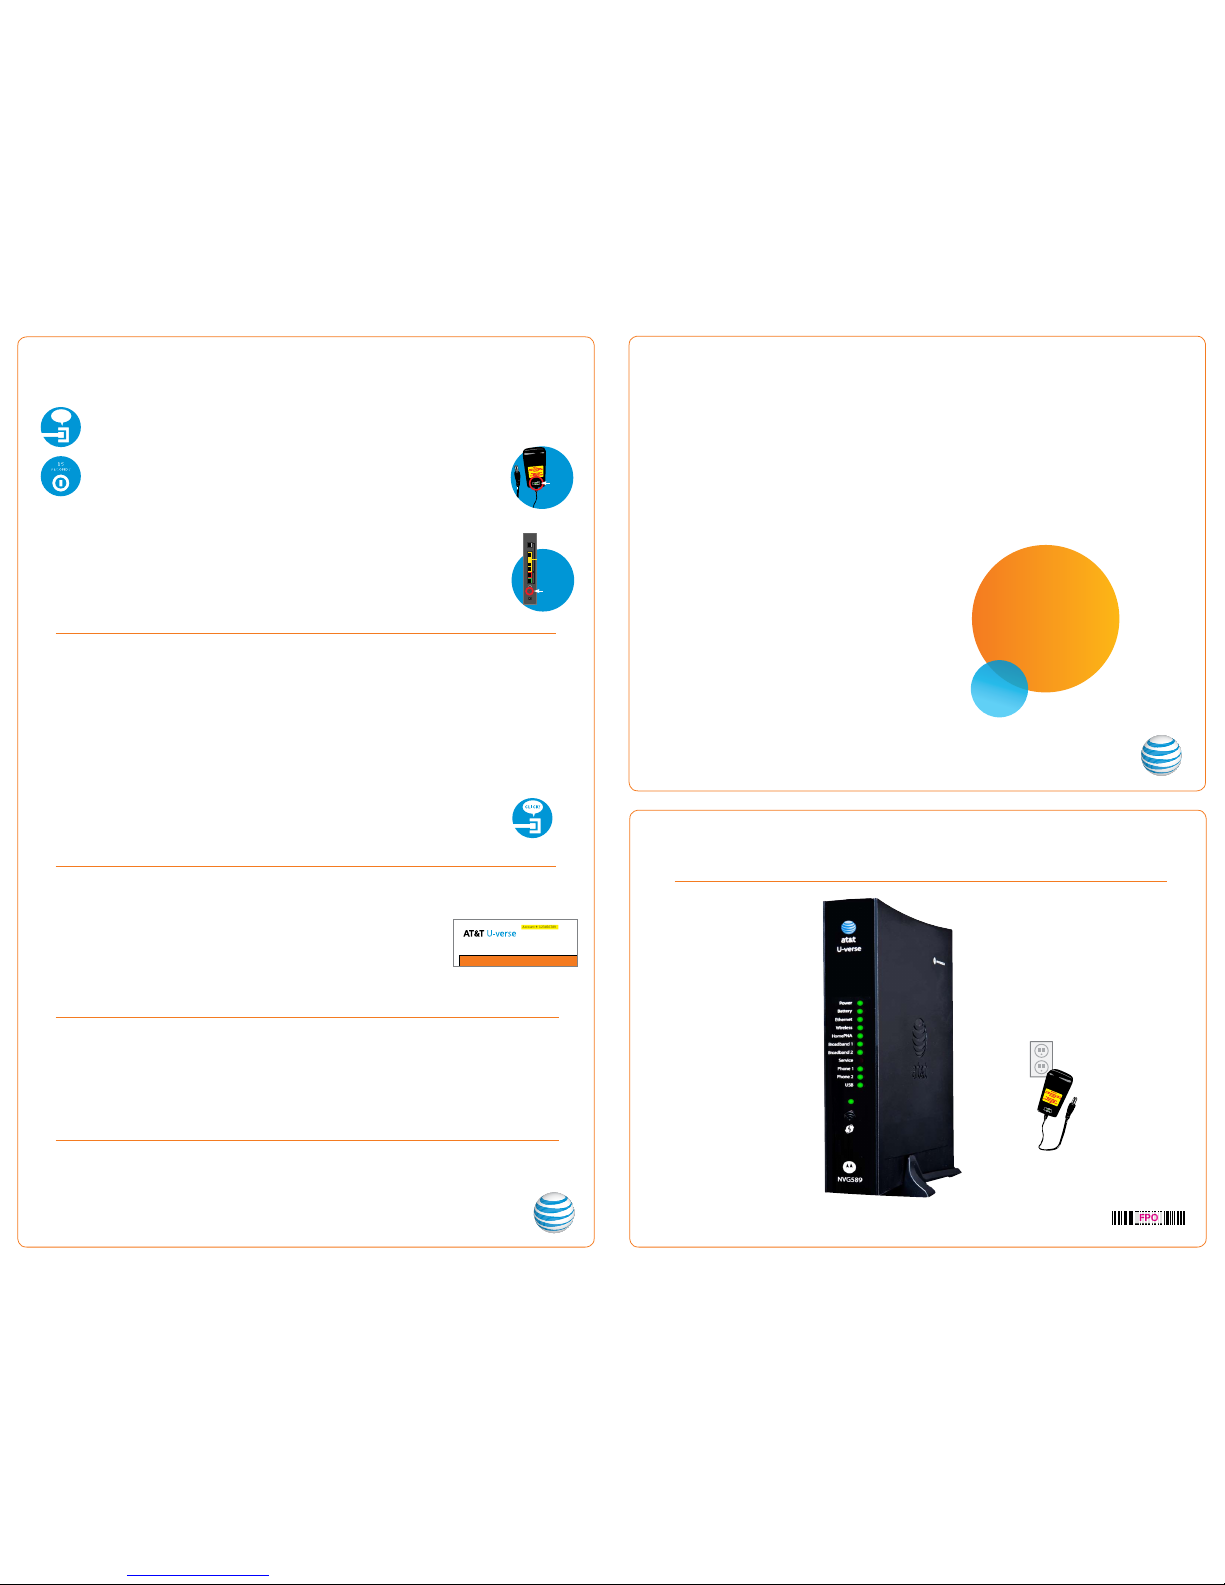
These instructions will guide you through the process of replacing your AT&T U-verse Wi-Fi Gateway.
In the box:
Wi-Fi Gateway
Power Cord
FPO
_ _ _ _ _ _
©2013 AT&T Intellectual Property. http://www.att.com/gen/privacy-policy?pid=2587 All rights res erved. AT&T, the AT&T
logo and all other AT&T marks contained herein are trademarks of AT&T Intellectual Property and/or AT&T affiliated companies.
1. Check your connections.
Ensure all cables and cords are connected properly and securely. Cables usually make
an audible click when secure.
2a. Check Power.
If you have power and the Wi-Fi Gateway is turned on, the Power light on the front of
your AT&T U-verse Wi-Fi Gateway will have a green light. If no lights are on:
1. Ensure the Wi-Fi Gateway is plugged into a working electrical outlet. The power cord
should have a green light on indicating that there is power.
2. Ensure power cable on the back of the Wi-Fi Gateway is pushed in firmly.
At this point, your Power light on the front should be green (see illustration); if not,
try another power outlet and remove any power strips.
2b. Power light green; Service light red or blinking.
1. If after 15 minutes your Service light is not green, check that the green cable
or coaxial cable is connected securely.
2. If cables are secure, power down the Wi-Fi Gateway by holding the reset button located
on the back of the Wi-Fi Gateway for 15 seconds and wait an additional 10 minutes.
¿Habla español?
Por favor visite att.com/uverseguias para ver la
informacion en español. También pueden ver la siguiente
guía: ATT130950864-2/UV NVG589 to NVG589 (like for
like) without Voice swap guide.
Computer or TV
To cable jack
Reset
button
Statement Date 12/12/2009
Call 800-288-2020 For Ordering, Billing or Support
Call 800-855-2880 and type “U-verse” For TTY
Go to www.uverse.att.com For AT&T U-verse Bill Explanations
contact Info 4
Page x of y
Account #: 123456789
JOHN DOE
1234 ANYWHERE
SAN ANTONIO, TX 12345-6789
Previous Payment Summary
My Power indicator light turns orange during the power up sequence.
Don’t worry. This is a normal part of the power up sequence—just remember not to unplug the power cord or data cable
depicted in green in this guide when the light is still orange. At the end of the sequence, the Broadband and Service
indicator lights will be solid green.
Every time I try to browse a Web page, I get a message saying “Detecting Proxy Settings.”
In Internet Explorer under Tools > Internet Options > Connections > LAN Set tings, uncheck any checked boxes and click OK.
I followed the instructions in this guide, but my Wi-Fi Gateway is still not working.
Reset the
Wi-Fi
Gateway by pressing and holding the reset button located on the back of the
Wi-Fi
Gateway for
15 seconds. Check all cable connections to make sure they are secure.
My receivers/TV are not responding.
Confirm that the Service light is solid green on the Wi-Fi Gateway. If it is, power down the affected
receivers. Hold the TV receiver’s power button down for 10 seconds and release, then wait five minutes.
Specific issues
Visit att.com/userguides for an electronic version of this guide and
other support information.
To view & pay your bill and track your on-demand purchases, download
the myAT&T app at att.co m/anytim e today.
Additional AT&T U-verse information
Returning your Wi-Fi Gateway. Please return the old Wi-Fi Gateway and power cord
as-is to your nearest The UPS Store. Find a participating location nearest you by visiting
www.theupsstore.com or by calling 1.800.789.4623. No special
packaging is required. Advise
the UPS representative that you are returning an AT&T U-verse
Wi-Fi
Gateway. You will need to
provide the order number given to you by the AT&T customer service representative and/or your
account number.
Your account number can be found on your bill, as highlighted on the sample
bill to the right.
Equipment return
Green
Light
_ _ _ _ _ _
selfinstallation
guide
Page 2

Set up Approximate time: 10 minutes
1
Questions?Go online: Visit att.com/uversesupport
Stay connected on the go! AT&T Wi-Fi Basic is included with your
AT&T U-verse High Speed Internet service, so you can access the Internet at thousands
of AT&T Wi-Fi Hot Spots across the country . Visit attwifi.com to learn more.
3
Power up Approximate time: 15 minutes
2
Go Wi-Fi Approximate time: 10 minutes
B
A
D
Begin by setting up the Wi-Fi Gateway and then establishing each service. You will not have TV or Internet service while
you’re replacing your AT&T U-verse Wi-Fi Gateway.
C
· Stand the replacement Wi-Fi Gateway next to the
existing Wi-Fi Gateway
· Remove connections from the existing Wi-Fi Gateway
one at a time and connect them to the replacement
Wi-Fi Gateway
· Unplug the power cord from your existing Wi-Fi
Gateway
· Set your old power cord aside
· Power down all U-verse TV receivers by unplugging
them from the electrical outlets
· Remove the sticker covering the Power port of your
replacement Wi-Fi Gateway
· Using your new power cord, plug your replacement Wi-Fi
Gateway into an electrical outlet
. You should see a green
light on the power cord indicating that there is power
· R
efer to the Equipment return section on the back of
this guide for instructions on how to return your
existing Wi-Fi Gateway and power cord
· If you have a cable connected to the Coax port of
the existing Wi-Fi Gateway, disconnect the cable
and connect it to the replacement Wi-Fi Gateway
as tightly as possible
Existing Wi-F i Gateway
Replacement Wi-Fi GatewayExisting Wi-F i Gateway
Replacement Wi-Fi Gateway
_ _ _ _ _ _
Coax Port
_ _ _ _ _ _
_ _ _ _ _ _
Replacement Wi-Fi GatewayExisting Wi-F i Gateway
ONT Port
Data Port
Ethernet Ports
Your Wi-Fi Gateway is now powering up. During this time, the Broadband light will turn
red and the Power light may turn orange.
Wait up to 15 minutes for the Service indicator light to turn solid green.
During this time (up to 15 minutes), do not unplug the power cord or the green
data cable, as this can permanently damage the Wi-Fi Gateway and significantly
delay your ser vice activation.
If the Service light does not turn solid green or continues to blink after 15 minutes,
see the Having trouble? section on the back of this guide.
Power up all of your TV receivers by plugging them back into the electrical outlets. This
process may take several minutes.
Replacement Wi-Fi Gateway
Indicator lights on front panel
may vary with setup.
B
A
Power
Battery
Ethernet
Wireless
HomePNA
Broadband 1
Broadband 2
Service
Phone 1
Phone 2
USB
You will need to complete this step in order to reestablish your Wi-Fi connections. The Wi-Fi Network
Name (SSID) and Wi-Fi Password (Wireless Network Key) are different on your replacement Wi-Fi Gateway
than on your old Wi-Fi Gateway. Any other custom settings that you had made on your old Wi-Fi Gateway
will also need to be implemented on the replacement Wi-Fi Gateway.
Write down the Wi-Fi Network Name and Wi-Fi Password to configure additional Wi-Fi devices.
This information is on the side of your Wi-Fi Gateway. The Wi-Fi Network Name consists of
ATT plus the last seven characters of the Wi-Fi Gateway’s serial number.
Be sure to record this information in the form below.
Now configure your new
Wi-Fi network:
1. Go to your computer’s “Wireless
Network Settings” and refresh the
network list.
2. Select your Wi-Fi Network Name
(SSID) from the list. You may need
to scroll through the list to find
your Wi-Fi Network Name.
3. Enter the 12 character Wi-Fi
Password (Wireless Network Key)
in the Password field to connect to
your network.
4. Connect all your Wi-Fi devices with
the new Wi-Fi Network Name and
new Wi-Fi Password.
SSID: ATTXXXXXXX
Wireless Network Key:
XXXXXXXXXXXX
For help: att.com/support
A T
For illustrative purposes only. Please refer to the l abel on your
equipment for your personal SSID and Wireless Network Key.
Wi-Fi Network Name (SSID)
12 character Wi-Fi Password (Wireless Network Key)
T
UVE531_update_NVG589_
no_Voice_swap_guide
 Loading...