

Page 1

AT&T
®
MERLIN
COMMUNICATIONS SYSTEM
USER’S GUIDE
MODELS 206, 410 AND 820
WITH FEATURE PACKAGE 2
Page 2

Table of Contents
Available Features
Key to Symbols
Placing and Answering Calls
Line Buttons and Lights
Distinctive Ringing
Placing an Outside Call
Line Request
Answering an Outside Call
Placing an Intercom Call
Answering an Intercom Call
Fixed Features
Hold
Transfer
Conference
Drop
Message Waiting
Recall
Speaker
On-Hook Dialing
Monitor-on-Hold
Group Listening
Programming Instructions
Assigning Custom Features to Buttons
Feature Programming Chart
Programmable Button Features
Outside Auto Dial
Special Characters with Auto Dial and Speed Dial
Automatic Redialing
Last Number Redial
Saved Number Redial
Page
10
10
11
13
13
13
14
14
14
Page
2
3
4
4
4
4
5
5
5
5
6
6
6
7
8
8
8
9
9
9
9
Intercom Auto Dial
Privacy
Do Not Disturb
Hands-Free Answer on Intercom
Loudspeaker Page
Touch-Tone Enable
Call Pickup
Dial Code Features
Group Page
Personal Speed Dial
Programming a Personal Speed Dial Number
System Speed Dial
Assigning a System Speed Dial Code to an
Auto Dial Button
Ringing and Line Selection Options
Programmable Line Ringing
Personalized Ringing
Voice Announcement Disable
Automatic Line Selection
Optional Equipment
Hands-Free Unit
Placing a Call
Answering a Call
Hands-Free Answer on Intercom
Mute the Microphone
Handset Interactions
Headset Adapter
General Purpose Adapter
Index
Speed Dial Codes
15
15
15
16
16
16
16
17
17
17
17
18
18
19
19
19
20
20
21
21
21
21
21
21
22
22
22
23
24
Page 3
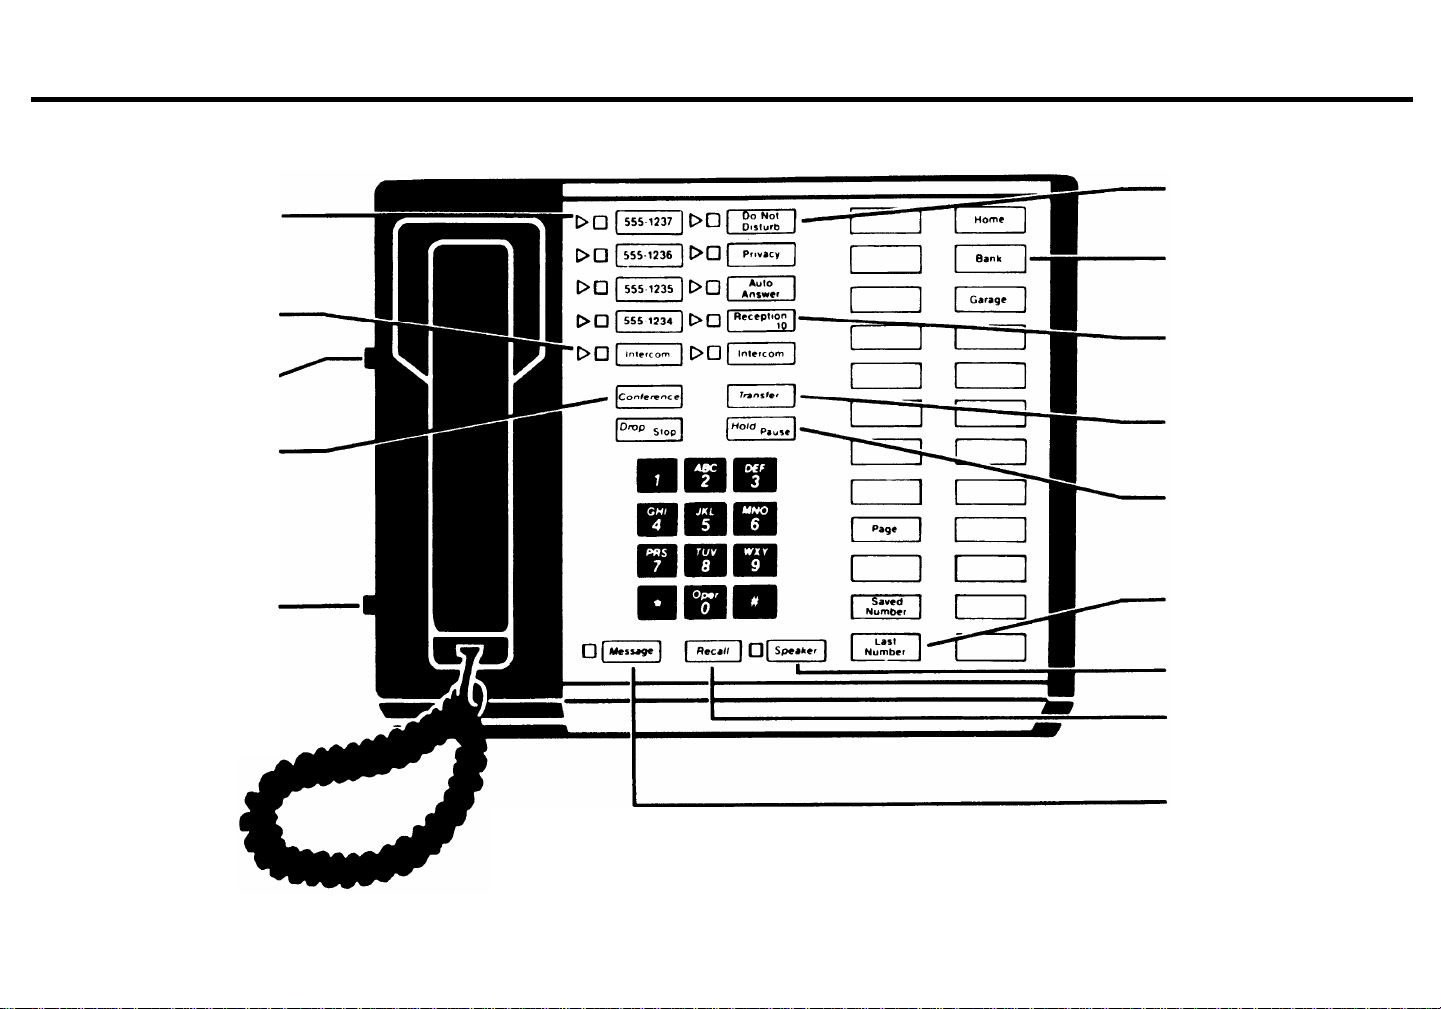
Available Features
Line buttons with lights
make it easy to keep track of
calls
Flexible calling within your
business
Program the features you
want on your phone
Speak to several people at
one time
Volume control
Most features are available
with the touch of a button
One-touch dialing of numbers you call often
Convenient access to your
frequently called intercom
numbers
Easy transfer of calls to
someone else
Frequently used features
like hold are designed for
easy access
One-touch redialing of busy
numbers
Read on to find out how to use these features...and many more!
Speaker
Use this for Centrex and
PBX features
Know immediately when
you have a message waiting
2
Page 4
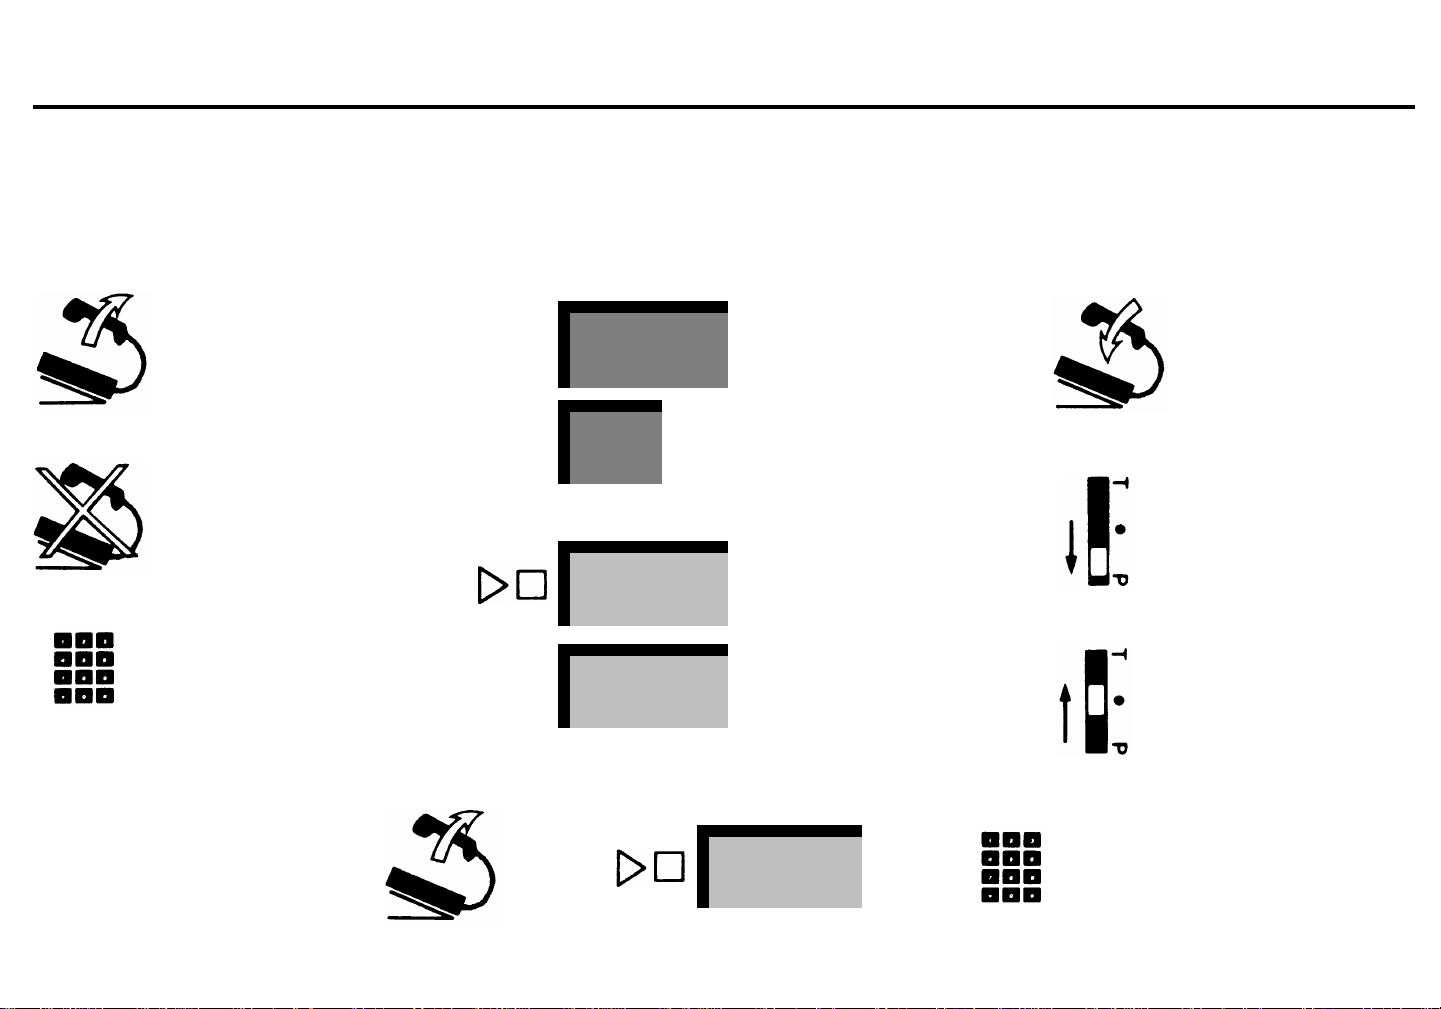
Key to Symbols
The following symbols are used throughout the document to illustrate the steps for using your
MERLIN™
communications
system voice terminal. After you are familiar with the steps, the symbols should serve as a quick reminder. (Buttons are shaded
and labeled to look like the actual buttons on your voice terminal. A shaded light indicates that it is lit.)
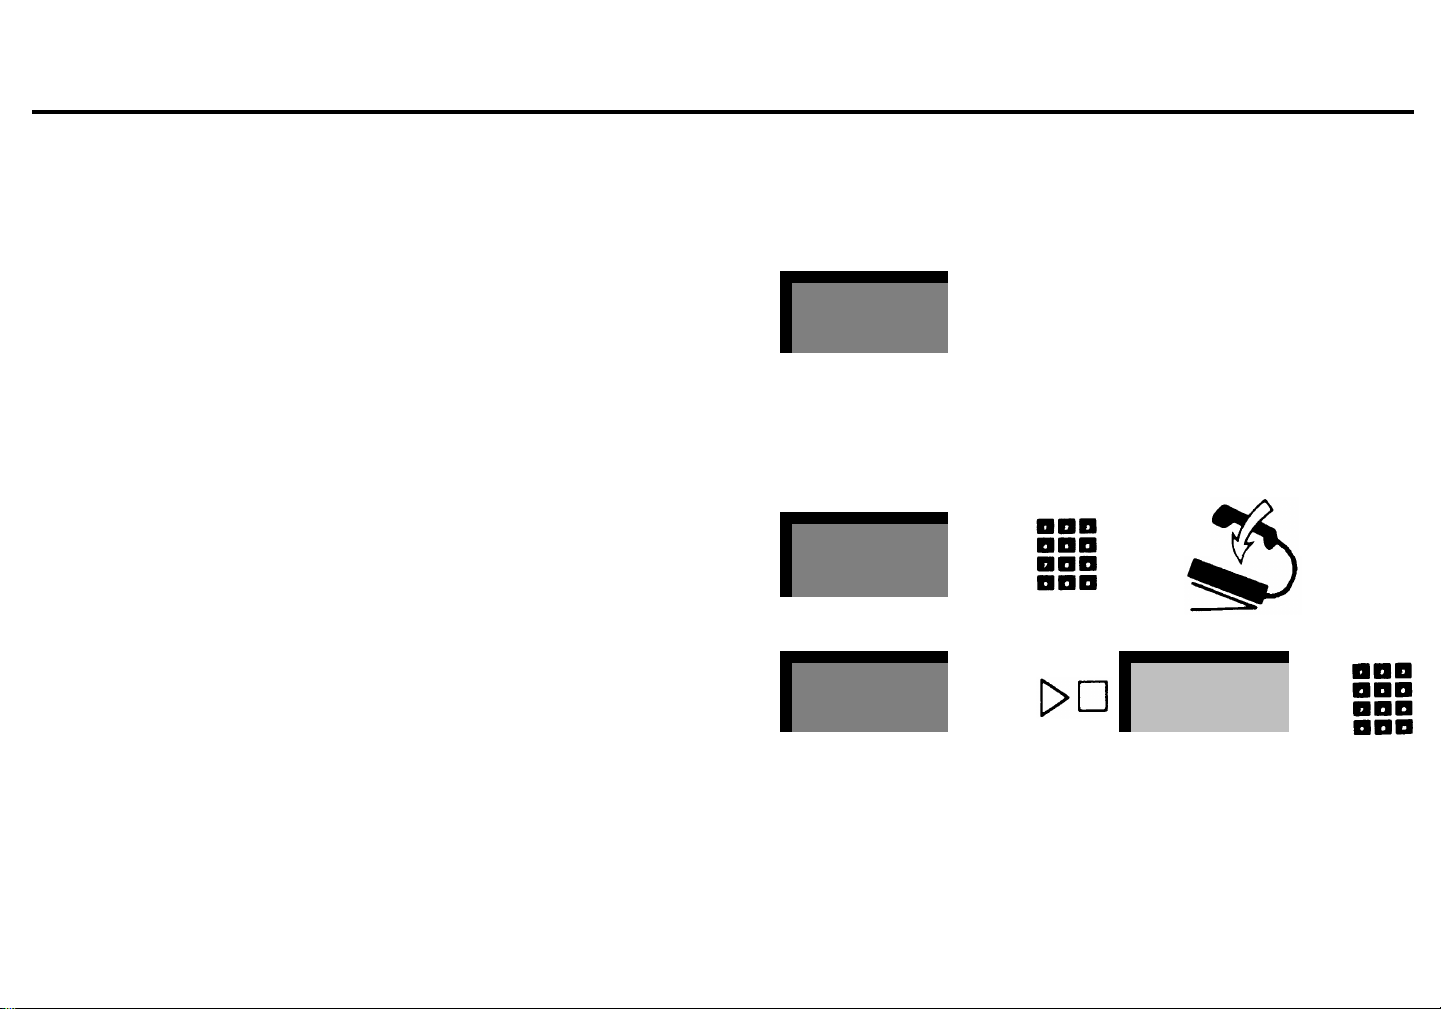
Conference
Lift handset
Don’t lift handset
Dial
(an outside number,
intercom or feature code)
Speaker
555-1234
Page
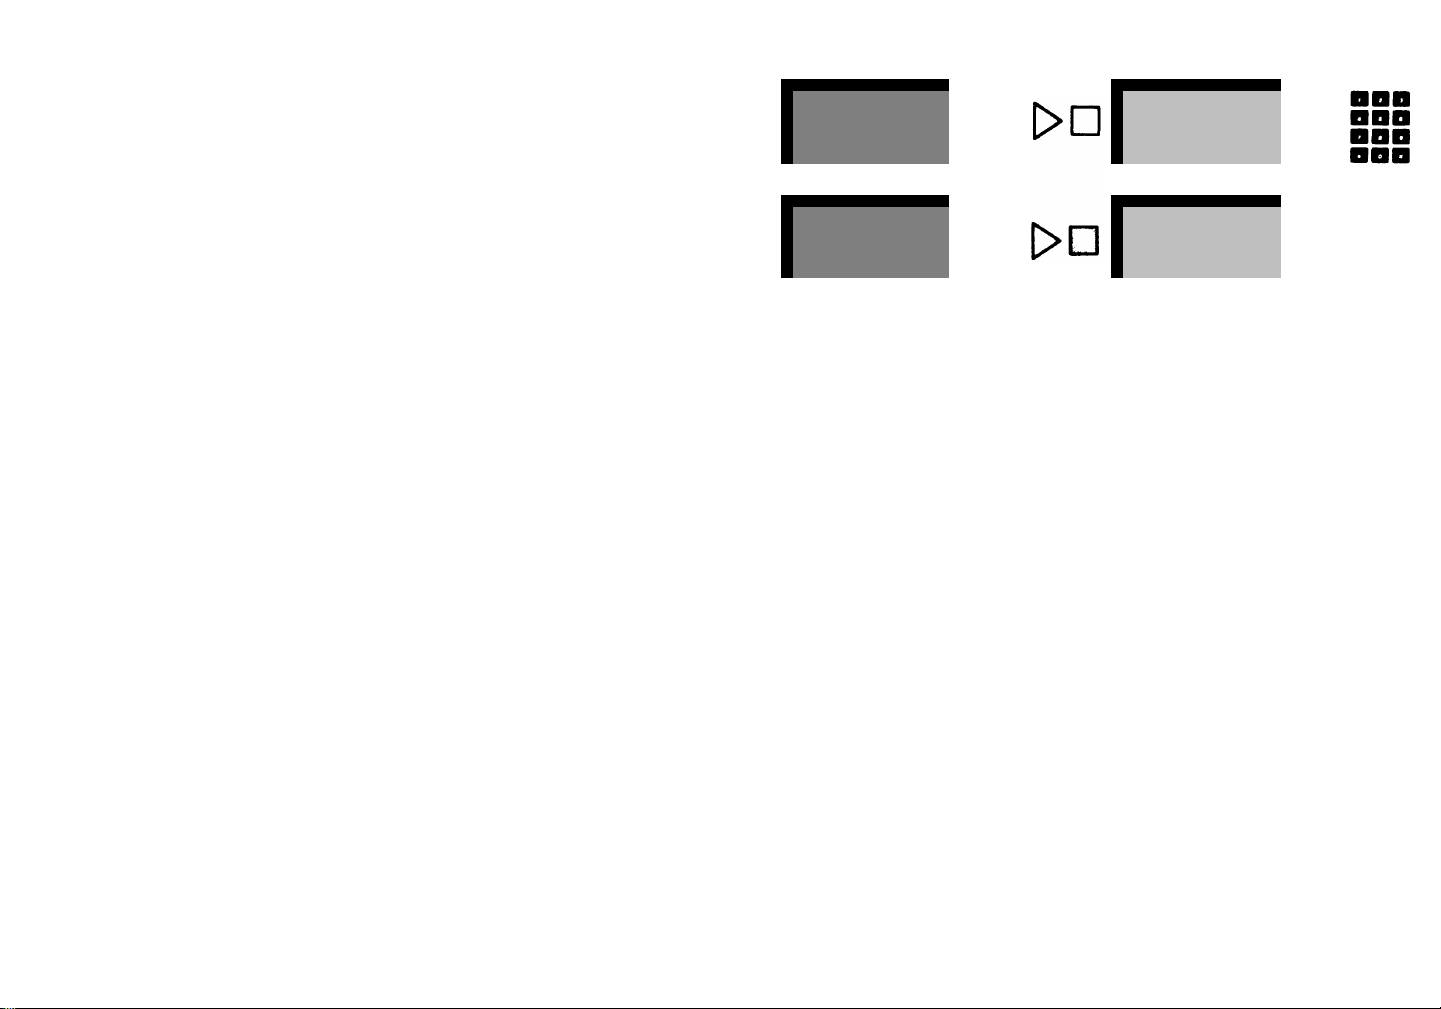
Touch a fixed feature
button
button indicates a fixed
feature button.)
Touch a line button
lighter shade with a
telephone number indicates a line button.)
Touch a custom feature
button
with a feature name indicates a custom feature
button.)
(A dark shaded
(A
(A lighter shade
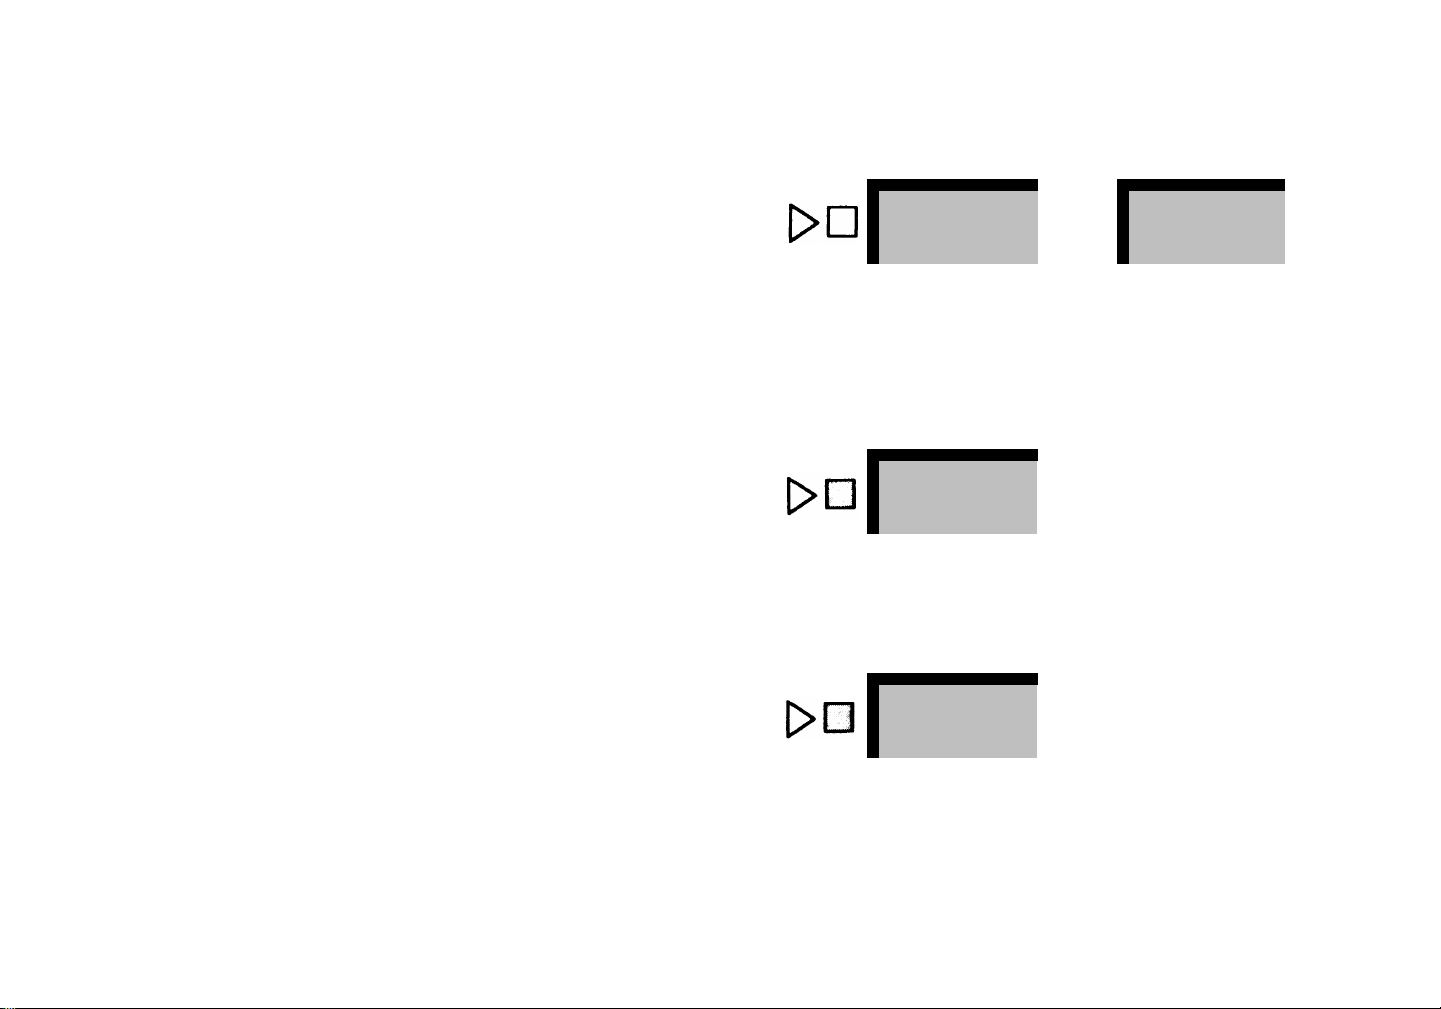
Hang up your handset
Slide the T/P switch to
the P position
Return the T/P switch
to the center position
Since each symbol represents one action, a sequence of two or more symbols illustrates a procedure. For example,
+
means lift your handset, touch
Intercom
Intercom,
and dial the number.
+
3
Page 5
Placing and Answering Calls
LINE BUTTONS AND LIGHTS
Each call is represented on a separate line button. The lights
next to the line buttons tell you what’s happening.
●
The red light tells you which line you’re on or will get when
you lift the handset. When you touch a line button, the red
light goes on next to that line.
●
The green lights tells you if the line is free (no light), busy
(steady on), ringing (flashing), or on hold (fast flashing for
your held calls, slower flashing for others’ held calls).
DISTINCTlVE RINGING
Calls you receive sound different depending on the type of call
it is: intercom (beep), outside call (one long ring), transferred
call (one short and one long ring).
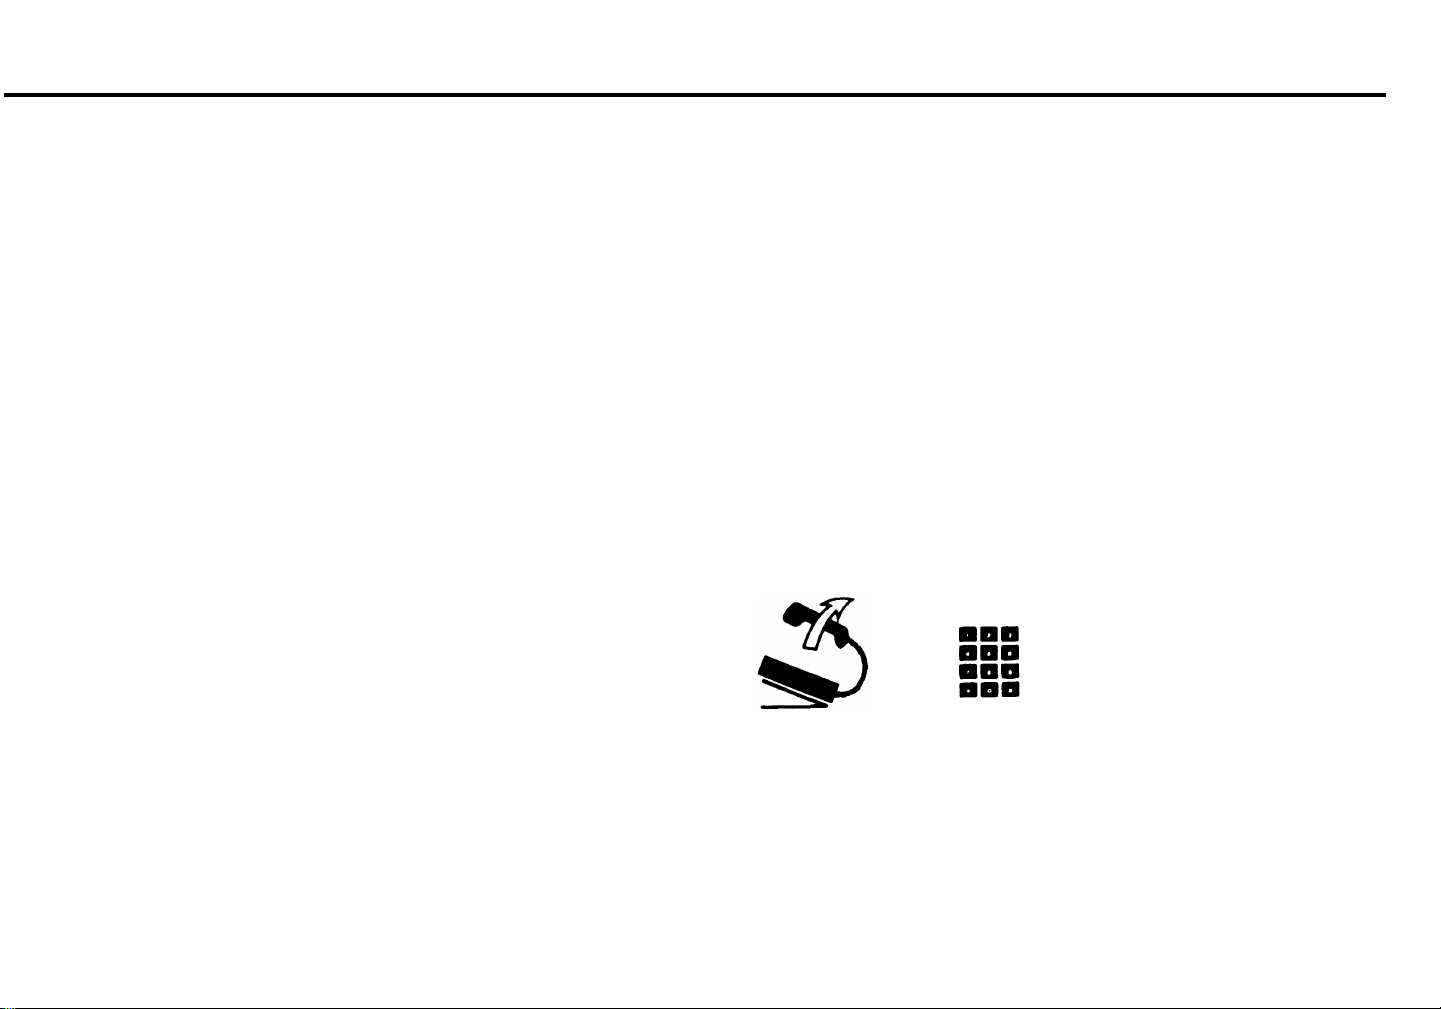
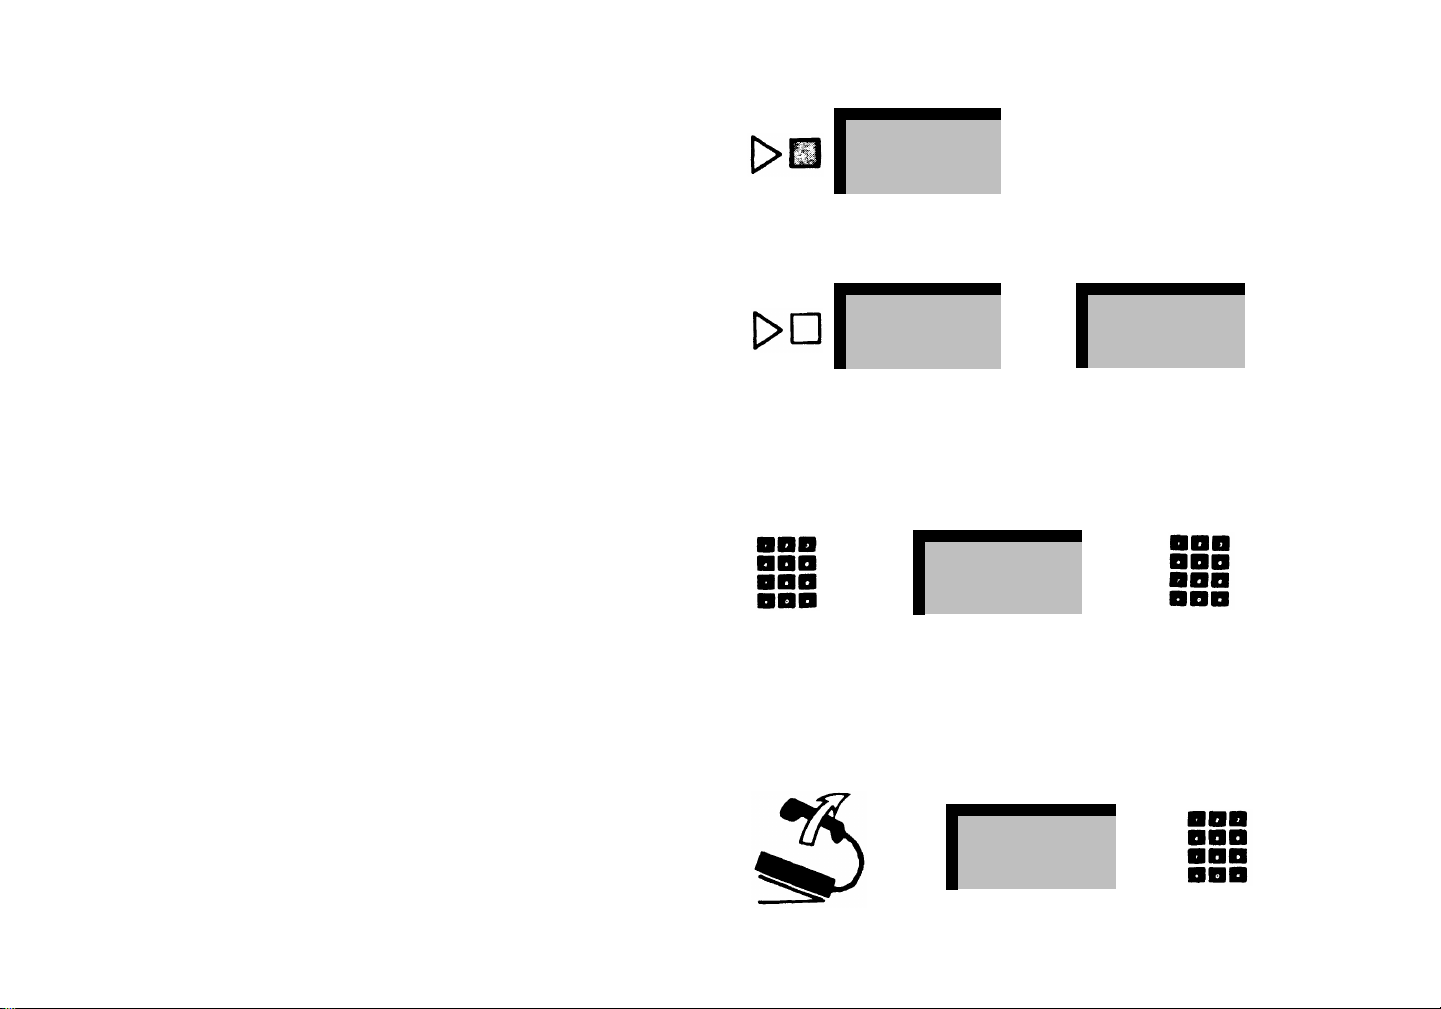
PLACING AN OUTSIDE CALL
Just lift the handset and dial. The
MERLIN
system automatically selects a free line for you. You can select a different line by
touching the line button you want.
NOTE:
To dial an outside sequence that starts with # (for exam-
ple, a Centrex/PBX code), dial ## instead.
+
4
Page 6
Line Request
If you want to use a particular outside line that is busy (green
light is on), you can tell the
MERLIN
system to signal you when
the line is free. Just touch the busy line button (red light comes
on), leaving the handset on the hook. When the line is free, you
will hear a beep. Just lift the handset to dial. If you touch another
line button or receive a call, or if someone else uses the line
before you, your Line Request is cancelled.
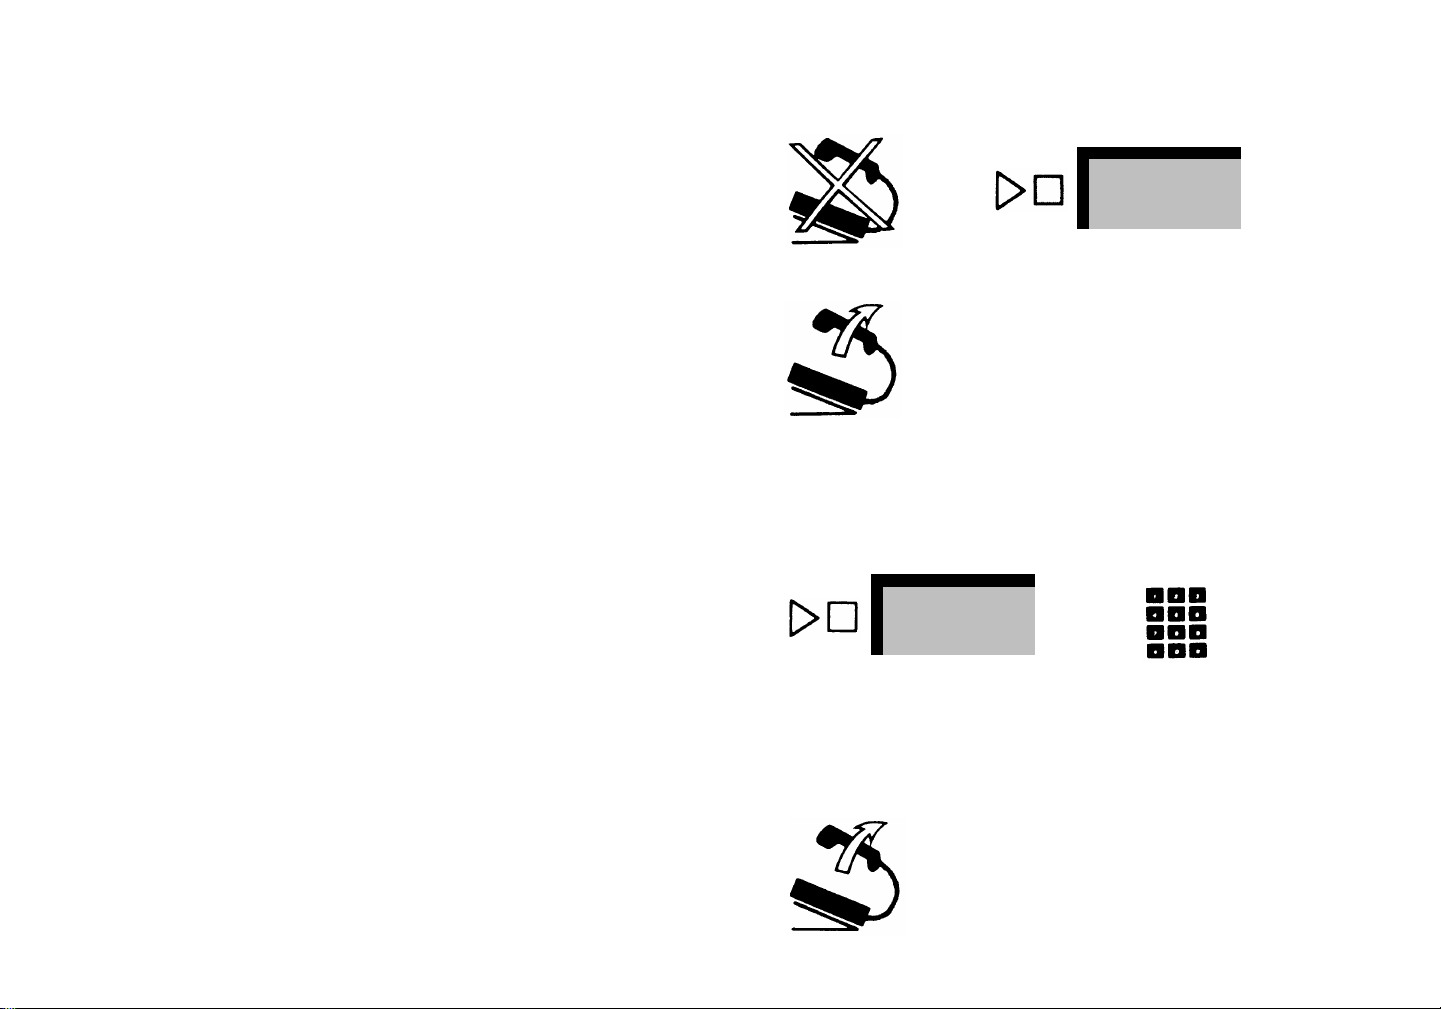
ANSWERING AN OUTSIDE CALL
Again, just lift the handset; the system automatically gives you
the ringing line.
PLACING AN INTERCOM CALL
+
555-1234
Use the
to your
Intercom
MERLIN
button for calling people who are connected
system. The
Intercom
button works like any
line button.
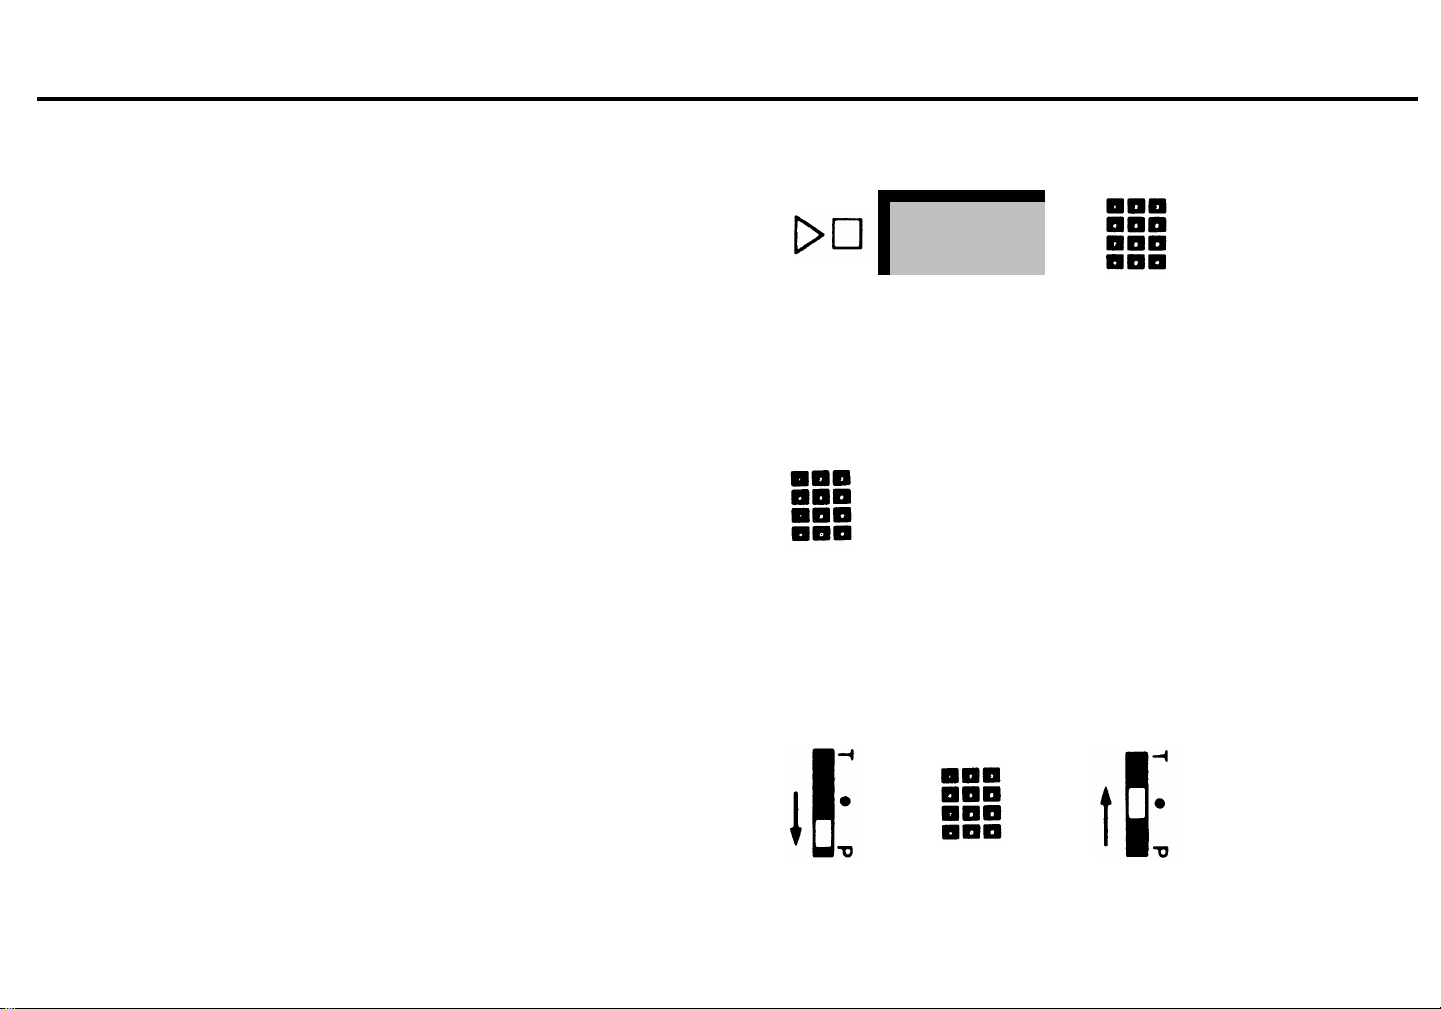
To place an intercom call, just touch
Intercom
and dial the intercom number you want. When you hear the beep, make the
announcement or start your conversation.
The codes for calling people inside your business are as follows:
0 to 5
10 to 19
10 to 29
(Model 206)
(Model 410)
(Model 820)
ANSWERING AN INTERCOM CALL
Answer an intercom call as you would any call: just lift the handset to get the ringing intercom line.
Intercom
+
5
Page 7
Fixed Features
HOLD
The Hold feature lets you handle more than one call at the same
time.
To put a call on hold, touch
Hold.
The green light next to the line
flashes rapidly and your voice terminal rings periodically to remind you of the held call. To return to the held call, touch the
line button with the rapidly flashing green light.
If you do not have a line button for a call, you can still put it on
hold using the Hold button. To retrieve the call, dial #*.
TRANSFER
To transfer a call, touch
Transfer
(call is now on hold), dial the
intercom number, and hang up. If the call is not answered, it
returns to your phone with the distinctive two-ring transferred
call signal.
You can also announce a call on the intercom as you transfer
it. Touch
Transfer,
touch
Intercom,
and dial the intercom code.
When you hear the beep, announce the call and hang up.
Hold
Pause
Transfer
Transfer
+
+
+
Intercom
+
6
Page 8
CONFERENCE
Add a second outside caller to an existing conversation by
following this procedure: Touch
Conference,
touch a free line
button, dial the second person.
You can also use the Conference feature to add in a call on
hold: Touch Conference, touch the line button with the held
call.
The conference limit is two outside lines. Two additional inside
people can join in the call by touching the line buttons in use
for the conference, making a total of five people in the conference, including you.
If you put a conference on hold, the other people in the conference can talk to each other. This is especially convenient if
two outside parties need to talk to each other. You can conference them together, put them on hold, and be free to do other
things.
Conference
Conference
+
+
555-1234
555-1234
+
7
Page 9

DROP
Remove a call from a conference by following this two-step procedure: Touch Drop, touch the line button of the call to be
dropped. Drop is especially useful when the line you wanted to
conference in is busy or is not answered.
MESSAGE WAITING
If the attendant (receptionist) has a message for you, the green
light next to your
on the intercom and turn off the light by touching
Message
button will be lit. Call the attendant
Message.
RECALL
If you have Centrex, PBX, or custom calling services, you normally signal that system by a switchhook flash. With the
MERLIN
connected to any special service, you can use
system, you need only touch
Recall.
Recall
If you are not
as a convenient way to end a call and make a second call without hanging up.
Drop
Stop
Message
Recall
+
555-1234
8
Page 10

SPEAKER
Speaker
lets you listen to a call without lifting the handset. To
speak, however, you need to use the handset or the optional
Hands-Free Unit (page 21).
On-Hook Dialing
Touch
Speaker
and dial. When the other person answers, lift
the handset.
Monitor-on-Hold
If someone puts you on hold, touch
Speaker
and hangup. When
the other person talks to you again, lift the handset to resume
the conversation.
Group Listening
If you want others in the room to hear your conversation, touch
Speaker
and continue using the handset.
Speaker
Speaker
Speaker
+
+
9
Page 11

Programming Instructions
ASSIGNING CUSTOM FEATURES TO BUTTONS
Programming is the process of customizing your phone. You can
select features that meet your present needs and change the
features when your needs change.
You can assign any custom feature listed below to any spare button on your telephone.
Here is the procedure:
●
Label the button that you want to program.
●
Slide T/P switch toward you (hear ringing).
●
Touch the button to be programmed.
●
Dial feature code (see below).
●
Enter additional numbers (if required).
●
When you are finished programming custom feature buttons, return T/P switch to center position.
+
+
+
10
Page 12

Feature Programming Chart
Use the chart below as a handy reference when you program custom features onto your voice terminal.
Feature
(Suggested Button
Label)
Programming Code
Notes
Auto Answer-Intercom
(Auto Answer)
Call Pickup
(Call Pickup)
Do Not Disturb
(Do Not Disturb)
Intercom Auto Dial
(Name or Location) number.
Last Number Redial
(Last Number)
Loudspeaker Page
(Ldsp. Page)
Outside Auto Dial
(Name or Location) number.
Dial ★ 70.
Dial ★ 85.
Dial ★ 71.
Dial
★
Dial ★ 73.
Dial ★ 66.
Dial ★ 90 + an outside
Used only with a Hands-Free Unit. Requires a button with lights.
You can also dial a code to use this feature.
Requires a button with lights.
6 + an intercom A button with lights is recommended but not required.
If you have a 5- or 10-button voice terminal, you can dial a code (#24)
rather than program a button for this feature.
Used only with loudspeaker equipment. You can also dial a code to use
this feature. A button with lights is recommended but not required.
11
Page 13

Feature Programming Chart (continued)
Feature
(Suggested Button
Label)
Programming Code
Notes
Personal Speed Dial Dial a Personal Speed Dial
(uses a dial code
instead of a button)
Privacy
(Privacy)
Saved Number Redial
(Saved Number)
System Speed Dial
(Name or Location) Dial code (60 through 99).
Touch-Tone Enable
(Touch-Tone Enable)
code (#01 through #22) +
★ 90 + an outside telephone
number.
Dial ★ 72.
Dial ★ 74.
Dial
★
95 + a System Speed
Dial ★ 76.
For 5- or 10-button voice terminals only.
Requires a button with lights.
If you have a 5- or 10-button voice terminal, you can dial a code (#23)
rather than program a button to use this feature.
It is not necessary to assign these codes to buttons.
12
Page 14

Programmable Button Features
OUTSIDE AUTO DIAL
You can dial any outside number with a single touch of a button. When you touch an Outside Auto Dial button, the
system selects an outside line, turns on the speaker, and
automatically dials the number. When the other person answers,
lift the handset to speak. If no one answers, touch
cancel. You can program up to 16 digits or characters on each
Outside Auto Dial button.
Special Characters with Auto Dial and Speed Dial
You can put the following special instructions in an Auto Dial or
Speed Dial sequence:
MERLIN
Speaker
to
Home
Pause:
Stop:
Recall:
Transfer:
Auto Dialing will pause for 1.5 seconds, allowing
connection with a PBX or computer-based service to be established.
●
Touch
Hold
(Pause).
Auto Dialing will stop until reactivated, allowing
connection with a computer-based service to be
established.
●
Touch
Drop
(Stop).
Puts a switchhook flash at the beginning of an
Auto Dialing sequence for Centrex/PBX features.
●
Touch
Touch
●
Recall
Hold
(Pause).
Switches to TouchTone signaling.
Touch
●
Transfer.
Hold
Pause
Drop
Stop
Recall
Transfer
Hold
+
Pause
13
Page 15

AUTOMATIC REDIALING
Two features are especially useful when you get a busy signal
or no answer because they let you redial the number with the
touch of a button.
Last Number Redial To redial the number you most recently dialed, touch Last
Number.
On 5- and 10-button voice terminals, you can redial the last
number by dialing #24.
Saved Number Redial
You can save a number for later redialing by touching
Number
Saved Number.
before you hang up. To redial the saved number, touch
Other calls that you dial do not affect the saved
Saved
number. It remains the same until you save a new one.
On 5- and 10-button voice terminals, you can save a number by
dialing #23 before hanging up. To redial the saved number, dial
#23.
Last Number
Saved Number
+
14
Page 16
INTERCOM AUTO DIAL
Allows you to dial by simply touching a button. To call someone
on your
MERLIN
system: Touch
Intercom,
then touch the appropriate Intercom Auto Dial button. Green lights next to the Intercom Auto Dial buttons tell you which people are busy on the
telephone. Also, a rapidly flashing green light next to an Intercom Auto Dial button tells you that the person is calling you on
intercom. An Intercom Auto Dial button can also be used to buzz
another person without placing a call. Just leave the handset
on the hook and touch the Intercom Auto Dial button.
PRIVACY
Intercom
+ Receptionist
10
To prevent anyone from joining in on your calls, touch
Privacy
(green light comes on). Touch the button again to shut it off
(green light goes off). You can leave Privacy on indefinitely if you
wish. If you don’t have Privacy, you will still know when someone
joins your call because the red and green lights next to the line
button will flash alternately.
DO NOT DISTURB
If you do not want to be interrupted by phone calls, touch
Do
Not Disturb (green light comes on). Outside calls can be
answered by another person, transferred calls return to the
sender, and intercom callers get a busy signal. To restore ringing, touch
Do Not Disturb
(green light goes off).
Privacy
Do Not Disturb
15
Page 17
HANDS-FREE ANSWER ON INTERCOM
For use with the optional Hands-Free Unit only. (See page 21.)
If you would like your Hands-Free Unit to turn on automatically
whenever you receive an intercom call, touch
Auto Answer
on
your voice terminal (green light comes on). You can leave it on
indefinitely if you wish.
LOUDSPEAKER PAGE
Auto-Answer
Intercom
To page someone on an optional loudspeaker paging system
touch Intercom, dial 6 (or touch Page), make your
announcement.
TOUCH-TONE ENABLE
If your system has rotary lines, you can switch over to TouchTone service in the middle of a call to access services that require tone signals. First, dial your call the regular way (you’ll hear
rotary clicks), then touch
Touch-Tone Enable
and dial whatever
additional numbers you need (hear tone signals). The TouchTone Enable feature automatically turns off when you hang up.
When you program Auto Dial or Speed Dial sequences, you can
also touch
Transfer
to change from rotary to Touch-Tone service.
(See “Special Characters with Auto Dial and Speed Dial,” page
13.)
CALL PICKUP
You can answer another ringing phone from your phone by
simply lifting the handset, touching
Call Pickup,
and dialing the
intercom number of the ringing phone. This makes it easy to
cover someone else’s calls without leaving your desk. Or dial
#3 plus the intercom number.
Intercom
+
+
+
Touch-Tone
Enable
Call Pickup
Page
+
+
16
Page 18
Dial Code Features
GROUP PAGE
To make an announcement to a group of two or three phones
simultaneously, touch
your system administrator for the list of groups of people that
correspond to each dial code. To answer a Group Paging announcement, lift the handset and speak. One person from the
paged group can answer the announcement.
PERSONAL SPEED DIAL
(5- and 10-button voice terminals only)
You can dial frequently called numbers by using a 3-character
code instead of a button. The codes are #01 through #22. Except for dialing three characters instead of touching a button,
Speed Dialing works the same as Outside Auto Dial. If you want
to include special characters, such as a pause, a stop, or a
switchhook flash, or switch from rotary pulses to touch-tone
signals within a dialing sequence, see “Special Characters with
Auto Dial and Speed Dial,” page 13.
Intercom,
dial code 70 through 79. Ask
Intercom
+
Programming a Personal Speed Dial Number
●
Slide T/P switch toward you.
●
Dial Speed Dial code (#01 to #22).
●
Dial ★ 90.
●
Dial number.
●
Return T/P switch to center position.
+
+
17
Page 19
SYSTEM SPEED DIAL
(Available on all voice terminals)
System Speed Dialing works the same as Personal Speed Dialing but it can be programmed only by your administrator. The
codes are #60 through #99. Dial the programmed numbers by
using the same code from any voice terminal. You may choose
to assign these codes to Auto Dial buttons.
Assigning a System Speed Dial Code to an Auto Dial Button
If your system administrator sets up System Speed Dial codes,
you can assign any of them to an Auto Dial button for one-touch
dialing.
●
Label the button to be programmed.
●
Slide the T/P switch toward you.
●
Touch the button to be programmed.
●
Dial ★ 95.
●
Dial System Speed Dial code (#60 to #99).
●
Return T/P switch to center position.
+
Home
+
+
18
Page 20
Ringing and Line Selection Options
PROGRAMMABLE LINE RINGING
You can program whether or not each line rings on incoming
calls, or you can program delayed ringing if you wish. If most
of your calls are first answered by an attendant, you would want
those lines programmed to no ring. You may, however, wish to
program your lines for delayed ring as a backup.
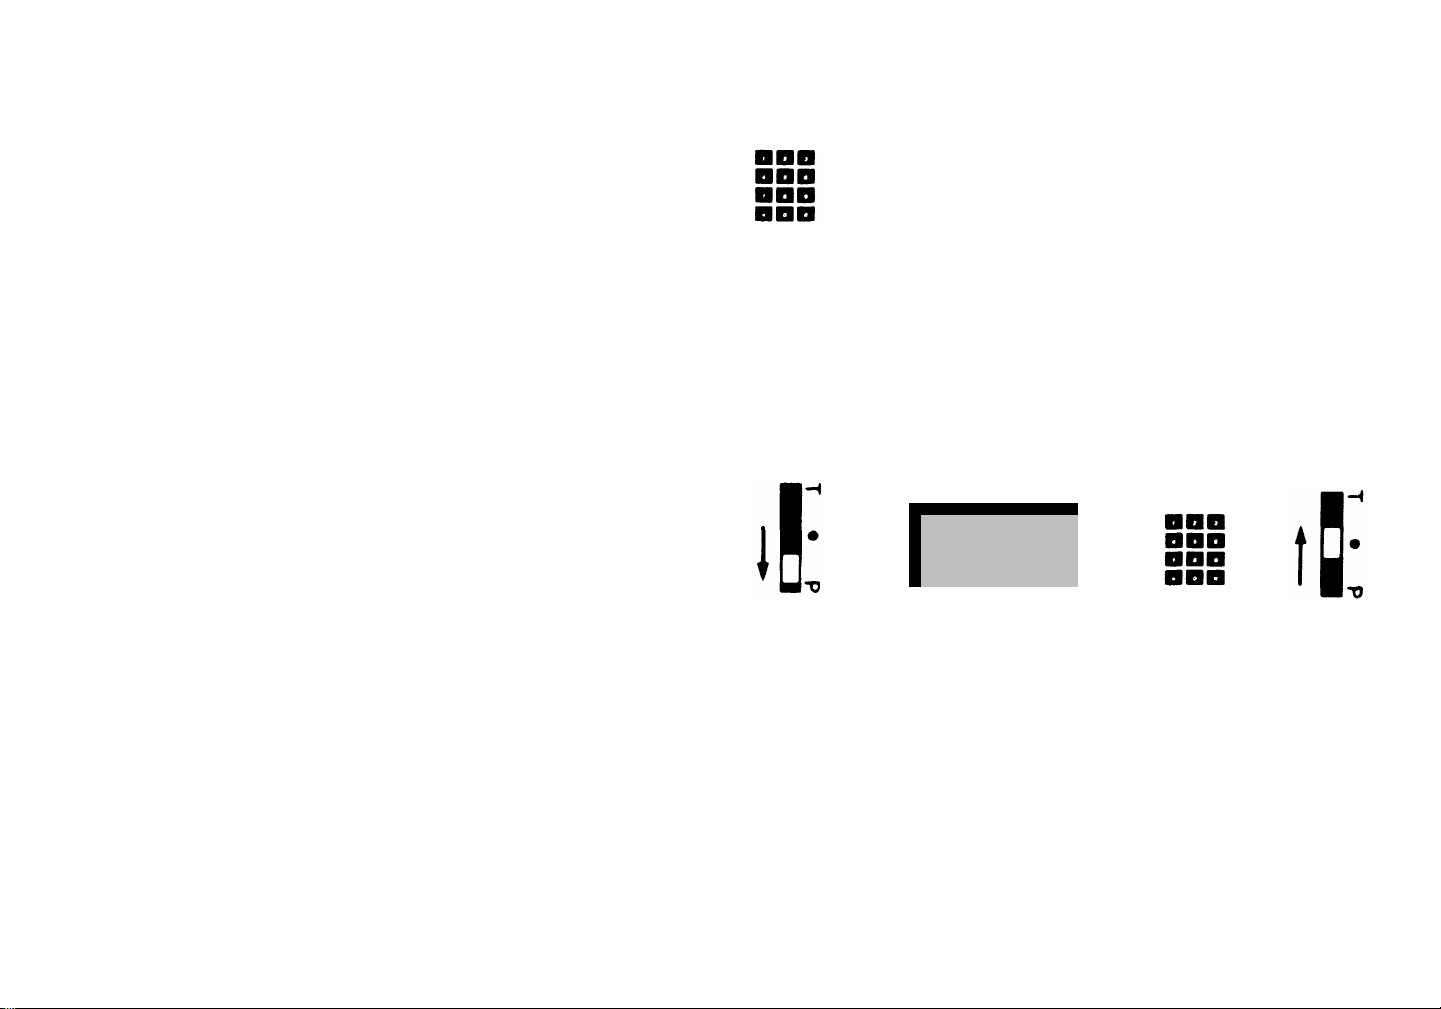
●
Slide T/P switch toward you.
●
Touch a line button (note red lights).
●
Touch the button again until desired code appears:
+
555-1234
+
Red on
Red flash
Red off
●
Return T/P to center position.
NOTE:
This does not affect ringing on intercom calls or calls
= ring
= delayed ring
= no ring
transferred to you.
PERSONALIZED RINGING
If your phone’s ringing is often confused with the ringing of other
phones around it, you can change its ringing sound. Here’s how:
●
Slide T/P switch toward you hear ringing).
●
Touch
●
Touch
Speaker
Speaker
(ring changes).
repeatedly until you have a ring you like
(there are eight).
●
Return T/P switch to center position.
+
Speaker
+
19
Page 21
VOICE ANNOUNCEMENT DISABLE
Ordinarily, people can announce calls through your speaker by
using
Intercom.
You can prevent this from happening by pro-
gramming Voice Announcement Disable:
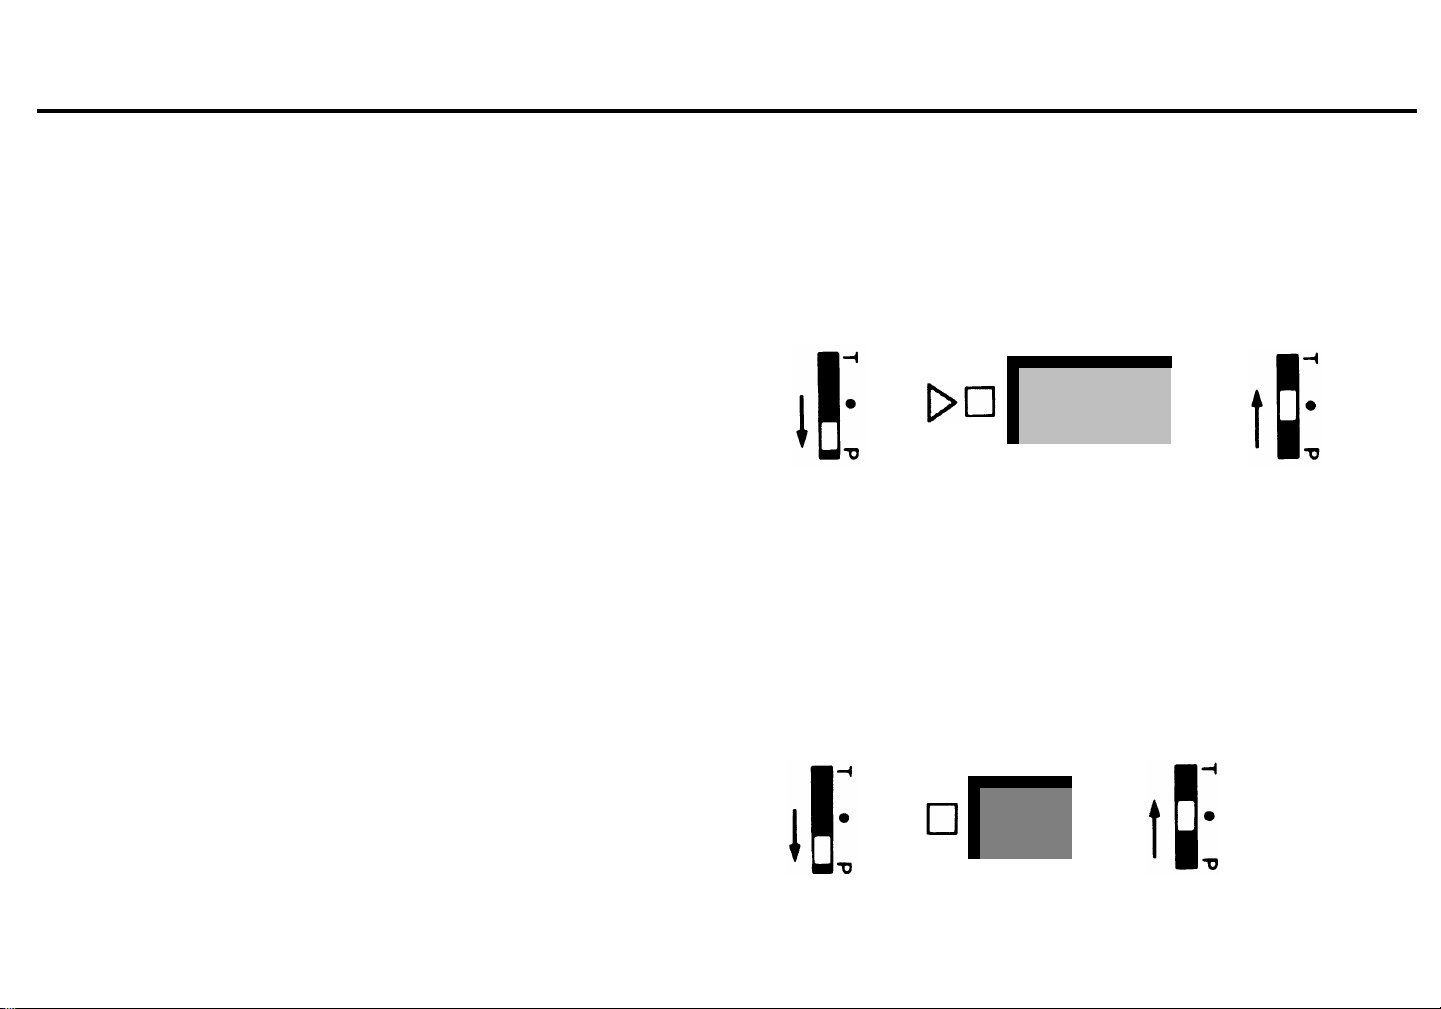
●
Slide T/P switch toward you.
●
Touch
●
Return T/P switch to center position.
Intercom.
Green on =
Green off =
voice announcement allowed
voice announcement prevented
For more information about features and how to program them,
consult the Administration Manual: Models 206, 410, and 820
with Feature Package 2.
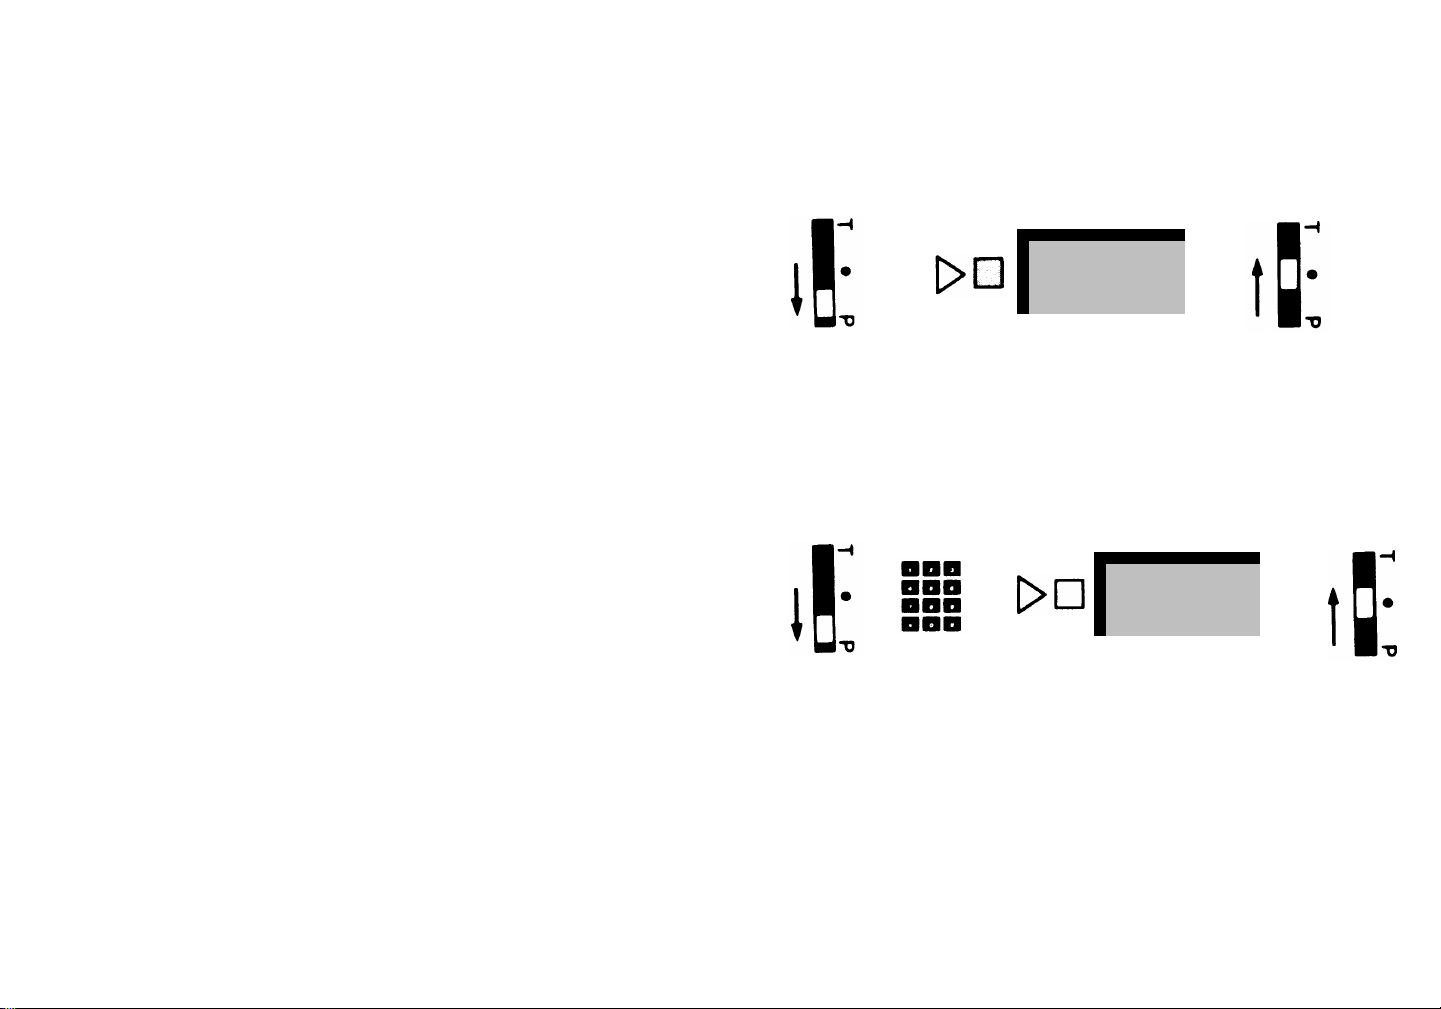
AUTOMATIC LINE SELECTION
This feature controls the order of the lines you’ll get when you
lift the handset. You can specify all, some, or none of your lines
for Automatic Line Selection. Follow this procedure: Slide T/P
switch to P position; dial
return T/P switch to center position. If no lines are touched,
tercom
will be automatically selected.
★★
; touch line buttons in desired order;
In-
+
+
+
Intercom
555-1234
+
+
20
Page 22

Optional Equipment
HANDS-FREE UNIT
The Hands-Free Unit provides the highest quality speakerphone service. You can use it for virtually all calls.
Placing a Call
Just touch
free. To end the call, touch
Answering a Call
Touch
Hands-Free Answer on Intercom
If you have an
can have your Hands-Free Unit turn on automatically whenever
you get an intercom call. Just leave the
(green light on).
Mute the Microphone
You can listen to a conversation on the Hands-Free Unit without
being heard yourself by turning off the microphone. Touch
Microphone On/Off
ing, touch
Speakerphone On/Off
Speakerphone On/Off.
Speakerphone On/Off
Auto Answer
(green light goes off). To resume speak-
Microphone On/Off
button on your voice terminal, you
and dial. You can talk hands-
and speak.
Auto Answer
(green light comes on).
button on
21
Page 23

Handset Interactions
To switch from the handset to the Hands-Free Unit during a call,
just touch
the Hands-Free Unit to handset just lift the handset; the HandsFree Unit goes off automatically.
HEADSET ADAPTER
The Headset Adapter allows you to plug in a standard headset
for hands-free operation.
Speakerphone On/Off
and hang up. To switch from
To place a call, touch
To answer, touch
To disconnect, touch
To mute the microphone, hold
GENERAL PURPOSE ADAPTER
With the General Purpose Adapter you can attach to your
MERLIN
data devices, such as modems, facsimile machines, automatic
dialers, basic and cordless telephones, and transaction
telephones. In order for you to use this extra equipment, your
MERLIN
have Touch-Tone lines. When you use one of the telephone or
data devices to place a call, the General Purpose Adapter switch
should be in Basic position. If you want to join or record a call
in progress, slide the switch to the Join position.
system voice terminal most types of telephone and
system voice terminal and the added phones must
On/Quiet
On/Quiet.
Off.
and dial.
On/Quiet
down.
22
Page 24

Index
Answering Calls, 4 - 5
Intercom Calls, 5
Outside Calls, 5
Auto Answer-Intercom. See Hands-Free
Answer on Intercom
Automatic Line Selection, 20
Call Pickup, 16
Conference, 7
Drop with Conference, 8
Hold with Conference, 7
Custom Features. See Programmable Button
Features
Dial Code Features, 17 - 18
Distinctive Ringing, 4
Do Not Disturb, 15
Drop, 8, 13
Drop with Conference, 8
To Program a Stop, 13
Fixed Features, 6 - 9
Feature Programming Chart, 11 - 12
General Purpose Adapter, 22
Group Listening, 9
Group Page, 17
Hands-Free Answer on Intercom, 16, 21
Hands-Free Unit, 21 - 22
Answering Calls, 21
Muting the Microphone, 21
Placing Calls, 21
Headset Adapter, 22
Hold, 6, 7, 13
Hold with Conference, 7
To Program a Pause, 13
To Program a Switchhook Flash, 13
Intercom Auto Dial, 15
Manual Signaling, 15
Key to Symbols, 3
Last Number Redial, 14
Line Buttons, 4
Lights, 4
Line Request, 5
Loudspeaker Page, 16
Message Waiting, 8
Monitor-on-Hold, 9
On-Hook Dialing, 9
Optional Equipment, 21 - 22
Outside Auto Dial, 13
Pause. See Special Characters
Personal Speed Dial, 17
Personalized Ringing, 19
Placing Calls, 4 - 5
Intercom Calls, 5
Outside Calls, 4
Privacy, 15
Programmable Line Ringing, 19
Programming Instructions, 10
Recall, 8
To Disconnect a Call, 8
To Program a Switchhook Flash, 13
Ringing Options, 19 - 20
Personalized Ringing, 19
Voice Announcement Disable, 20
Saved Number Redial, 14
Speaker, 9
Group Listening, 9
Monitor-on-Hold, 9
On-Hook Dialing, 9
Special Characters with Auto Dial and Speed
Dial, 13
Pause, 13
Stop, 13
Switchhook Flash, 13
Touch-Tone Enable, 13
Stop. See Special Characters
Switchhook Flash. See Special Characters
System Speed Dial, 18
Assigning a System Speed Dial Code to an
Auto Dial Button, 18
TouchTone Enable, 13, 16
T/P (Test/Program) Switch, 2
Transfer, 6
Transfer with Announcement, 6
Voice Announcement Disable, 20
Voice Terminal Module, 2
Volume Control, 2
23
Page 25

Speed Dial Codes
Code
Person or Location
Code
Person or Location
Code
Person or Location
24
Page 26

AT&T
MERLIN is a registered trademark of AT&T.
© Copyright 1985 AT&T. Printed in U.S.A.
999-500-136IS
Issue 2
September 1985
 Loading...