

Page 1
AW-5
Indoor/Outdoor Speaker
Instruction Manual
Page 2

2
Table of Contents
AW-5 Indoor/Outdoor Speaker
Table of Contents
2 Unpacking the Speakers
3 Description
3 Placement
4 Mounting Your Speakers
5 Connecting Your Speakers
6 Painting Your Speakers
6 Care of Your Speakers
6 Specifications
7 Warranty
Model AW-5
Indoor/Outdoor Speaker
Thank you for choosing Atlantic Technology products. Your new speaker's
components are precision-crafted to give you years of enjoyable, trouble-free
service. This manual covers the Atlantic Technology AW-5 Indoor/Outdoor
sp eaker.
IMPORTANT:
please take a few moments to read all of this booklet. It has many
helpful tips and ideas on properly setting up and using your system.
We promise that if you take the time to read and follow these tips
you’ll get better system performance and more enjoyment.
Unpacking the Speakers
Use care when unpacking the speakers. Remember to save all packing
materials until you are certain that the speakers have suffered no damage
in shipment. If you find such damage, either visible or internal, contact your
dealer immediately.
If you can do so, save the carton, packing pieces, and plastic bags that came
with your speakers. They will be useful in case you move or have to ship
your speakers for any reason.
Although it may seem like asking for driving directions,
For Future Reference
Record the serial number and date of purchase for each speaker here. The serial number
is found on the speaker terminal panel on the back of the enclosure.
Serial Number
Date of Purchase
The contents of this manual are Copyright © 2014 by Atlantic Technology International,
Corp., and may not be duplicated or reproduced by any means, whether physical, electronic
or otherwise without prior written consent from Atlantic Technology International, Corp.
Atlantic Technology and the Atlantic Technology logo are registered trademarks of Atlantic
Technology International, Corp.
Specifications are those in effect at the time of printing. As part of our ongoing program of
continuous product improvement, Atlantic Technology reserves the right to change specifications or appearance at any time without notice or obligation to modify existing product.
Page 3
Instruction Manual
Description
3
Description
Model AW-5 Indoor/Outdoor Speaker
Congratulations on your purchase of the Atlantic Technology AW-5 indoor/
outdoor speakers. Utilizing tough, environmentally-resistant materials and
state-of-the-art acoustic design, the AW-5 lets you take Atlantic Technology's
famous sound outdoors.
The advanced design of these speakers deliver detailed, articulate sound
for a dramatic listening experience. Each speaker contains a MLH (Mineral Loaded Homopolymer) 5 1/4" (134mm) woofer and an advanced 1"
(25mm) ferrofluid-cooled, titanium tweeter with a powerful neodymium
magnet structure. The drivers are mounted in an acoustically inert, heavily-reinforced enclosure made from mineral-filled polypropylene. This is
a far more neutral, less “ringy” material than is typically used with conventional outdoor speakers, and it contributes to the AW-5’s amazingly
musical sound.
All the component parts of the AW-5 have been designed for durability
under harsh conditions: UV and impact resistant cabinets, aluminum
powder-coated grilles and mounting brackets, and gold-plated speaker
terminals.
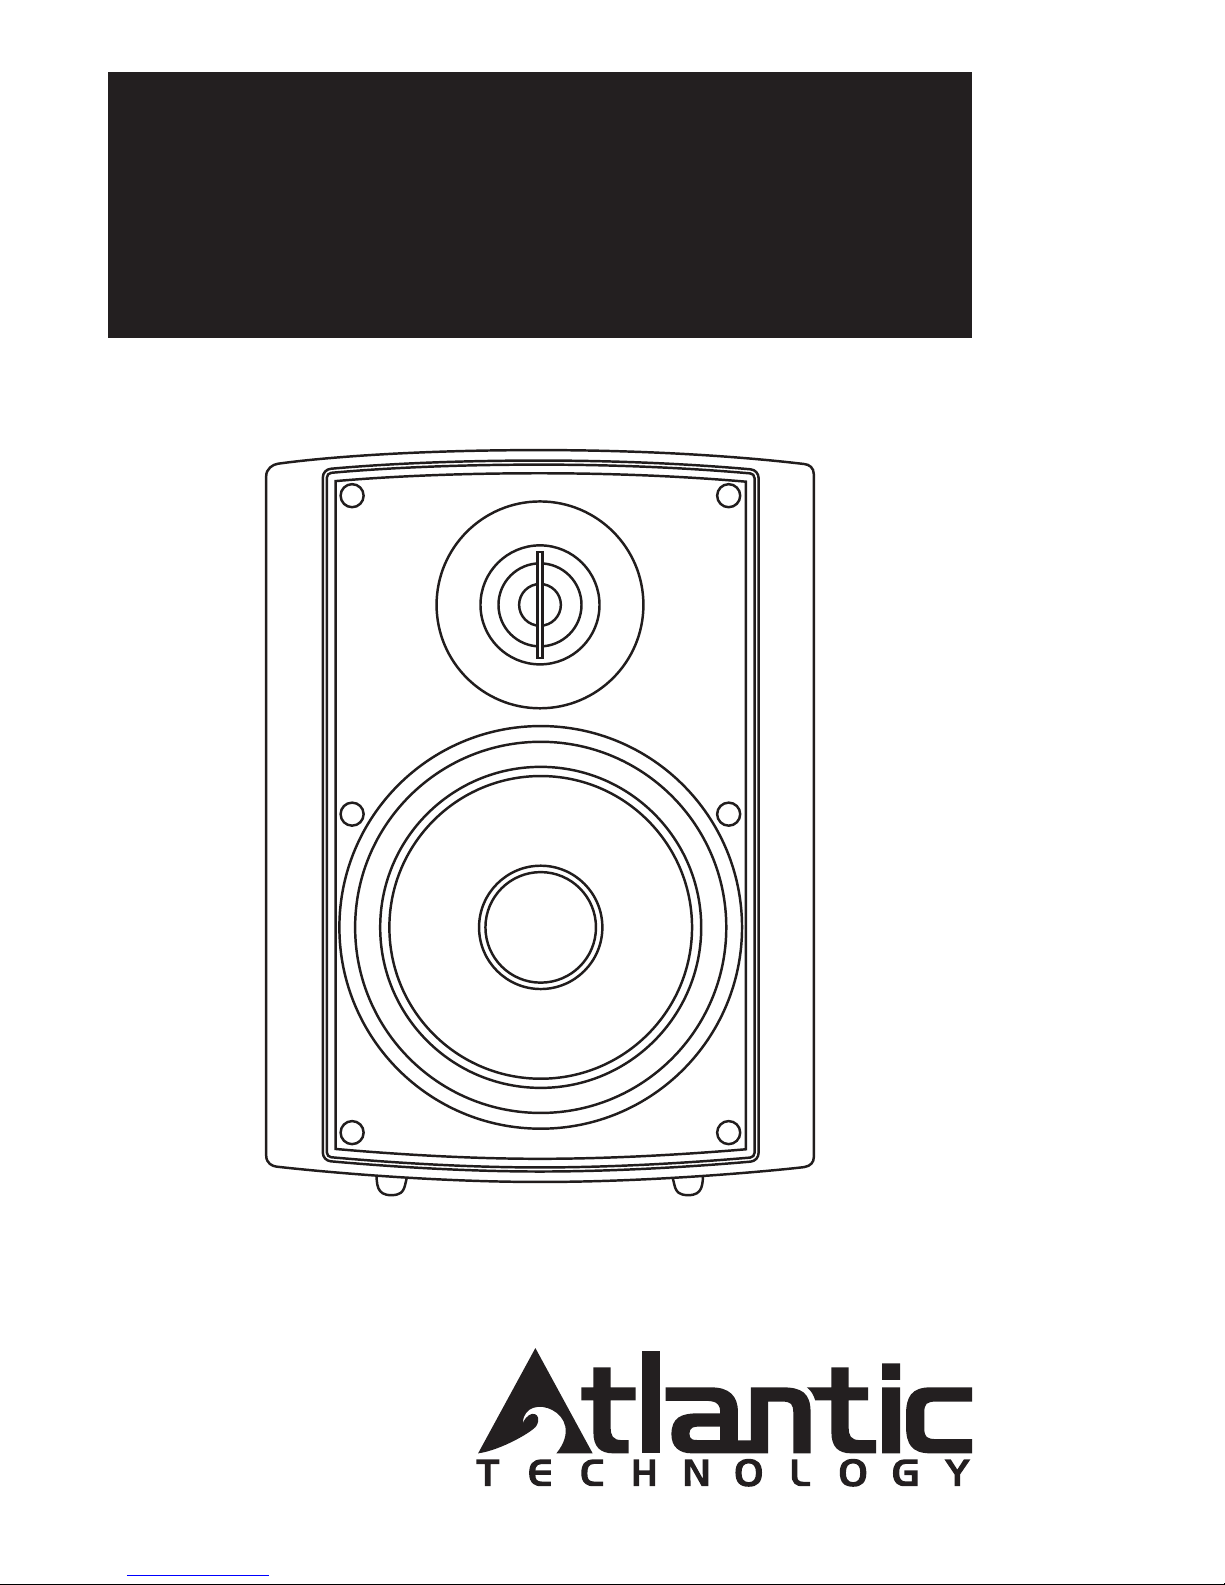
Speaker Placement
Figure 1
AW-5
Placement has a significant impact on the sound of your system. Please take
a few minutes to experiment with different speaker locations to assure that
you obtain adequate coverage of your primary listening area before you
commit to running speaker wire and permanently attaching the mounting brackets.
The speakers should be far enough apart that you get a good stereo “image”
when they are playing, but not so far apart that the sound seems to come
only from each individual speaker. Six to ten feet (2-3 meters) is usually
the best distance.
Wall- or corner-mounting will tend to increase the speaker’s apparent bass
output compared to a free-standing speaker, so take this into consideration
when choosing a mounting location.
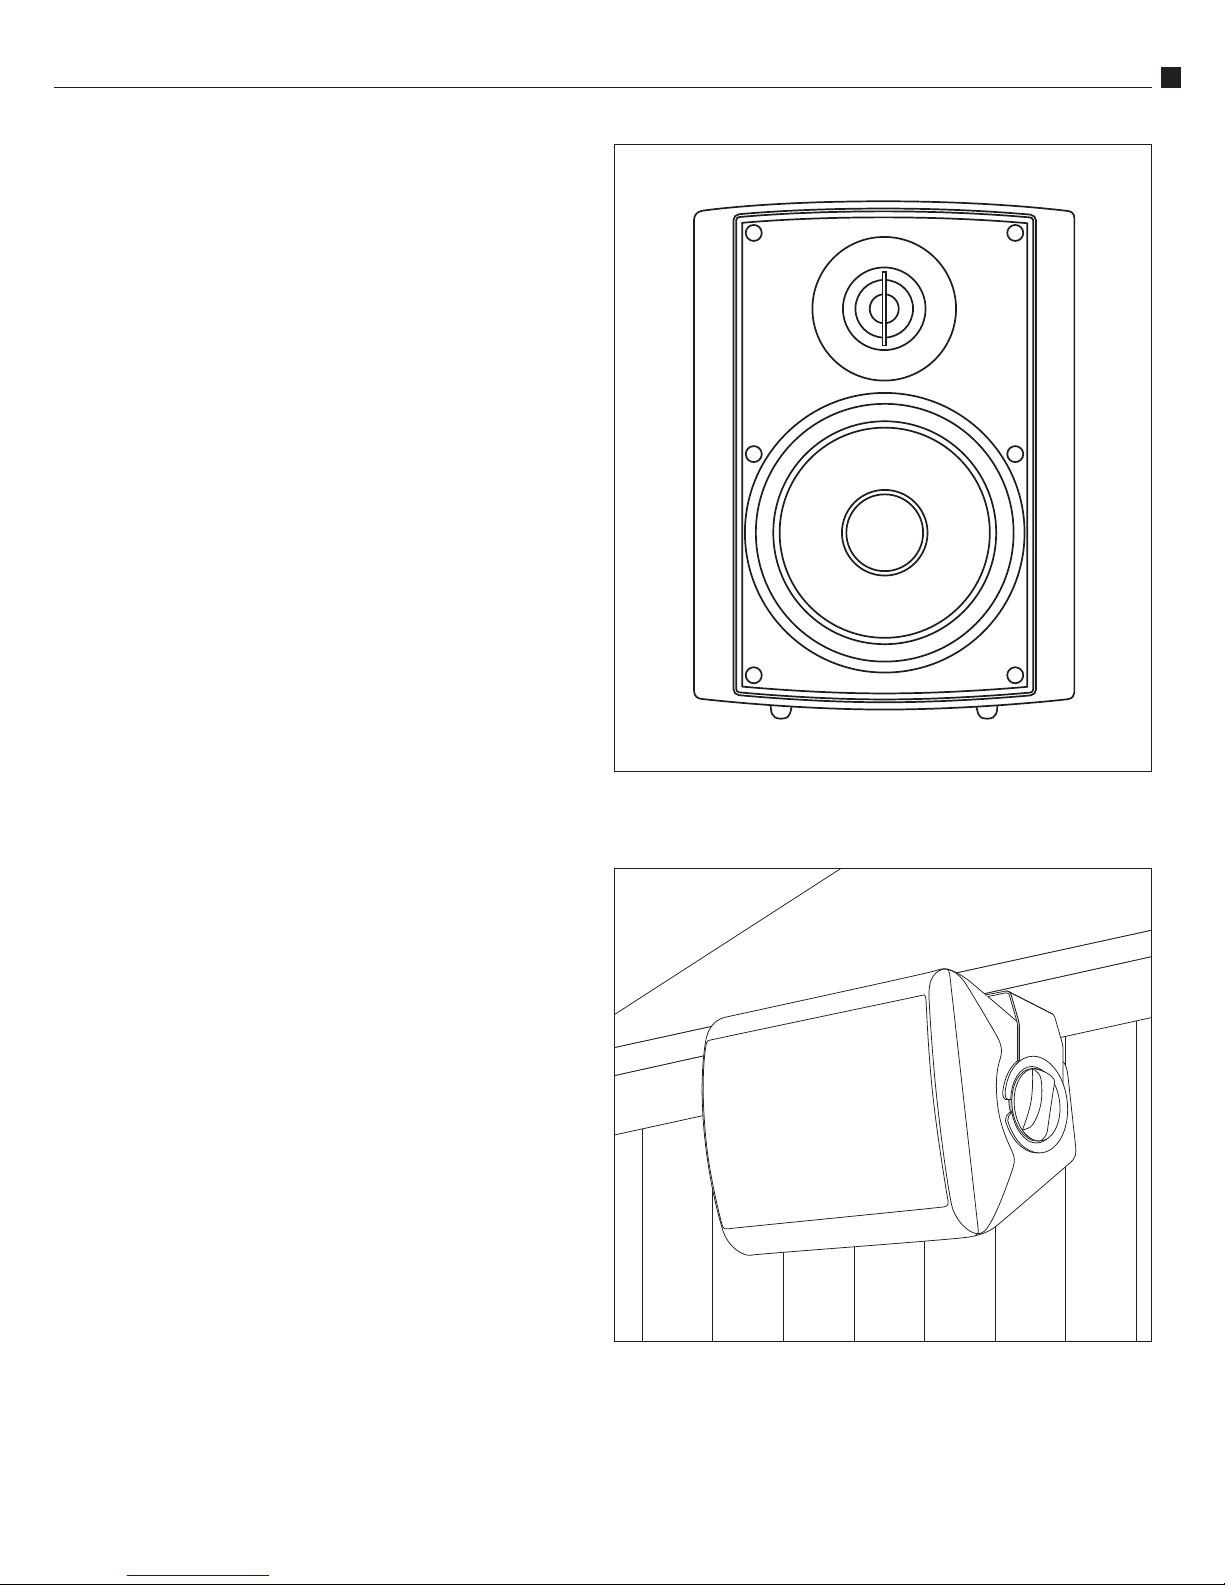
Although the AW-5 speakers are constructed of the highest quality materials, common sense should be observed when using them. Placement under
the eaves reduces the speaker’s exposure to direct sunlight and precipitation, which tends to increase the speaker’s life and minimize any potential
weather-related wear and tear. (See figure 2)
Figure 1
Figure 2
Page 4

4
Mounting
Mounting Your Speakers
AW-5 Indoor/Outdoor Speaker
Use the supplied mounting brackets to mount the speakers vertically or
horizontally on exterior house walls, deck corner posts, or other secure
surfaces. The bracket has holes to facilitate a variety of mounting hardware.
Always consult a knowledgeable installer regarding the best hardware
to use on your mounting surface.
To mount the speaker, loosen the knobs and remove the bracket from the
speaker. If you are running speaker wires, you may route the wires through
the large hole in the middle of the bracket; the bracket will then cover the
wire hole in the wall.
Mount the bracket in its desired location.
With the bracket mounting knobs loosened, slide the speaker/knob assembly into the mounting channels in the bracket until the speaker “seats” in the
final position. Adjust the speaker to the desired angle and tighten the knobs
to secure the speaker in place. (See below)
You may also use mounting brackets made by other companies, if you
choose. The ¼-20 threaded inserts for the knob posts, and the 6mm insert
on the back, are the exact same thread sizes used by many manufacturers
for their various mounting devices.
Page 5

Instruction Manual
Connecting
5
Connecting Your Speakers
We recommend that you connect your speakers using high quality dual
conductor stranded wire of 16 gauge or heavier, for lengths up to 25 feet
(8m). Remember, the lower the gauge number, the heavier the wire. Use
heavier gauge wire for longer runs. Please contact your audio/video dealer
or installer for specific cable recommendations and further information
regarding special circumstances. The terminals themselves are designed to
allow the use of very heavy speaker wire or pin-type connectors.
WARNING:
equipment, always switch off the amplifier or receiver when making
any system connections.
1. Remove ½-inch (13mm) of insulation from each wire end.
2. Twist the stranded wire together, keeping the two ends
separate.
3. Push down on the connector post and place the appropriate
wire through the postholes in the connector.
Be sure to connect red (+) on the speaker to
red (+) on the amplifier and black (–) on the
speaker to black (–) on the amplifier.
To prevent risk of electrical shock or damage to your
It’s important to observe polarity while making speaker connections: red
(+) terminals on the amplifier to red (+) on the speaker, black (–) on the
amplifier to black (–) on the speaker. Look carefully at the wires you are
using and note that one of the conductors of each pair will typically be
identified by color, printing on the outer jacket, ridges on the outer jacket,
or a thread intertwined with the wire strands. By convention, the marked
wire is connected to the red (+) terminal.
WARNING:
wire strands are touching across any terminals as this might damage
your amplifier.
Before turning on the amplifier, be certain that no stray
Finally, check the polarity of your front Left/Right speakers by listening to
some stereo music with good bass content. If the sound seems “hollow,”
unusually spread out, or seems to have weak bass, recheck your connections
for proper polarity and correct any out of phase connections by reversing
the connections to one speaker only, if necessary.
LEFT RIGHT
Page 6

6
Painting
AW-5 Indoor/Outdoor Speaker
Painting Your Speakers
If desired, you can paint the exterior of the speaker enclosure and grille to
better match the speaker’s surroundings.
You will need:
Care of Your Speakers
Clean your cabinets using a soft, lint-free cloth. If you wish, you can slightly
moisten the cloth with plain water. Do not use any other cleaning agents
or chemicals.
• A fast-drying spray paint specifically formulated for plastic
(such as Krylon ® Fusion)
•The included grille removal tool, a paper clip or curved-tip
awl
• Masking tape and heavy paper or cardboard for masking
• A clean, dry cloth
To prepare for painting:
• Remove the bracket.
• Use the included grille removal tool, a paper clip or curvedtip awl to remove the grille.
• Cut the paper or cardboard to the size of the baffle (the
surface that contains the speaker elements) and the terminal
area on the rear panel. Mask these areas off.
• Wrap masking tape around the threaded posts of the
knobs.
• Use a small piece of masking tape to cover the threaded
insert.
• Use the clean, dry cloth to wipe any dust or dirt off the
cabinet.
Specifications
Model AW-5
Type 2-way Sealed Indoor/Outdoor Speaker
Drivers Woofer (1) 5 ¼" (134mm) MLH
Tweeter (1) 1" (25mm) titanium
Frequency Response 60Hz – 20kHz ±3dB
Nominal Impedance 6 ohms
Crossover Frequency 3.5kHz, 2nd order
Sensitivity 88dB
Recommended Amplifier Power 10 – 150 Watts RMS
Dimensions w/grille (W x H x D) 7 ¼" x 10" x 7 ½" (185 x 254 x 191 mm)
Weight (ea) 5.3 lbs (2.4 kg)
Threaded Inserts bracket knob 1/4" x 20,
Painting the cabinet and knobs:
IMPORTANT: SAVE YOUR BOXES!
materials until you are certain that the speakers have suffered no
damage in shipment. If you find such damage, either visible or internal, contact your dealer immediately.
If you can do so, save the carton, packing pieces, and plastic bags
that came with your speakers. They will be useful in case you move or
have to ship your speakers for any reason.
Remember to save all packing
rear insert 6mm
• Apply two thin coats of plastic-compatible paint, following
the paint manufacturer’s directions. Be careful not to fill the
threaded inserts with excessive paint.
• Paint only the upper surface of the knobs. Do not
contaminate the threaded posts with paint.
• Let dry thoroughly, then carefully remove the masks and
IMPORTANT NOTE: The power recommendation for these speakers assumes that you will not
operate your amplifier/receiver in a way that produces distortion. Even rugged speakers like ours
can be damaged by an amplifier driven into audible distortion. The harsh amplifier distortion
(“clipping”) that occurs in this situation will eventually cause damage to the speakers. This type
of damage may be cumulative and can build up over time, as the amplifier is driven into overload again and again. Such damage is easily identifiable through examination of the damaged
speaker’s voice coil and is not covered by the warranty.
tape from the cabinet.
Specifications are those in effect at the time of printing. As part of our ongoing program of continuous product improvement, Atlantic Technology reserves the right to change specifications or
Painting the grilles and bracket:
appearance at any time without notice or obligation to modify existing product..
• Apply one or two coats of paint, being careful not to “fill in”
the holes in the metal grille with paint, as this will seriously
degrade the sound.
• If necessary, you may apply a second coat to the bracket.
Page 7

Instruction Manual
Warranty
First, we’d like to thank you for purchasing an Atlantic Technology product. We wish you
many years of enjoyment and satisfaction from it.
Second, be aware that you don’t have to send in any Warranty card to be covered by the
Limited Warranty. All you need to do is keep your original Invoice or Bill of Sale for proof of
purchase, meet the stated requirements, and follow the instructions listed within that Warranty. Please attach your Original Invoice or Bill of Sale to this manual as proof of purchase
and keep them in a safe place.
VERY IMPORTANT NOTE:
CARRY ONLY A 90 DAY LIMITED WARRANTY. YOU MUST MEET ALL THE BELOW
REQUIREMENTS AND REGISTER ONLINE IN ORDER TO BE COVERED BY THE FREE
EXTENDED SERVICE AGREEMENT TO ASSURE EXTENDED FREE PROTECTION!!
Free Extended Service Agreement
Atlantic Technology offers a free Extended Service Agreement that provides enhanced
protection against product defects. In order to qualify for the free Extended Service Agreement you must:
1. Have purchased your Atlantic Technology products from an Authorized Atlantic Technology Reseller or Installer.
2. Go to www.atlantictechnology.com and click on Support>Register Your Warranty.
Fill out the required information. Be sure to have your home address, name, address
and invoice from the business you purchased, and the serial numbers of all Atlantic
Technology products purchased.
PURCHASE.
3. If you purchased multiple Atlantic Technology products you will be able to enter them
all using one online form. Model and Serial numbers can be found on the back of each
unit and on the outside of their respective boxes.
Once all the criteria have been met, you qualify for a free Extended Service Agreement that
entitles you to additional coverage against defects in workmanship and manufacturing for a
period of up to 5 years on passive speakers and up to 1 year on powered speakers (including
subwoofers). This coverage is in addition to the 90 Day Limited Warranty included with all
Atlantic Technology products.
If you are not able to register your product using the internet, please call customer service
at 781.762.6300.
PLEASE NOTE THAT ATLANTIC TECHNOLOGY PRODUCTS
THIS MUST BE DONE WITHIN 30 DAYS OF
Specifications
To obtain Warranty ser vice: Please contact your local Atlantic Technology reseller to determine if they are an Authorized Repair Center for Atlantic Technology products. You will need
your original Invoice or Bill of Sale to prove Warranty eligibility. If your local dealer is not
an Authorized Warranty Center you may contact us at 781-762-6300 for further help or to
send the product back to us for service and repair. You must first get a Return Authorization
Number from us to ship the product back, so it is imperative that you call us first.
What we are responsible for: We will pay for all labor and parts for covered items. If the
repairs are eligible for coverage under the terms of this Warranty we will also pay for return
shipping charges to you.
What you are responsible for: You must pack the product properly for safe shipping to your
Authorized Dealer or us. You are responsible to pay for all packing, shipping, and insurance
costs to get the unit(s) back to Atlantic Technology or your Authorized Dealer.
Optional replacement: We, at our option, may replace rather than repair your Atlantic Technology product with a new or reconditioned one of the same or similar design. The repair
or replacement will be warranted for 90 days from date of receipt back to you. All details
in terms of eligibility for an Extended Service Agreement will carry over from the original
purchase to the replacement item.
What this Warranty does not cover: This Warranty does not cover defects resulting from
accidents, damage while in transit, alterations, unauthorized repair, failure to follow instructions, misuse, fire, flood, and Acts of God. This Warranty will be void if the product’s serial
number has been altered or removed or if the product has been modified or defaced.
Exclusions and Limitations: Implied warranties, including those of fitness for a particular
purpose and merchantability (an unwritten warranty that the product is fit for ordinary use)
are limited to the period of any Warranty granted hereby. We will not pay for loss of time,
inconvenience, loss of use, or property damage caused by your Atlantic Technology product
or its failure to work, or any other incidental or consequential damages.
State law rights: Some states do not allow the exclusion or limitation of incidental or consequential damages, so the above limitation or exclusion may not apply to you. This Warranty
gives you specific legal rights, and you may have other rights which vary from state to state.
This Warranty is valid only when Atlantic Technology products are purchased from an Authorized Atlantic Technology Reseller in the Continental United States, Alaska, and Hawaii and all
US Possessions. If you purchase Atlantic Technology products outside the United States please
consult your local distributor or reseller for applicable Warranty coverage and restrictions.
7
Limited Warranty
Stateme nt of Warr anty : Atlantic Technology International Corp. warrants Atlantic Technolog y
Products to be free from defects in material and workmanship for 90 days from the time of original purchase. This Warranty covers the original retail purchaser of this product only and is valid
only in the Continental United States, Alaska, and Hawaii and all US Possessions.
Extended Service Agreement (only available in the Continental United States, Alaska, and
Hawaii and all US Possessions): You must complete the Extended Service Agreement appli-
cation, and meet all of the purchase criteria stated on that application, to receive an Extended
Service Agreement that covers your Atlantic Technology products well beyond the standard 90
day War ranty.
Should you have any questions or problems please feel free to contact us at 781-762-6300 or
through our web site, www.atlantictechnology.com.
Page 8

343 Vanderbilt Avenue Norwood, MA 02062 (781) 762-6300 www.atlantictechnology.com
015-0005
 Loading...