

ATEN GWP512 User Manual

Wireless-G Notebook Network Card
User Manual (GWP512)


Welcome
Thank you for choosing IOGEAR® to serve your wireless needs. Soon, you will be sharing files or surfing
the Internet wirelessly. We hope you will have as much fun using your IOGEAR® Wireless-G Notebook
Network Card, as we had designing it.
Rest assured, your IOGEAR® Wireless-G Notebook Network Card is built rock-solid to ensure maximum uptime for you to stay up-and-running. If for any reason you have a problem, we stand behind our products
with an industry-leading 3 year factory warranty, so you can have peace-of-mind with your current and
future IOGEAR® purchases.
We want you to be happy with your purchase, so we have made every effort to ensure product quality,
reliability, and ease-of-use.
©2004 IOGEAR. All Rights Reserved. PKG-M0109
IOGEAR, the IOGEAR logo, is the trademark or registered trademarks of IOGEAR, Inc. Microsoft and Windows are registered trade-
marks of Microsoft Corporation. IBM is a registered trademark of International Business Machines, Inc. Macintosh, G3/G4 and iMac are
registered trademarks of Apple Computer, Inc. IOGEAR makes no warranty of any kind with regards to the information presented in this
document. All information furnished here is for informational purposes only and is subject to change without notice. IOGEAR, Inc. assumes
no responsibility for any inaccuracies or errors that may appear in this document.

T able of Contents
Package Content
Overview
Features
Requirements
Introduction
Installation
Uninstallation
Configuration Utility
WinXP Zero Configuration Utility
WP A Configuration Utility
Specification
T echnical Support
○○○○○○○○○○○○○○○○○○○○○○○○○○○○○○○
○○○○○○○○○○○○○○○○○○○○○○○○○○○○○○○○○○○
○○○○○○○○○○○○○○○○○○○○○○○○○○○○○○○○○○○
○○○○○○○○○○○○○○○○○○○○○○○○○○○○○○○○○
○○○○○○○○○○○○○○○○○○○○○○○○○○○○○○○○○○
○○○○○○○○○○○○○○○○○○○○○○○○○○○○○○○○○○
○○○○○○○○○○○○○○○○○○○○○○○○○○○○○○○○○
○○○○○○○○○○○○○○○○○○○○○○○○○○○○○○○
○○○○○○○○○○○○○○○○○○○○○○○○○○
○○○○○○○○○○○○○○○○○○○○○○○○○○○○○
○○○○○○○○○○○○○○○○○○○○○○○○○○○○○○○○○
○○○○○○○○○○○○○○○○○○○○○○○○○○○○○○○○
Radio and TV Interference Statement
Limited Warranty
○○○○○○○○○○○○○○○○○○○○○○○○○○○○○○○○
Regulatory Compliance FCC Warning
○○○○○○○○○○○○○○○○○○○○○○○○
○○○○○○○○○○○○○○○○○○○○○○○○
2
3
4
5
6
10
31
34
56
67
74
75
76
77
78

This package contains:
• IOGEAR
®
Wireless 802.11g PC Card
• CD ROM containing Driver, Configuration Utility, Odyssey Client f or Marvel
(client for WPA application) and User’s Manual
• Quick Start Guide
• Acrobat Reader 6.0
2
Package Contents

Overview
IOGEAR®’s Wireless-G Notebook Network Card is a sleek and versatile device for both small and home
office users. With IOGEAR®, you can surf the Internet, share files, chat with your friends, and....Wirelessly!
Our simple, easy-to-use, setup wizard will have you up-and-running in minutes. Moreover, our turn-key
Firewall and Wireless Security packages keep you safe on the ‘net.
Remember, IOGEAR®’s Wireless-G Notebook Network Card gives you the wireless connectivity all in a small,
cost-effective, and reliable setup. Go with IOGEAR®, and go Wireless!
3

Features
• 54 Mbps wireless connection speed - up to five times faster than previous 802.11b technology
• Sleek, compact antenna is designed for maximum agility
• Simple user setup & diagnostics utilities
• Odyssey security client (from Funk Software) included, for strong WLAN securities (supporting EAP-TTLS,
EAP-PEAP , EAP-TLS , and LEAP).
• Compliant with FCC Part 15.247 for US, EN 300-328 for Europe, and RCR STD-33A and ARIB
STD-T66 for Japan
• Backward compatible with 802.11b wireless networks, access points, hot spots and other devices
• Solid 3-year manufacturer warranty - built to last!
4

System Requirements
• Pentium® class notebook computers with one available CardBus slot
• Microsoft® Windows® 98SE, ME, 2000, XP
• CD-ROM drive
• Using Odyssey Client for Marvell, your computer must be running Microsoft Internet Explorer 5.5 or later.
• Using WPA function, make sure there is a WPA-enabled Access Points in the network environment.
5
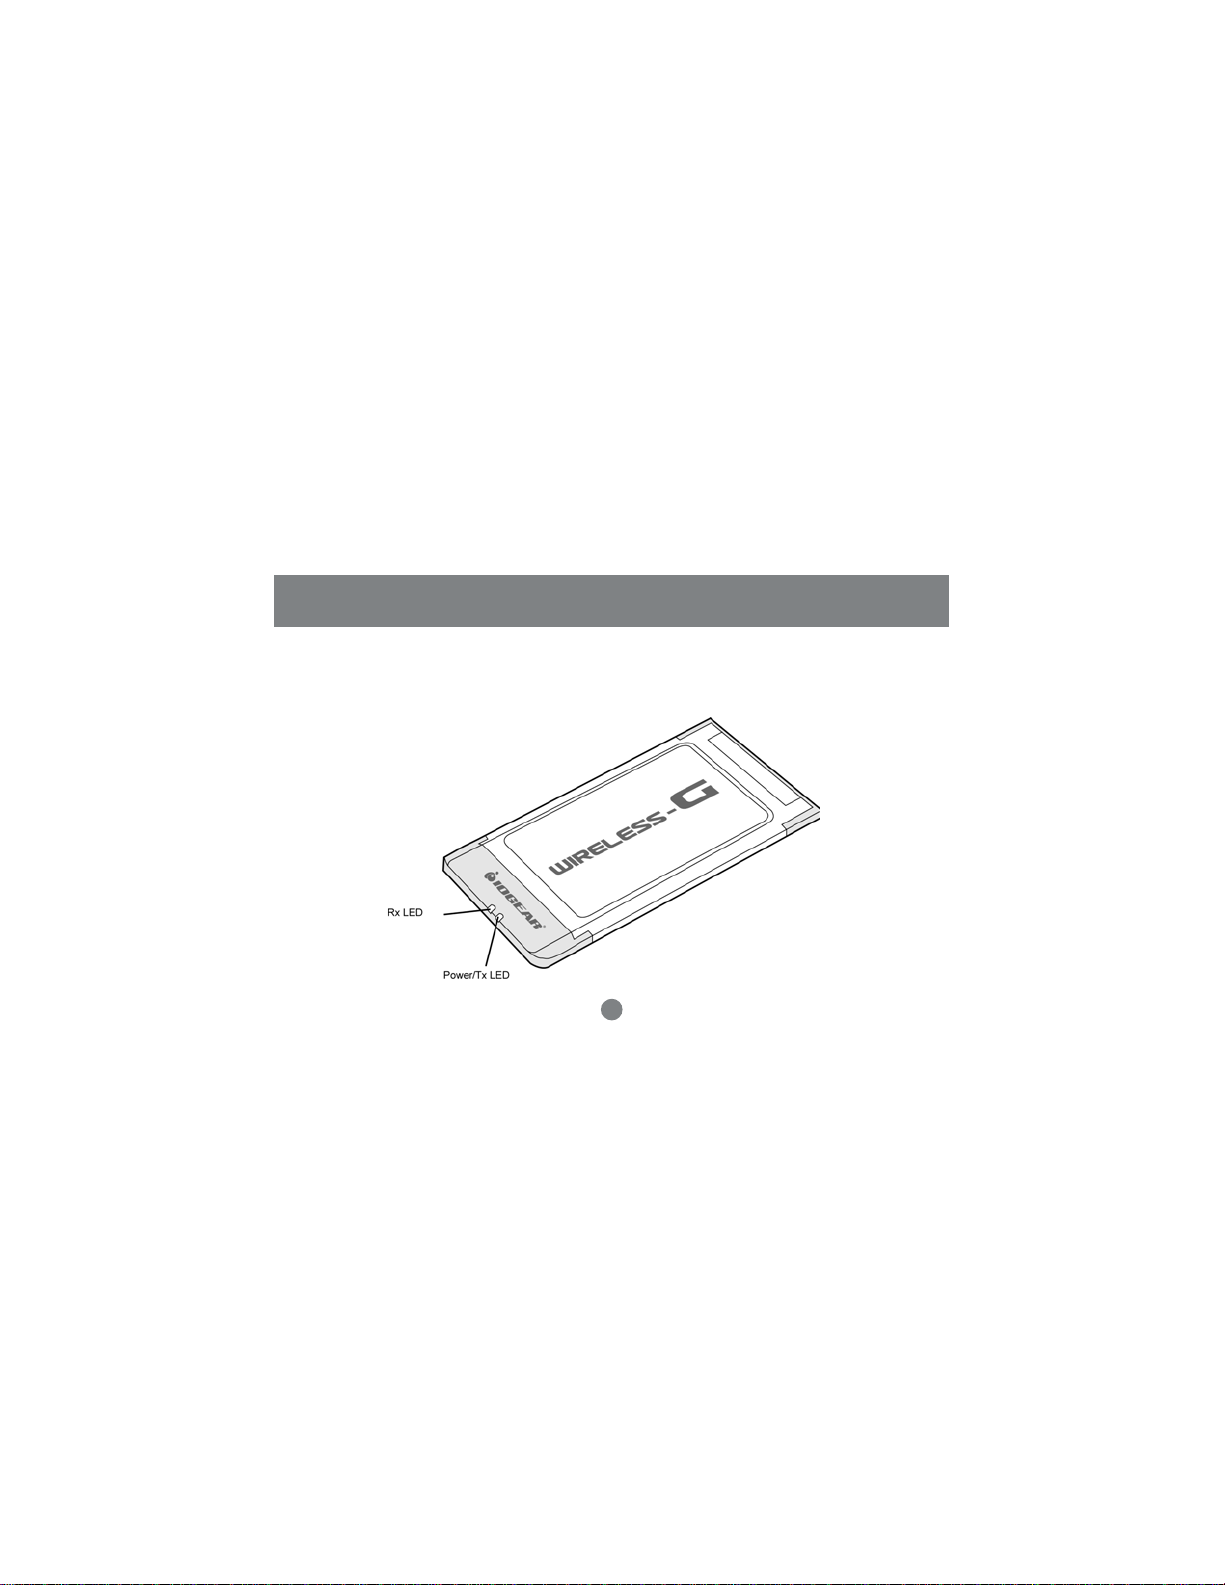
Introduction
When the adapter card is not associated with any wireless network devices, the Power/Tx LED will stay solid
green; Rx LED will be off. When both LEDs are blinking green, the adapter card is scanning/connecting to
an wireless network. When the adapter card is associated, Power/Tx LED indicates transmitting activity; Rx
LED indicates receiving activity.
6
Introduction
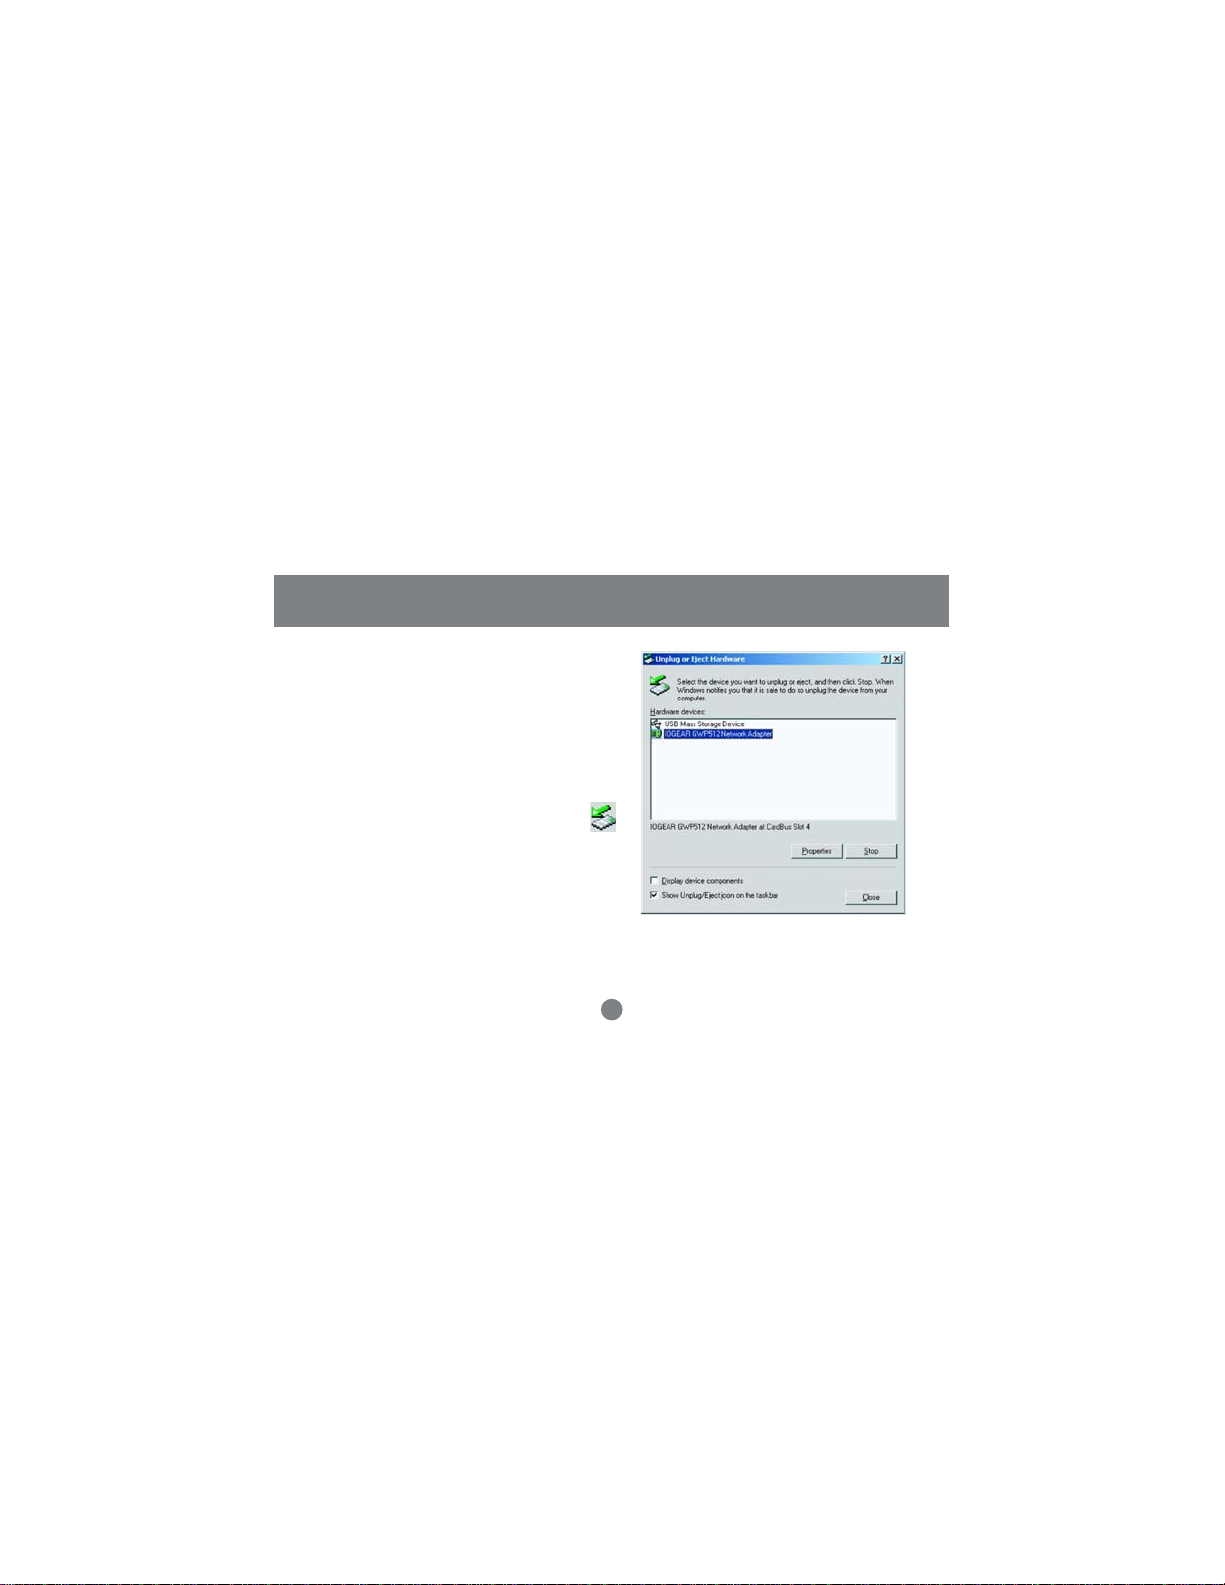
Ejecting the Network Adapter
Please always disable the network adapter prior
removing the adapter from the PCMCIA slot. The
network adapter supports hot-swappable feature so
you don’t have to power off the notebook to remove
the adapter.
1. Double click the Unplug or Eject Hardware Icon
resides on the Windows system tray and click Stop
from the Unplug or Eject Hardware dialog box.
7
Introduction
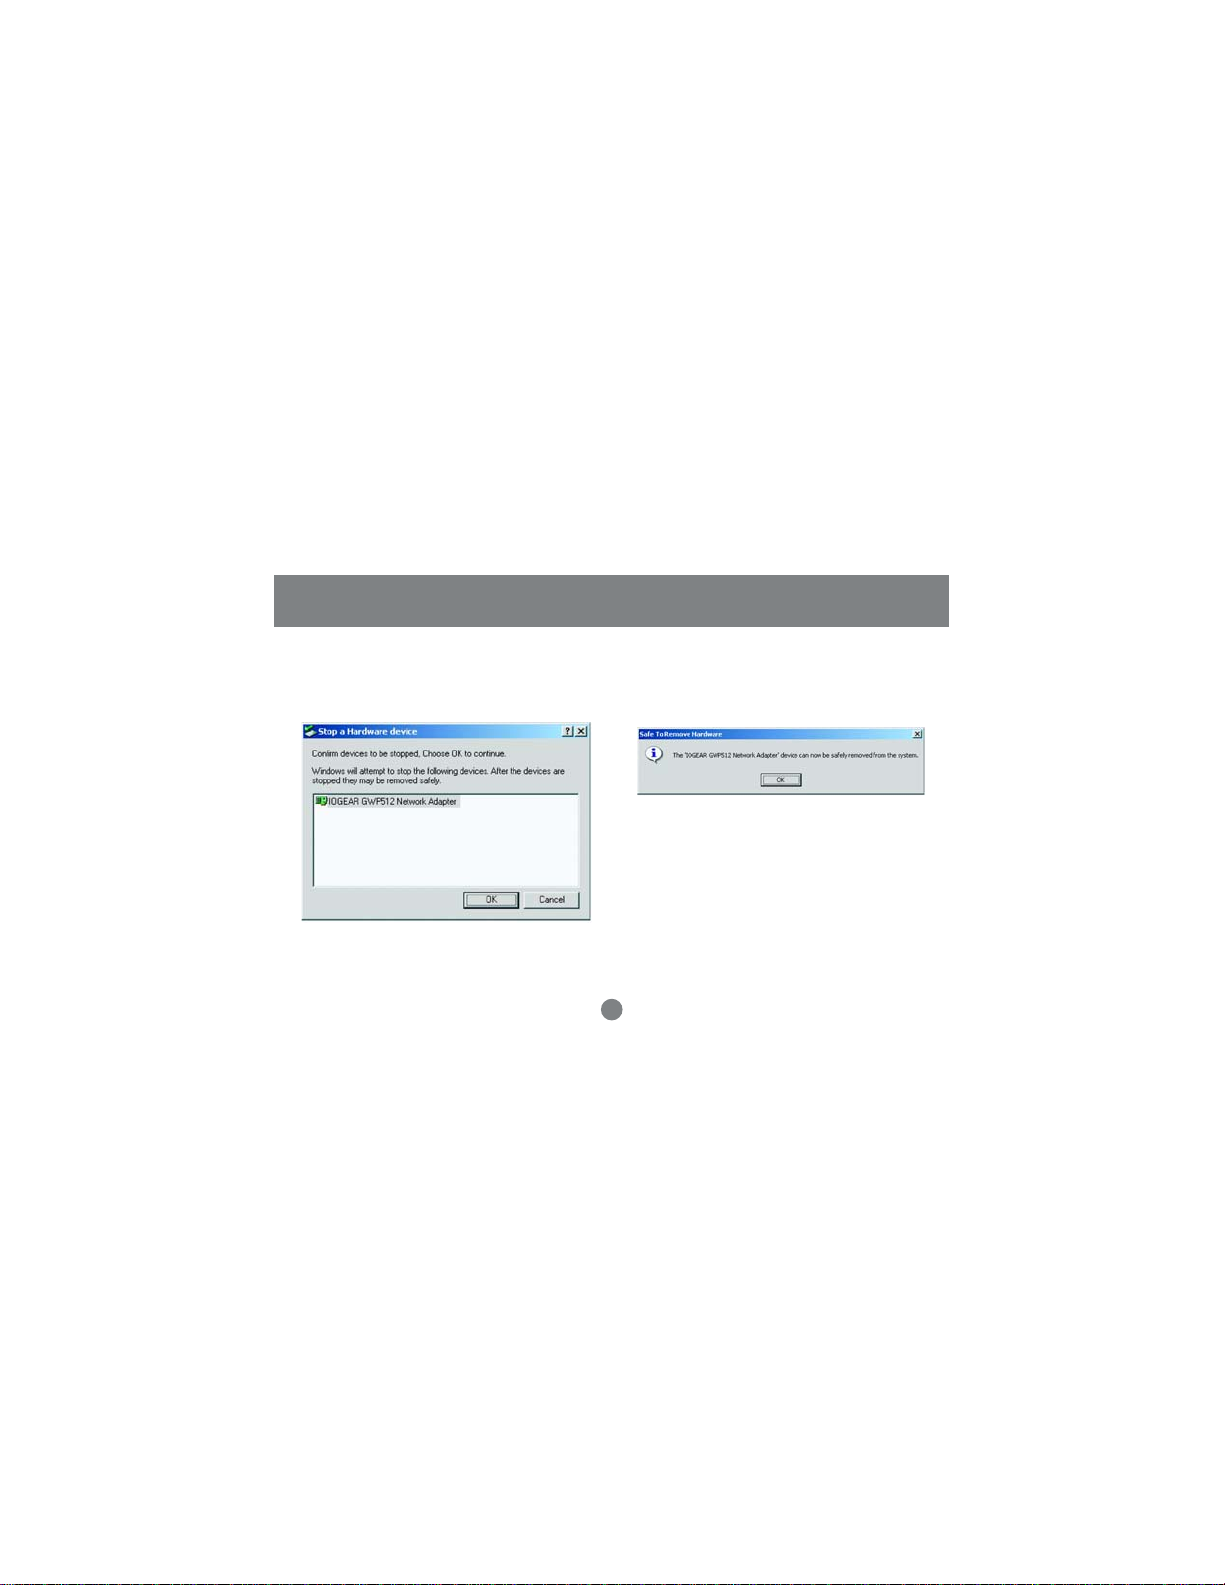
2. Click OK to confirm that you are going to stop the
adapter.
3. The following screen prompts that you can
remove the adapter. Click OK button to close
the dialog box.
8

Introduction
4. Push the lever of your notebook PCMCIA slot to
eject the adapter now.
Note: Don’t eject the network adapter when data
transmission is taking place.
9
Driver Installations
If you have connected the notebook adapter to your
computer, please remove it first.
1. Insert the Driver and Utility CD into CD Drive.
2. A series of introduction screens will show up.
It runs on Macromedia Flash. If your computer
doesn’t have the Flash player installed, please
www.macromedia.com to download the plug-in
visit
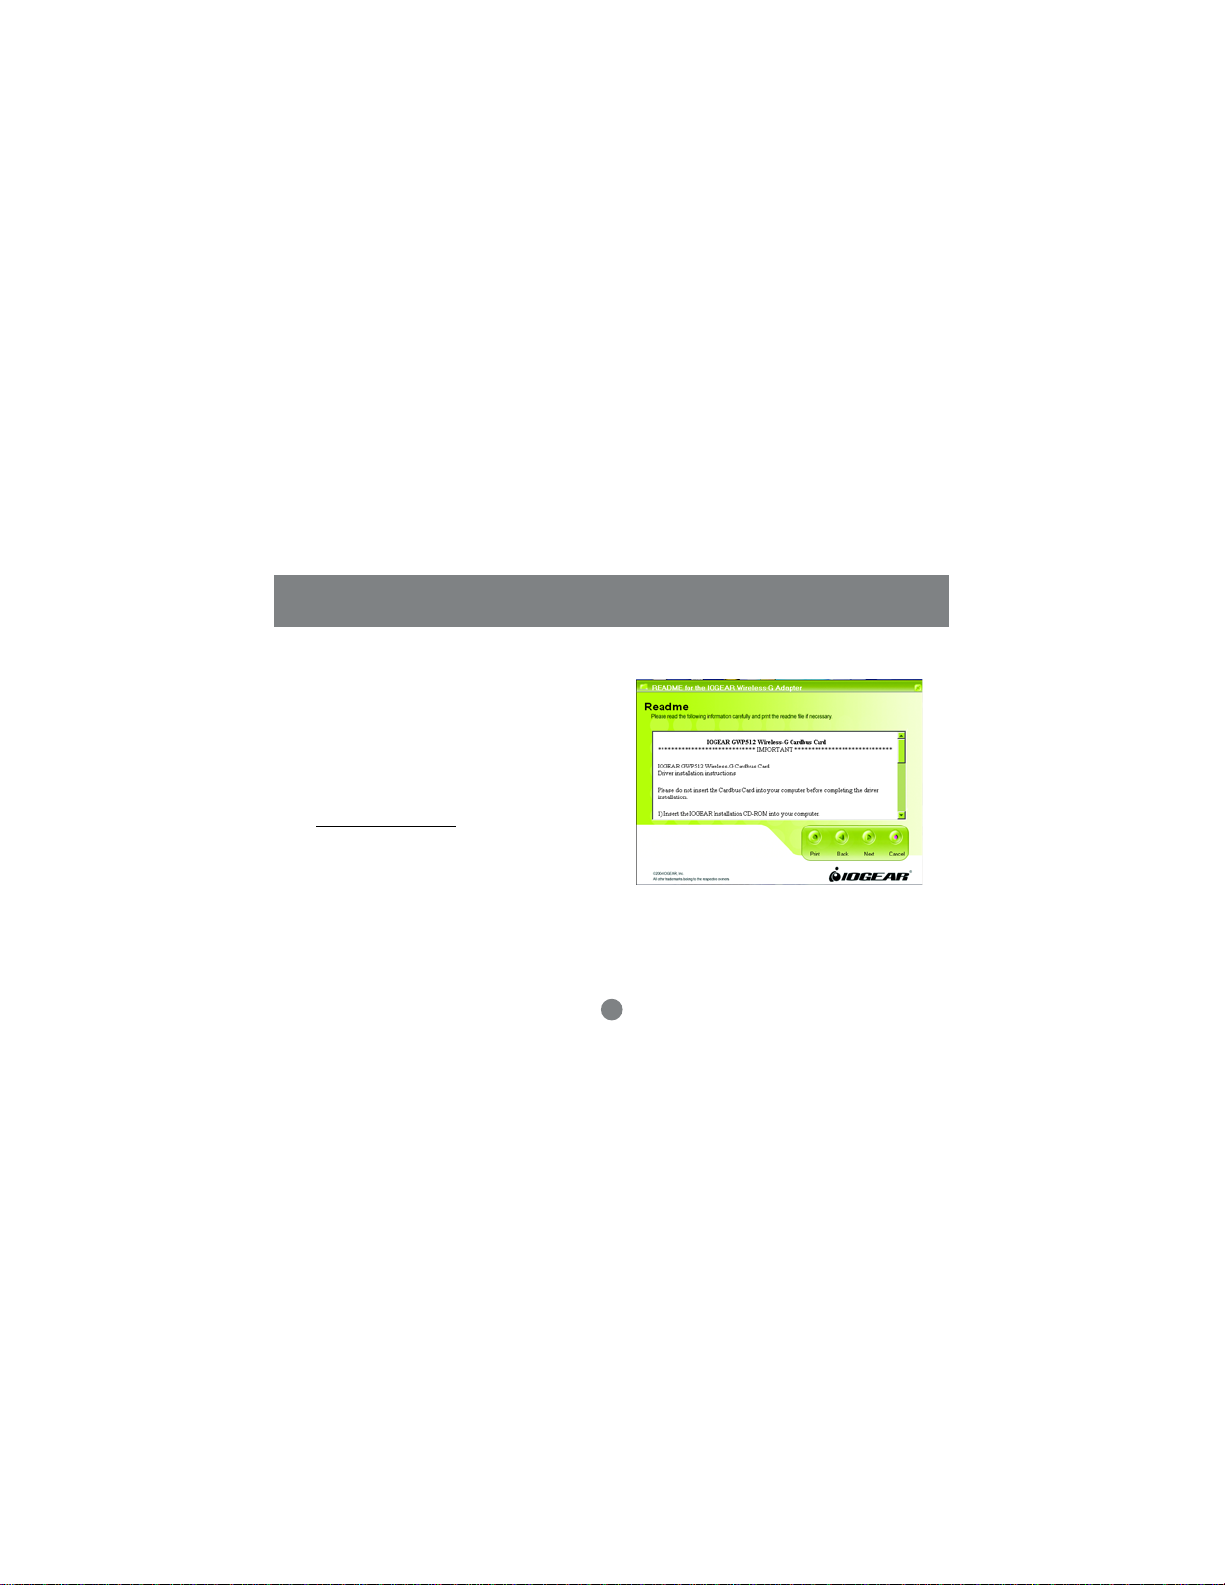
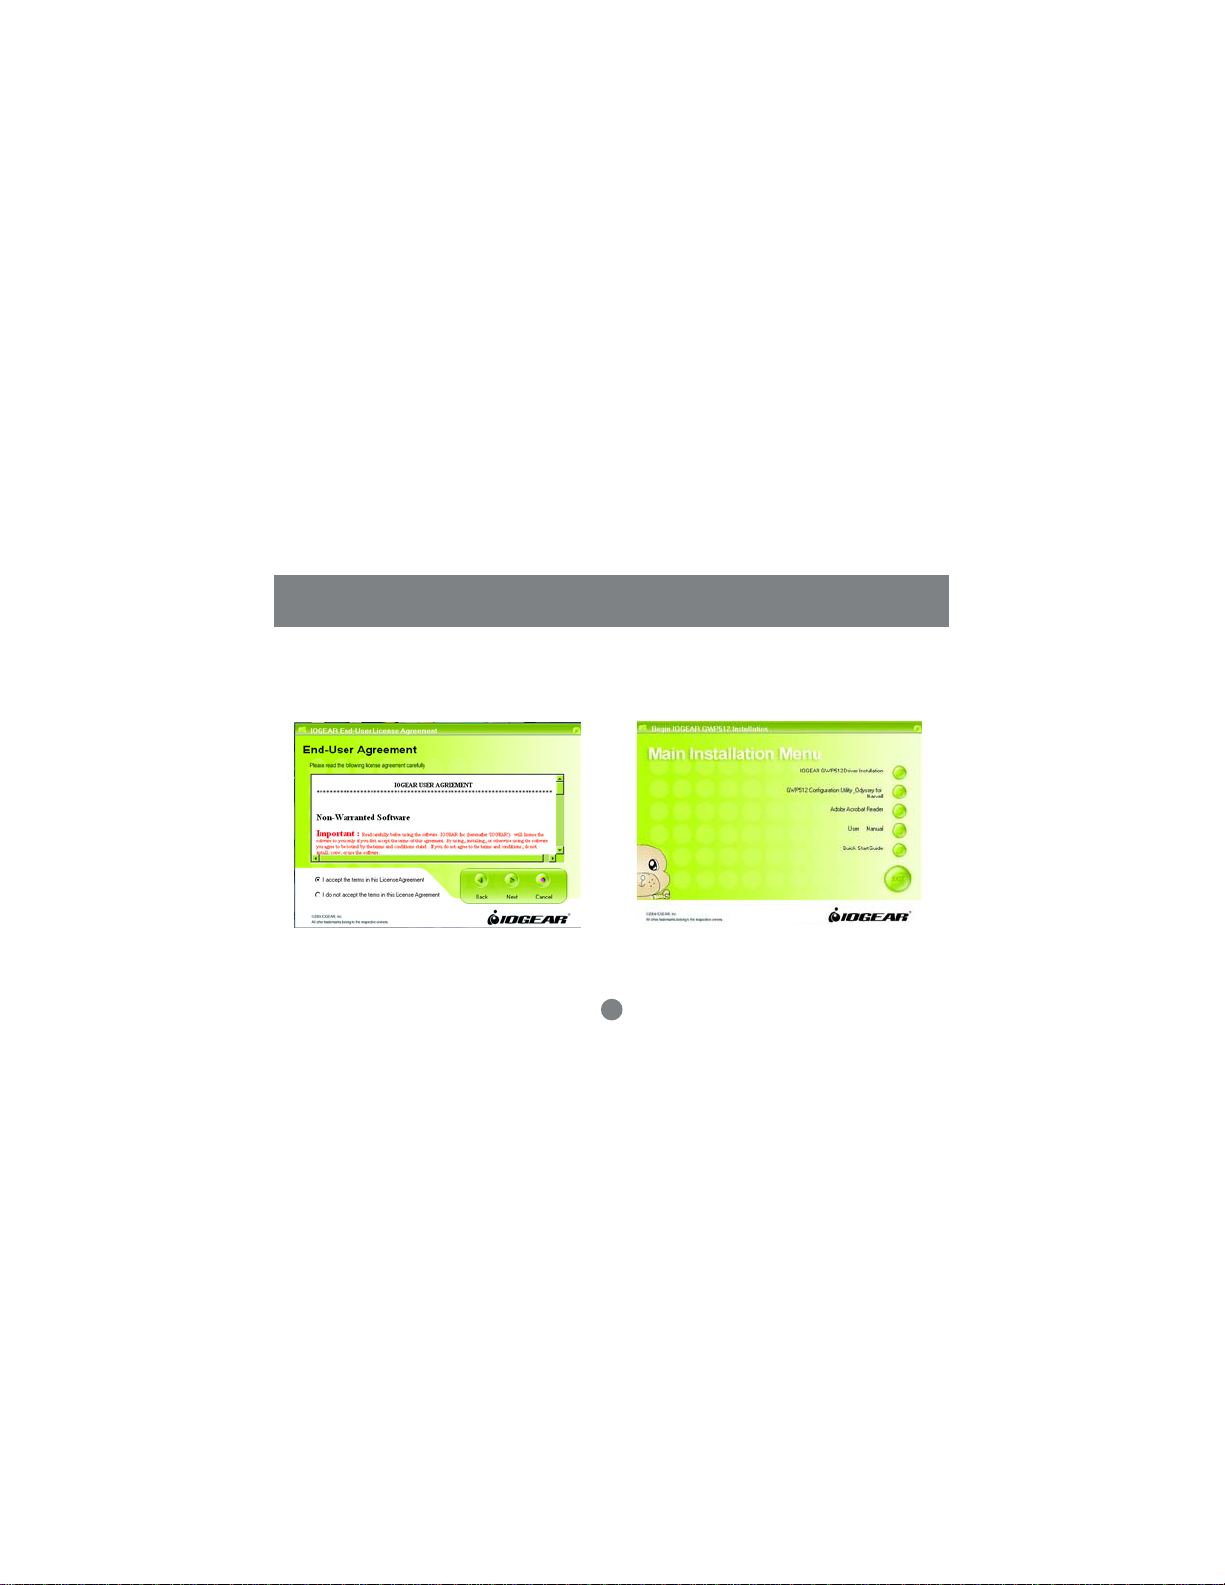
3. Next, a Read Me screen will be brought up.
Please read it through carefully, then click Next.
Installation
10
Installation
4. Click the button of “I accept the terms in the
license agreement”. Click Next
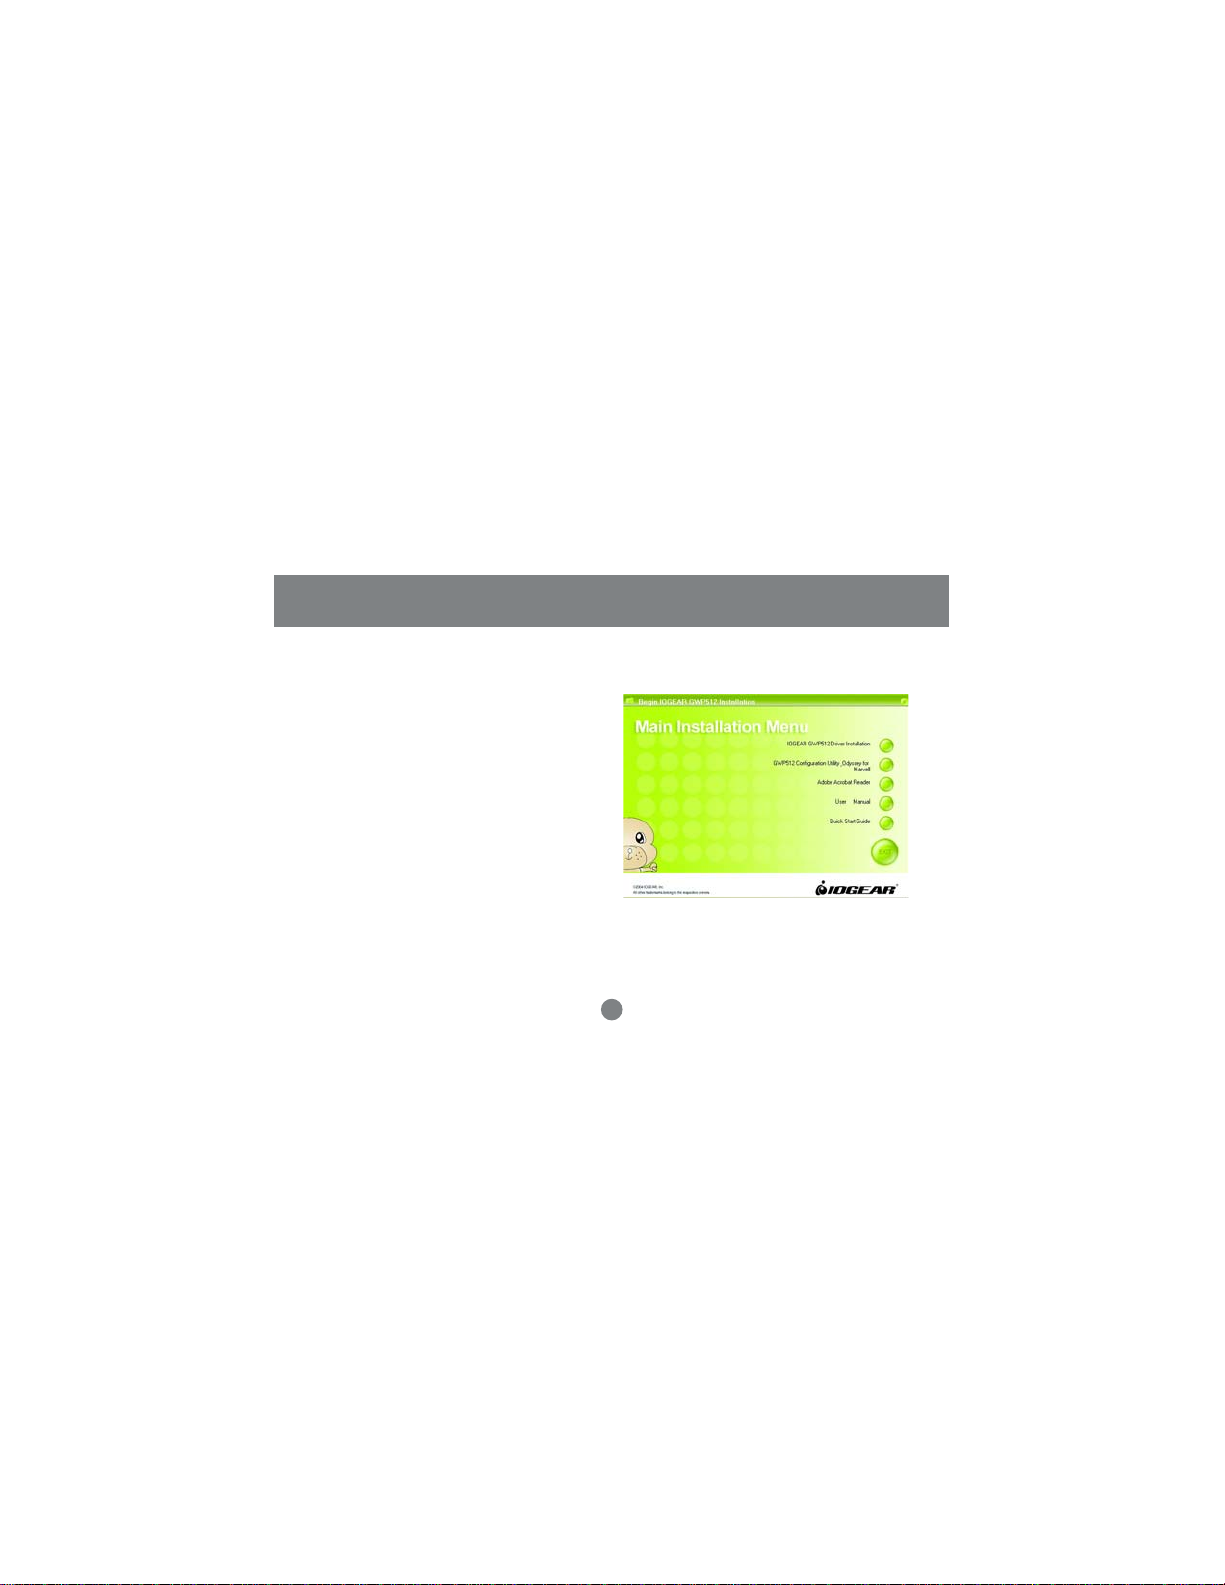
5. A Main Installation Menu will show.
Click the button of IOGEAR GWP512 Driver
Installation.
11

6. When it completed, an information window
will pop up. Please click OK, then it will
return to main menu.
Note: The following procedures are operated in
Windows 2000.The steps and screen shots are
similar for the other supported OS (such as Win
98SE, ME and XP).
Installation
12
Installation
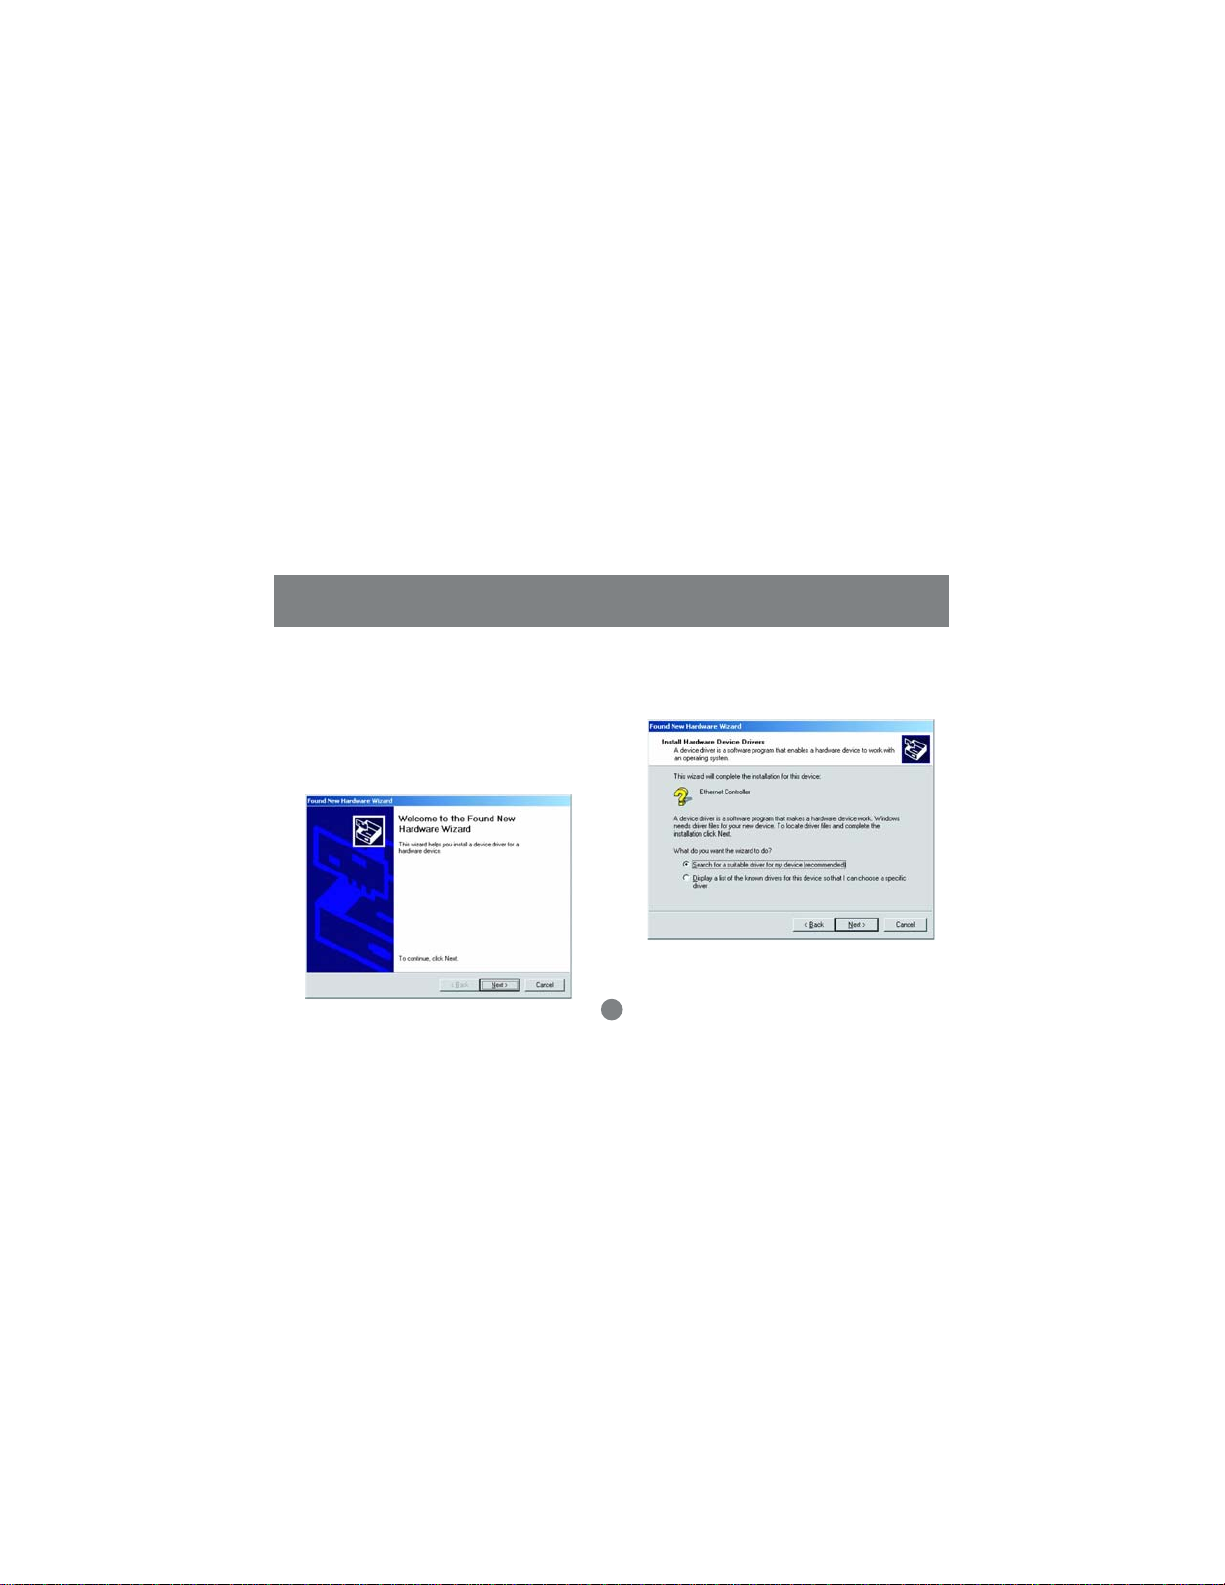
Installing the Network Adapter Driver
1. Insert the Network Adapter into the PC card slot.
Align the card properly.
2. When Windows 2000 recognizes the adapter, the
Found New Hardware Wizard dialog box appears.
Click Next.
3. Select the “Search for a suitable driver for my
device.” and click” Next”.
13
Installation
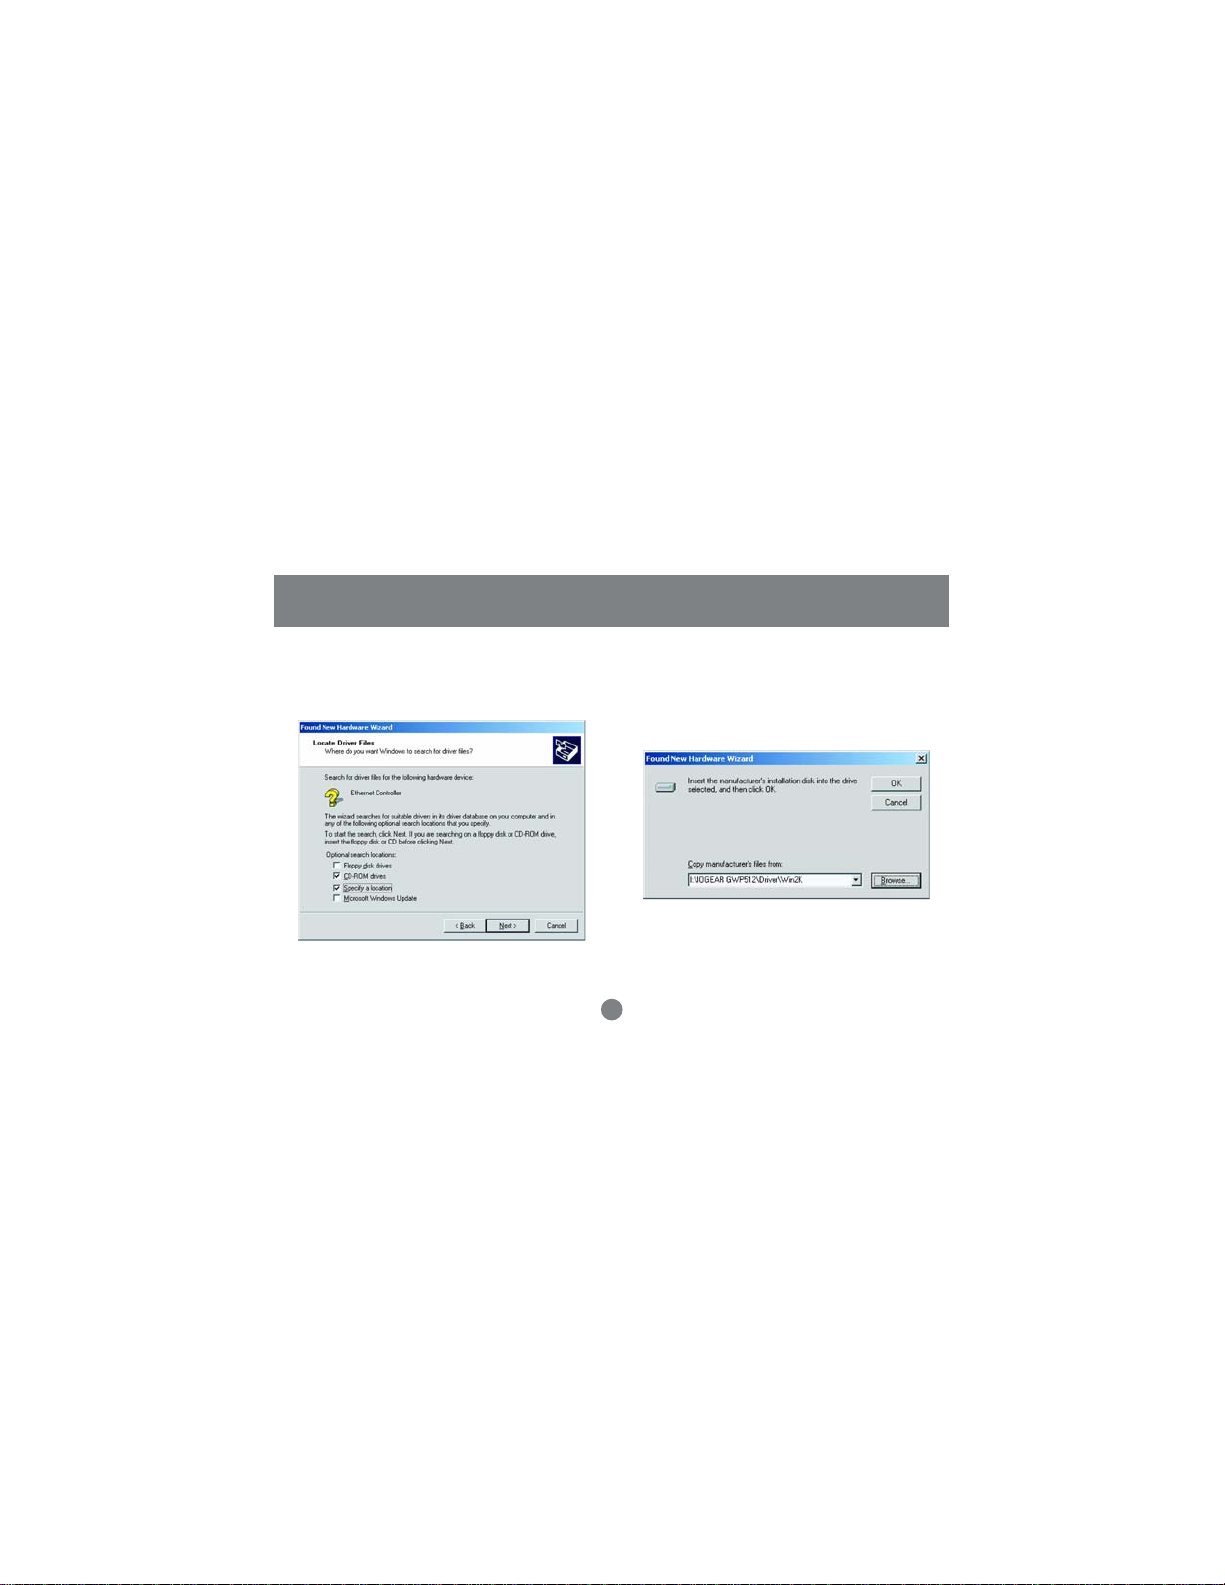
4. Select the “Specify a location” checkbox. Click
Next.
5. Click “Browse”, browse to the X:\IOGEAR
GWP512\Driver\Win2k directory and click OK.
Note: X is the drive letter for user’s CD-ROM
drive.
14
Installation
Note:
Windows 98SE users, please specify to IOGEAR
GWP512\Driver\Win98 directory.
Windows ME users, please specify to IOGEAR
GWP512\Driver\WinME directory.
Windows XP users, please specify to IOGEAR
GWP512\Driver\WinXP directory.
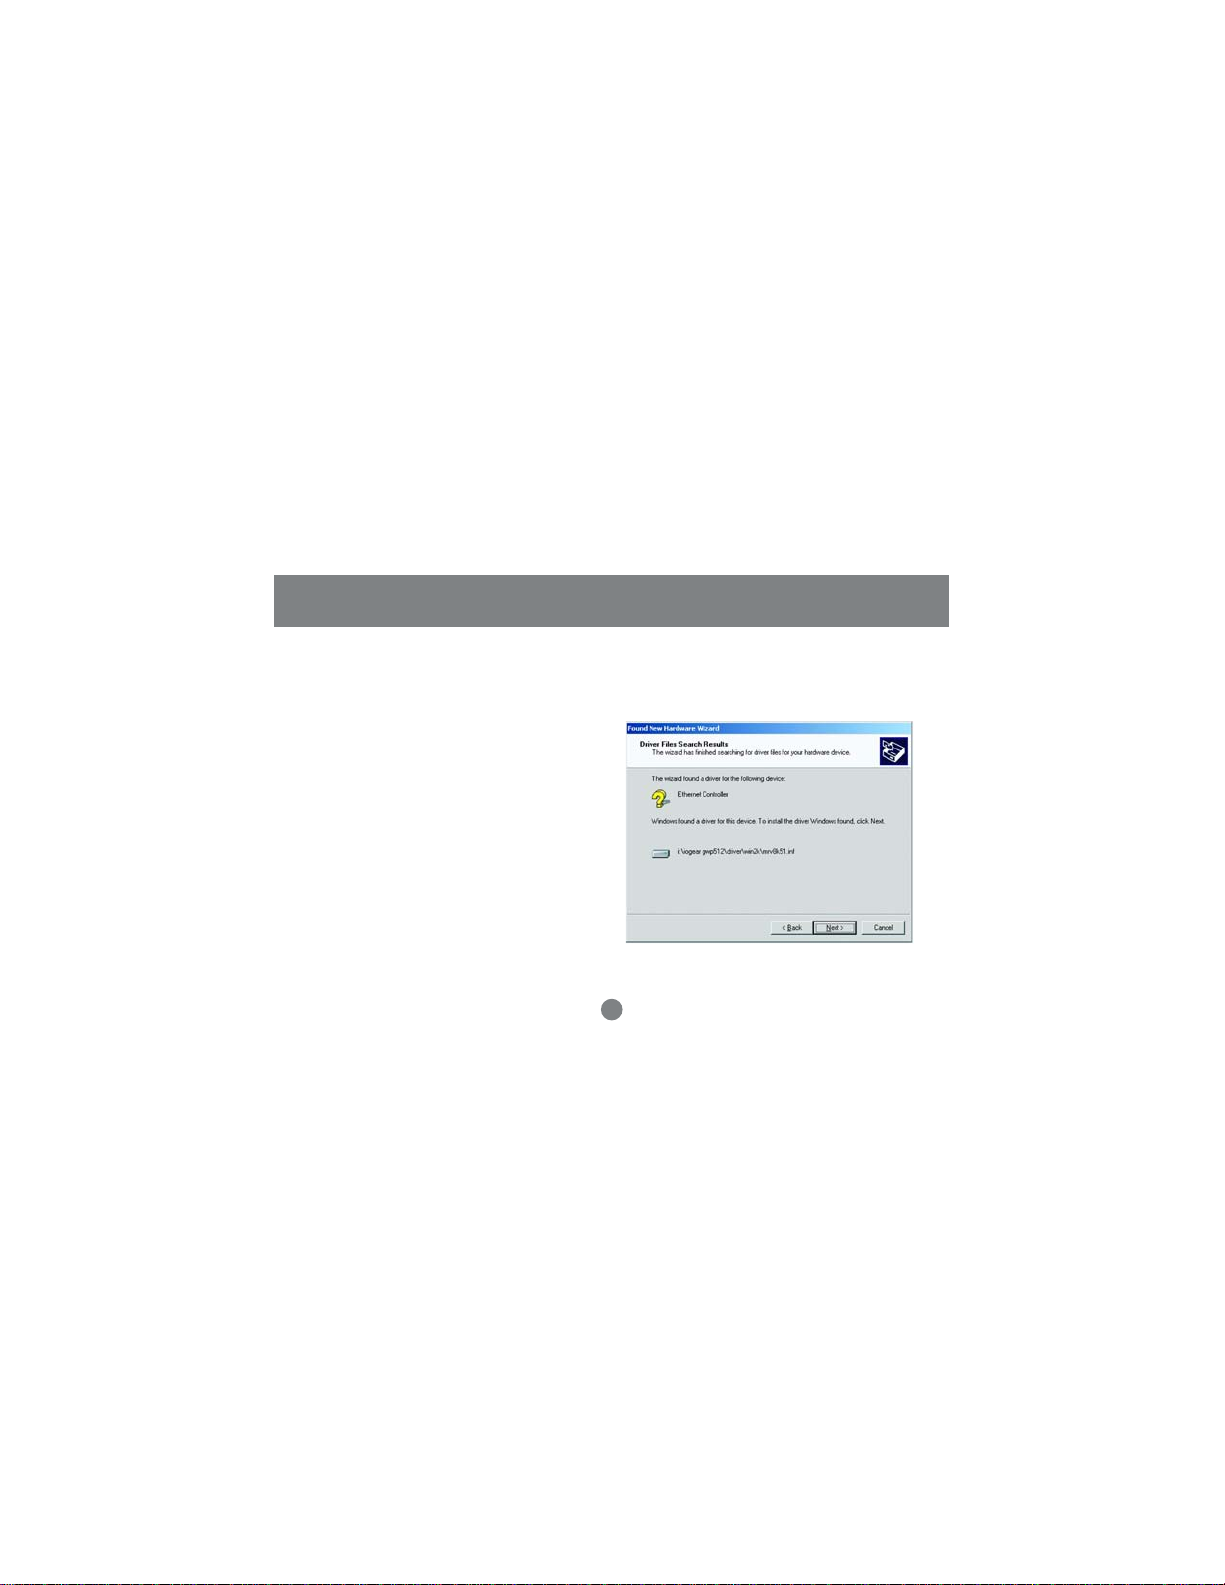
6. The wizard will display the location of the driver.
Click on the Next button.
15
Installation
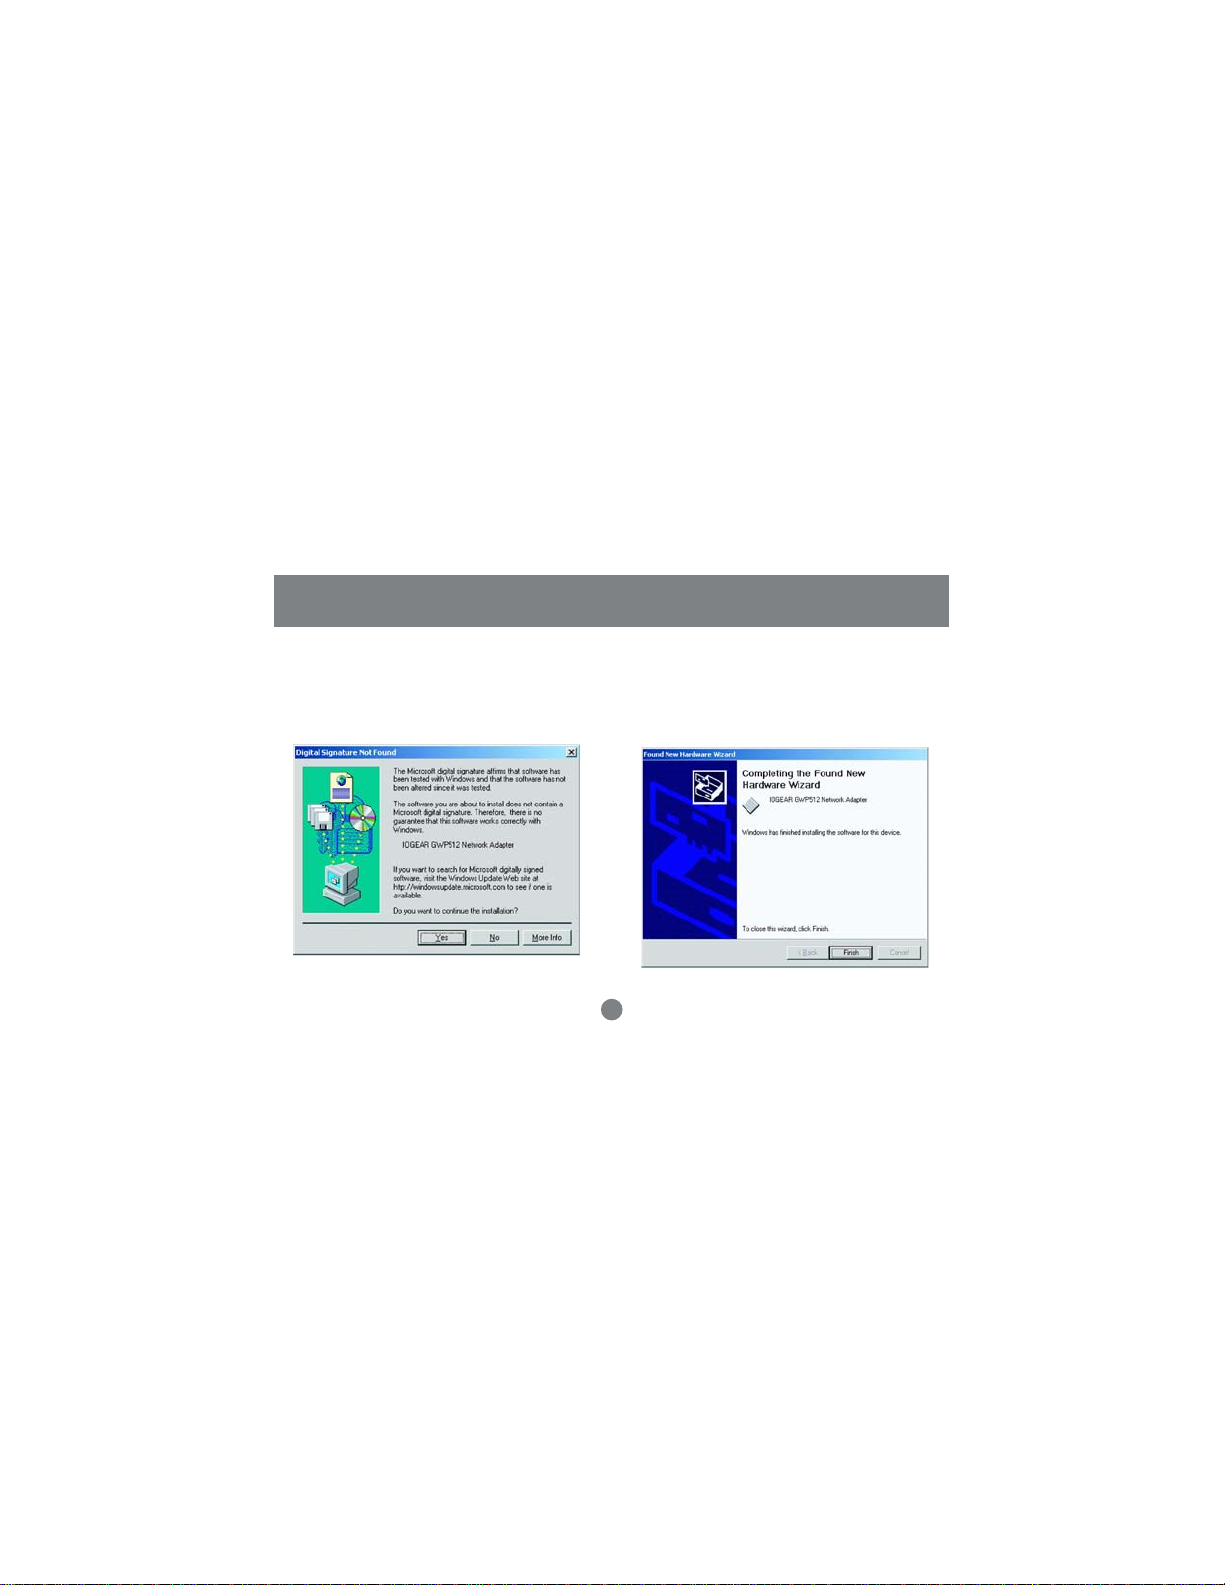
7. The Microsoft Digital Signature Not Found dialog
box could appear at this point. A Microsoft digital
signature is not required for the driver installation.
Click “Yes” to continue.
8. After a while, the wizard will report that the
hardware installation is complete. Click Finish.
16
Installation
Configuration Utility and Odyssey for Marvell Utility Installations
The Odyssey For Marvell Utility will be installed after
the completion of Configuration Utility .
The Odyssey Client helps the user to configure the
WP A function. WPA is an implementation based on a
subset of the 802.11i standard and provides
enhanced security for wireless networks when used
with the Temporal K ey Integrity Protocol (TKIP) and
the Michael message integrity check (MIC)
algorithms. Be sure there is an access point
supports WPA in the network environment for using
the Odyssey for Marvell utility.
1. Click on the button of GWP512 Configuration
Utility and Odyssey Client for Mavell from Main
Installation Menu.
17
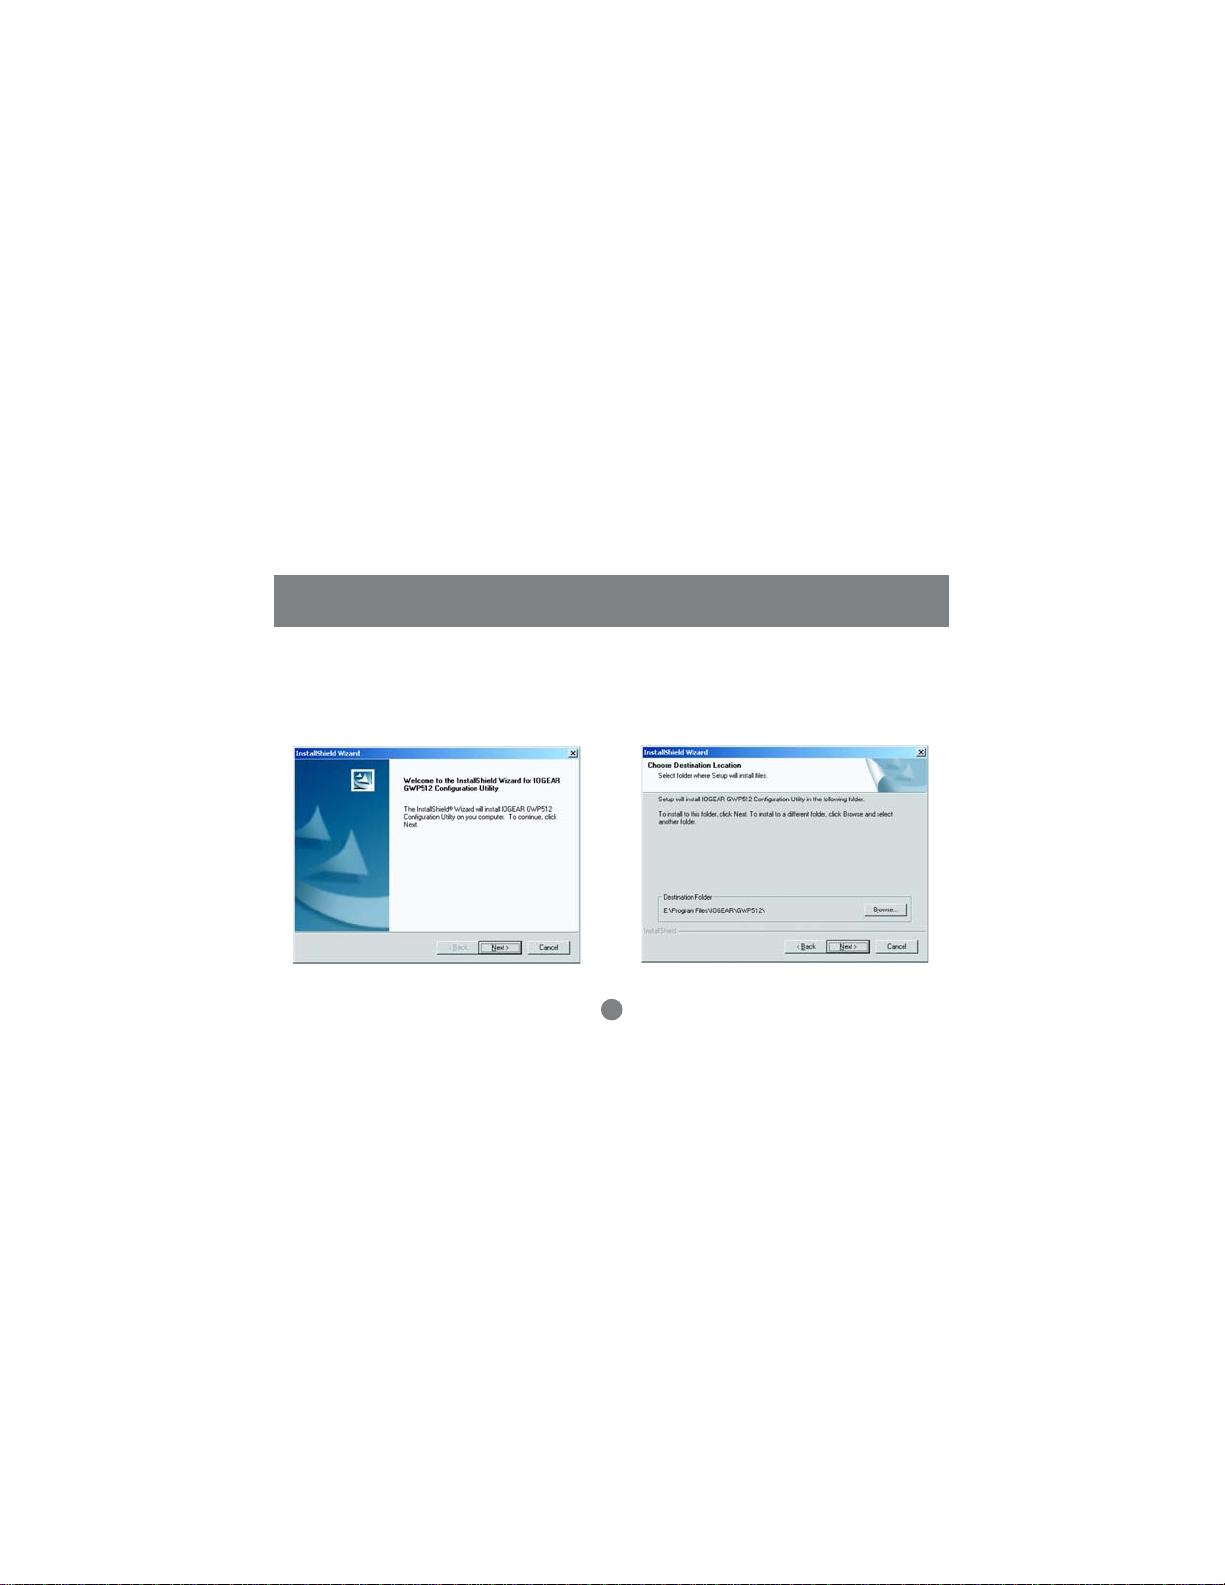
2. The InstallShield Wizard is preparing to install the
configuration utility. Click Next.
Installation
3. In the
Destination Folder
to confirm the
application software. If you would like, you may
change the destination folder to another location.
Click Next.
18
Destination Folder
screen, you are asked
for the
Installation
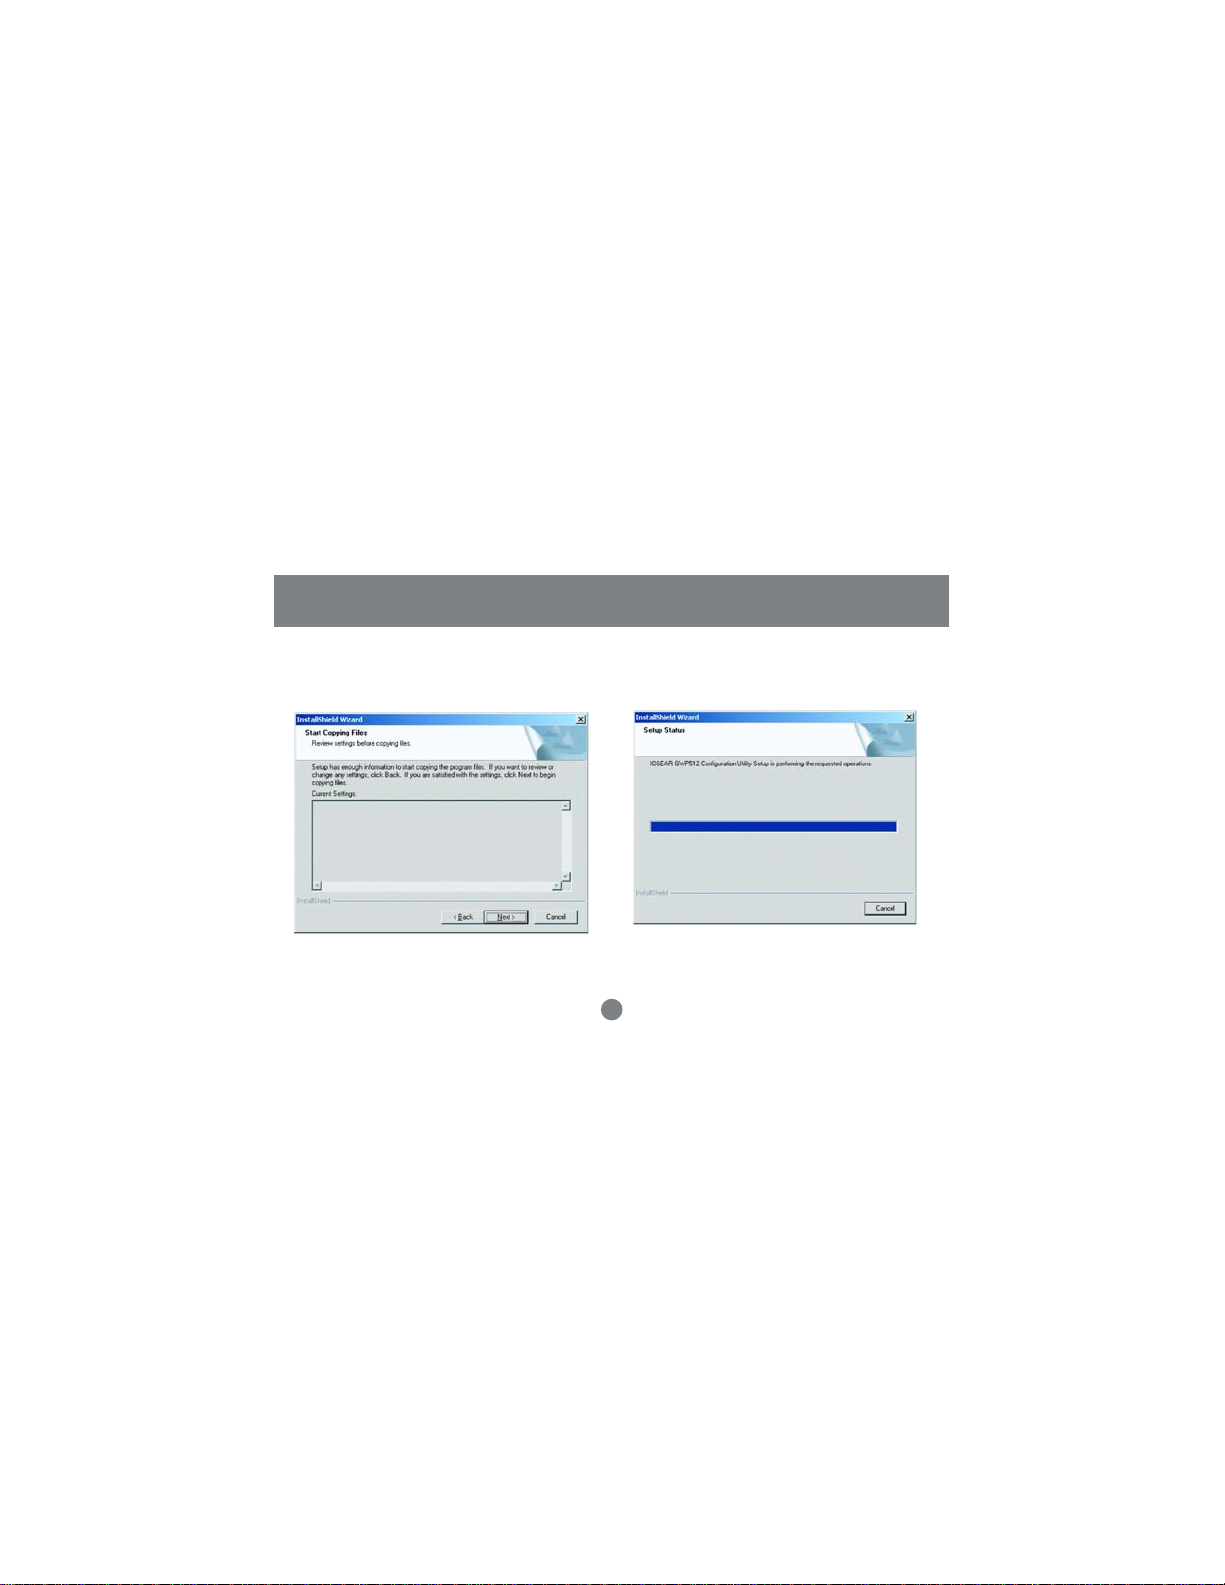
4. Select a program folder and click Next.
5. The InstallShield Wizard is installing utility.
19
Installation
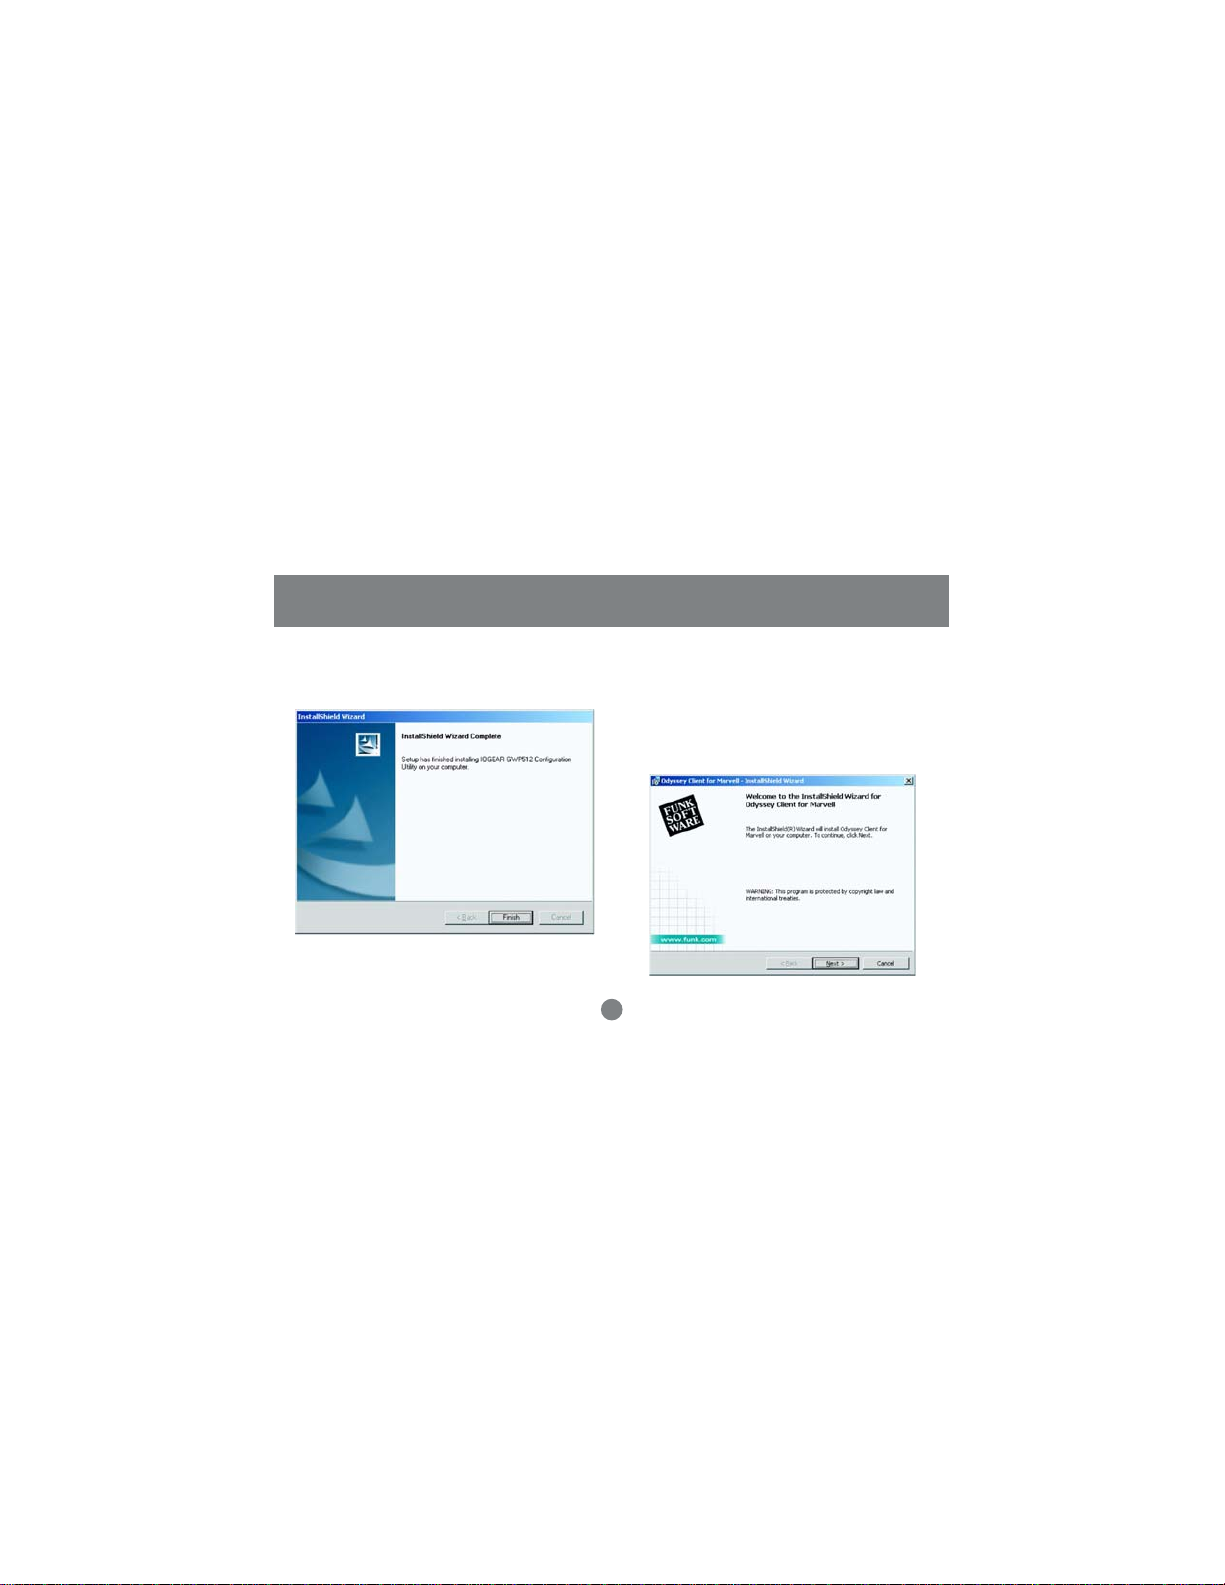
6. Click Finish to compete the Utility installation.
7. The InstallShield Wizard continues to install the
Odyssey Client Manager for Marvell. The
Odyssey Client Installation Wizard window
appears. Click Next. If you don’t want to install
the Odyssey for Marvell Utility, you can click
Cancel to close the installation.
20
Installation
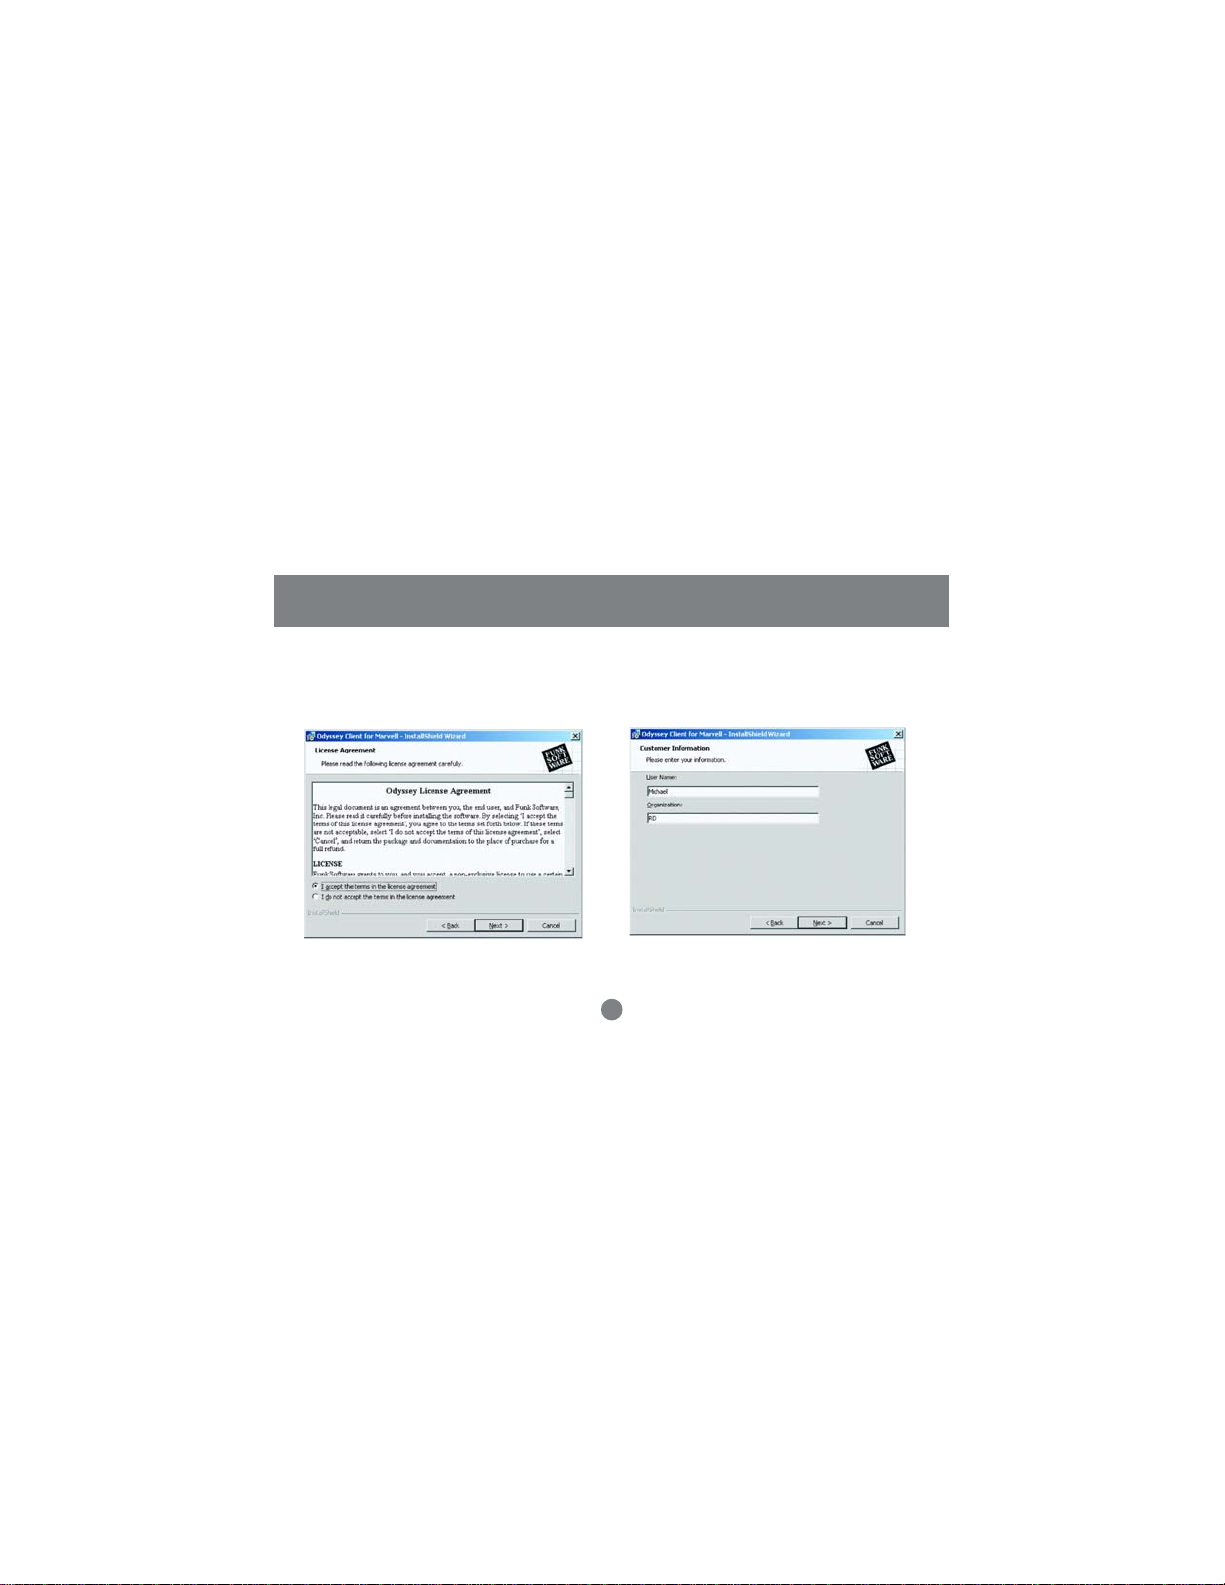
8. Select “I accept the terms in the
license agreement”. Click Next.
9. Enter a User Name and Organization in the
Customer Information window. Click Next.
21
Installation
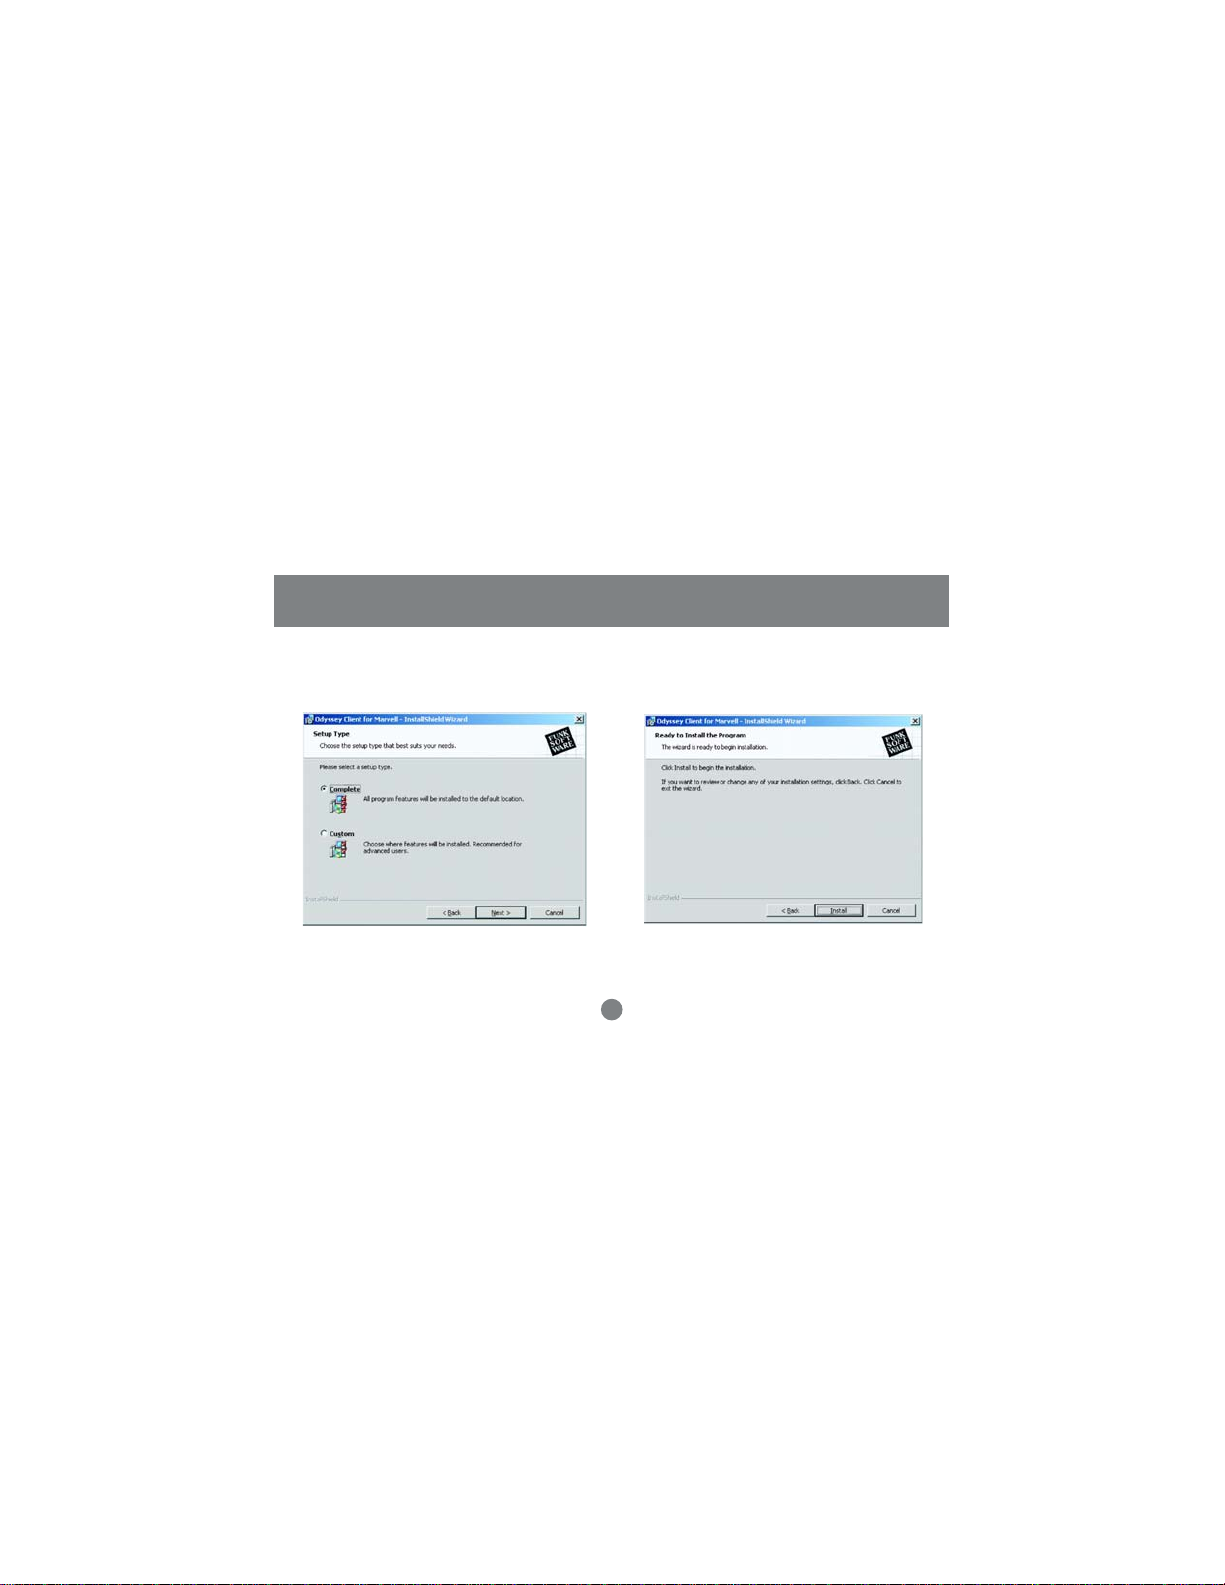
10. Select the button of Complete. Click Next 11. Click Install to install the program.
22
 Loading...