

Page 1
№\
Atech Flash Technology, Inc.
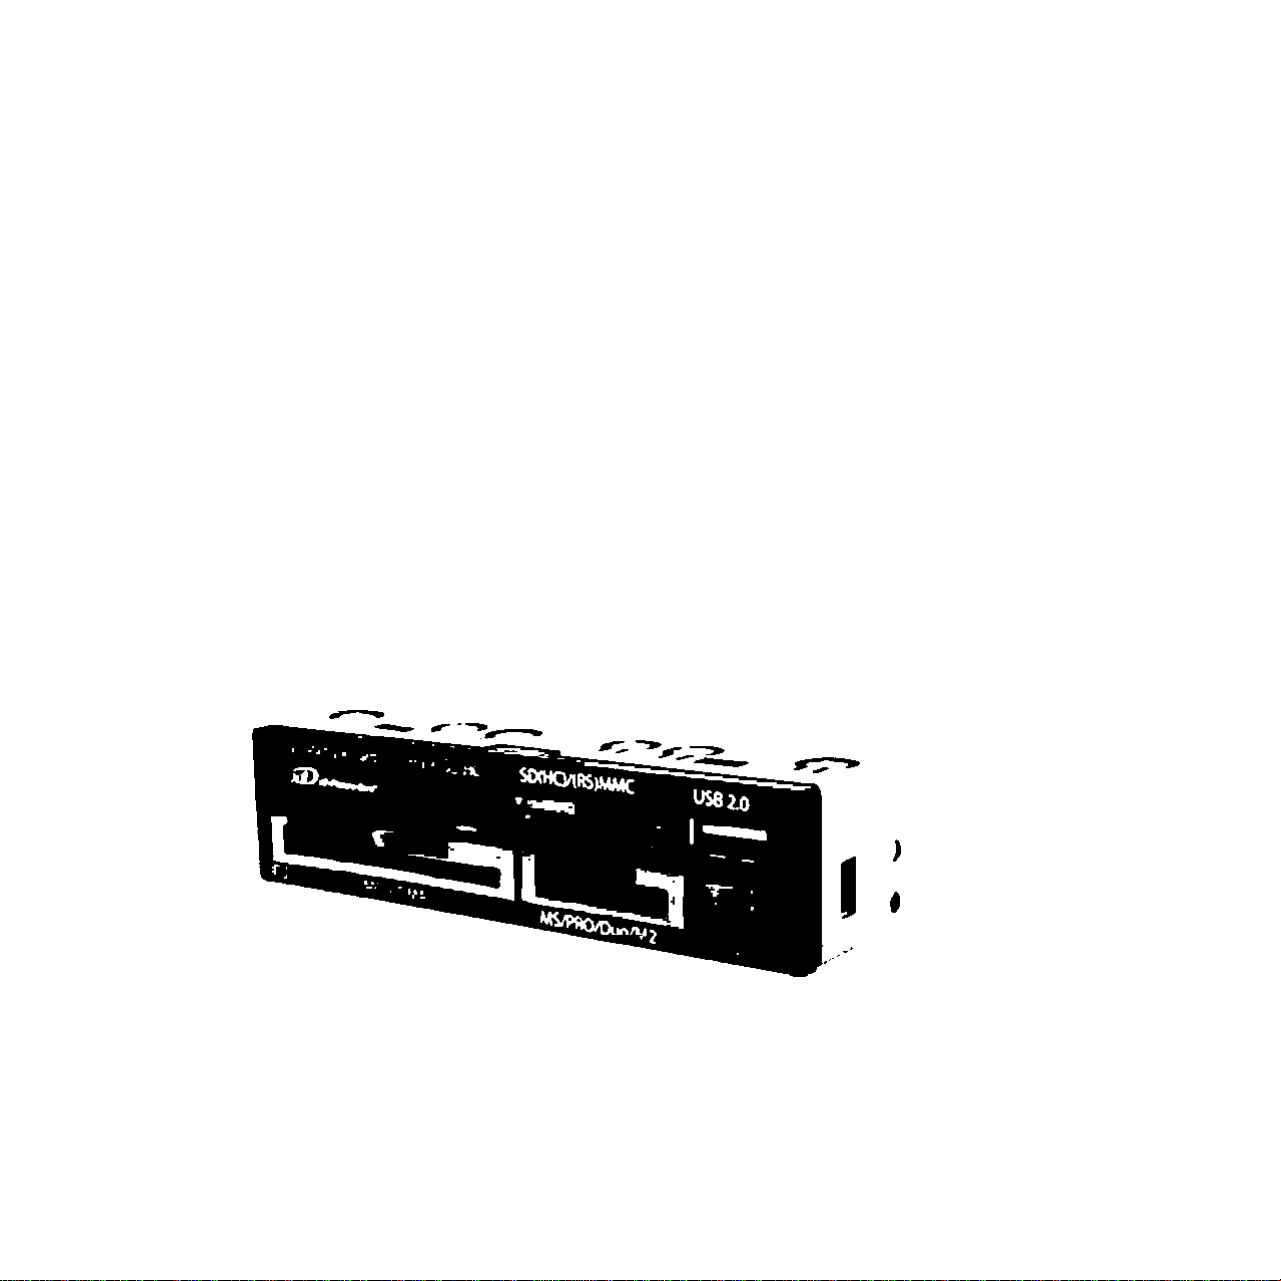
XM-35U
User's Guide
Page 2

Congratulations
Congratulations on the purchase of your new XM-35U USB media readerAwriter.
XM-35U is able to support multiple formats of flash media cards.
This guide will explain the features and specifications of your new media reader, as well
as the installation in a few simple steps. Please retain this guide for further reference.
Convenient features like fully Plug-and-Play make It easy to setup XM-35U in your
computer.
Operating System Requirements:
Windows XP. Vista
Mac OS X v10.1.2 and later
Computer Requirements:
PC/Mac computer with open USB port 2.0
3.5" drive bay (internal installation)
On Board USB pin headers (2 USB ports/internal installation)
If you have any questions regarding with the Atech product, please contact;
Technical Support:
Toll free number (USA only) 1-800-964-3088
[email protected]
www.atechflash.com
Page 3
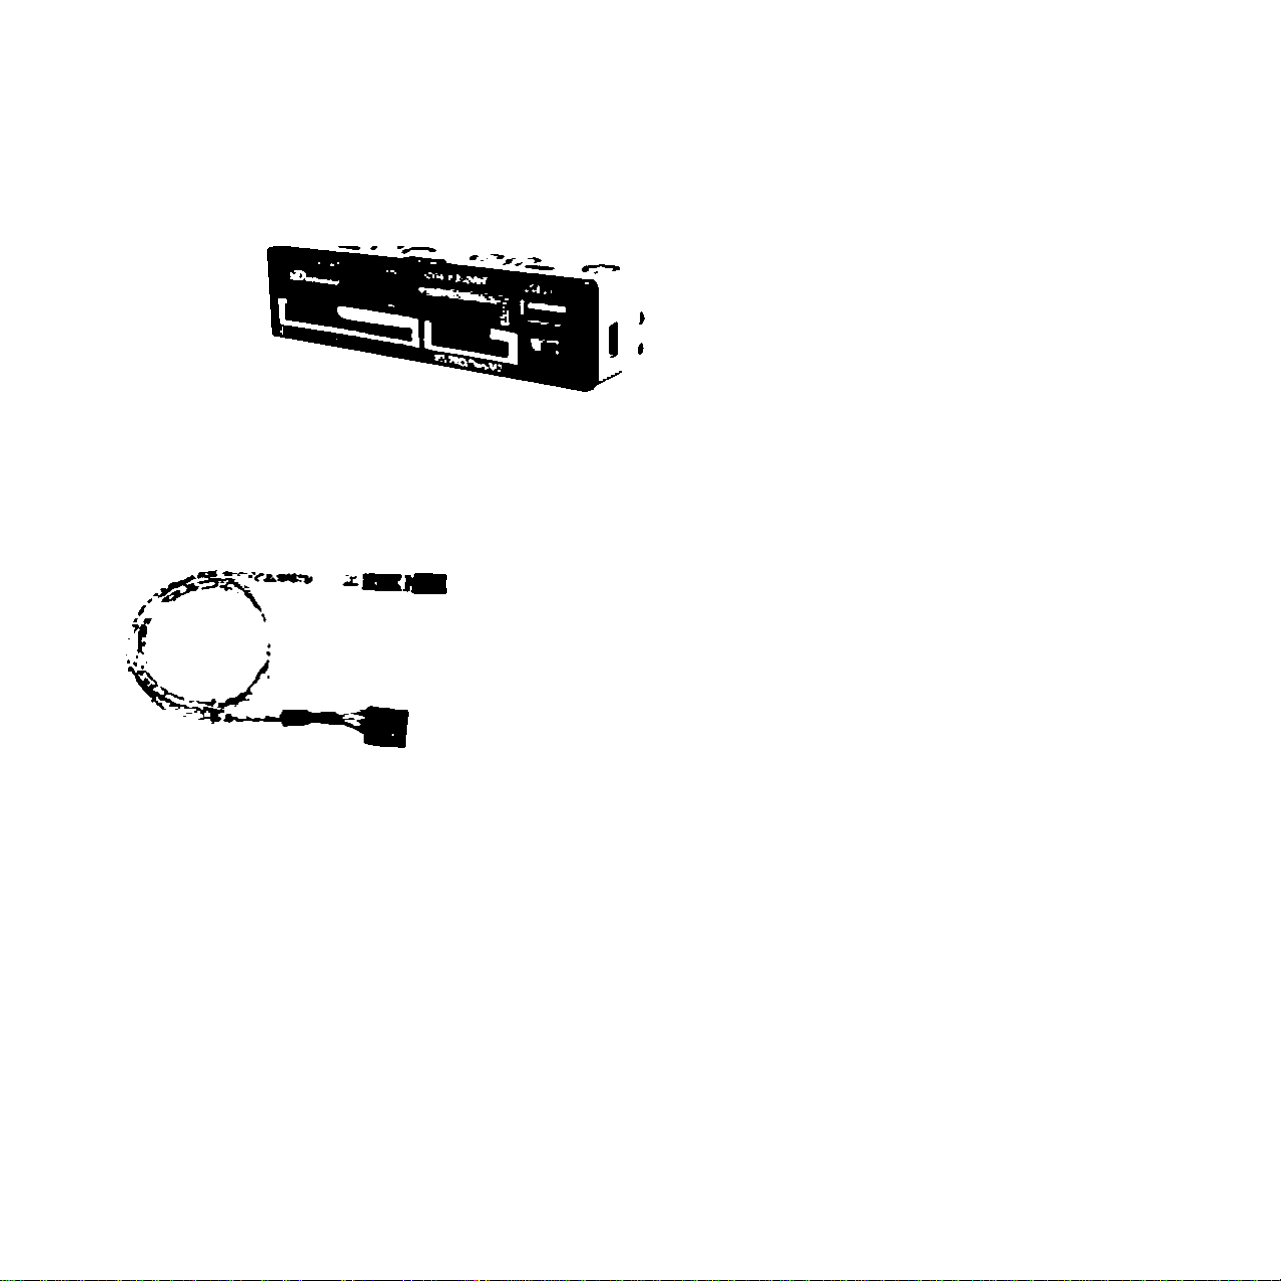
Package Contents
XM-35U
Internal USB 2.0 Cable x 2 - Connects XM-35U to USB pin headers on motherboard
To back of XM-36U
To motherboard USB pin headers (5-pin)
Page 4

3 Installation
Windows XP or Vista users:
Driver installation is not required. But if you want to get the latest driver with color
icon support, please visit our site at wvw.atechfiash.com. Then go to the Support
page and download the latest driver for your reader.
This is an USB 2.0 device and It is backward compatible with USB 1.1 interface.
However. USB 1.1 performance can only be expected when connected to
a USB 1.1. port.
When the unit is connected to a USB 1.1 port, the following Windows message
may appear:
"A HI-SPEED USB device is plugged into a non-HI-SPEED
USB hub. For assistance in solving this problem, click
this message*'
Please ignore the message.
Page 5
Installing AFT Driver Icons (Windovi/s XP / Vista)
(1) Close all applications that are running, including applications running in the background.
(2) Go to www.atechflash.com/support.htm and download the driver for XM-35U.
(3) Double click on setup.exe will lead you into setup program.
(4) Follow setup instruction on your screen.
(5) After driver files are copied into your system, setup program will prompt you to restart
your computer. Please do so.
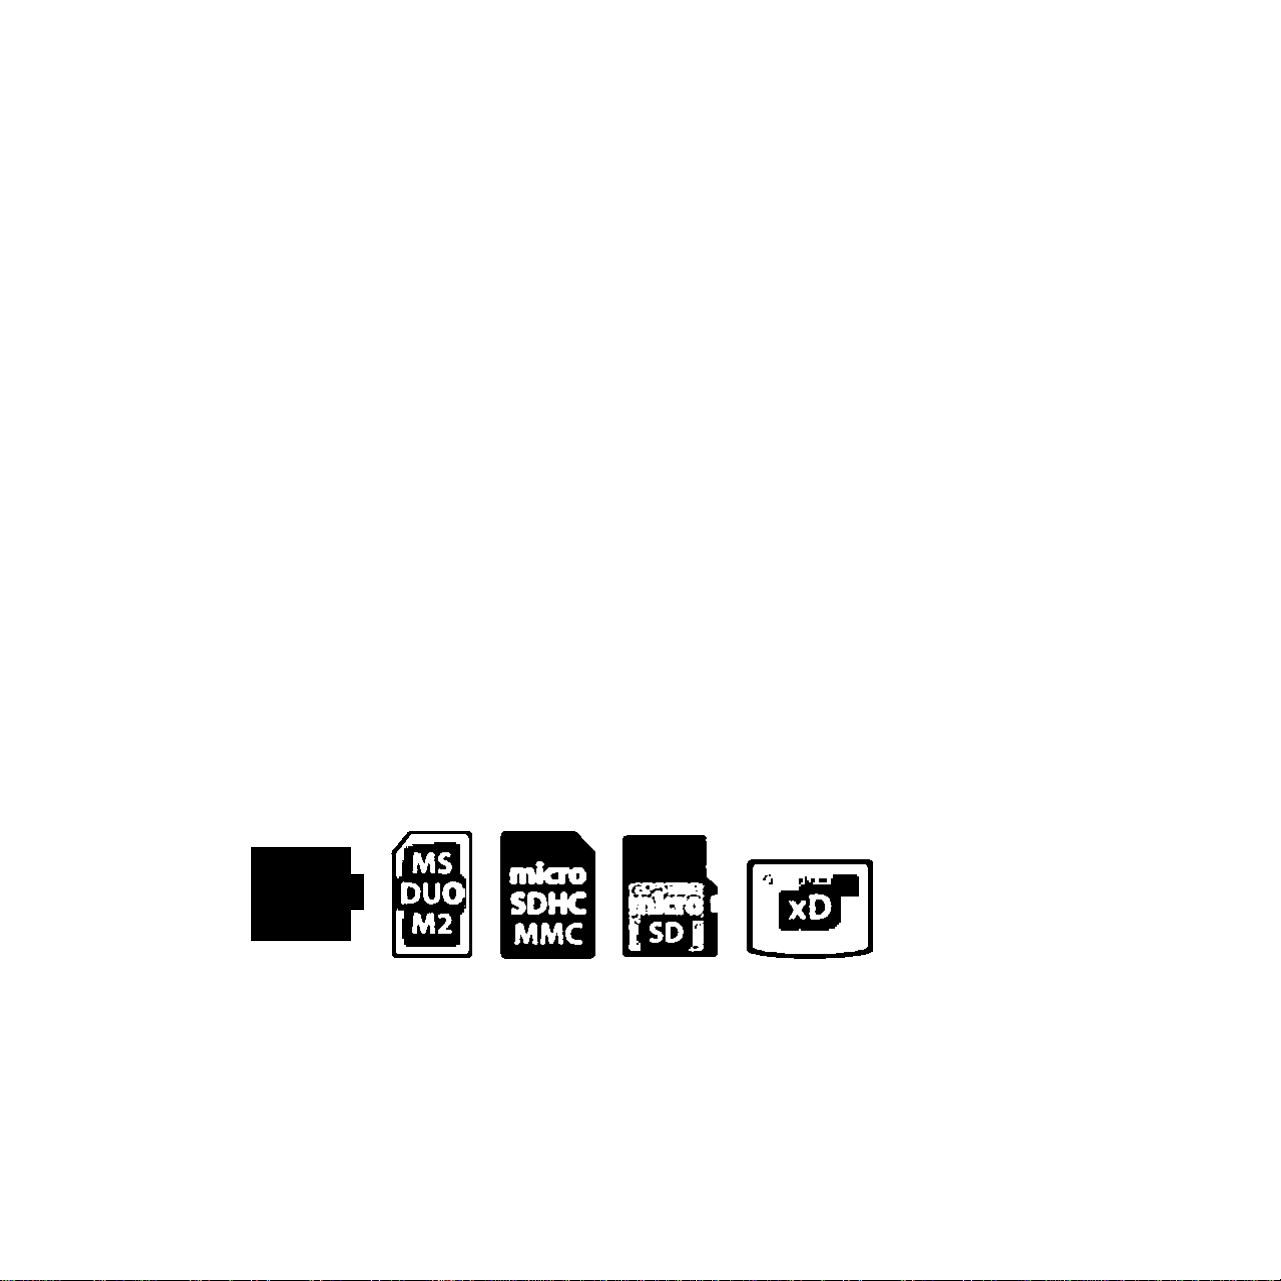
AFT Custom Icons (for Windows XP / Vista)
Once the AFT Driver is installed in your system. Windows XP/Vista will display the icons
(as shown below) for each media card slot. The icons will be displayed in Gray when
no cards are inserted and in Color when cards are inserted.
CF
UDMA
MD
Page 6
Connecting Card Reader
1. open computer case cover. Please refer to your computer manual if necessary.
2. Insert XM-35U into empty 3.5" drive bay.
3. Apply screws on each side of unit to secure to chassis,
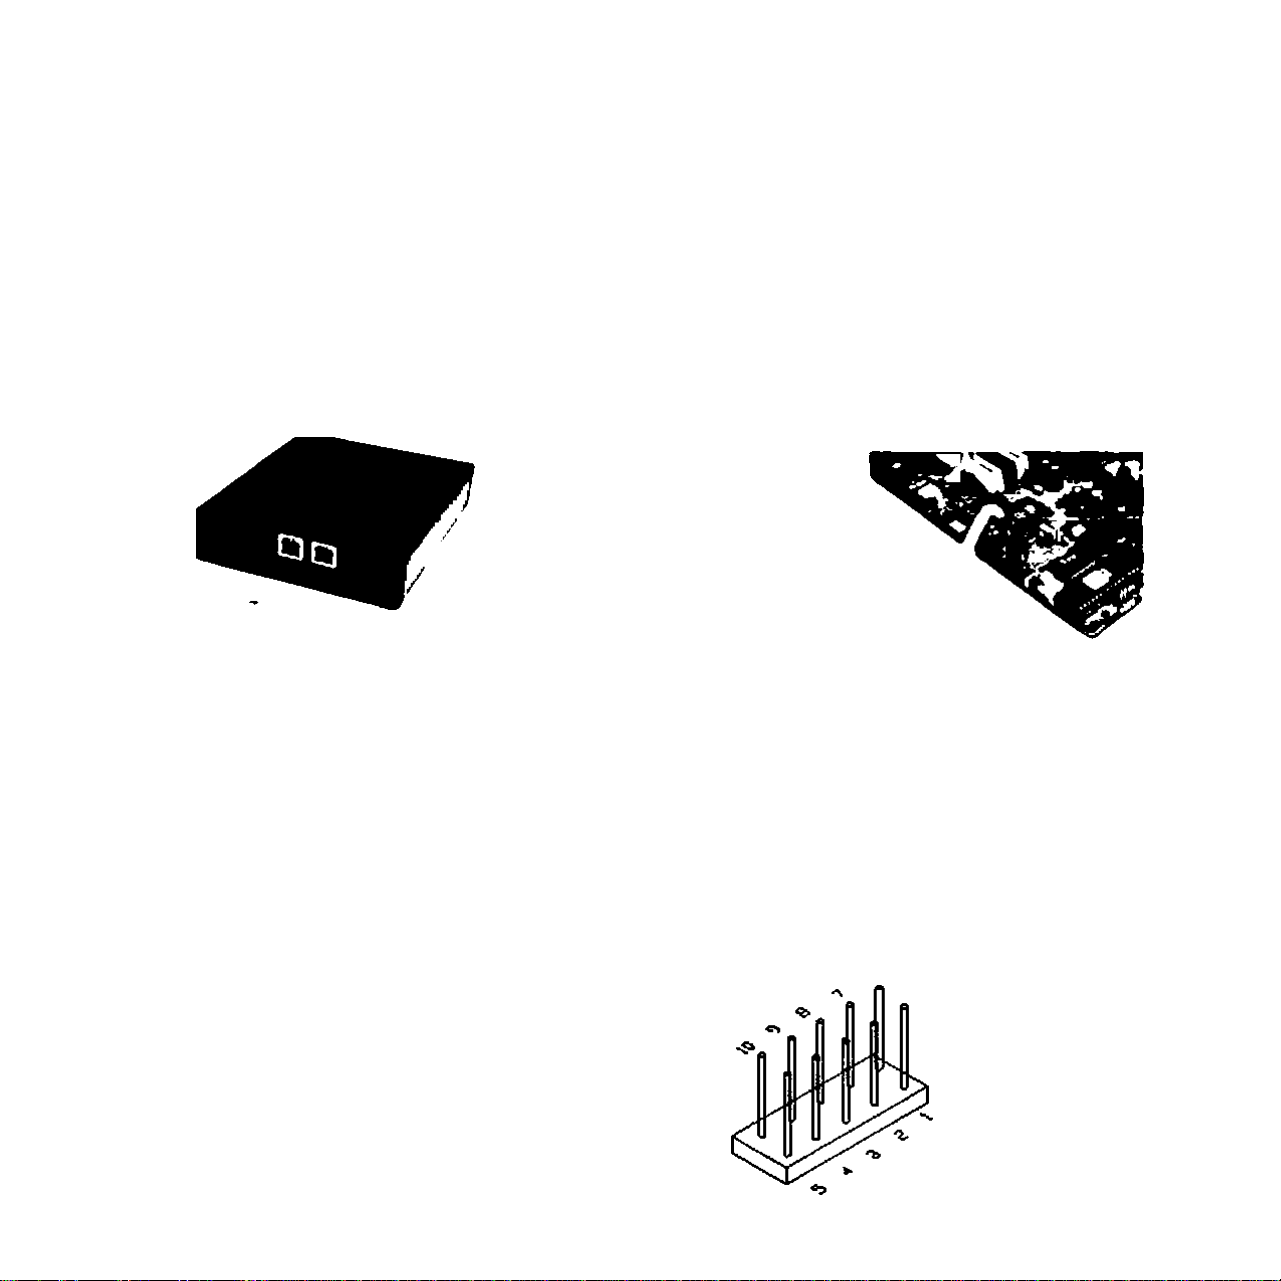
4. Connect Internal USB cables to unit then to Motherboard USB header pin
5. For external use, connect the External USB cable to back of unit.
/ Left USB is for Reader
Right USB is for front USB port
Mothertxtard connection
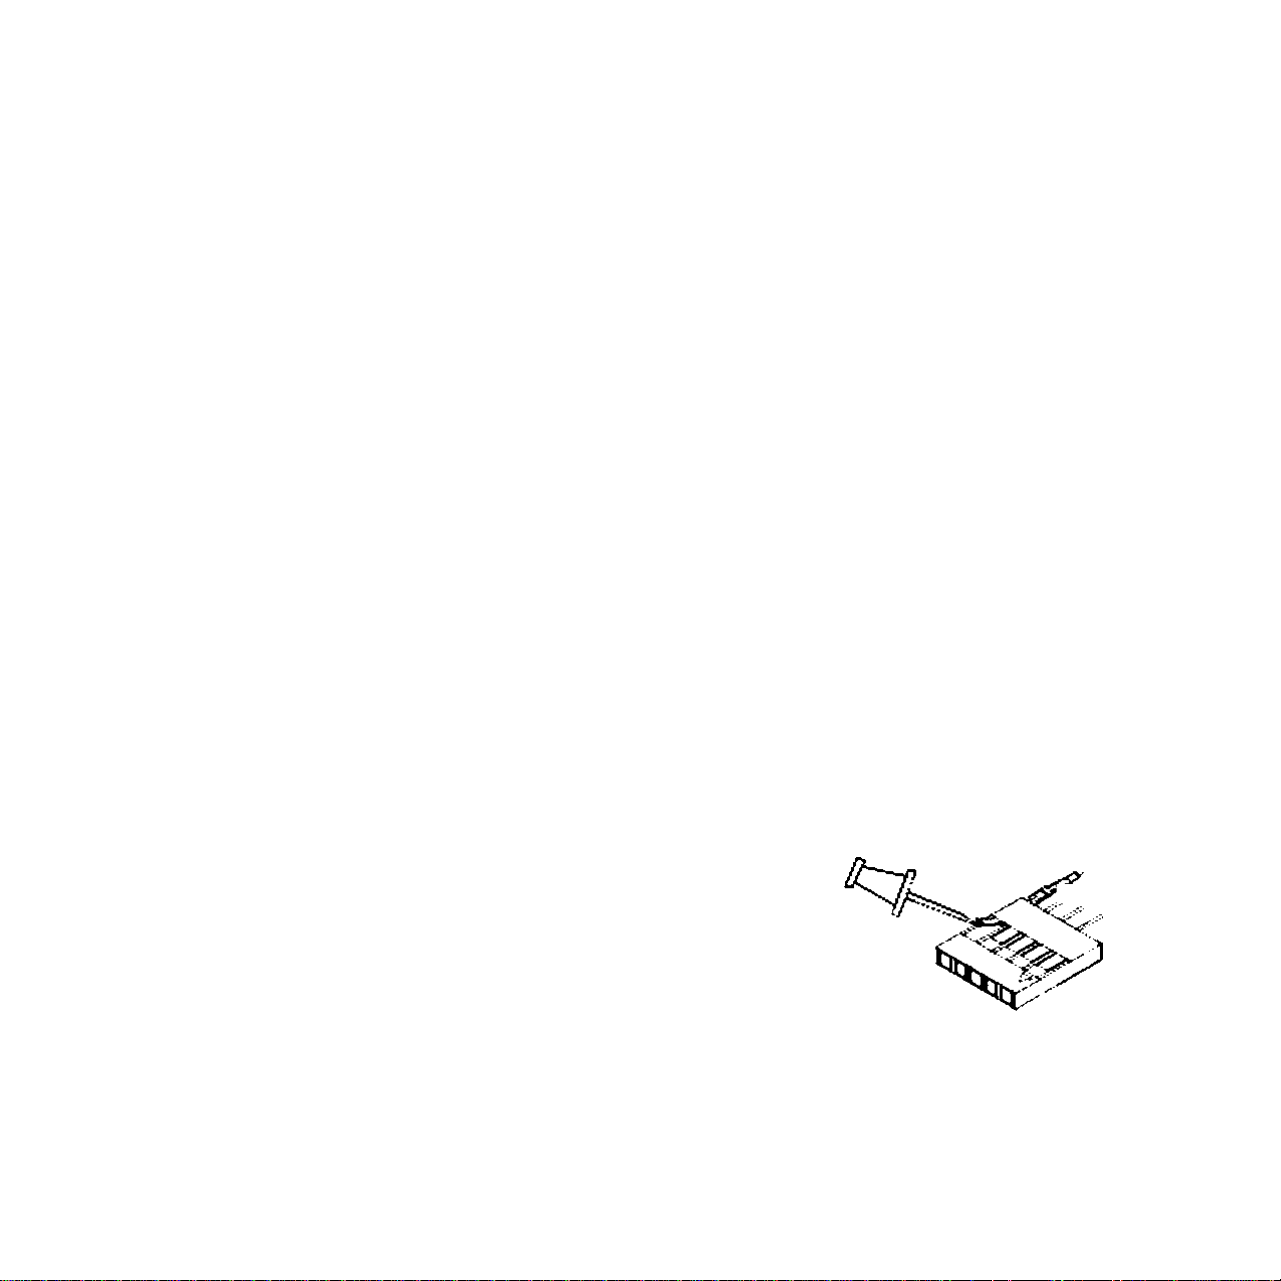
Depending on the pin layout on your motherboard USB header, it may be necessary to
rearrange the color wires of Internal USB cable to match the USB pin assignment.
Please refer to your motherboard manual for USB header pin assignment information.
Internal USB cable consists of Red. White. Green and Black wires. Each color wire shall
be connected to a specific pin on the USB header.
Pm 1 s u&B Power
Pm 2 » US6P2-
Red wire = Power (VCC)
Pm 3 • US8P2*
Pm4«0ND
Pm5s^н:
White wire = P- (Data-)
Green wire = P+ (Data+)
Black wire = Ground (GND)
Pm 6 • US6 Power
Pln7*US6P3Pm 8 s U$BP3*^
Pin 9 s GND
Pm 10 9 NC (No pin)
Page 7
Therefore, we shall have:
Red wire goes to pin 1
White wire goes to pin 2
Green wire goes to pin 3
Black wire goes to pin 4
Comparing the default wire setting on the Internal USB cable, no wire reassignment is
necessary. We can plug in the black pin connector of Internal USB cable to the USB
header directly, with red wire goes to pin 1 or 6.
Please note that your motherboard USB header pin assignment could be different from
the example above. If you need to reassign wires on Internal USB cable, please
follow the procedure below:
(1) Determine which wires you need to remove from the
or White wire goes to pin 7
Red wire goes to pin 6
Green wire goes to pin 8
Black wire goes to pin 9
black pin connectors first by referring to your motherboard
USB header pin layout.
(2) Using a needle or push pin to flip up the tiny plastic tab
and pull the wire out from the connector. Please take caution
on this step as excessive force on flipping the tab may cause
the tab to break.
(3) Repeat above step for each wire that requires changing.
(4) Insert the wire pin back into the correct slot and press the
tiny plastic tab down will hold the wire in its position.
Page 8
Using XM-35U
Using XM-35U is similar to using a USB flash drive. Simply insert your media card
into the slot and click on the appropriate Devices with Removable Storage icon
in My Computer, this will allow you to access your media card.
XM-35U
xD-Pkture Card mtcroSD(rfG~
▼ mnISCKHQ
3
rz 2
CF MA
We strongly recommend that you copy the files in the media card to your computer
first before attempting to view or make any changes to the files.
Caution !!
When removing your flash media card from reader please make sure that your file
transferring process is fully completed before pulling your media card out. Failing to do
XM.3SU
so may result in card damage or data corruption.
Avoid formatting your media cards in reader if possible.
Always format your media card in the electronic device it is used in.
Certain electronic devices may become incompatible with the media cards formatted
under Windows file systems.
Page 9

Specifications
Dimension (W x H x D): 4.Û2 inch x 1 inch x 4.92 inch /102 mm x 25 mm x 125 mm
Power Requirement: 5V DC, 500mA (USB bus power)
8
Supported media format;
Operation Current:
Suspend Current:
Transfer rate: Up to 480 Mbps (via USB 2.0)
Supported 0/S:
Memory Slick. Memory Stick Duo, Memory Stick PRO. Memory Stick Micro.
Compact Flash Type I. Compact Flash Type II. Compact Flash UDMA,
Microdrive. Magicstor, xD-PictureCard™. xD-Picture Card™ Type H,
xD-Picture Card™ Type M+. Secure Digital (SDHC), miniSD{HC),
microSD{HC), MultiMediaCard, MMC plus v 4.0, MMCmobile, RS-MMC
<200mA
<500uA
Upto12Mbps (viaUSBI.1)
Windows XP. Vista
Mac OS Xvl 0.1.2 and later
Specifications are subject to change without further notice.
All trademarks, trade names and copyrights are properties of their respective owners.
Page 10

9 Limited Warranty
Atech Flash Technology, Inc. ("AFT‘), warrants to the original end user ("Customer")
that under normal intended use AFT memory flash card readers will be free from defects
in materials and workmanship for one (1) year from the date of purchase. During warranty
period. AFT shall either repair, or replace defective product. AFT shall not be liable for
any losses or damages of any kind resulting from the use of AFT products or for any of
Customer's data stored on products returned to AFT for service. AFT accepts no liability
for and provides no expressed or implied warranty against any loss of data or images.
You may register your product at http://vww.atechflash.com. Customer must have proof
of purchase and obtain warranty service authorization from AFT within the applicable
warranty period before returning defective products to AFT Returned products must be
shipped prepaid and packaged appropriately, and it is recommended that they be insured
or sent by a method that provides for tracking of the package.
Limitations: This limited warranty is in lieu of all other warranties, terms or conditions;
including warranties, terms, or conditions of merchantability, fitness for a particular
purpose, satisfactory quality, suppliers, and in no event will AFT be liable for any special,
incidental, consequential, or indirect damages resulting from the possession, use or
failure of this product. Product names mentioned herein are for identification purposes only
and may be trademarked and/or registered trademarks of their respective companies.
Media Cards* Compatibility Note
Media cards may not work properly when working with AFT product. If you encounter
this problem, contact AFT Tech Support for compatible media card list and potential driver
support and updates.
 Loading...