

Page 1
ATD-500
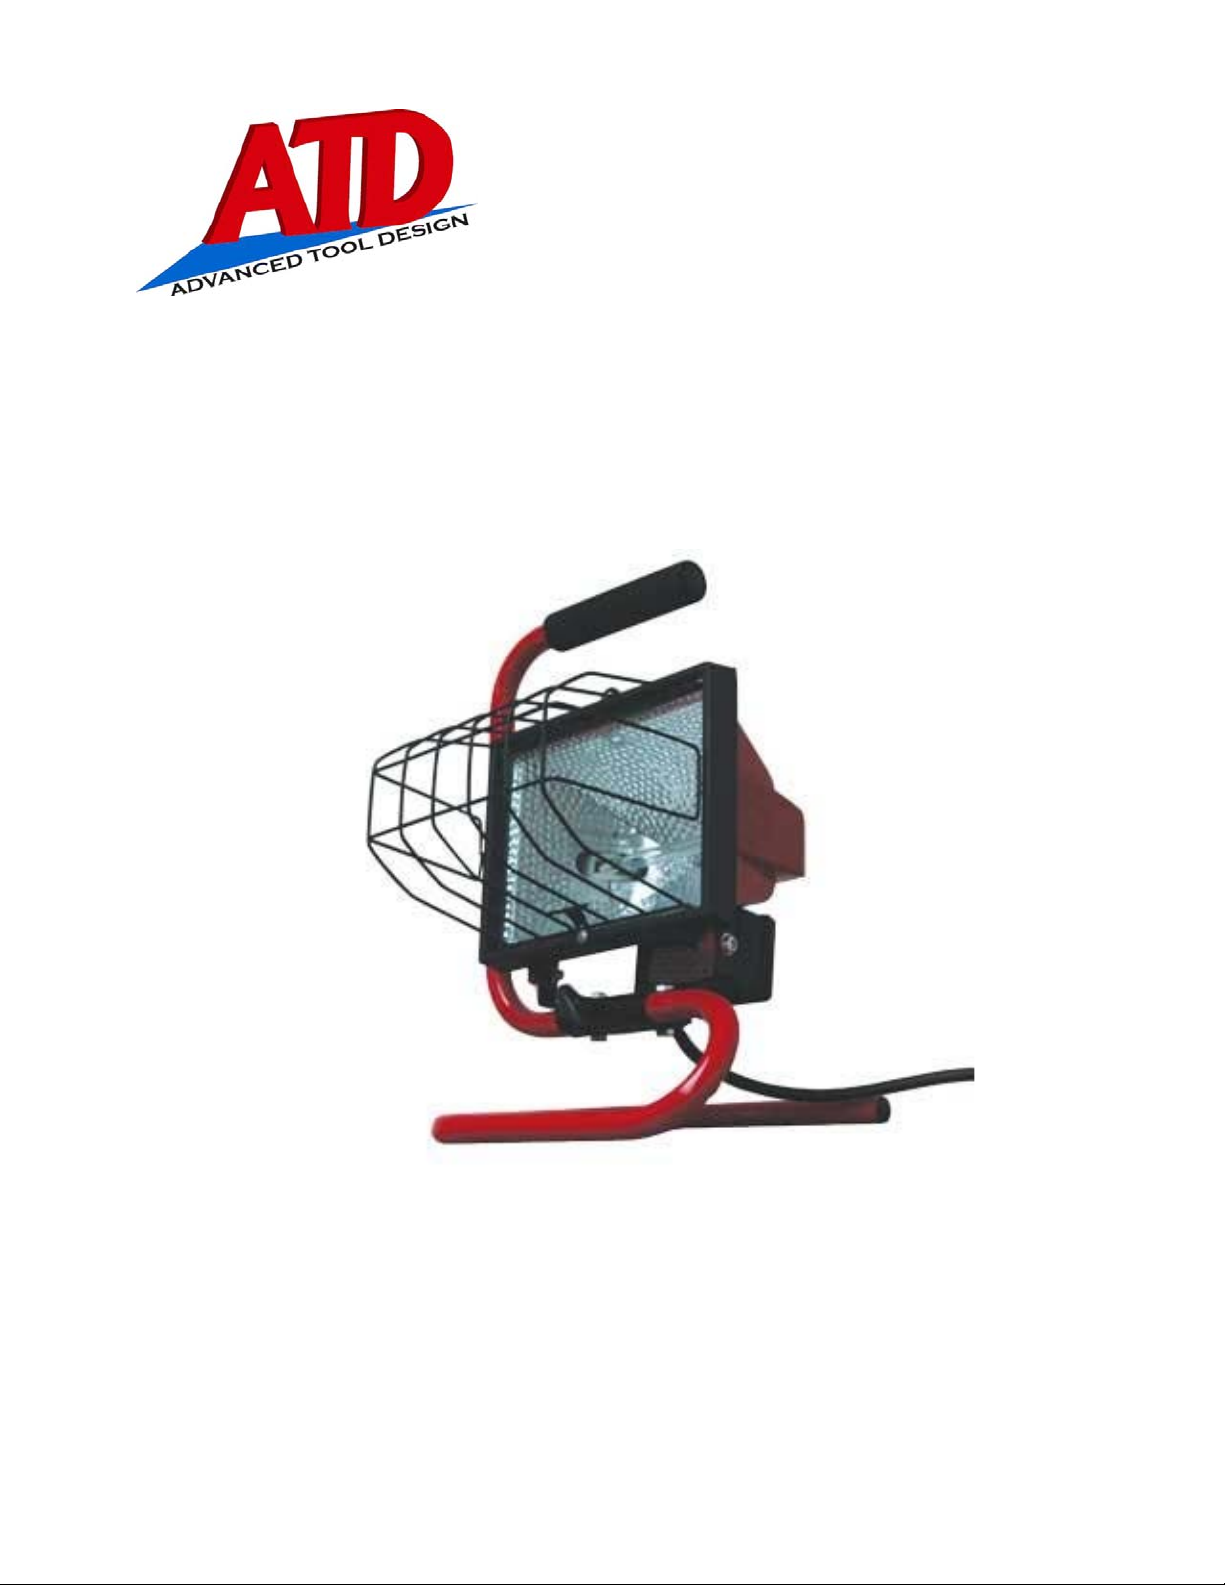
500W Portable Quartz Halogen Flood
Work Light
Manufactured in China to ATD Tools, Inc. Specifications
Page 2

READ ALL INSTRUCTIONS BEFORE OPERATING
Thank you for purchasing your ATD Halogen Light. Before attempting to operate your new Halogen
Light, please read these instructions thoroughly. You will need these instructions for the safety
warnings, precautions, and assembly, operation and maintenance procedures.
SAFETY
• Before moving your halogen light or replacing a broken part, always make sure that the
cord is unplugged and that the light has cooled.
• This unit must not be immersed in water.
• Do not install this unit within six feet of combustible material. The lamp housing can exceed
temperatures of 230º F.
• Do not move your halogen light or replace bulbs or broken parts with wet hands, or when
standing on a wet or damp surface or in water. Always make sure the power cord is
unplugged before performing any maintenance.
• Do not use this lamp in hazardous locations such as flammable or explosive environments.
• Do not sit directly in front of this unit, as the high operating temperatures can burn the skin.
• Do not look directly into the lamp when switched on as this can damage the eyes.
• If used with an extension cord always make sure that the extension cord is fully unwound.
• We recommend that a ground fault interrupter (GFI) is used with your ATD Halogen Light.
• Do not use this unit if it has a broken lens, casing or damaged power cord.
Bulb Replacement / Adjusting your Lamp
Unscrew the top screw in the lamp housing cover and install the halogen bulb as follows:
1. Holding the bulb with a soft cloth carefully locate one end of the bulb into the ceramic
mounting. While pushing the end of the bulb against the metal pins, gently slide the other
end of the bulb into position in the other ceramic mounting until it is secure. Do not use
force when installing the bulb.
NOTE: DO NOT TOUCH THE BULB WITH FINGERS, this will cause damage. If it has
been touched, wipe it carefully with a soft cloth dampened with methylated spirits.
2. When the bulb is in position, replace the lamp housing and firmly screw into place.
3. To alter the angle of the lamp, loosen the black knob on the front of the l amp, move the
lamp to the required angle, then tighten the knob to hold the lamp securely.
Page 3

Troubleshooting
Symptom Possible Cause Corrective Action
Bulb broken Replace bulb
Lamp will not operate
Poor contact between lamp
and socket
Improper wiring
Incorrect voltage; voltage at
fixture too high/low
Check to see if lamp is securely
installed into socket
Have unit checked by a qualified
electrician
Have power supply checked by a
qualified electrician
Page 4

 Loading...