

Page 1
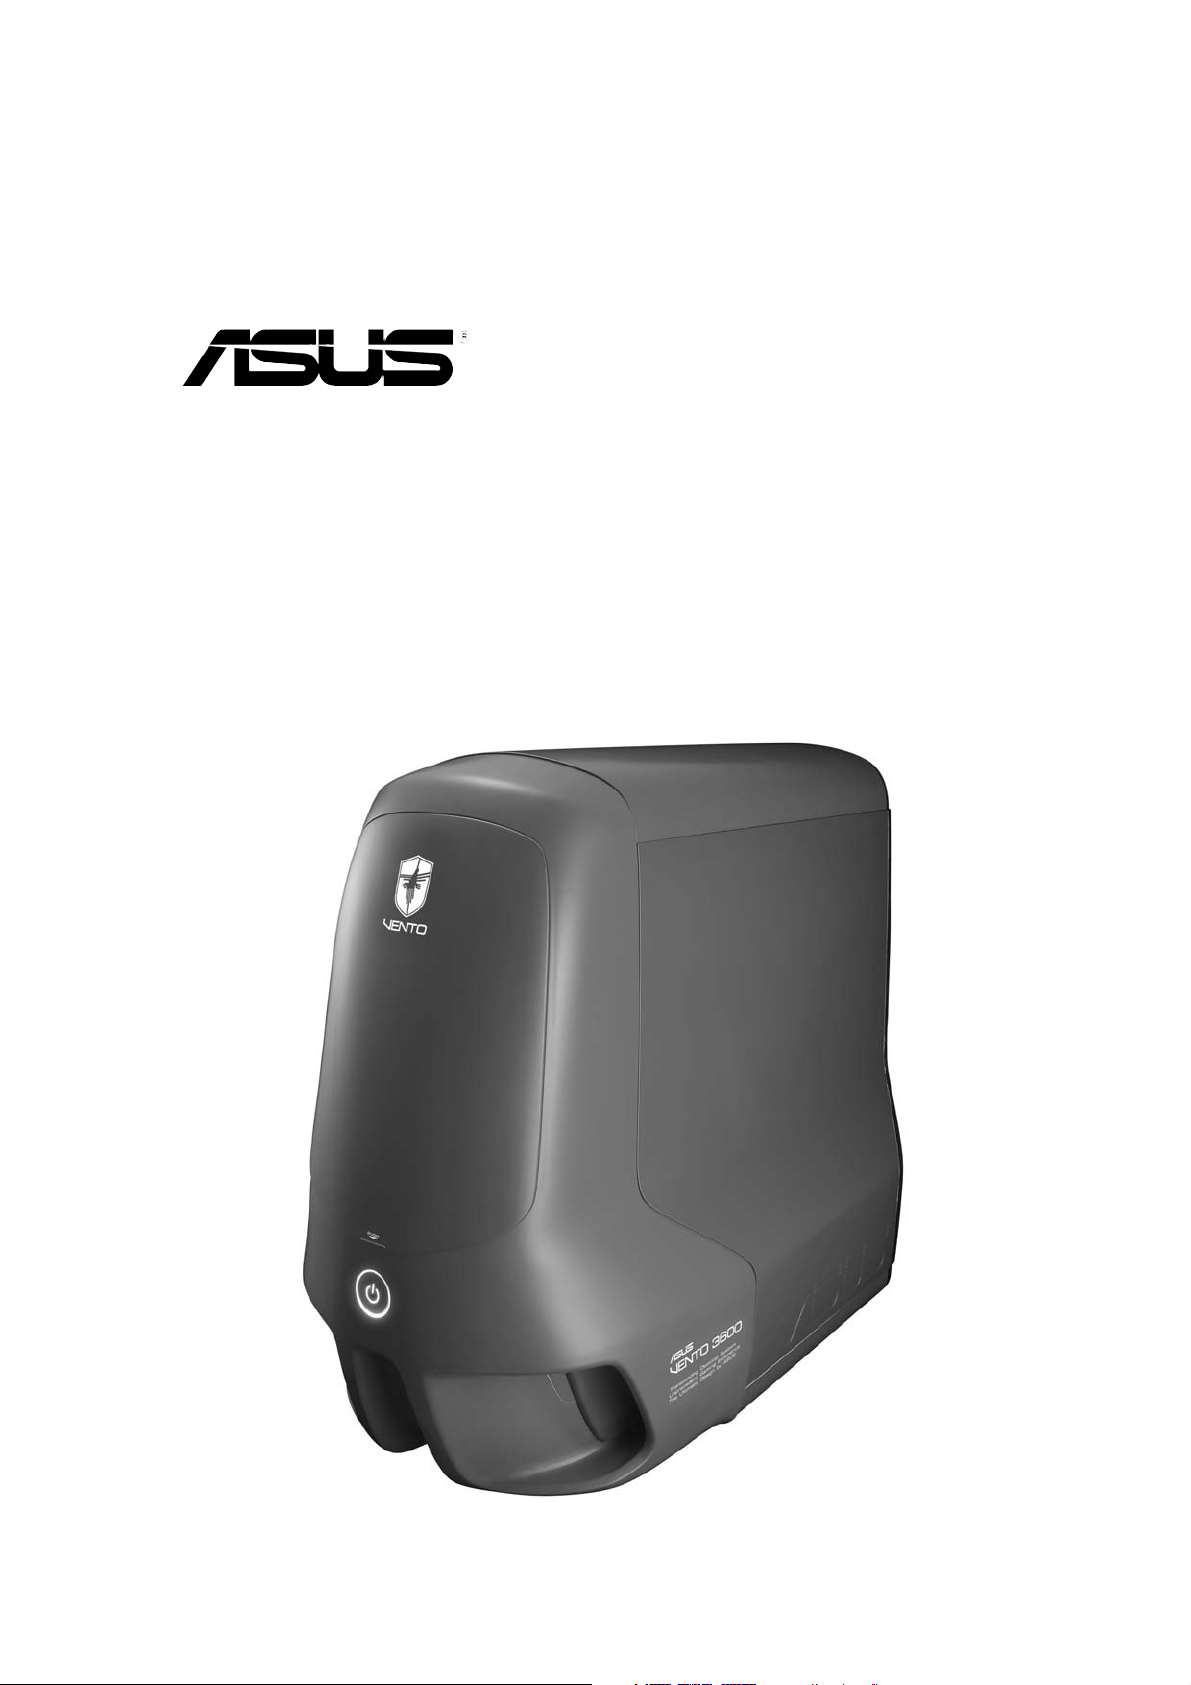
VENTO 3600
Gaming Machine Chassis Kit
User Guide
15-06700840015-067008400
15-067008400
15-06700840015-067008400
Page 2

E1780E1780
E1780
E1780E1780
First Edition V1First Edition V1
First Edition V1
First Edition V1First Edition V1
September 2004September 2004
September 2004
September 2004September 2004
Copyright © 2004 ASUSTeK COMPUTER INC. All Rights Reserved.
No part of this manual, including the products and software described in it, may be reproduced,
transmitted, transcribed, stored in a retrieval system, or translated into any language in any form
or by any means, except documentation kept by the purchaser for backup purposes, without the
express written permission of ASUSTeK COMPUTER INC. (“ASUS”).
Product warranty or service will not be extended if: (1) the product is repaired, modified or
altered, unless such repair, modification of alteration is authorized in writing by ASUS; or (2)
the serial number of the product is defaced or missing.
ASUS PROVIDES THIS MANUAL “AS IS” WITHOUT WARRANTY OF ANY KIND, EITHER
EXPRESS OR IMPLIED, INCLUDING BUT NOT LIMITED TO THE IMPLIED WARRANTIES
OR CONDITIONS OF MERCHANTABILITY OR FITNESS FOR A PARTICULAR PURPOSE.
IN NO EVENT SHALL ASUS, ITS DIRECTORS, OFFICERS, EMPLOYEES OR AGENTS BE
LIABLE FOR ANY INDIRECT, SPECIAL, INCIDENTAL, OR CONSEQUENTIAL DAMAGES
(INCLUDING DAMAGES FOR LOSS OF PROFITS, LOSS OF BUSINESS, LOSS OF USE
OR DATA, INTERRUPTION OF BUSINESS AND THE LIKE), EVEN IF ASUS HAS BEEN
ADVISED OF THE POSSIBILITY OF SUCH DAMAGES ARISING FROM ANY DEFECT OR
ERROR IN THIS MANUAL OR PRODUCT.
SPECIFICATIONS AND INFORMATION CONTAINED IN THIS MANUAL ARE FURNISHED
FOR INFORMATIONAL USE ONLY, AND ARE SUBJECT TO CHANGE AT ANY TIME
WITHOUT NOTICE, AND SHOULD NOT BE CONSTRUED AS A COMMITMENT BY ASUS.
ASUS ASSUMES NO RESPONSIBILITY OR LIABILITY FOR ANY ERRORS OR
INACCURACIES THAT MAY APPEAR IN THIS MANUAL, INCLUDING THE PRODUCTS
AND SOFTWARE DESCRIBED IN IT.
Products and corporate names appearing in this manual may or may not be registered
trademarks or copyrights of their respective companies, and are used only for identification or
explanation and to the owners’ benefit, without intent to infringe.
iiii
ii
iiii
Page 3

Contents
Notices ................................................................................................ iv
Safety information ............................................................................... v
About this guide ................................................................................. vi
ASUS contact information ................................................................ viii
Chapter 1:Chapter 1:
Chapter 1:
Chapter 1:Chapter 1:
1.1 Welcome! ................................................................................. 2
1.2 Package contents .................................................................... 2
1.3 System specification ............................................................... 3
1.4 Exploded drawing .................................................................... 4
1.5 Front panel features ................................................................ 5
1.6 Side panel features .................................................................. 6
1.7 Rear panel features ................................................................. 6
1.8 Internal features ...................................................................... 7
Chapter 2:Chapter 2:
Chapter 2:
Chapter 2:Chapter 2:
2.1 Preparation .............................................................................. 2
2.2 Removing the side panel ......................................................... 2
2.3 Installing the power supply unit (PSU) .................................... 4
2.4 Installing the motherboard ...................................................... 5
2.5 Installing a hard disk drive ....................................................... 6
Product introductionProduct introduction
Product introduction
Product introductionProduct introduction
Basic installationBasic installation
Basic installation
Basic installationBasic installation
2.5.1 Installing an IDE hard disk drive ................................. 7
2.5.1 Installing a SATA hard disk drive ............................... 9
2.6 Installing 5.25-inch drives ..................................................... 10
2.6.1 Installing an optical drive ......................................... 10
2.6.2 Installing additional 5.25-inch drive(s) .................... 12
2.7 Installing a 3.5-inch floppy disk drive .................................... 14
2.8 Installing expansion cards ...................................................... 17
2.9 Replacing the side cover ....................................................... 19
iiiiii
iii
iiiiii
Page 4
Notices
Federal Communications Commission StatementFederal Communications Commission Statement
Federal Communications Commission Statement
Federal Communications Commission StatementFederal Communications Commission Statement
This device complies with Part 15 of the FCC Rules. Operation is subject to
the following two conditions:
•
This device may not cause harmful interference, and
•
This device must accept any interference received including interference
that may cause undesired operation.
This equipment has been tested and found to comply with the limits for a
Class B digital device, pursuant to Part 15 of the FCC Rules. These limits are
designed to provide reasonable protection against harmful interference in a
residential installation. This equipment generates, uses and can radiate radio
frequency energy and, if not installed and used in accordance with
manufacturer’s instructions, may cause harmful interference to radio
communications. However, there is no guarantee that interference will not
occur in a particular installation. If this equipment does cause harmful
interference to radio or television reception, which can be determined by
turning the equipment off and on, the user is encouraged to try to correct
the interference by one or more of the following measures:
•
Reorient or relocate the receiving antenna.
•
Increase the separation between the equipment and receiver.
•
Connect the equipment to an outlet on a circuit different from that to
which the receiver is connected.
•
Consult the dealer or an experienced radio/TV technician for help.
The use of shielded cables for connection of the monitor to the graphics
card is required to assure compliance with FCC regulations. Changes or
modifications to this unit not expressly approved by the party
responsible for compliance could void the user’s authority to operate
this equipment.
Canadian Department of Communications StatementCanadian Department of Communications Statement
Canadian Department of Communications Statement
Canadian Department of Communications StatementCanadian Department of Communications Statement
This digital apparatus does not exceed the Class B limits for radio noise
emissions from digital apparatus set out in the Radio Interference
Regulations of the Canadian Department of Communications.
This class B digital apparatus complies with CanadianThis class B digital apparatus complies with Canadian
This class B digital apparatus complies with Canadian
This class B digital apparatus complies with CanadianThis class B digital apparatus complies with Canadian
ICES-003.ICES-003.
ICES-003.
ICES-003.ICES-003.
iviv
iv
iviv
Page 5

Safety information
Electrical safetyElectrical safety
Electrical safety
Electrical safetyElectrical safety
•
To prevent electrical shock hazard, disconnect the power cable from the
electrical outlet before relocating the system.
•
When adding or removing devices to or from the system, ensure that the
power cables for the devices are unplugged before the signal cables are
connected. If possible, disconnect all power cables from the existing
system before you add a device.
•
Before connecting or removing signal cables from the motherboard,
ensure that all power cables are unplugged.
•
Seek professional assistance before using an adapter or extension cord.
These devices could interrupt the grounding circuit.
•
Make sure that your power supply is set to the correct voltage in your
area. If you are not sure about the voltage of the electrical outlet you are
using, contact your local power company.
•
If the power supply is broken, do not try to fix it by yourself. Contact a
qualified service technician or your retailer.
Operation safetyOperation safety
Operation safety
Operation safetyOperation safety
•
Before installing the motherboard and adding devices on it, carefully read
all the manuals that came with the package.
•
Before using the product, make sure all cables are correctly connected
and the power cables are not damaged. If you detect any damage,
contact your dealer immediately.
•
To avoid short circuits, keep paper clips, screws, and staples away from
connectors, slots, sockets and circuitry.
•
Avoid dust, humidity, and temperature extremes. Do not place the
product in any area where it may become wet.
•
Place the product on a stable surface.
•
If you encounter technical problems with the product, contact a qualified
service technician or your retailer.
vv
v
vv
Page 6

About this guide
This user guide contains the general information and installation
instructions for the ASUS VENTO 3600 chassis kit. This guide is intended
for experienced users and integrators with hardware knowledge of personal
computers.
How this guide is organizedHow this guide is organized
How this guide is organized
How this guide is organizedHow this guide is organized
This manual contains the following parts:
••
Chapter 1: Product introductionChapter 1: Product introduction
•
Chapter 1: Product introduction
••
Chapter 1: Product introductionChapter 1: Product introduction
This chapter gives a general description of the ASUS VENTO 3600
chassis kit. The chapter lists the system features and introduces the
front and rear panels, and the internal components.
••
Chapter 2: Basic installationChapter 2: Basic installation
•
Chapter 2: Basic installation
••
Chapter 2: Basic installationChapter 2: Basic installation
This chapter provides step-by-step instructions on how to install
devices and components in the ASUS VENTO 3600.
Where to find more informationWhere to find more information
Where to find more information
Where to find more informationWhere to find more information
Refer to the following sources for additional information and for product
and software updates.
1.1.
ASUS websitesASUS websites
1.
ASUS websites
1.1.
ASUS websitesASUS websites
The ASUS website provides updated information on ASUS hardware
and software products. Refer to the ASUS contact information.
2.2.
Optional documentationOptional documentation
2.
Optional documentation
2.2.
Optional documentationOptional documentation
Your product package may include optional documentation, such as
motherboard/optical drive/hard disk drive manuals and warranty flyers
that may have been added by your dealer. These documents are not
part of the standard package.
vivi
vi
vivi
Page 7

ConventionsConventions
Conventions
ConventionsConventions
To make sure that you perform certain tasks properly, take note of the
following symbols used throughout this manual.
WARNING: WARNING:
WARNING: Information to prevent injury to yourself when trying to
WARNING: WARNING:
complete a task.
CAUTION:CAUTION:
CAUTION: Information to prevent damage to the components when
CAUTION:CAUTION:
trying to complete a task.
IMPORTANT: IMPORTANT:
IMPORTANT: Information that you MUST follow to complete a task.
IMPORTANT: IMPORTANT:
NOTE: NOTE:
NOTE: Tips and information to aid in completing a task.
NOTE: NOTE:
viivii
vii
viivii
Page 8

ASUS contact information
ASUSTeK COMPUTER INC. (Asia-Pacific)ASUSTeK COMPUTER INC. (Asia-Pacific)
ASUSTeK COMPUTER INC. (Asia-Pacific)
ASUSTeK COMPUTER INC. (Asia-Pacific)ASUSTeK COMPUTER INC. (Asia-Pacific)
Address 15 Li-Te Road, Peitou, Taipei, Taiwan 112
Telephone +886-2-2894-3447
Web site www.asus.com.tw
Technical Support
Telephone
(MB/Component) +886-2-2890-7121 (English)
(Notebook) +886-2-2890-7122 (English)
(Server/PC) +886-2-2890-7123 (English)
(Networking) +886-2-2890-7902 (English)
Support fax +886-2-2890-7698
ASUS COMPUTER INTERNATIONAL (America)ASUS COMPUTER INTERNATIONAL (America)
ASUS COMPUTER INTERNATIONAL (America)
ASUS COMPUTER INTERNATIONAL (America)ASUS COMPUTER INTERNATIONAL (America)
Address 44370 Nobel Drive, Fremont, CA 94538, USA
Fax +1-510-608-4555
E-mail tmd1@asus.com
Web site usa.asus.com
Technical Support
Telephone
(General) +1-502-995-0883
(Notebook) +1-510-739-3777
Support fax +1-502-933-8713
Support e-mail tsd@asus.com
ASUS COMPUTER GmbH (Germany and Austria)ASUS COMPUTER GmbH (Germany and Austria)
ASUS COMPUTER GmbH (Germany and Austria)
ASUS COMPUTER GmbH (Germany and Austria)ASUS COMPUTER GmbH (Germany and Austria)
Address Harkort Str. 25, D-40880 Ratingen, Germany
Telephone +49-2102-95990
Fax +49-2102-959911
Online contact www.asuscom.de/sales
Technical Support
Telephone +49-2102-95990
Fax +49-2102-959911
Online support www.asuscom.de/support
Web site www.asuscom.de/news
viiiviii
viii
viiiviii
Page 9
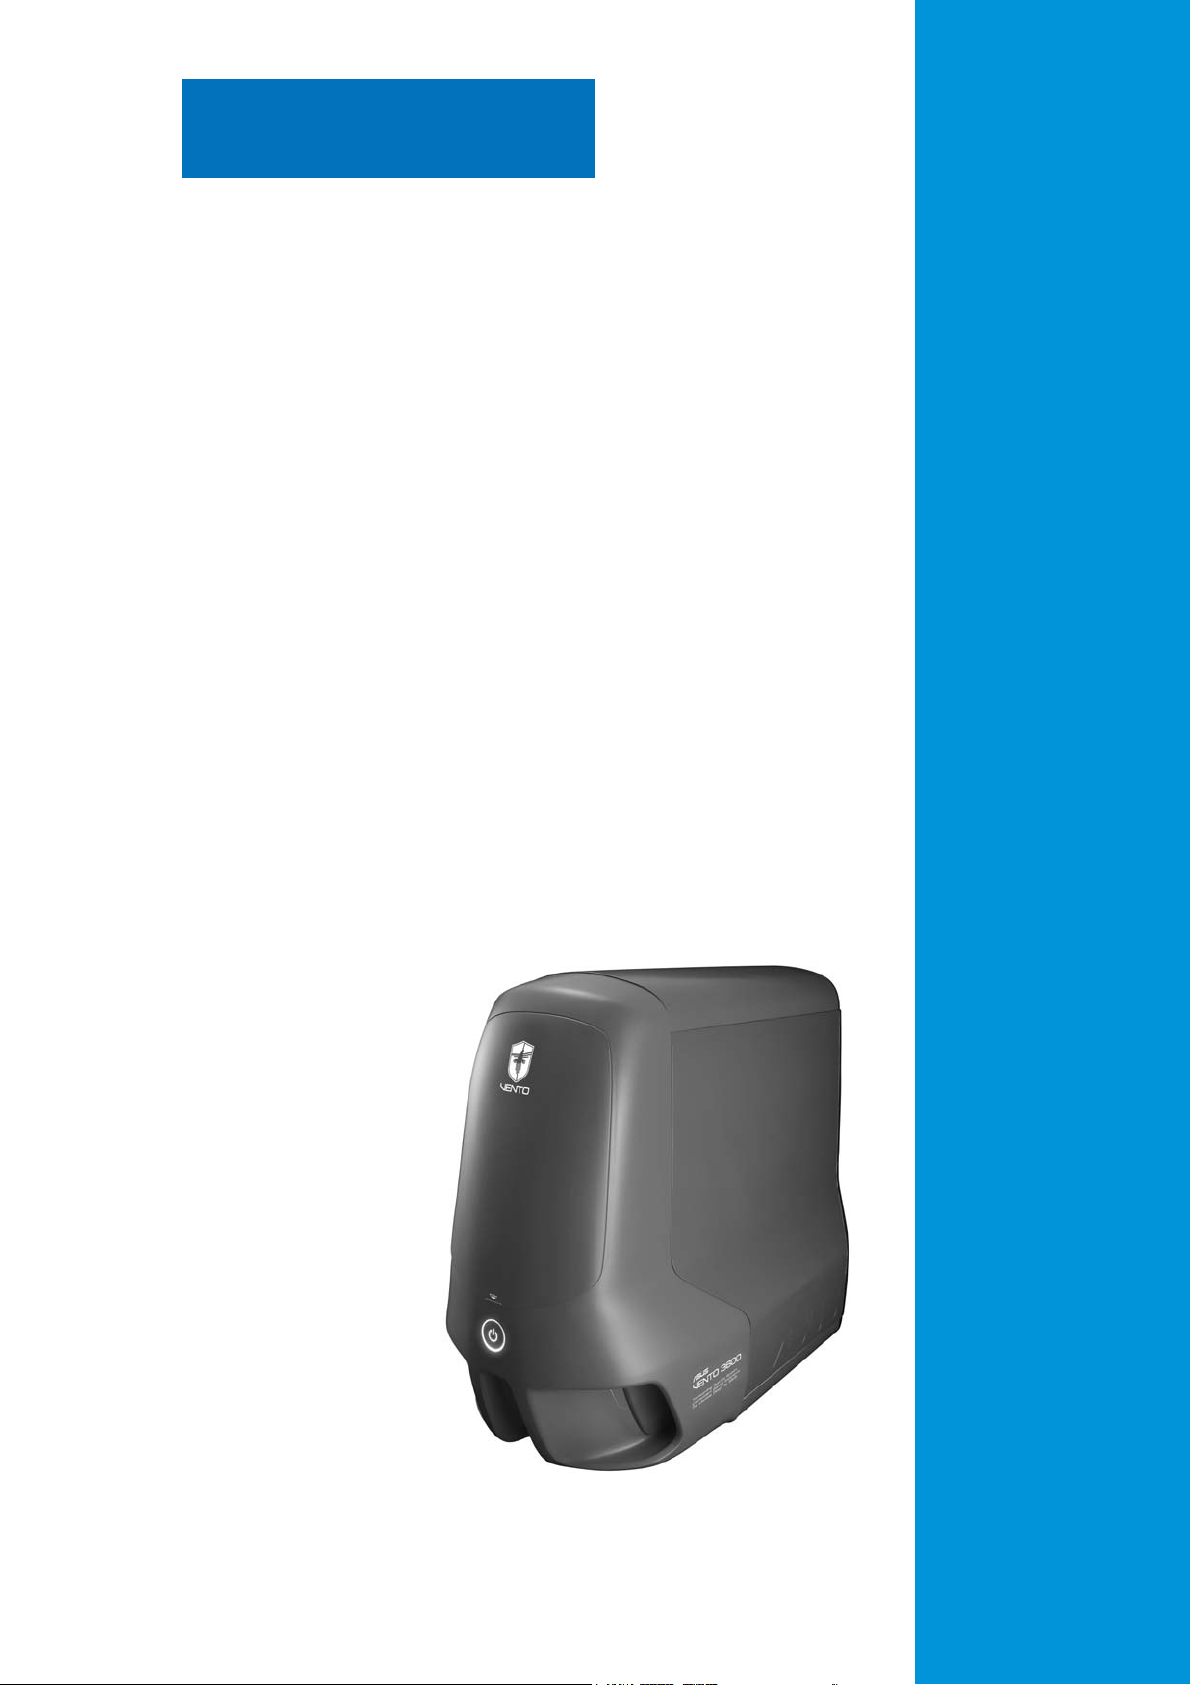
Chapter 1
This chapter gives a general
description of the ASUS VENTO
3600 chassis kit. The chapter lists
the system features and introduces
the front and rear panels, and the
internal components.
ASUS VENTO 3600ASUS VENTO 3600
ASUS VENTO 3600
ASUS VENTO 3600ASUS VENTO 3600
Product introduction
Page 10
1.1 Welcome!
Thank you for choosing the ASUS VENTO 3600!
The ASUS VENTO 3600 blends efficient functionality with aesthetic design
to bring your gaming experience to new heights of performance and style!
The colorful and innovative design exclusively by ASUS lets you break away
from the usual cube-shaped machines and transport yourself into the
virtual future.
The ASUS VENTO 3600’s screwless design for add-on cards, optical drives,
hard disk drives, and floppy disk drive makes device installation a breeze.
Side vent holes with an air duct, as well as fans on the rear and front panels
ensure cool air to reach the CPU and internal components directly for
optimum thermal performance. To prevent the hassle of tangled cables, the
ASUS VENTO 3600 comes with a cable management kit.
Redefine extreme gaming with the ASUS VENTO 3600.
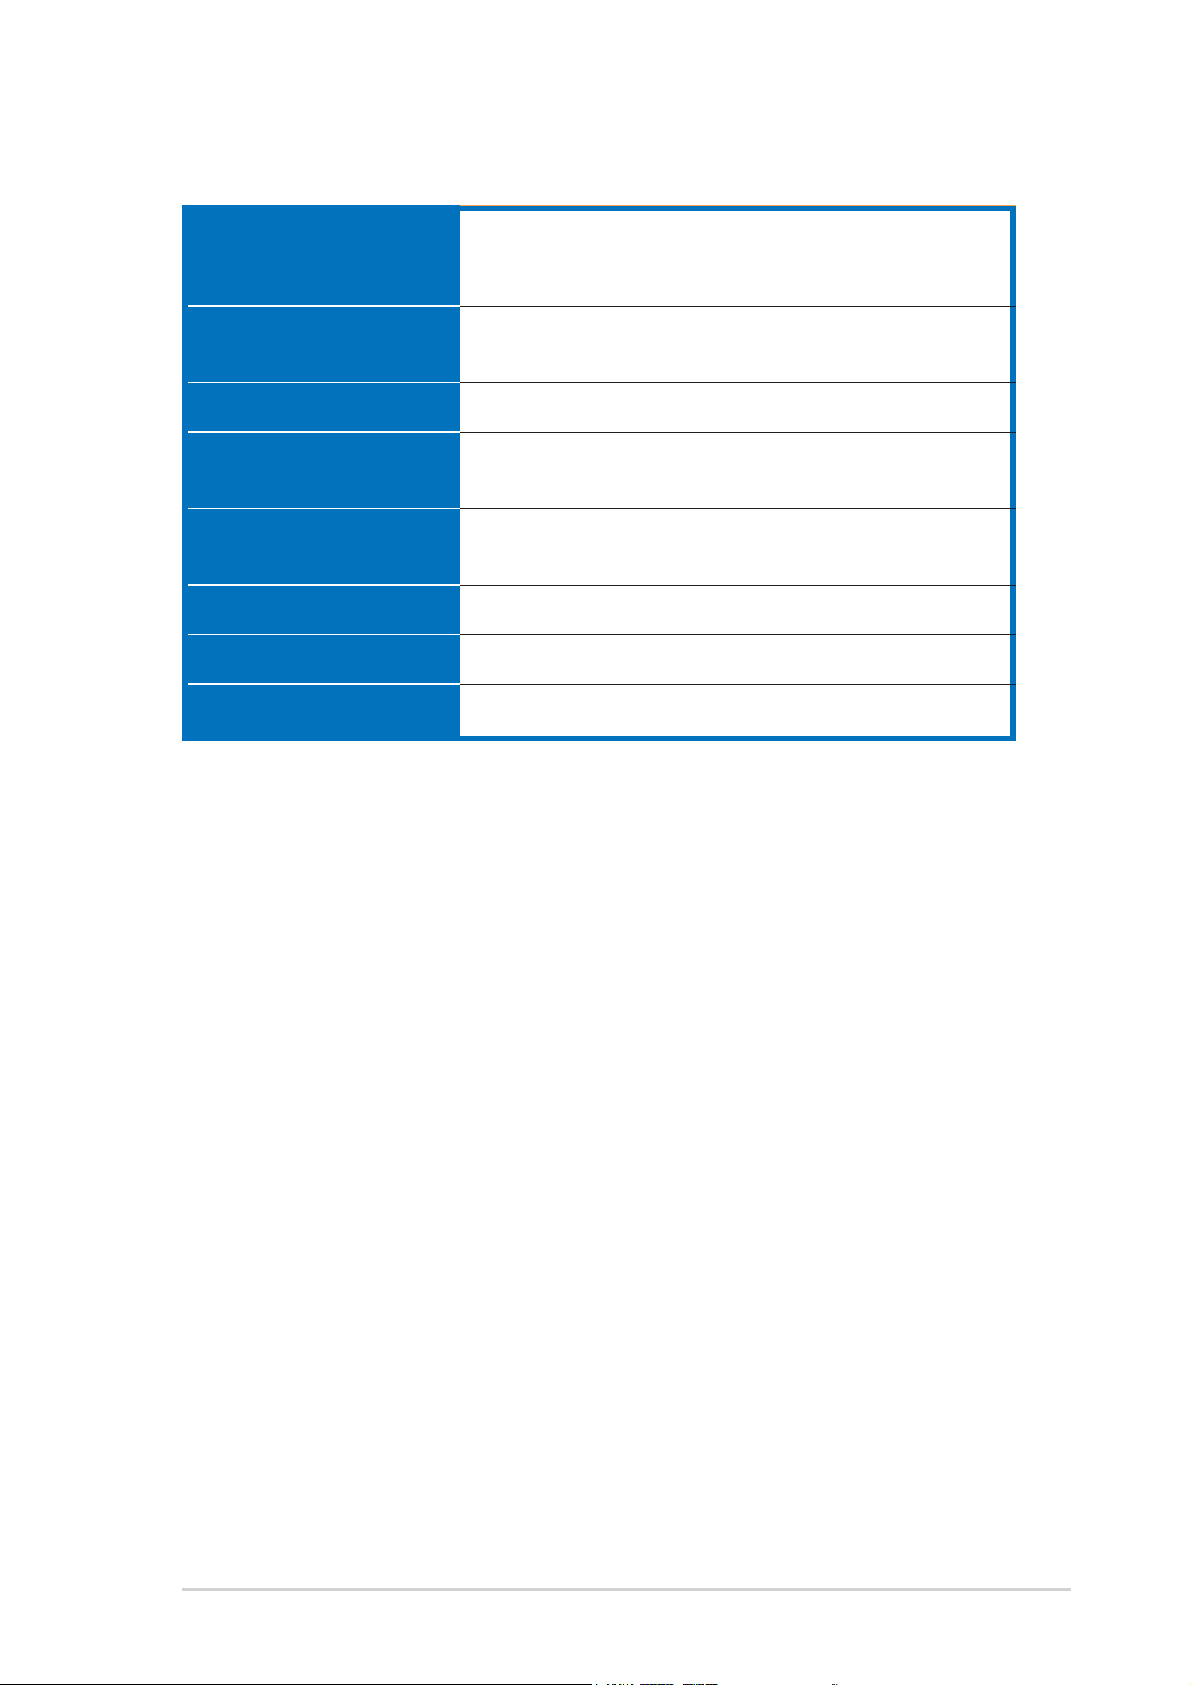
1.2 Package contents
Check your ASUS VENTO 3600 for the following items.
System fanSystem fan
System fan 1 x 80 mm fan for the front panel
System fanSystem fan
1 x 120 mm system fan for the rear panel
AccessoriesAccessories
Accessories 1 x Cable management kit
AccessoriesAccessories
Screws
Key lock
DocumentationDocumentation
Documentation User guide
DocumentationDocumentation
Optional itemOptional item
Optional item Power supply unit
Optional itemOptional item
Contact your dealer immediately if any of the items is damaged or
missing.
1-21-2
1-2
1-21-2
Chapter 1: Product introductionChapter 1: Product introduction
Chapter 1: Product introduction
Chapter 1: Product introductionChapter 1: Product introduction
Page 11
1.3 System specification
Drive baysDrive bays
Drive bays
Drive baysDrive bays
Expansion slotsExpansion slots
Expansion slots
Expansion slotsExpansion slots
USBUSB
USB
USBUSB
Audio portsAudio ports
Audio ports
Audio portsAudio ports
4 x External 5.25-inch optical drive bays
1 x External 3.5-inch floppy disk drive bays
3 x Internal 3.5-inch hard disk drive bays
6 x PCI
1 x AGP
Supports up to 4 USB 2.0 ports
1 x Headphone port
1 x Microphone port
MotherboardMotherboard
Motherboard
MotherboardMotherboard
supportsupport
support
supportsupport
Color optionsColor options
Color options
Color optionsColor options
DimensionsDimensions
Dimensions
DimensionsDimensions
Chassis materialChassis material
Chassis material
Chassis materialChassis material
ATX form factor: 12” x 9.6” (30.5 cm x 24.4 cm)
Green, blue, red
308 (w) x 527 (h) x 627 (d) mm
0.8 mm SECC
ASUS VENTO 3600ASUS VENTO 3600
ASUS VENTO 3600
ASUS VENTO 3600ASUS VENTO 3600
1-31-3
1-3
1-31-3
Page 12

1.4 Exploded drawing
1 2 3 4 5 6 7
10
98 11
12
1. Cable management kit
2. 120 mm System fan
3. Top panel
4. 5.25” Drive bay locks
5. 5.25” External drive bays
(drives not included)
6. Magic Mask
®
7. 5.25” Drive bay covers
8. Side vent for air duct
9. Side panel
10. Side swivel
11. Expansion slot locks
12. Expansion slot covers
2322212019181716151413
13. HDD cage lock
14. Removable HDD cage (drives
not included)
15. Expansion slots
16. Chassis feet
17. 80 mm Auxiliary fan
18. Front I/O ports
19. 3.5” FDD bays (drives not
included)
20. Front panel
21. LED
22. Power button
23. FDD bay cover
1-41-4
1-4
1-41-4
Chapter 1: Product introductionChapter 1: Product introduction
Chapter 1: Product introduction
Chapter 1: Product introductionChapter 1: Product introduction
Page 13

1.5 Front panel features
The VENTO 3600 chassis displays a stylish front panel.
The power button, LEDs, USB ports, and audio ports are located on the
®
front panel. Flip the Magic Mask
disk drive/s.
Front panel (external)Front panel (external)
Front panel (external)
Front panel (external)Front panel (external)
Top panel
to access the optical drive/s and floppy
Magic Mask
®
Power button
USB 2.0 ports
Front panel (internal)Front panel (internal)
Front panel (internal)
Front panel (internal)Front panel (internal)
Microphone port
Headphone port
5.25” Drive bay covers
3.5” Floppy disk drive
bay cover
ASUS VENTO 3600ASUS VENTO 3600
ASUS VENTO 3600
ASUS VENTO 3600ASUS VENTO 3600
1-51-5
1-5
1-51-5
Page 14

1.6 Side panel features
The side panel includes the side swivel, which allows access for the
installation of internal components. The side panel also features vent holes
with an air duct to pull cool air directly to the components.
Side vent for air duct
Side swivel
Cool LED
1.7 Rear panel features
The rear panel includes a slot for the motherboard rear I/O ports, seven
full-length expansion slots, chassis cover screw holes, a vent for the
system fan, and a slot for the power supply unit.
Power supply unit slot
Cable management kit
Rear panel I/O slot
System fan vent
Expansion slot covers
1-61-6
1-6
1-61-6
Chapter 1: Product introductionChapter 1: Product introduction
Chapter 1: Product introduction
Chapter 1: Product introductionChapter 1: Product introduction
Page 15

1.8 Internal features
The VENTO 3600 chassis includes the basic components as shown.
1
6
2
4
5
3
1. Power supply slot
2. 120 mm system fan vent
3. Motherboard mounting panel
7
8
9
6. 5.25-inch drive bays
7. 3.5-inch FDD bay
8. Detachable HDD cage
4. Expansion slot covers
5. Chassis intrusion sensor
ASUS VENTO 3600ASUS VENTO 3600
ASUS VENTO 3600
ASUS VENTO 3600ASUS VENTO 3600
9. 80 mm Auxiliary fan (hidden)
1-71-7
1-7
1-71-7
Page 16

1-81-8
1-8
1-81-8
Chapter 1: Product introductionChapter 1: Product introduction
Chapter 1: Product introduction
Chapter 1: Product introductionChapter 1: Product introduction
Page 17

Chapter 2
This chapter provides step-by-step
instructions on how to install
devices and components in the
ASUS VENTO 3600.
ASUS VENTO 3600ASUS VENTO 3600
ASUS VENTO 3600
ASUS VENTO 3600ASUS VENTO 3600
Basic installation
Page 18

2.1 Preparation
Basic components to installBasic components to install
Basic components to install
Basic components to installBasic components to install
You need to install the following components to the VENTO 3600 chassis
kit.
1. Motherboard
2. Power supply unit (PSU)
3. Hard disk drive
4. 5.25-inch drive(s)
5. Floppy disk drive(s)
6. Expansion card(s)
ToolTool
Tool
ToolTool
You need a Phillips (cross) screw driver to install some system
components.
2.2 Removing the side panel
To remove the side panel:
1. Remove the cable
management kit by pushing
downward to release the top
tabs.
2. Pull up the cable management
kit to release the bottom
tabs.
The cable management kit is not a handle. Do not move or lift the
chassis with the cable management kit.
1
2
2-22-2
2-2
2-22-2
Chapter 2: Basic installationChapter 2: Basic installation
Chapter 2: Basic installation
Chapter 2: Basic installationChapter 2: Basic installation
Page 19

3. Locate and remove three
screws that secure the left
side cover to the chassis.
Keep the screw for later use.
4. Turn the side swivel to about
45º clockwise to release the
side panel.
5. Push the side panel to the
direction of the arrow.
4
5
6. Tilt the side panel, then lift
and set aside.
ASUS VENTO 3600ASUS VENTO 3600
ASUS VENTO 3600
ASUS VENTO 3600ASUS VENTO 3600
2-32-3
2-3
2-32-3
Page 20

2.3 Installing the power supply unit (PSU)
We recommend that you install a standard ATX PSU with at least 350 W
power output.
To install a PSU:
1. Orient the PSU to the PSU
slot.
2. Slide the PSU into the slot
until it snugly fits the metal
rail.
3. Secure the PSU with screws.
Voltage selectorVoltage selector
Voltage selector
Voltage selectorVoltage selector
The PSU has a 115 V/230 V
voltage selector switch located
beside the power connector. Use
this switch to select the
appropriate voltage according to
the voltage supply in your area.
If the voltage supply in your area is
100-127 V, set the switch to 115 V.
If the voltage supply in your area is 200-240 V, set the swtich to 230 V.
Setting the switch to 115 V in a 230 V environment will seriously
damage the system!
2-42-4
2-4
2-42-4
Chapter 2: Basic installationChapter 2: Basic installation
Chapter 2: Basic installation
Chapter 2: Basic installationChapter 2: Basic installation
Page 21

2.4 Installing the motherboard
•
The VENTO 3600 supports standard ATX and micro ATX (mATX)
motherboards.
•
Refer to the motherboard user guide for detailed instructions on
installing a CPU, heatsink and fan assembly, memory, and other
components to the motherboard.
1. Lay the chassis down on a stable surface.
We recommend that you cover the surface with soft cloth to protect the
paint on the side panel.
2. Locate the mounting plate
holes on the chassis.
3. Orient the motherboard such
that its screw holes match
with the mounting plate holes
on the chassis.
Make sure that the I/O
shield matches the slot for
rear panel connectors.
ASUS VENTO 3600ASUS VENTO 3600
ASUS VENTO 3600
ASUS VENTO 3600ASUS VENTO 3600
2-52-5
2-5
2-52-5
Page 22

4. Drive the required number of
screws with a Phillips
screwdriver to secure the
motherboard to the chassis.
The photo shows the
motherboard installed in the
chassis.
2.5 Installing a hard disk drive
The chassis kit supports two IDE/
Serial ATA hard disk drives through
a detachable hard disk drive cage.
Hard diskHard disk
Hard disk
Hard diskHard disk
drive cagedrive cage
drive cage
drive cagedrive cage
Configure your hard disk drive as Master/Slave device before installing it
to the chassis. Refer to the HDD documentation on how to set the drive
as a Master/Slave device.
2-62-6
2-6
2-62-6
Chapter 2: Basic installationChapter 2: Basic installation
Chapter 2: Basic installation
Chapter 2: Basic installationChapter 2: Basic installation
Page 23

2.5.12.5.1
2.5.1
2.5.12.5.1
Installing an IDE hard disk driveInstalling an IDE hard disk drive
Installing an IDE hard disk drive
Installing an IDE hard disk driveInstalling an IDE hard disk drive
To install an
1. Press down the HDD cage
lock.
2. Carefully pull the cage out of
the chassis in the direction of
the arrow. Place the HDD cage
on a flat surface.
IDEIDE
I D E hard disk drive:
IDEIDE
3. Insert an HDD into the upper
bay of the cage. Make sure
that the HDD screw holes are
aligned with the HDD cage
screw holes.
4. Secure the HDD to the cage
with two screws on both sides
of the cage.
ASUS VENTO 3600ASUS VENTO 3600
ASUS VENTO 3600
ASUS VENTO 3600ASUS VENTO 3600
Screw holesScrew holes
Screw holes
Screw holesScrew holes
2-72-7
2-7
2-72-7
Page 24

5. Re-install the HDD cage to the
chassis. Slide in the HDD cage
to the bay assembly rails.
6. Carefully push the HDD cage
in the direction of the arrow
until it snaps to indicate that
it is secured to the chassis.
6. Connect a 40-pin IDE cable to
the IDE connector at the back
of the drive.
5
6
7. Connect a 4-pin power plug
from the power supply unit to
the power connector at the
back of the drive.
Refer to the motherboard user guide before connecting an IDE cable to
the hard disk drive.
2-82-8
2-8
2-82-8
Chapter 2: Basic installationChapter 2: Basic installation
Chapter 2: Basic installation
Chapter 2: Basic installationChapter 2: Basic installation
Page 25

2.5.22.5.2
2.5.2
2.5.22.5.2
Installing a SATA hard disk driveInstalling a SATA hard disk drive
Installing a SATA hard disk drive
Installing a SATA hard disk driveInstalling a SATA hard disk drive
To install a
Serial ATA Serial ATA
Serial ATA hard disk drive:
Serial ATA Serial ATA
1. Follow steps 1 to 5 of the previous section.
2. Connect one end of the 7-pin
SATA cable to the SATA
connector at the back of the
drive then connect the other
end to a SATA connector on
the motherboard. Refer to
the motherboard
documentation for the
location of the SATA
connectors
3. For Serial ATA HDDs with a 4pin power connector:
Connect a 4-pin (female)
power plug from the power
supply unit (PSU) to the 4-pin
(male) power connector at the
back of the drive.
For Serial ATA HDDs without a
4-pin power connector:
Use a SATA power cable.
Connect a 4-pin plug (female)
from the PSU to the 4-pin
(male) plug of the SATA
power cable. Connect the
15-pin SATA power plug to
the power connector at the
back of the drive.
15-pin15-pin
15-pin
15-pin15-pin
4-pin (male)4-pin (male)
4-pin (male)
4-pin (male)4-pin (male)
Serial ATA power cableSerial ATA power cable
Serial ATA power cable
Serial ATA power cableSerial ATA power cable
ASUS VENTO 3600ASUS VENTO 3600
ASUS VENTO 3600
ASUS VENTO 3600ASUS VENTO 3600
2-92-9
2-9
2-92-9
Page 26

2.6 Installing 5.25-inch drives
Make sure to unplug the power cable before installing or removing any
system components. Failure to do so may cause severe damage to the
motherboard and other system components!
The system comes with four
5.25-inch drive bays located on the
upper front part of the chassis.
1
2
3
4
2.6.12.6.1
2.6.1
2.6.12.6.1
Installing an optical driveInstalling an optical drive
Installing an optical drive
Installing an optical driveInstalling an optical drive
You may install an optical drive on the uppermost bay.
To install an optical drive:
1. Gently push the marked portion of the
®
Magic Mask
to release the lock.
2-102-10
2-10
2-102-10
Chapter 2: Basic installationChapter 2: Basic installation
Chapter 2: Basic installation
Chapter 2: Basic installationChapter 2: Basic installation
Page 27

2. The Magic Mask® lifts to
reveal the face plates of the
drive bays.
3. Slide the drive bay lock to the
left, towards the
sign, to
unlock the drive bay.
4. Carefully insert the optical
drive into the bay, then push
it inward until it is completely
flushed to the chassis front
panel.
5. Align the screw holes as
shown.
6. Slide the drive bay lock to the
right, towards the
sign to
lock the drive bay and to
secure the drive in place.
The drive bay lock has a screwless design that allows you to secure the
optical drive without screws. However, we recommend that you still
drive screws into the bay to ensure a firm fit.
ASUS VENTO 3600ASUS VENTO 3600
ASUS VENTO 3600
ASUS VENTO 3600ASUS VENTO 3600
2-112-11
2-11
2-112-11
Page 28

2.6.22.6.2
2.6.2
2.6.22.6.2
You may install additional 5.25-inch optical drives, zip, or floppy disk drives
in the three remaining bays.
Installing additional 5.25-inch drive(s)Installing additional 5.25-inch drive(s)
Installing additional 5.25-inch drive(s)
Installing additional 5.25-inch drive(s)Installing additional 5.25-inch drive(s)
Configure your optical drive as Master/Slave device before installing it to
the drive bay. Refer to the optical drive documentation for details.
To install an additional optical drive(s):
1. Select the drive bay you
intend to use.
2. Remove the face plate
covering the drive bay by
releasing the protruding tabs.
3. Using a screwdriver, push the
knock down metal cover in
and out of the chassis until it
is removed.
4. Slide the drive bay lock to the
left, towards the sign, to
unlock the drive bay.
2-122-12
2-12
2-122-12
Chapter 2: Basic installationChapter 2: Basic installation
Chapter 2: Basic installation
Chapter 2: Basic installationChapter 2: Basic installation
Page 29

5. Carefully insert the optical
drive into the bay, then push
it inward until it is completely
flushed to the chassis front
panel.
6. Align the screw holes as
shown.
7. Slide the drive bay lock to the
right, towards the
sign to
lock the drive bay and to
secure the drive in place.
The drive bay lock has a screwless design that allows you to secure the
optical drive without screws. However, we recommend that you still
drive screws into the bay to ensure a firm fit.
8. Connect a 40-pin IDE cable
(from the first optical drive)
to the IDE connector on the
drive.
ASUS VENTO 3600ASUS VENTO 3600
ASUS VENTO 3600
ASUS VENTO 3600ASUS VENTO 3600
2-132-13
2-13
2-132-13
Page 30

9. Connect a 4-pin power plug
from the power supply unit to
the drive power connector.
2.7 Installing a 3.5-inch floppy disk drive
You may install up to two floppy disk drives in the 3.5-inch drive bay under
the 5.25-inch drive bays.
Configure your optical drive as Master/Slave device before installing it to
the drive bay. Refer to the optical drive documentation for details.
To install a floppy disk drive(s):
1. Select the drive bay you
intend to use.
2. Remove the face plate
covering the drive bay by
releasing the protruding tabs.
2-142-14
2-14
2-142-14
Chapter 2: Basic installationChapter 2: Basic installation
Chapter 2: Basic installation
Chapter 2: Basic installationChapter 2: Basic installation
Page 31

3. Using a screwdriver, push the
knock down metal cover in
and out of the chassis until it
is removed.
3. Slide the drive bay lock to the
right, towards the sign to
unlock the drive bay.
4. Carefully insert the floppy disk
drive into the bay, then push
it inward until it is completely
flushed to the chassis front
panel.
ASUS VENTO 3600ASUS VENTO 3600
ASUS VENTO 3600
ASUS VENTO 3600ASUS VENTO 3600
2-152-15
2-15
2-152-15
Page 32

5. Slide the drive bay lock to the
left, towards the
sign to
lock the drive bay and to
secure the drive in place.
The drive bay lock has a screwless design that allows you to secure the
floppy disk drive without screws. However, we recommend that you still
drive screws into the bay to ensure a firm fit.
6. Attach the FDD power and
signal cables to the
connectors on the rear of the
drive.
2-162-16
2-16
2-162-16
Chapter 2: Basic installationChapter 2: Basic installation
Chapter 2: Basic installation
Chapter 2: Basic installationChapter 2: Basic installation
Page 33

2.8 Installing expansion cards
The VENTO 3600 chassis kit comes with six PCI slots and one AGP slot for
installation of expansion cards.
Make sure to unplug the power supply before installing or removing an
expansion card(s). Failure to do so may cause severe damage to both
the motherboard and the components.
To install an expansion card:
1. Before installing the expansion card, read the documentation that
came with it and make the necessary hardware settings for the card.
2. Choose the slot that you want to use.
3. Push out the green lock tab.
4. Remove the metal cover
opposite the slot that you
want to use.
ASUS VENTO 3600ASUS VENTO 3600
ASUS VENTO 3600
ASUS VENTO 3600ASUS VENTO 3600
2-172-17
2-17
2-172-17
Page 34

5. Align the card connector with
the slot, then press firmly until
the card is completely seated
on the slot.
6. Secure the card with the lock
tab you removed earlier.
2-182-18
2-18
2-182-18
Chapter 2: Basic installationChapter 2: Basic installation
Chapter 2: Basic installation
Chapter 2: Basic installationChapter 2: Basic installation
Page 35

2.9 Replacing the side cover
After installing all components and connecting the necessary cables,
replace the side cover by following these instructions.
To replace the side cover:
1. Match the side panel hooks to
the chassis rail edge.
2. Fit the side panel toward the
chassis until it fits.
Chassis side railChassis side rail
Chassis side rail
Chassis side railChassis side rail
3. Slide the cover toward the
front until it snaps in place.
Side panel hooksSide panel hooks
Side panel hooks
Side panel hooksSide panel hooks
ASUS VENTO 3600ASUS VENTO 3600
ASUS VENTO 3600
ASUS VENTO 3600ASUS VENTO 3600
2-192-19
2-19
2-192-19
Page 36

4. Replace the cable
management kit.
B
C
A
2-202-20
2-20
2-202-20
Chapter 2: Basic installationChapter 2: Basic installation
Chapter 2: Basic installation
Chapter 2: Basic installationChapter 2: Basic installation
 Loading...