

Arecont Vision D4SO-AV1115v1-3312, D4SO-AV3115v1-3312 Installation Manual
Arecont Vision D4SO Outdoor Dome Series Installation Manual
0 | Page
Arecont Vision D4SO Outdoor Dome Series Installation Manual
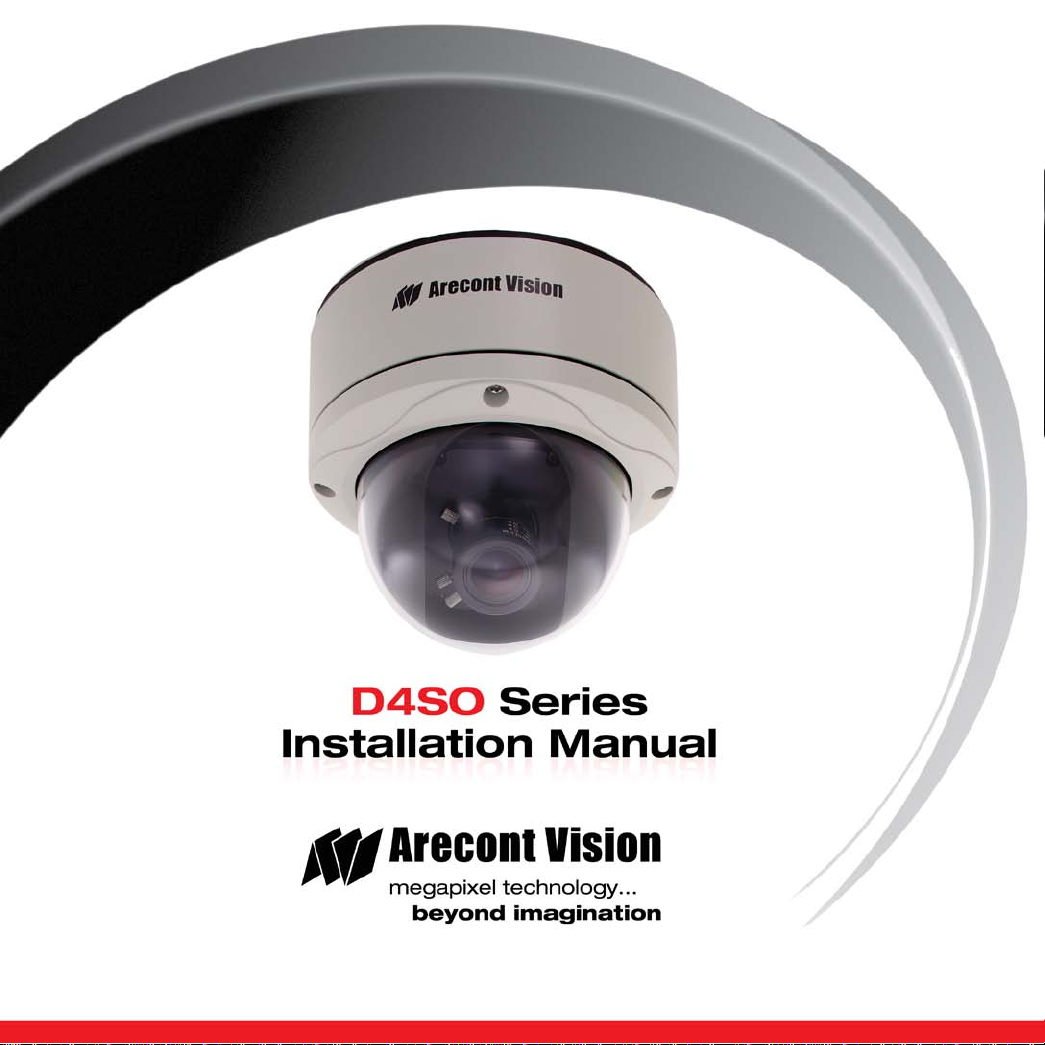
G F E
C A D
D4SO Outdoor Dome Installation Manua l
Inside the box:
A. Arecont Vision D4SO Dome Camera
B. Mounting template
C. Security L-key
D. One double sided hex key
E. One single sided hex key
F. 6-position external power & IO plug
G. Pack of four (4) wood screws and four (4)
dry wall anchors
Not included but needed:
• #1 Phillips head screw driver
• #2 Phillips head screw driver
• Small Flat Head screw driver
B
1. Remove camera and hardware from the
box.
2. Using the Mounting Template, prepare
the mounting provisions for camera
installation. NOTE: the 19.5mm diameter
hole on the Mounting template is where
the Ethernet cable will be exiting the
D4SO, align accordingly. If using the
side conduit hole, please see step 7
below.
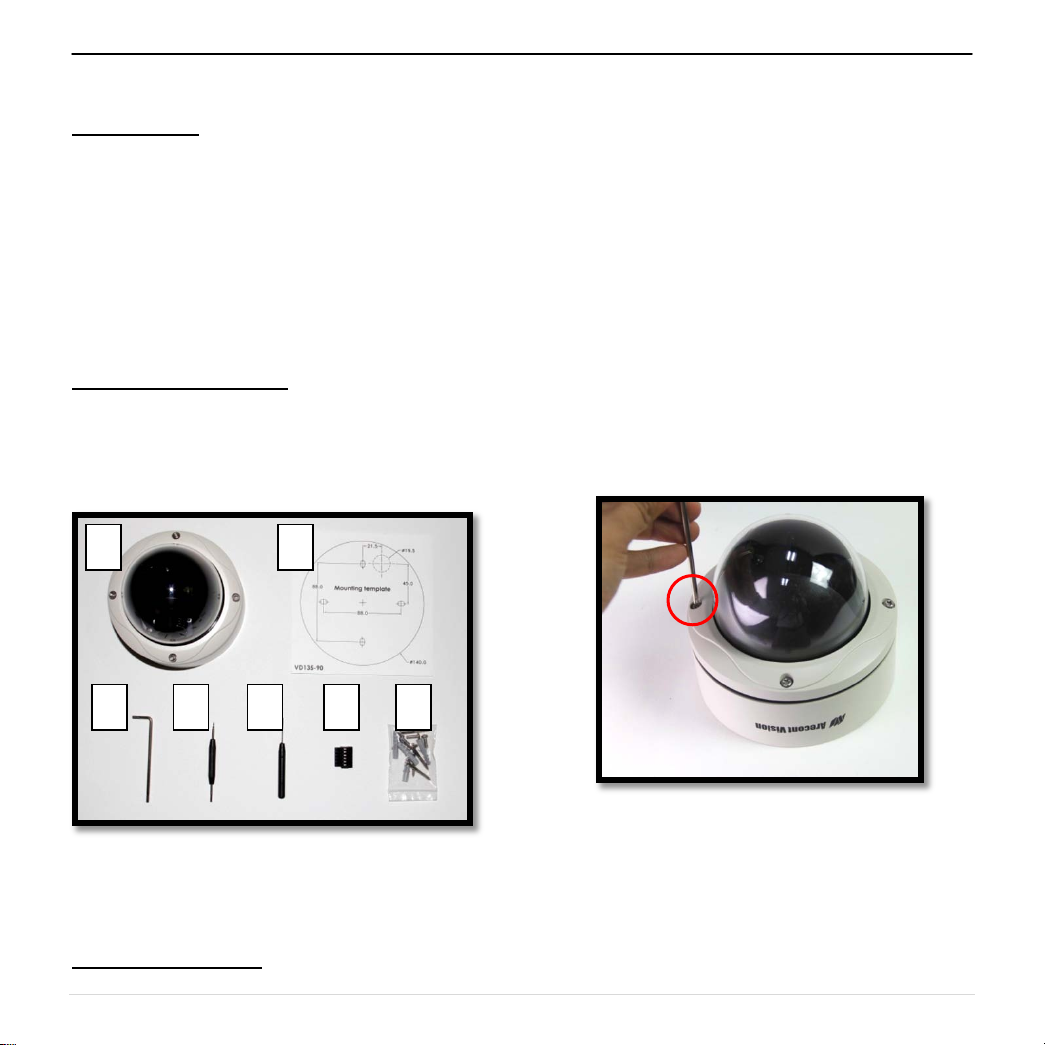
3. Using Security L-key, loosen the four (4)
screws securing the dome cover (Image
2). Remove vandal resistant dome
cover. NOTE: Do not remove screws
from the dome cover.
Image 1
Mounting the Camera:
Image 2
1 | Page
 Loading...