


Table of contents
ENEN
Package Contents....................................................................................................................................
Getting started........................................................................................................................................
Description of the device....................................................................................................................
Through the Wizard...............................................................................................................................
Connecting to a WiFi network...........................................................................................................
The AndroidTM interface........................................................................................................................
Getting familiar with AndroidTM.......................................................................................................
Troubleshooting....................................................................................................................................
For more information, please consult the FAQs of your product on www.archos.com.
Make sure to read them before considering any product return.
12
14
2
3
4
5
6
8
1
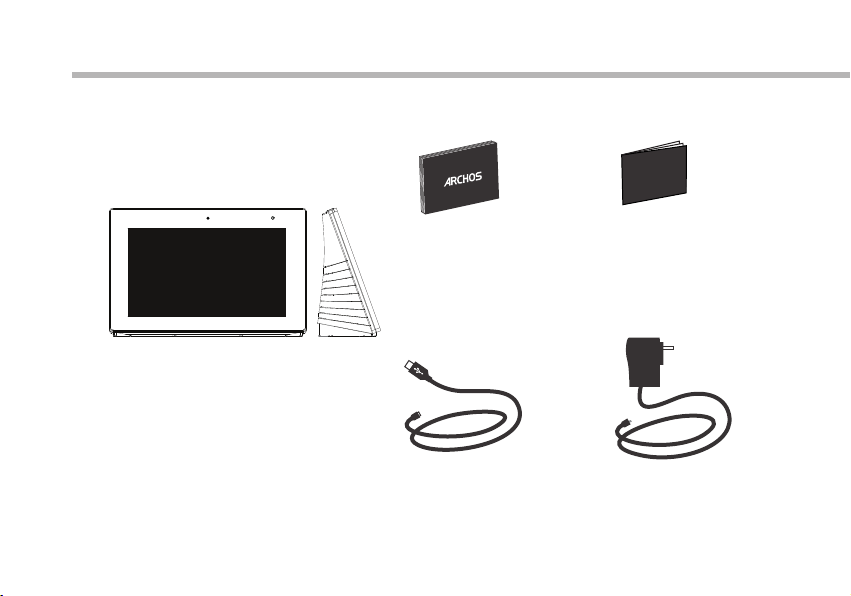
Package Contents
Warranty
Warranty
QSG booklet
Warranty,
legal & safety booklet
ARCHOS Smart Home Tablet
USB cable Charger
2

Getting Started
EN
Charging
TIPS:
To receive more complete service, please register your product.
From a computer, go to www.archos.com/register.
Connect the supplied power cable to the ARCHOS and to a wall
outlet. The ARCHOS device will turn on and start charging.
- You can use your ARCHOS whilst it charges.
- Let your device charge completely the rst time you use it.
- Use only the supplied charger.
When your device is completely discharged, you need to
charge it for at least 10 minutes before the charging battery
icon can be displayed.
3
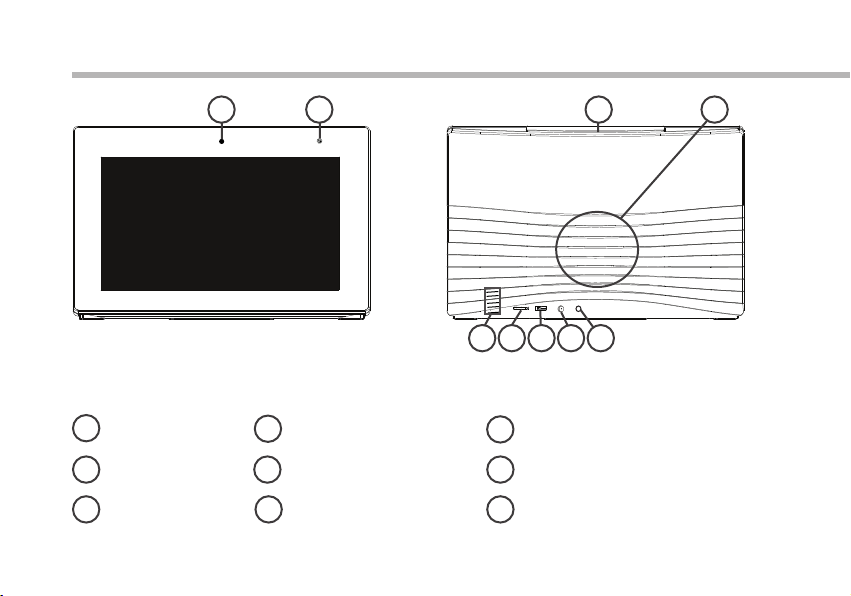
Description of the device
1
Webcam
1
Light sensor
2
ON/OFF button
3 9
2
Loudspeaker
4
Temperature sensor
5
Micro-SD card slot
6
4
5
76 8 9
Micro-USB port
7
Power connector
8
Headphone jack
3 4

Through the Wizard
The rst time you start up your ARCHOS, the installation wizard will help you set up your
device:
- Language
- Date & time
- WiFi connection
- Location service options
- 3rd party apps
TIPS:
We recommend that you set up your device in the WiFi zone of the network that you will regularly be
using.
EN
5
 Loading...