

Page 1
aquacraftmodels.com
WARNING
INSTRUCTION MANUAL
Never attempt to swim after a stalled R/C boat.
Never operate your R/C boat while standing in the water.
Never operate your R/C boat in the presence of swimmers.
Always use a Personal Flotation Device (PFD) when boarding and operating your
retrieval craft, i.e. Jon boat or duck boat. NOTE: Because of the sharp running
hardware included with this R/C boat, we do not recommend a rubber blow up raft.
R/C boat running hardware is very sharp. Be very careful when working on and around
the metal parts.
While the motor is running, pay close attention to the propeller. Do not come in contact
with the propeller at any time the engine is running or serious injury will result.
AquaCraft products are to be used by ages 14 and over.
Page 2
Introduction
Features
Thank you for purchasing the AquaCraft Rescue 17. We want
the time you spend with your new R/C boat to be fun and
successful, so please fully read the manual. If for any reason
you think this model is not for you, return it to your local dealer
immediately. NOTE: Your hobby dealer cannot accept a
return on any model after fi nal assembly or after your
boat has been operated.
All pictures, descriptions, and specifi cations found in this
instruction manual are subject to change without notice.
AquaCraft maintains no responsibility for inadvertent errors
in this manual.
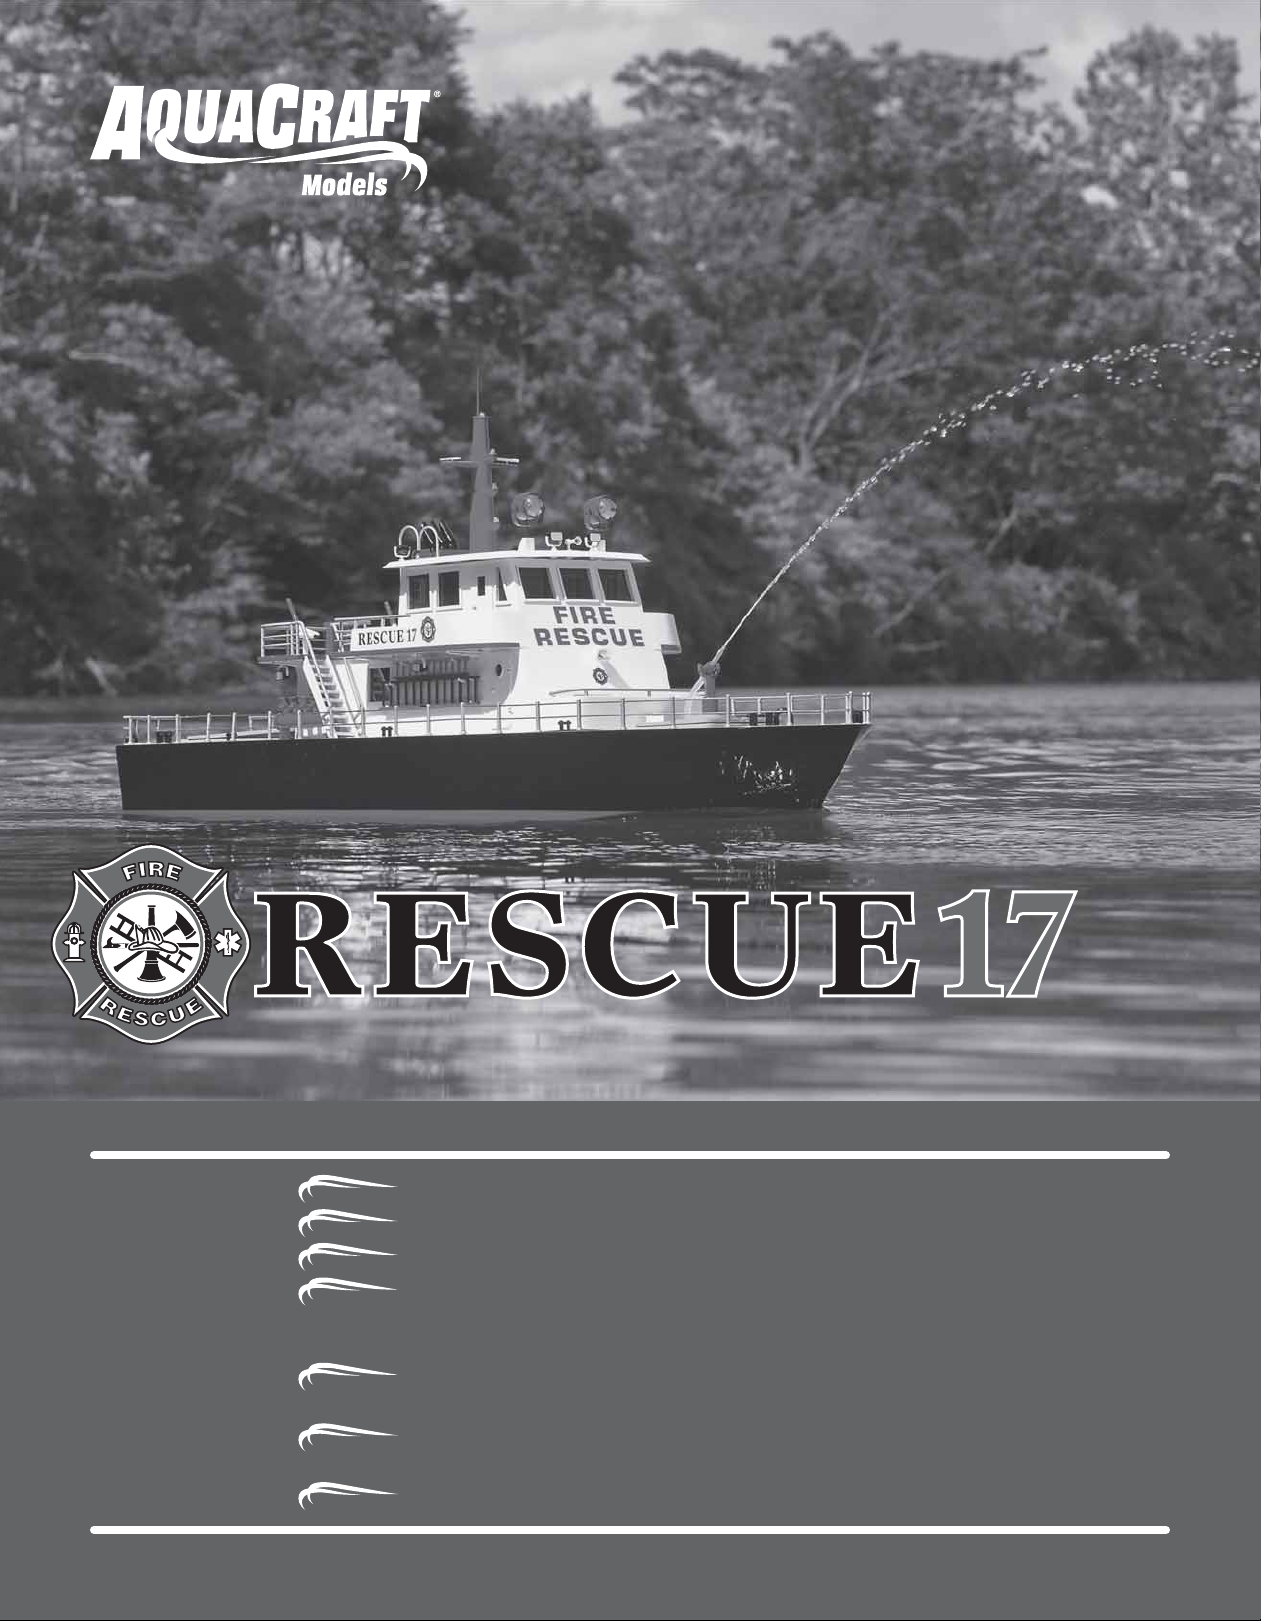
Items Included
● Working water cannon with water pump
● 10 piece LED light kit installed.
● Wire rope deck railing
●
Fireboat scale water cannons, ladders, water valves, search
lights, staircases, railings, windows, radar/radio antennas, etc.
● 600 size brushed motor
● Tactic TTX490 4-channel 2.4GHz SLT surface transmitter.
● 3S LiPo ready ESC
● Painted fi berglass hull, deck and cabin.
● Scale detail parts and accessories installed.
● Swing-down cabin support brace
Specifi cations
Length: 38 in (965mm)
Width (beam): 10.25 in (261mm)
Height: 17 in (432mm)
Weight: 8lbs (3600G)
Boat Terminology
BOW: Front of the boat.
STERN: Back of the boat.
PORT: Left side of the boat when aboard and facing the front
(bow). An easy way to remember is that port and left both
contain four letters.
STARBOARD: Right side of the boat.
HULL: Body of the boat.
DECK: Top of the boat.
RUDDER: Hinged vertical plate mounted at the stern.
❍ Rescue 17 ❍ Boat Stand
❍ Tactic® Transmitter ❍ Decal Sheet
Parts Needed to Complete Your Model
❍ 1 - ElectriFly 2200mAh 11.1V LiPo Battery (GPMP0861)
❍ 1 -
Great Planes 3S LiPo Balancing Smart Charger (GPMM3318)
❍ CA glue (GPMR6007)
❍ 6 - “AA” Batteries (FUGP7300)
Warranty Service
AquaCraft® will warrant your Rescue 17 for 90 days after
purchase from defects in materials or workmanship of original
manufacture. AquaCraft, at their discretion, will repair or
replace the incorrectly made part at no charge. This warranty
does not cover damage caused by crashes, abuse, misuse,
alterations or accidents. To return your boat for repairs, you
need to provide proof of purchase; your store receipt or product
invoice will suffi ce. IN NO EVENT SHALL THE PURCHASER
BE ENTITLED TO ANY INCIDENTAL, SPECIAL, INDIRECT
OR CONSEQUENTIAL DAMAGES, WHETHER RESULTING
FROM THE USE, MISUSE OR INABILITY TO USE THE
PRODUCT OR FROM DEFECTS IN THE PRODUCT. This
warranty gives you specifi c legal rights. You may also have
other rights, which vary from state to state.
Outside the USA and Canada, contact your local importer for
warranty information.
HOBBY SERVICES Ph: (217) 398-0007
3002 N. Apollo Drive, Suite 1 9:00 am - 5:00 pm
Champaign, Illinois 61822 Central Time M-F
E-mail: hobbyservices@hobbico.com
2
Page 3
Assembly
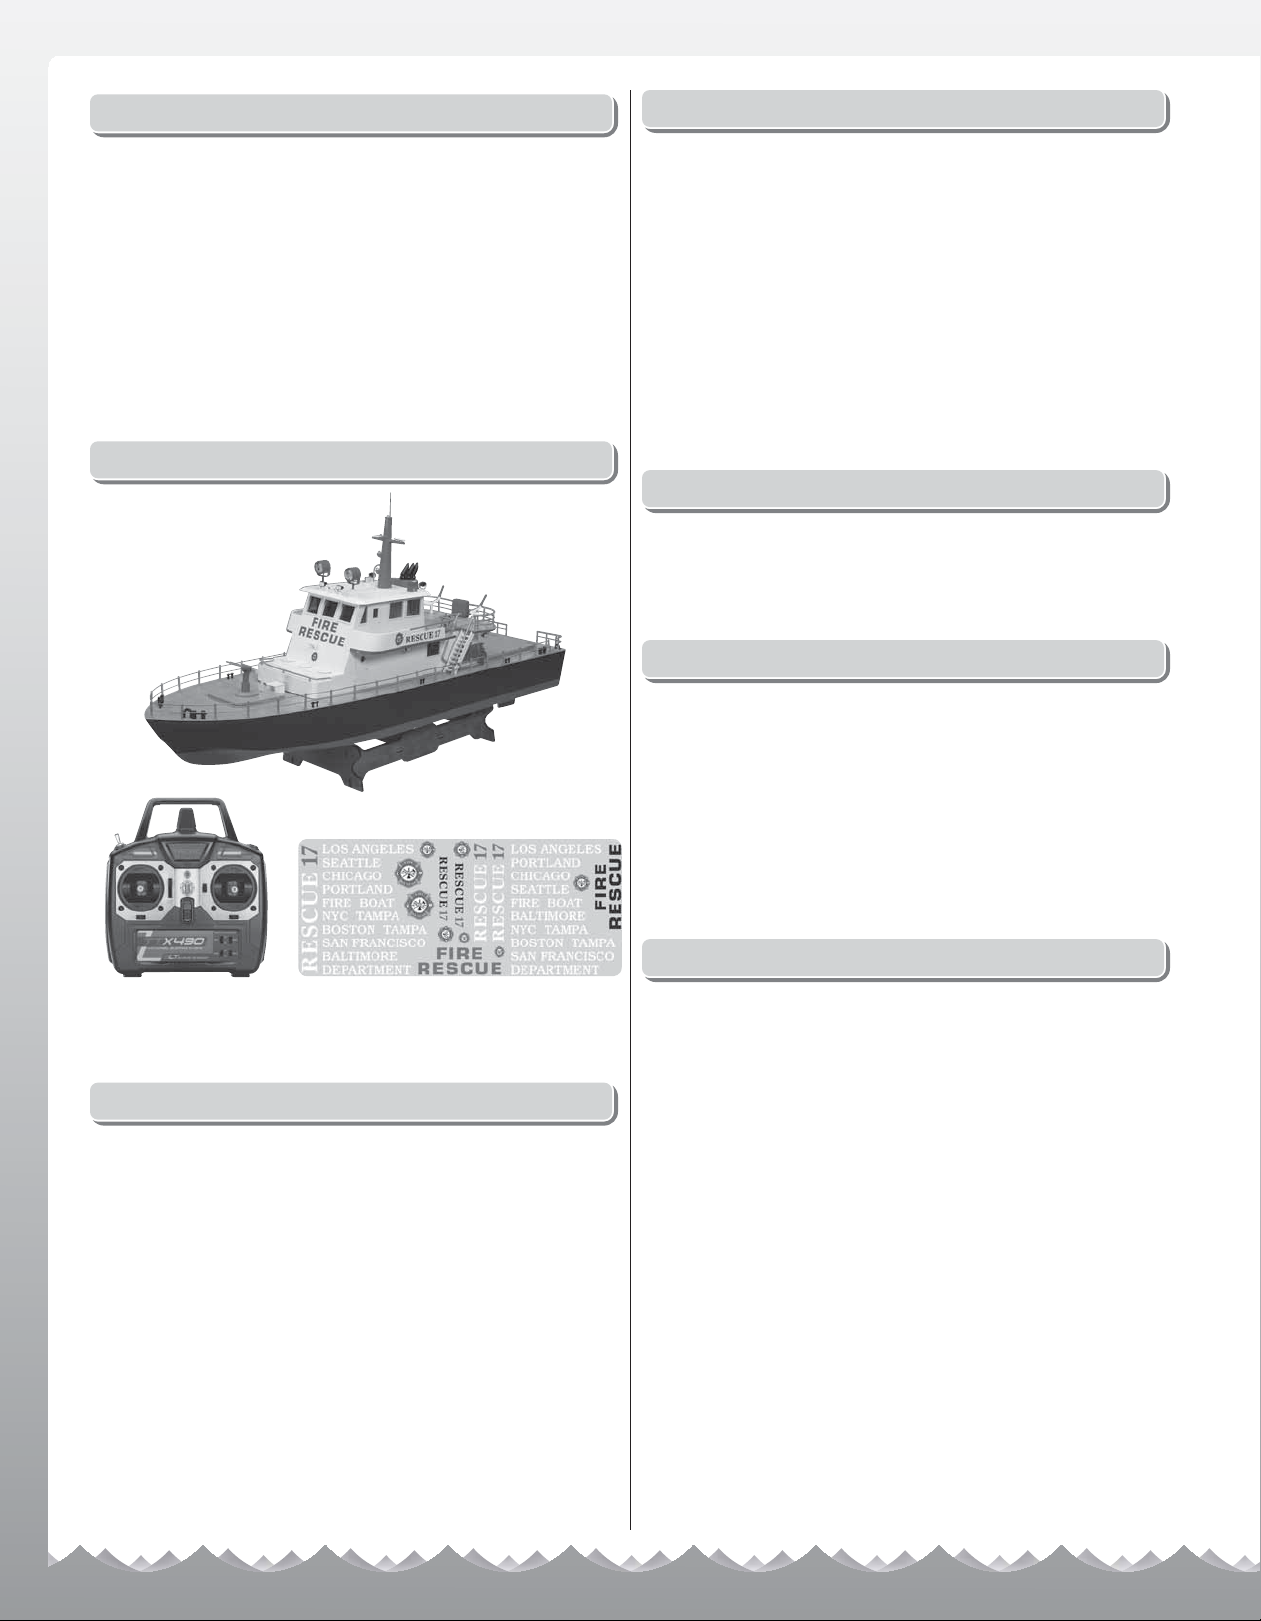
HULL AND LIGHTING SYSTEM
Pull the cabin latch forward.
Install two new “AA” batteries into the lighting system battery
holder. Be sure to follow the positive (+) and negative (–)
pattern molded into the the battery holder.
Lift the front of the cabin and move the cowl support to keep
the cabin up.
Connect the lighting plugs together as shown. NOTE: The
plugs only fi t together one way.
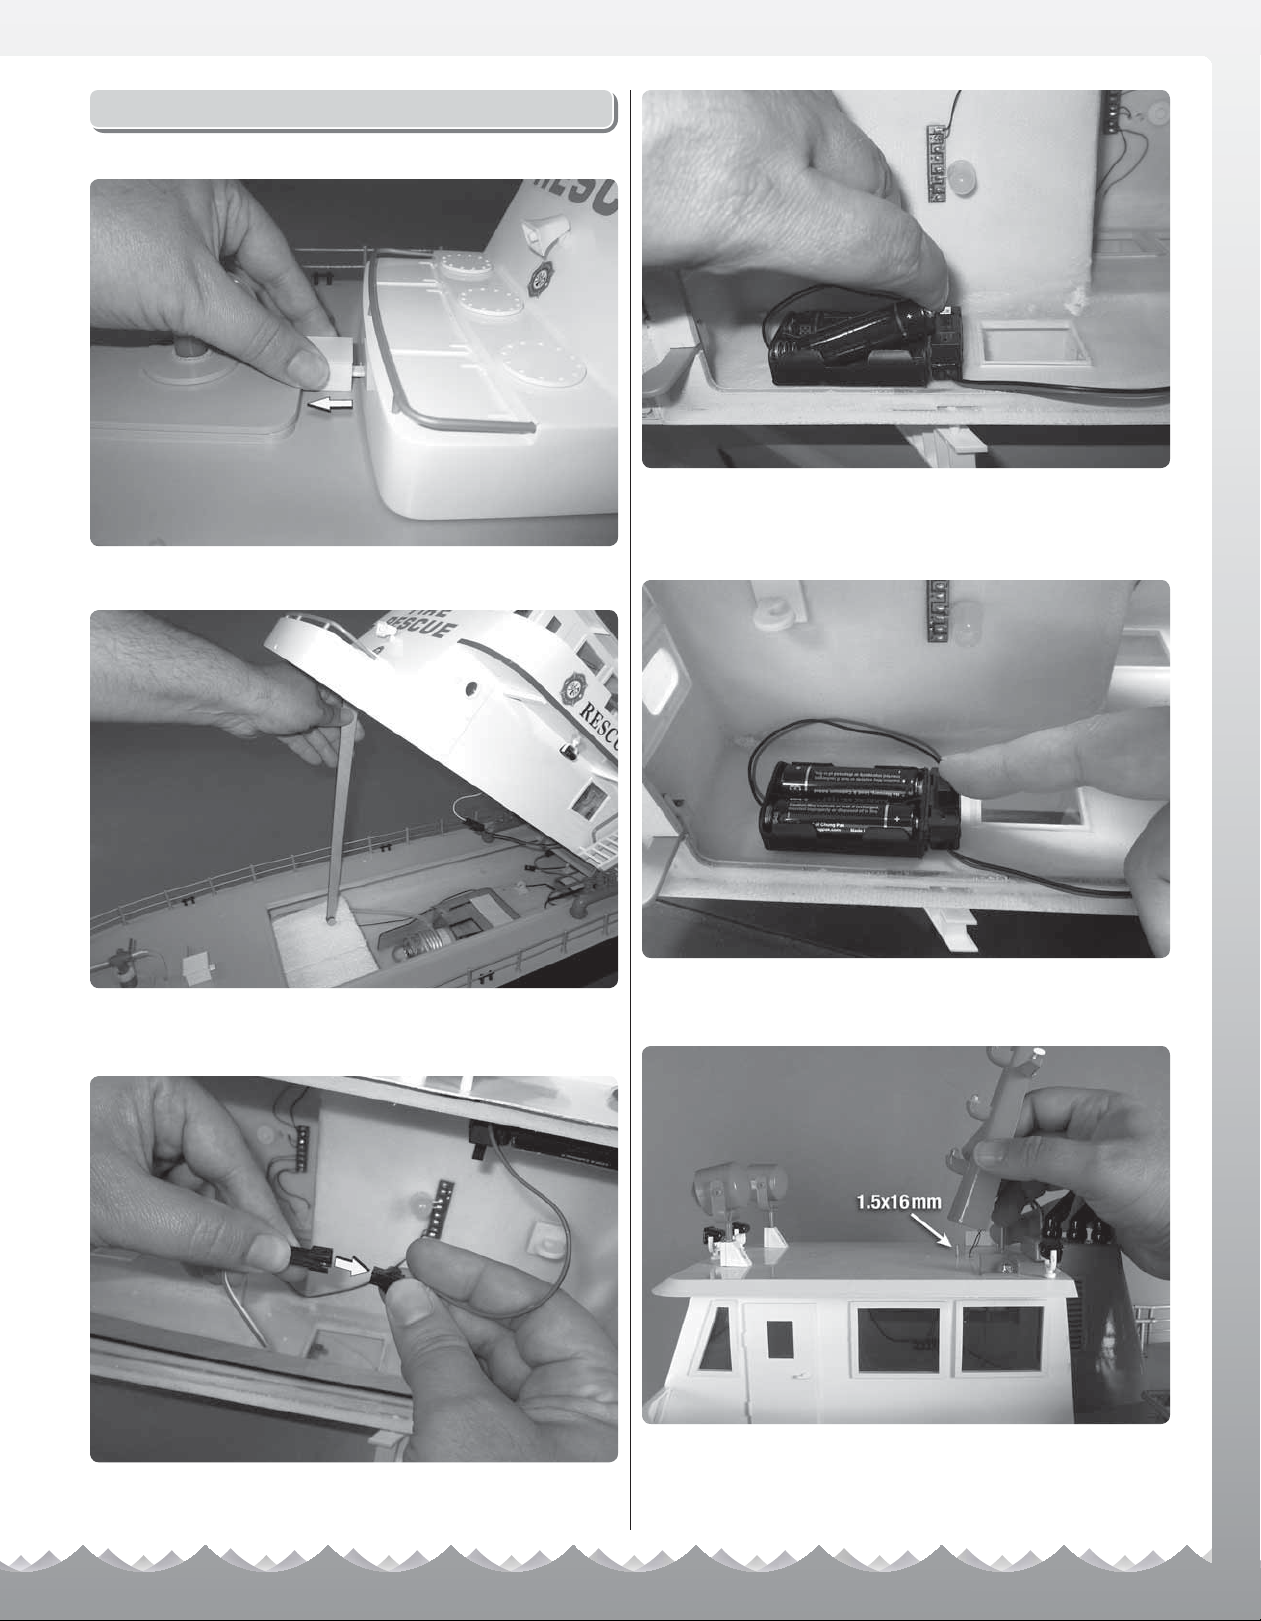
The lighting system has its own power switch. Turn the power
on to illuminate the running and cabin lights.
Through the inside of the cabin use a Phillips screwdriver to
secure the light mast to the top of the cabin using provided
the 1.5x16mm screw as shown.
3
Page 4

Using CA, glue the peg on the bottom of the antenna into the
hole in the lightmast.
Plug the battery pack into the boat’s ESC (Electronic Speed
Control) battery connector. Do not force them together; they
are designed to fi t together only one way. WARNING: Unplug
the battery any time the boat is not in use.
BATTERY PACK INSTALLATION
IMPORTANT!
Never leave a charger and battery pack unattended
while charging.
Use only the recommended batteries and appropriate
charger.
Do not attempt to charge the battery while it is in
the boat.
Refer to the instructions included with your charger
for proper battery charging procedure.
Radio System
INSTALL THE TRANSMITTER BATTERIES
IMPORTANT NOTE: The transmitter is not water resistant
and should never come in contact with water!
Slide the battery door off from the back of the transmitter.
Install four fresh “AA” batteries in the confi guration molded
into the battery holder. Reinstall the battery door.
Peel the backing off of the supplied hook and loop material
and apply the “loop” side to the battery pack. Place the fullycharged battery pack onto the battery tray as shown.
4
4
Page 5

Turn the transmitter on using the switch on the front. The red
LED above the ON/OFF switch should light up. If the LED
does not light, turn the transmitter off and check that the
batteries are installed properly. If you see a fl ashing LED,
the batteries are low and need to be replaced.
CHECK THE RADIO SYSTEM
1. Turn on the TX.
2. Turn on the ESC. It will beep once to confi rm it has power,
then it will pause for 1 second and beep again to confi rm it
is armed.
3. Stand behind the boat and move the rudder side stick to the
left. The back of the rudder should move to the left. If not fl ip
the #1 servo reversing lever (located under the rudder stick)
to the opposite position and check again.
4. Let go of the rudder stick. The rudder should return to center
(pointing straight). If not adjust the rudder trim using the lever
located under the rudder stick.
WATER CANNON
ON/OFF
Before Launching Your Rescue 17
● NEVER attempt to swim after a stalled or capsized boat!
Wait patiently for the currents to return the boat to shore.
● R/C models produce vibrations which can cause screws on
your model to become loose over time. It is important to
make sure that all hardware is secure before operating
your model.
● The edges of the propeller are sharp and can cut your
fi ngers if you are not careful. At no time should you ever
attempt to stop the prop with your hand. In the event that
weeds become entangled in the propeller, turn the Rescue
17’s power off and unplug the battery before attempting to
remove them.
● CAUTION: Your Resc ue 17 may take on small amou nts of
water. Keep a roll of paper towels handy and dry out the
hull interior after every run.
● Total run time of the Rescue 17 is approximately 10-15
minutes (begin with a fully charged battery pack). When
you notice a decrease in power the ESC has reached its
low voltage cutoff point and it’s time to head for shore. As
soon as the boat reaches shore, turn off the power to the
boat’s receiver and transmitter (in that order) and unplug
the battery.
● After running, store your Rescue 17 with the hatches opened
to allow the interior to dry out completely.
IMPORTANT! If, for whatever reason, your boat takes on a
large amount of water causing the radio equipment to get wet,
you must do the following immediately: Remove the battery
and radio equipment from the boat. Allow the components
to air dry completely before reassembling. Reinstall the
components and check for proper operation.
ROTATE
CANNON LEFT
FORWARD
BACK
ROTATE
CANNON RIGHT
TURN
LEFT
TURN
RIGHT
5
Page 6

Launch Procedure
Basic Maintenance
1. Turn the power on to the transmitter and receiver (in that
order).
2. Place the boat in water that is at least 8" deep and free of
obstacles.
3. Advance the throttle to half speed and note if the boat has
a tendency to turn right or left. Adjust the steering trim on
the transmitter until the boat runs straight when the steering
is at neutral.
4. When fi nished running, be sure to turn the power off to your
boat and transmitter (in that order).
NOTE: If your Rescue 17 should happen to stall, wind and/
or water currents will slowly carry it to shore. When surveying
areas to run your boat, keep variables in mind such as wind
direction, size of the lake, strength of currents, etc. Above all,
NEVER attempt to swim after a stalled boat.
HELPFUL TIP: Use a fi shing rod with at least 12lb. line and a
tennis ball tied to the end to retrieve a stalled boat.
Safety Precautions
●
Never ever attempt to swim after a stalled R/C boat. Do
not get in the water for any reason to retrieve your boat.
To aid in retrieving a stalled R/C boat, set up a fi shing
reel with a tennis ball tied to the end of the line. Better
yet, get yourself a small Jon boat so you can row out
and pick up your boat. Remember to use a PFD any time
you enter your retrieval craft.
● AquaCraft products are to be used by ages 14 and over.
● Do not touch the propeller anytime the motor is running.
Pay equally close attention to items such as loose clothing,
shirtsleeves, ties, scarves, long hair or anything that may
become entangled in the spinning prop. If your fi ngers,
hands, etc. come in contact with the spinning propeller, you
may be severely injured.
● The speed and mass of this boat can infl ict property damage
and severe personal injury if a collision occurs. Never run this
boat in the presence of swimmers or where the possibility
of collision with people or property exists.
● Electric motors produce heat. Do not touch any part of your
motor until it has cooled.
● This boat is controlled by radio signals, which are susceptible
to possible interference from other possible electrical noise.
● If weeds become entangled in the propeller, stop the motor
and unplug the battery before attempting to remove them.
● If your boat should happen to stall, water currents will slowly
carry it to shore. Keep in mind that the boat could be carried
to the opposite shore. When surveying areas to run your
boat, keep variables in mind such as wind direction and lake
size. It is not advisable to run R/C boats on any free-fl owing
bodies of water such as creeks or rivers.
● Always remove the battery pack from the boat when not
in use.
When you are through operating your boat for the day, be
sure to perform these basic maintenance procedures. This will
prolong the life of the Rescue 17 and help to ensure troublefree running. Be sure to turn the power off to your boat and
transmitter before performing any maintenance.
● Remove the cabin.
● Remove the battery pack.
● Soak up any excess water with a paper towel.
● Make sure propeller and drive dog are free of debris.
● Wipe down the boat with glass cleaner and a paper towel.
● Allow the interior plenty of time to dry out before installing
the cabin for display.
Ordering Replacement Parts
To order replacement parts for the AquaCraft Rescue 17, use
the order numbers in the replacement parts list. Replacement
parts can be purchased from your local hobby shop or by mail
order. If you need assistance locating a dealer to purchase
parts, visit www.aquacraftmodels.com and click on “Where
to buy”. If you are missing parts, contact Hobbico Product
Support at:
Phone: 217.398.8970
Fax: 217.398.7721
E-mail: productsupport@hobbico.com
Parts List
AQUB6221 Drive Dog with Prop Nut
AQUB6331 Decal Sheet
AQUB6466 Rear Hatch Cover
AQUB6467 Front Hatch Cover
AQUB6468 Cabin Super Structure with LED
AQUB6904 Water Cooling Lines
AQUB7766 535 Injection Molded Prop (2)
AQUB7854 Motor Coupler
AQUB7898 Water Cooling Coil
AQUB7915 Drive Shaft
AQUB7951 Water Pump Motor Mounting Plate
AQUB7952 Water Cannon
AQUB7953 Water Cannon Servo Horn
AQUB7954 Water Cannon Servo Plate
AQUB7955 Water Pump
AQUB7956 Rubber Band Hooks (4)
AQUB7957 ESC Multi Motor Controller
AQUB8764 Rudder Steering Arm
AQUB8765 Rudder Linkage with E-Z Connector
AQUB8766 Rudder
AQUG1063 Main Motor 600
AQUG1064 Water Pump Motor
AQUM7039 Battery Holder with Switch 2 Cell AA
FUTM0031 Rudder Servo
TACJ2490 TX490 Transmitter
TACL0400 RX400 Receiver
6
Page 7

7
7
Page 8

© 2013 Hobbico, Inc.
AQUB5700Mnl
 Loading...