

Page 1

Kanex/Model:K166-1036,K166-1036-FR, K166-1036-GR, K166-1036-SP,
K166-1036-SW, K166-1036-P1, K166-1036-P2
Lexking/Model:BT-7100
Kanex Mini Multi-Sync Bluetooth Keyboard
User’s Manual
Congratulations and thanks you choosing the BT-7100(K166-1036) Bluetooth ke yboard as your means of
communication between Apple Mac OS serie device s and Appl e iOS iPhone, iPa d serie s devic e. Also this keyboard
can support most part of Android OS 4.0./5.0/6.x+ device and part of Windows OS device. This keyboard is
designed by Kanex and Lexking. Before you starting use this keyboard, please detail READ this user’s manual as
following;
Contents:
1.Package and Encloses
2.OS compatible
3.Prodcut function description
4.Operating
5.Troubleshooting
6. Product Guarantee
7.Radio frequency Warning
Package and Encloses
1. Keyboard Unit*1
(Embedded a 150mAh high capacity Lithium-polymer rechargeable battery, offer you can convenient operate.)
2.USB cable*1(80 cm)
3.Pouch*1
4.User’s manual*1
OS Compatible:
1. iOS : iPhone Series, iPad Mini, iPad Series of iOS 5/6/7/8/9.x+.
2. Mac OS X : Mac OS 10.6 above.
3. Android : Compatible most Android OS 4.0+/5.0+/6.0+ device.
4. Window OS : XP/Vita/ 7/8/10+.
(first column hotkey only support Apple Mac OS or iOS)
Page 2
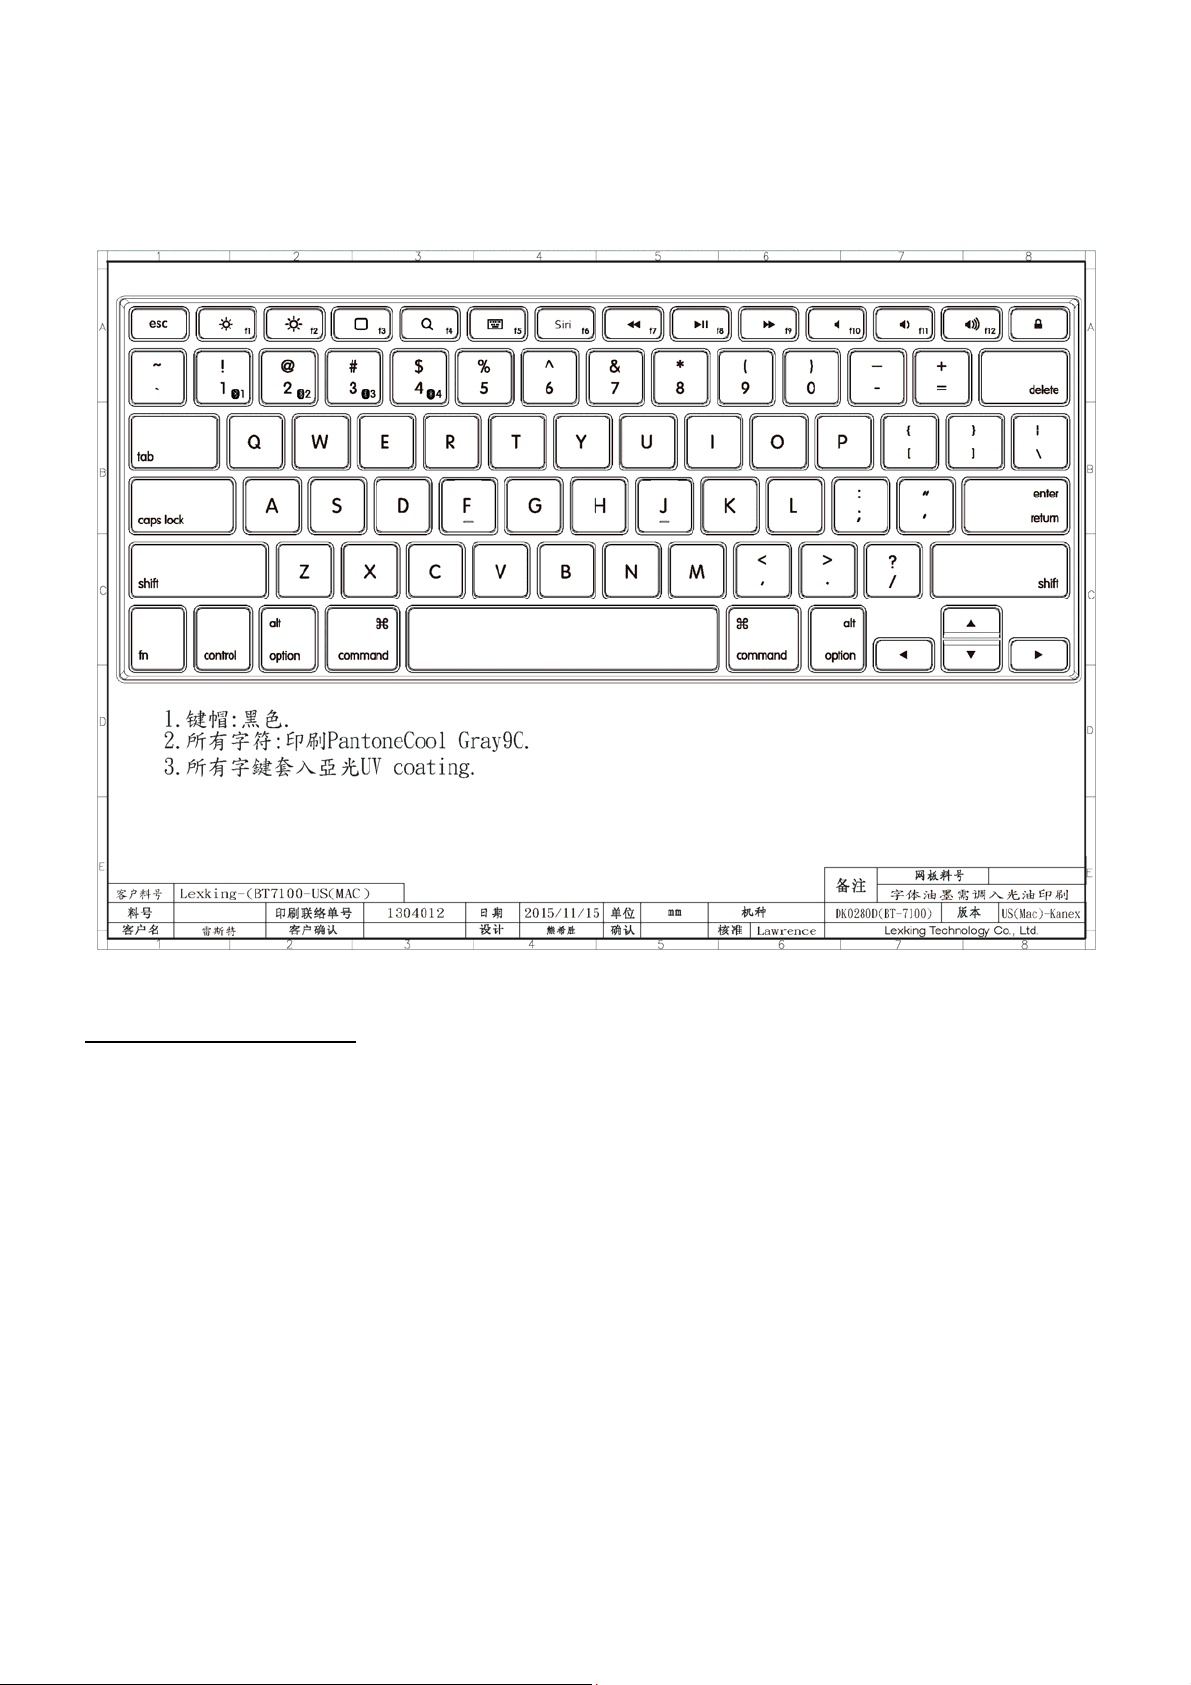
Product profile and function description
(iOS means for iPhone, iPad OS / Mac OS X means for Apple Macbook series.)
Hotkey function description:
Main Hotkey:
esc
screen brighter
screen dimmer
home / searching
toggle on screen keyboard in iOS device
Siri function
Previous track
Play / Pause
Next track
Mute
Volume up
Volume down
Lock
Page 3

Dual hotkey functions:
Fn+screen brighterf1
Fn+screen dimmerf2
Fn+homef3
Fn+searchingf4
Fn+virtal keyboardf5
Fn+Sirif6
Fn+ Previous Trackf7
Fn+Pause/Playf8
Fn+ Next Trackf9
Fn+Mutef10
Fn+Volume downf11
Fn+Volume upf12
Bluetooth function in Multi-Sync. setting
press fn+key 1BT1 mode(keyboard will connect with iDevice under BT1 mode)
press fn+key 2BT2 mode(keyboard will connect with iDevice under BT2 mode)
press fn+key 3BT3 mode(keyboard will connect with iDevice under BT3 mode)
press fn+key 4BT4 mode(keyboard will connect with iDevice under BT4 mode)
**if you want to back to factory reset, you can press “fn+ID pairing button”, then keyboard unit will be cleaned all
muti-sync. memory inside Bluetooth chipset.”
LED signal description (from right to left)
LED1Red color
LED1 Red color will keep lighting on during recharge process, it will be snuf f out when battery full recharge.
2.LED2Blue color
(Pairing, Battery Low status and each BT mode setting st atus indication)
1.When you turn on power, the LED2 blink 4 times, it represent power on status or it will be in pairing status.
2.The LED will be blink one time when you toggle each BT mode status via fn+BT1 to fn+BT4.
3.When LED2 blink during you are typing each key time till power shut down, it represent battery is low situation,
you have to recharge the keyboard battery immediately.
3.LED3Green color.
It represent upper case status when LED lighting on.
**On/Off slider switch **Slider switch to on, the power will be lighted on status.**
**Slider switch to be turn off, the power will be lighted off**
ID button switch(in keyboard backside)
Press the ID button, keyboard function will become in pairing process.
Page 4

Micro USB connecter for Recharge
You can use enclose USB cable or another cable to connect with BT-7100(K166-1013) for recharge it.
Operating:
Before you starting use this keyboard, please detail READ below operating information;
Notice:
Please recharge full battery power before you first time use BT-7100/K166-1036.
Charging Way:
(Please put enclose cable from USB “A” type connector into you PC, Notebook or with right 5VDC adpater then put
micro USB connector side into BT-7100(K166-K1036)keyboard, it will automatically charge)
A.Connect iPhone or iPad
1.Take out keyboard unit
2.Open PE bag of keyboard
3.Full charge keyboard battery power via enclose cable.
4.Then, slider On/Off switch button to “on” status then you will find LED2 will blink while, it is mean the keyboard
have been power on status for waiting pairing with iPad or iPhone devices.
5.Open you iDevice Bluetooth searching mode then press the keyboard unit pai ring button key(it locate on keyboard
back side). You will find “Kanex Mini BT keybaord” string information shown on device, please select the icon then
press “Enter” key, your iDevice will automatically connect with keyboard unit.
6.When you will not use keyboard for long time, we suggest you should turn off the power switch from “on” to “of f ”
status, keyboard will be cut off power. If you want to use it again, you just need to turn on power on switch then
keyboard unit will auto connect with original iDevce again.
B.Android or Window OS and Mac OS X connect
Follow above item “A” procedure are similar to connect with part of Android 4.0/5.0/6.0 above and Mac OX 10.6
above device.
Recharge way
When LED2 blink during typing time, it means the keyboard battery have low power status, please put USB cable
into keyboard and Notebook(or PC) USB port or AC to DC USB adapter(DC5V / 0.1A) for charge immediately, it will
be spend 1.5~2 hours then fully charged keyboard battery.
Troubleshooting
Q1 : You can’t pairing Hama Keyboard unit
1.As power saving design concern, if you didn’t touch ID button key over pass 30 minutes after pairing process,
please turn off power switch then re-open power switch again then you just doing press ID button for pairing again.
2.if keyboard unit have any power offer issue, you can try to turn off power switch then turn on it again, then you can
re-pairing it again between idevice and keyboard for connect again.
3.Please make sure does the rechargeable battery power is fully e
nough for working, if not, you can find the LED2
will glitter during teyping process, you should recharge keyboard battery power immediately.
Q2 : Keyboard unit had connected with iDevice successfully but it is still not working:
1. Please make sure does the rechargeable battery power is fully enough for working, if not, you can find the LED2
will glitter during teyping process, you should recharge keyboard battery power immediately.
Page 5

2.Make sure does Keyboard unit work on metal surface, if so, please move out keyboard form metal surface for
avoiding the wireless signal interfere operate.
3.If you still can’t smoothly troubleshooting the problem, please communicate the customer service people by
service mail or return keyboard unit back to purchased shop by keep original package.
Product Guarantee:
1 year guarantee during normal used.
Abnormal use are not including guarantee.
Warning:
Federal Communications Commission (FCC) Statement
Notice :
The user shall be cautioned that changes / modifications not approv ed by the responsible p arty could void t he user’s
authority to operate the equipment.
The changes or modifications not expressly approved by the party responsible for compliance could void the user’s
authority to operate the equipment.
This device complies with Part 15 of the FCC Rules. Operation is subject to the following two conditions:
(1) this device may not cause harmful interference, and
(2) this device must accept any interference received, including interference that may cause undesired operation.
IMPORTANT NOTE:
To comply with the FCC RF exposure compliance require ments, no change to the antenna or the device is
permitted. Any change to the antenna or the device could result in the device exceeding the RF exposure
requirements and void user’s authority to operate the device.
FCC INFORMATION
The Federal Communication Commission Radio Frequency Interference Statement includes the following
paragraph:
The equipment has been tested and found to comply with the limits for a Class B Digital Device, pursuant to part
15 of the FCC Rules. These limits are designed to provide reasonable protection against harmful interference in a
residential installation. This equipment generates, uses and can radiate radio frequency energy and, if not
installed and used in accordance with the instruction, may cause harmful interference to radio communication.
However, there is no grantee that interference will not occur in a particular installation. If this equipment dose
cause harmful interference to radio or television reception, which can be determined by turning the equipment off
and on , the user is encouraged to try to correct the interference by one or more of the following measures:
--Reorient or relocate the receiving antenna.
--Increase the separation between the equipment and receiver.
--Connect the equipment into an outlet on a circuit different from that to which the receiver is connected.
--Consult the dealer or an experienced radio/TV technician for help.
The user should not modify or change this equipment without written approval form Apogee Inc. Modification could
void authority to use this equipment.
 Loading...