

Antunes UTX-200L Service Manual
A. J. ANTUNES & CO.
Systems Testing
PRGM
MOTOR
PLTN
UT
I/R
NEXT PREV
SELECT
BREAKFAST/LUNCH
ADJUST
180 Kehoe Blvd., Carol Stream, Illinois 60188
UTX-200 DIAGNOSTIC SERVICE MODE
CAUTION
To avoid possible personal injury and/or damage to the unit, all inspections, tests, and repair of electrical equipment
should be performed by QUALIFIED SERVICE PERSONNEL. The unit MUST be completely shut down and unplugged
before servicing, except when electrical tests are required. Use extreme care during electrical circuit tests. Live
circuits will be exposed.
TOOLS: None.
AFFECTED PRODUCTS: All UTX-200 units.
Diagnostic Service Mode
The Service Mode of the UTX-200 is used to test all the
functional areas of the toaster one at a time. While not
meant as a detailed troubleshooting guide, the Service
Mode is a built-in tool that can be used to track down the
source of a problem.
Service Mode can be used to test the following areas of the
UTX-200 system:
● Cooling Fans ● Convection Blower
● Motor & Conveyors ● Contactor (Main)
● Top Infrared (IR) Heater
System
● Platen Heaters ● Thermocouple
Generally, if the diagnostic testing does not indicate a problem, the issue is NOT likely to be the Control Circuit Boards
and other problem areas should be explored.
● Bottom Infrared (IR)
Heater System
Entering Service Mode
1. Turn the power off. The unit should enter Cool Down
mode.
2. Turn the power back on and listen for the unit to click
three times.
3. During the 20-second countdown, press and hold the
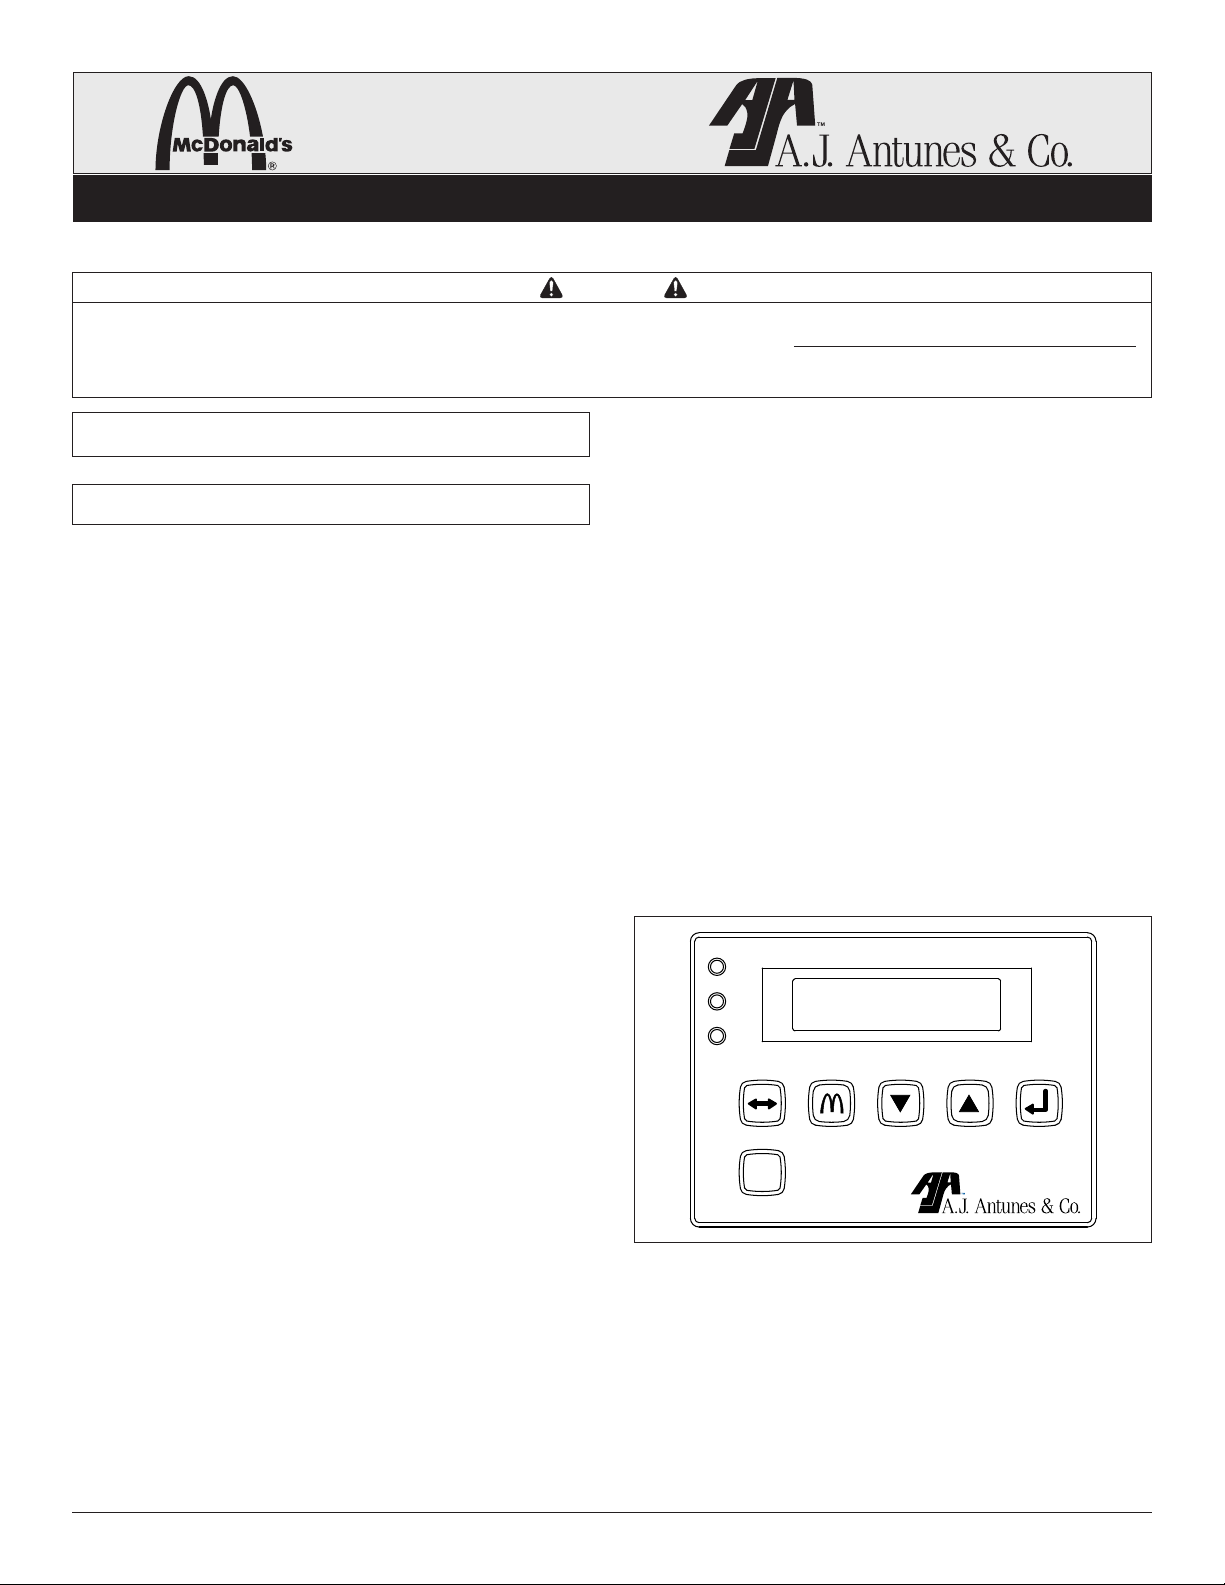
ADJUST and UT buttons (Figure 1) for approximately
5 seconds until it enters Service Mode.
4. Press the NEXT (Figure 1) button twice.
5. The unit will display “Systems Testing”. Press the
SELECT button, then press the NEXT button
(Figure 1).
6. The unit will display “All Systems Are Off”.
7. All toaster functions should now be turned off. No
motors, heaters, or fans should be running. The
Contactor and less than 1.0 Amp. should be flowing in
the main wires (L1, L2, L3).
8. Press the NEXT button to continue with the tests.
NOTE: The Service Mode will automatically switch to the
Fan Speed Test after 5 minutes of inactivity to prevent
any of the systems being tested from overheating.
NOTE: Error codes will NOT be signaled or recorded by
the toaster while in Service Mode.
NOTE: The NEXT and PREV buttons can be used to scroll
through the various test modes.
1-877-392-7854 Fax: 630-784-1655 P/N 1011010 11/08
Figure 1. UTX-200 Control Panel
Page 1 of 4
McDonald’s
A. J. ANTUNES & CO.
Fan Speeds % of normal
L:100 C:100 R:100
PRGM
MOTOR
PLTN
UT
I/R
NEXT PREV
SELECT
BREAKFAST/LUNCH
ADJUST
Speed Motor SetPt
96 500 100
PRGM
MOTOR
PLTN
UT
I/R
NEXT PREV
SELECT
BREAKFAST/LUNCH
ADJUST
Is the contactor on?
Are all SSRs off?
PRGM
MOTOR
PLTN
UT
I/R
NEXT PREV
SELECT
BREAKFAST/LUNCH
ADJUST
180 Kehoe Blvd., Carol Stream, Illinois 60188
UTX-200 DIAGNOSTIC SERVICE MODE
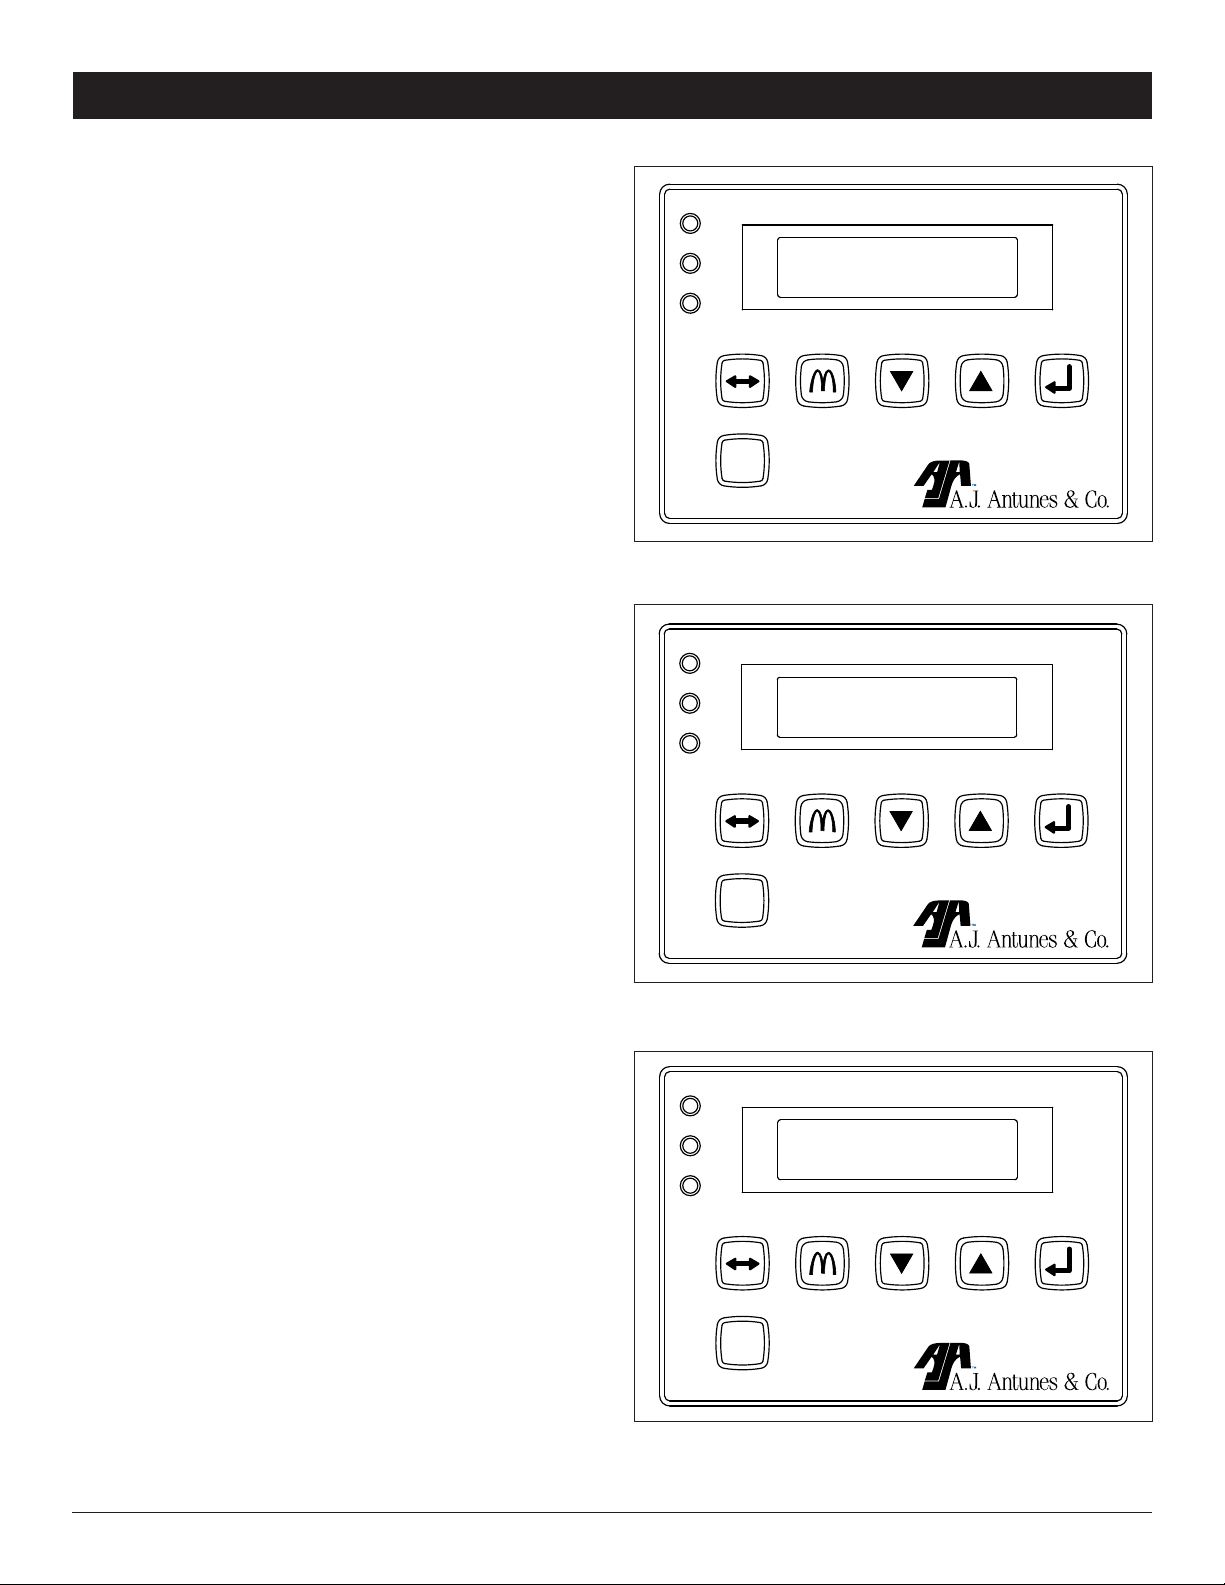
Testing the Fan Speed
The Fan Speed Test turns on the three Cooling Fans – left,
center, and right – as well as the Main Blower. The Cooling
Fan speeds should be greater than 70% (Figure 2). A fan
running between 70% and 95% may need to be carefully
cleaned of buildup.
The Main Blower speed is not monitored but can be seen by
using a flashlight to look into the rectangular holes below the
Control Panel.
To continue to the next test, press the NEXT button.
Testing the Conveyor Motor
The Conveyor Motor Test checks the Conveyor Motor as well
as the two Conveyor Drive Systems. Pressing the UT button
will set the motor to the minimum speed of 160. Pressing the
UT button again will set the motor to the lunch mode maximum speed of 6480. Pressing the UT button a third time will
stop the motor and the values will read “0”. Press the
UT button again to restart the process.
Figure 2. Fan Speed Test
NOTE: Pressing the ADJUST button will increase the
speed by increments of 100.
The Speed value and Set Point value (Figure 3) should be
within 10% of one another after a few minutes. If the Speed
value is not within 10% of the Set Point value, there is a
problem in the mechanical drive system (Bearings, Drive
Chain Sprockets, Vertical or Horizontal Conveyor Belts, etc.).
The Motor value (Figure 3) indicates how hard the motor
needs to work to maintain its speed. Typical values should
range from 400 to 600. Higher values may indicate friction or
drag somewhere in one or both Conveyor Drive Systems. If
the Motor value remains at 999 and the motor stops turning,
then there is a problem with the Mechanical Conveyor Drive.
The Conveyor Motor and Conveyor Drive Systems should
run smooth with no clunking or hesitation, and they should
maintain their speed.
To continue to the next test, press the NEXT button.
Testing the Contactor
This test should energize the Contactor, which you should
then hear close. If needed, press the PREV button to try it
again.
All other power devices should be off except for the Cooling
Fans. The current flow in L1, L2, and L3 should be less than
1.0 Amp. If not, one of the Solid State Relays may be shorted and can’t turn off. This will also result in an “SSR Failure
System Stopped” message after the 20-second self-test
when the unit is turned on.
To continue to the next test, press the NEXT button.
Figure 3. Conveyor Motor Test
Figure 4. Contactor Test
1-877-392-7854 Fax: 630-784-1655 P/N 1011010 11/08
Page 2 of 4
McDonald’s
 Loading...