

Page 1

PORT BT PARTY SPEAKER
42939740
Page 2
Warning
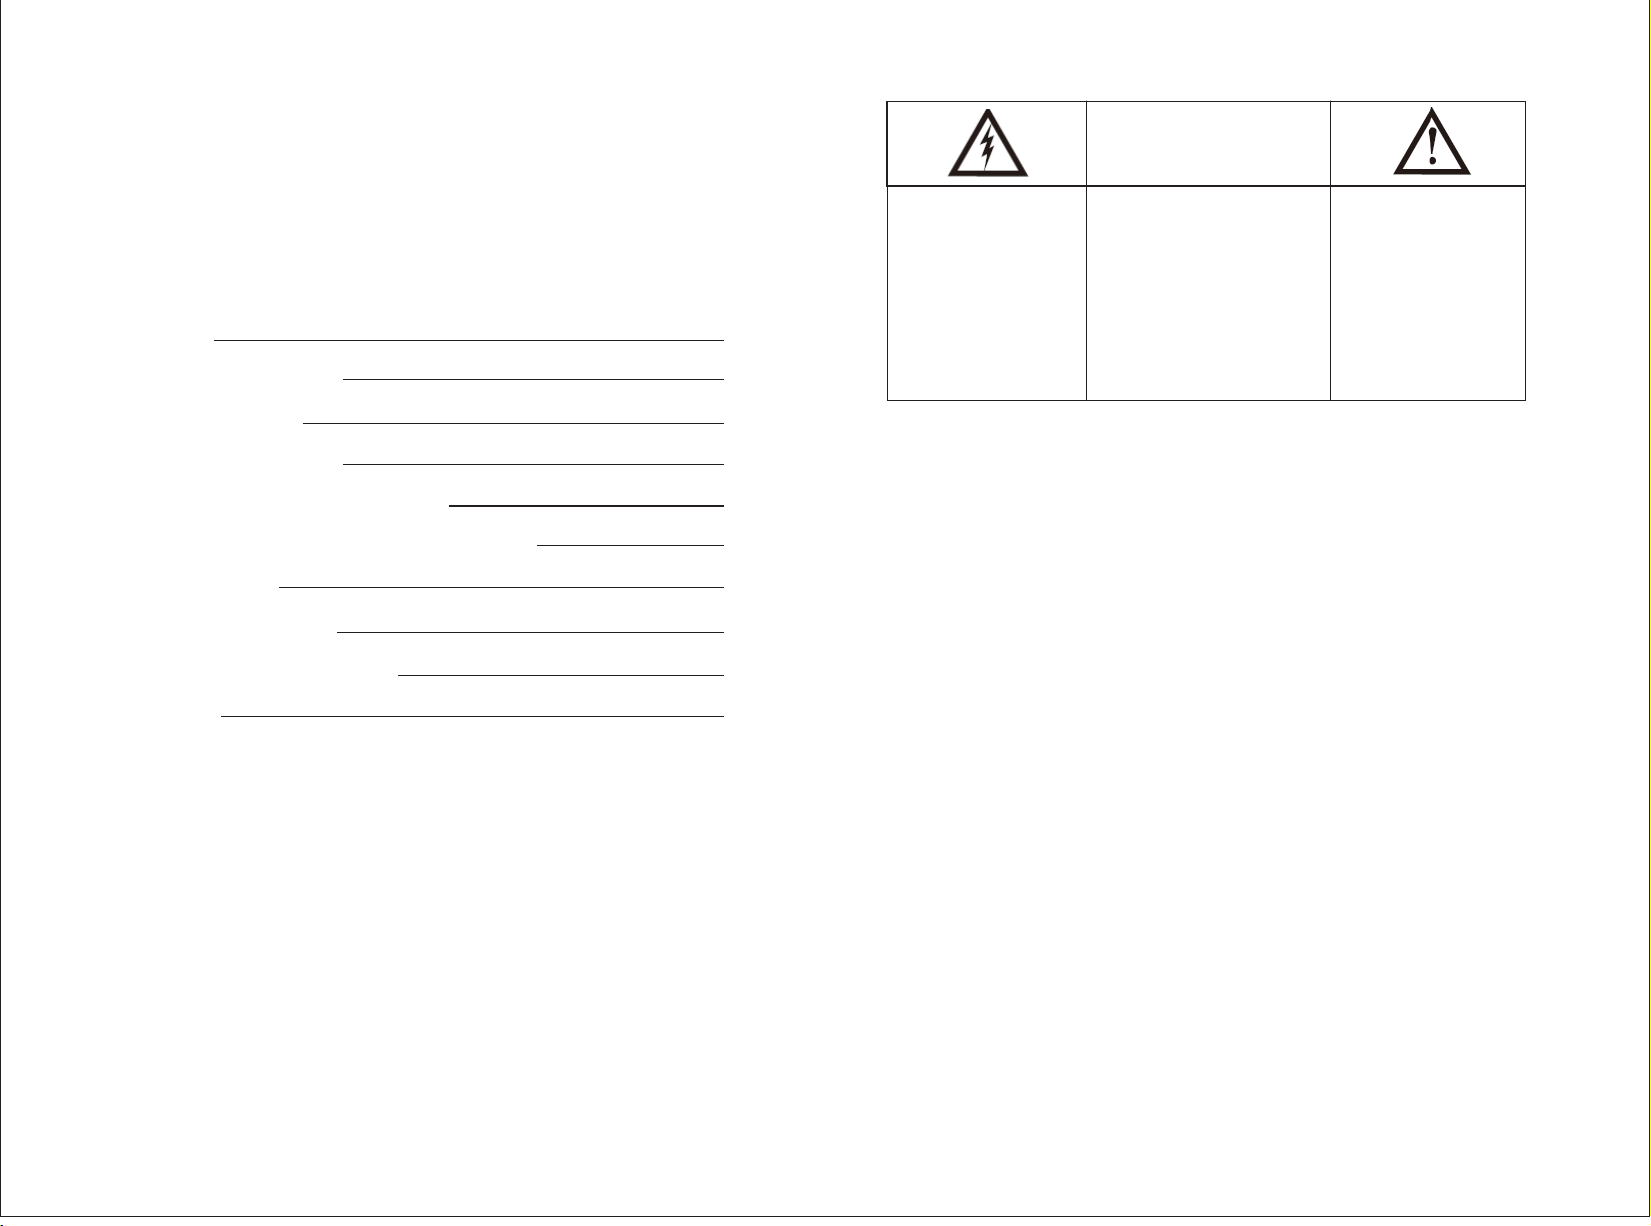
CAUT IO N
RISK O F EL ECTRIC
SHOC K DO N OT OPE N
Contents
Warning 1
Importan t precautions 1
Package co ntents 2
Product sp ecifications 2
Descript ion of rear function panel 3
Tripod stand remote co ntrolDescript ion of 4
Getting St arted 5
Function I nstructions 6
Connect Wi red Microphone 8
Warranty 9
The lighting fla sh w it h
arrowhead sym bo l, w it h an
equilateral t ri an gl e is
intended to ale rt t he u se r to
the presence of u ni ns ul at ed
dangerous vol ta ge w it hi n
the products en cl os ur e th at
may be sufficien t ma gn it ud e
to constitute a r is k of el ec tr ic
shock toperso ns .
CAUTION: TO REDUCE THE
RISK OF SHOCK, DO N OT
REMOVE COVER (O R BA CK ).
NO USER SERICEA LB E PARTS
INSIDE REFEER S ER VI CING TO
QUALIFIED SER VI CE
PERSONNEL.
The exclamati on p oi nt
within an equil at er al
triangle is int en de d al er t
the user tithe pr es en ce o f
important ope ra ti ng a nd
maintenance ( se rv ic in g)
instruction s in t he l
iterature acc om pa ny in g
the appliance .
Importan t precautions:
1. The ap pa ratus sha ll n ot b e exposed t o dr ipping or spl as hing and that n o ob jects fill ed w it h
liqu id s, suchas vas es , shall be plac ed o n the appar at us .
2. Mini mu m distanc es 1 00 c m around th e ap paratus for s uf ficient vent il ation.
3. The ve nt ilation s ho ul d not be impe de d by covering t he v entilatio n op ening swi th i te ms,
such a s ne ws papers, ta bl e-cloths or c ur tains.
4. No nak ed fl ame sourc es s uc h as lighte d ca ndles,sho ul d be placed on th e ap paratus .
5. When t he m ainsplu g or a nd a pplianc e co upler is used a s th e disconnec t de vice, the
disc on nect device s ha ll remain rea di ly operab le .
6. To be comp le tely disc on ne cted the po we r input, the ma in s plug of appar at us shall be
disc on nected from t he m ainscom ple te ly.
7. The ma in p lug of appa ra tu s should no t be o bstructed o r sh ould be easil y ac cessed
duri ng i ntended use .
8. The us e of a pparatu s in m od erate cli ma tes.
9. Atte nt ion shoul d be d ra wn to the env ir onmental as pe cts of batter y di sposal.
10. Bat te ries shall no t be e xposed to e xc es sive heat s uc h as sunshine , fir e or the like.
11. Excessiv e so und press ur e fr om earpho ne s and headpho ne s can cause h ea ri ng loss.
12. The inte rn al battery is n on -user repla ce able.
13. Do n ot u se this appar at us near the wat er.
14.F or P LUGGABLE EQ UI PMENT, the sock et -outlet (po we r adaptor ) sh al l be instal le d near
the eq ui pment and sha ll b e easily acce ss ible."
Avo ids to use batt er y in followin g co nditions:
- High o r lo w extreme tem pe rature duri ng u se, stora ge o r tr ansport at ion.
- Repl ac ement of a batt er y with an incor re ct type that ca n de feat a safe gu ar d.
- Disp os al of a battery i nt o fire or a hot oven , or m echanical ly c rushing o r cu tt ing of a batt er y,
that c an r esult in an exp lo sion.
- leav in g a battery in an e xt remely high t em peratur e su rr ounding e nv ironment th at c an
resu lt i n an explosio n or t he leakage of fl am mable liq ui d or g as.
- Extr em ely high temp er ature and/o r ex tremely low a ir p ressure t ha t ca n result in a n
expl os ion or the leak ag e of flammable l iq uid or gas.
1
Page 3

DESCRIPTION OF REAR FUNCTION PANEL
Package contents
1. Speake r x 1
2. Tripod St and x 1
3. USB Powe r Cable x 1
4. Line In / FM An tenna C able x 1 ( the sam e one cab le)
5. Tripod Ada pter x 1
6. Tripod St and Rem ote Contro l x 1
Product specications
Speaker
DC Inp ut : 5 V
FM Rad io : 8 7. 5-108MHz
Spea ke r Size : 8 Inch + Treble
Batt er y : Re chargeabl e li thium bat te ry
Line I n : 3. 5m m
Micr op hone Input : 6. 35 mm
1
2
3
4
5
6
7
8
9
10
1.LE D On /Off
2.Po we r On/Off and Volume kn ob
3.Ba tt ery Charge li gh t Indicator
4.DC 5 V In put Slot ( for sp ea ker )
5.Li ne i n Input Jack
6.Di sp lay Screen
7.TF S lo t
8.Mi cr ophone Volum e Kn ob
9.Ec ho Vo lume Knob
10.M ic rophone Inp ut J ack
11.Mode Fun ct ion Switchi ng B utton
12.P re vious Butto n
13.P la y/Pause But to n
14.N ex t Button
15.U SB S lot
11
12
13
14
15
2 3
Page 4

DESCRIPTION OF TRIPOD STAND REMOTE CONTROL
Getting Started
1.Po we r On/Off Button
2.Mo de S witching+ B ut ton
1
2
3
4
5
6
7
3.Sp ee d- Button(G ra dual Change M od e)
4.Co lo r+ Button(B re ath Mode)
5.Co lo r- Button(B re ath Mode)
8
6.Re d Co lor Button
7.Yellow Color Bu tt on
9
8.De mo B utton
10
9.Sp ee d+ Button(G ra dual Change M od e)
11
12
10.M od e Switching - Bu tton
13
11.Bright + Bu tton(Colo r Mi xing Mode)
12.W hi te Color Butt on
14
13.B ri ght- Button (C olor Mixing M od e)
15
14.P ur ple Color But to n
16
15.G re en Color Butt on
17
16.P in k Color Butto n
17.S ky B lue Color But to n
Remote Co ntrol I nstructi on:
1.Be fo re use the remo te c ontrol, ple as e take off the tran sp ar ent plast ic i nsulation
shee t fr om the bottom s lo t of remote con tr ol and keep it.
2.If n ot i ntend to use th e re mote contro l, p lease inser t ba ck the tran sp ar ent plast ic
insu la tion sheet to b ot tom slot of rem ot e control to ke ep t he batter y li fe .
CAUTION:
Danger of explo si on i f ba tt er y is i ncorrectly re pl ac ed .
Replace only wi th t he s am e or e qu iv alent type by the t ec hn ic al s ta ff.
SWA LL OW ING MAY LE AD TO S ER IO US I NJ URY OR DE ATH IN AS LITTLE AS 2 HO UR S
DUE TO CH EM ICAL BU RN S AND P OTENTIAL PE RFORATIO N OF THE OESOPHAG US .
DISPOSE OF USED B ATT ERIES IMMEDIATELY AND S AF ELY.FLAT
BATT ER IE S CA N ST IL L BE DA NG ER OU S.
EXAMINE DEVIC ES AN D MA KE S UR E THE BATT ERY COM PARTMENT I S CO RR ECTLY
SECURED, E.G. T HAT TH E SC REW OR OTHER MECH AN IC AL FASTE NE R IS T IGHTENED.
DO NOT US E IF C OM PART ME NT I S NOT SEC UR E
IF YO U SU SP EC T YOU R CH IL D HA S SWA LL OW ED O R IN SE RTED A BUTT ON B ATTERY,
CALL THE 24HOUR PO IS ON S IN FO RM ATION CE NT RE I N AUS O N 13 1126 OR IN NZ 08 00
764 766 OR CONTACT YO UR C OU NT RY'S EMERGE NC Y DE PT.
Caution :
1. Do not p lu g or unplug t he p ow er cable wh il e you have wet ha nd s.
2. To prote ct t his speak er f ro m alightn in g storm, or whe n le ft unattend ed a nd unused
for lo ng p eriods of tim e, u nplug power c ab le from the w al l ou tlet.
3. Whe n un plugging th e po wer cord from a w al l outlet, a lw ay s pull on the p ow er plug
only.Neve r un plug it by pull in g the power cor d.
Intrena l Batte ry Level ind icato r
1. There is a ba tt ery indicat or s ymbol on the di sp lay panel . Sh ow t he batter y ca pacity leve l.
2. Whe n th e battery cap ac ity is low. The batter y in dicator w il l sh ow in half.
3. Whe n th e battery ind ic ator keep flas hi ng . Battery is a lm ost run out . Pl ea se charge t he
spea ke r.
Chargin g the int ernal Battery
The sp ea ker comes wit h a bu ilt-in rech ar geable, f ol lo w the below s te ps to charge it :
1.Co nn ect the USB pow er c able (suppl ie d in the acce ss or ies) with U SB c harger
( not su pp lied in the acc es sories) to th e DC 5 V input slo t.
2.Th e ba ttery light i nd icator will s ho w RED on the re ar f un ction pan el .
3.If f ul l charged, th e RE D indicator l ig ht will tru n off au to ma tically.
Intrena l Batte ry Level ind icato r
1.Th er e is a full grid ba tt ery indicat or s ymbol kee pi ng s tatic on th e ri ght bottom co rn er of
the di sp lay screen, m ea ning batter y ca pacity is ful l.
2.If t he h alf grid batt er y indicator s ym bol will li gh t on o n the left bo tt om c orner of th e di splay
scre en , meaning bat te ry capacity i s lo w.
3.If t he h alf grid batt er y indicator s ym bol keepi ng fl as hing on the l ef t bo ttom corn er o f the
disp la y screen, mea ni ng battery ca pa city is almos t ru nning out , pl ea se charge t he
batt er y ontime.
Note : pl ease fully ch ar ge the produc t wh en it is not go in g to b e used for a lo ng t ime
and ch ar ge o nce a month t o ke ep longer bat te ry life.
Turning ON/O FF the sp eaker
1.Pr es s the Power ON/ OF F & Volume Knob on t he r ear functio n pa nel to powe r on o r of f th e
Spea ke r.
2.Pr es s the Power but to n on the remote c on trol to Stand by m ode.
Turn ON/OFF th e color l ight of tripod stan d
1.Co nn ect the one end o f DC c onnector of t he t ripod sta nd w it h an adapte r ( su pplied in the
acce ss ories ), then p lu gin to the 220- 24 0V 50Hz wal l so ck et to power o n th e tr ipod stan d.
2.Pr es s the POWER but to n on or off the remote co nt rol can contr ol w ithin 5M wi th 3 60
degr ee . Th e in frared rece iv er is located o n th e tripod st an d.
3.Di sc onnect the DC c on nector and th e AC ad apter whe n no t in u se with the t ri pod.
4 5
Page 5

Function Instructions
Function Instructions
USB Opera tion
This s pe aker has a USB po rt f or play back MP 3 mu sic.
1. Ins er t your USB devi ce i nto the USB por t an d the unit will s ta rt playin g au to matical ly.
Pres s th e [M ODE] butt on t o swith to USB mo de i f the speaker i s on o ther mode.
2.Pr es s the or key to the p re vious or next t ra ck.
3.Pr es s the button to p la y or pause musi c.
FM Operat ion
This s pe aker suppor ts F M radio funct io n.
1.In se rt the Line In Ca bl e/ FM antenna c ab le (suppl ie d in t he access or ies) to the Lin e
inpu t ja ck on the rear fu nc tion panel an d ex tend the ca bl e.
2.Pr es s [ MODE ] button o n th e rear functi on p anel repeat ed ly until FM f un ct ion is sele ct ed.
3.Lo ng p ress button o n th e function pa ne l to search the F M ra dio stati on a ut omatica ll y.
4.Pr es s or to select th e pr evious or nex t FM r adio statio n.
Bluetoo th Oper ation
This s pe aker suppor ts B luetooth fu nc tion.
1.Pr es s [ MODE ] button o n th e function pa ne l switch to the B lu etooth mo de i f th e speaker
on oth er m ode.
2.On ce o n the Bluetoo th m ode," bLUE ” wi ll k eep flashi ng o n th e display s cr een.
3.Op en t he Bluetoot h fu nciton of the e xt ernal devic e an d search th e Bl ue tooth dev ic e name
"429 39 740 " to pair.
4.Pr es s connect to “PAIR" wi th t he speaker.
5.Bo th s peakers TWS will pa ir a utomatica ll y if above op er at ion corre ct . Once connec te d,
" bLUE " w il l keep static o n th e display scr ee n, you can play t he m usic with t he s pe aker.
6.You can use butto n or b utton on rear t he f unction pan el t o control t he s on gs of the
exte rn al device.
TWS Connecting
This s pe aker suppor ts TWS p ai ring functi on , please bu y tw o sa me speake r to e njoy this
func ti on.
1.Turn on the Blue to oth functio n of t he one speake r, co nnected t he b lu etooth an d pl aying
musi c.
2.Lo ng p ress MODE but to n on the rear fun ct ion panel t o op en t he TWS f unction , " E ON "
will s ho rt display on t he s creen.
3.Turn on the blue to oth of anothe r sp eaker and " bLU E " wi ll keep flas hi ng o n the scree n,
then l on g press [ MODE ] bu tt on of this spea ke r to open the TWS funct io n, " E ON " will
shor t di splay on the sc re en and "bLUE " wi ll k eep stati c.
4.Bo th s peakers' TWS will p ai r automatic al ly if above o pe ra tion corr ec t. Once TWS paired
succ es sully, " bLUE " of both sp ea ker will keep s ta tic.
5.Turn the volum e kn ob on the funct io n panel of any sp ea ker incre as e or d ecrease t he
musi c vo lume.
6.If n ot u sing the TWS functi on , please long p re ss [ MODE ] to deco nn ected TWS, " E OFF "
will s ho rt show on the di sp lay screen, a nd " b LUE " will ke ep fl as hing on ano th er speaker.
Connect with Line in
1.Pr es s [ MODE ] button o n th e rear functi on p anel to switc h to t he Line in mo de ," L INE "
will b e di splayed on th e sc reen.
2.Co nn ect this spea ke r Line in input j ac k and the dev ic e Ea rphone ja ck b y provided
Line i n ca ble (suppli ed i n the accesso ri es)
3.On ce c onnected, tu rn on your exte rn al device a nd p la y music.
Caut io n: Please tur n off th e un it before con ne ct AUX cable i n or de r to avoidi ng u nexpected
nois e.
Tripod Sta nd use wi th the Speaker
#1
#2
#3
#4
#5
#6
#7
#8
1. Ple as e twist loose t he k nob screw of th e fix ed mount(#9 ) on t he tripod s ta nd (#5), to lo os e
the LE D tu be (#6/#7/# 8 ) to a djust the siz e of t he fixed posit io n.
2. Afte r tw ist loosen th e kn ob screw from t he fi xed mount , ple as e grasp the b la ck c enterl
tube ( #1 ) with one hand a nd p ush the fixed mo un t (# 5) with an ot he r hand and pu sh i t
down ; Or g rasp any two of L ED t ubes with bot h ha nds (#6/#7/ # 8) t o pull out,and ad ju st
a suit ab le fixed size, t he n tighten the k no b screw of the fix ed m ount (#9) .
3. Loo se n the two knob sc re ws on the cente r tu be (#2, #3) to ad ju st the heig ht o f th e tripod
stan d.
4. Afte r ad justed the he ig ht of the tripo d st and, please m us t tighten t he k no b screws of t he
cent er t ube(#2, #3) a nd i nsert the pin ( #4 ) to the corres po nding hol e of t he t ripod sta nd
to fix th e he ight, to prev en t the center tu be f all off.
5. There is a gr oo ve at the botto m of t he speaker (# 10 ), please c or re spondin gl y to place
the sp ea ker on the top of t he c enter tube of t he t ripod stand , al so tighte n th e kn ob screw
on the r ea r of the speake r (# 11) t o pr event the spe ak er fall off.
#9
#10
#11
6 7
Page 6

Connect with Wired Microphone
NOTE :
1.Pl ea se use and plac e th e tripod stan d on a fl at ground t o av oi d unbalan ce d placement .
2.Wh en t he speaker an d th e tripod stan d ar e used toge th er, p lease ens ur e tighten all k no b
scre ws f rom both.
3. Ple as e don't place t he s peakers wit h di ff er ent hole si ze s to t he tripod s ta nd, which may
caus e un stable and fa ll d own, may hurt t he p eople.
4.Th e Tri pod stand hei gh t up to 2.3M, rec om mend to use for 1 .6 M, too high m ay c au se
knoc k do wn.
5.Th e mo st stable fixe d si ze between tw o LE D tubes is be tw ee n 65cm to 85c m.
6.Pl ea se take care of t he c hildren not t o to uch or play w it h th e tripod to p re ve nt
acci de ntally push d ow n.
7. Onl y us e the tripod wi th t his speaker o nl y.
Connect to Wired Microphone
Insert 6.3 5mm wired microphone, and u se control knob to adjust
the sound le vel.
When playi ng with the wired microphon e, please use this knob
to adjust th e volume of microphone.
Warranty
When playing with the wired microphone, please use this knob to adjust the echo
volume of microphone.
Importan t Notes
While usin g the microphone, avoid bei ng put the microphone oppos ite
the bass of Pa rty Speaker,as they may have W histler Noisy.
To get the best si nging performance, keep t he micro phone within
5-15cm of th e mouth and at a 45 degree angle.
When using t he microphone, always pay a ttention to the battery.
If the batte ry is low, the indicator light w ill come on and the
performa nce will progressively be come poor.
Caution: P lease do not put the micropho ne directly face to the
Party spea ker, it may damage the speaker.
8 9
 Loading...