

Page 1

Operation/Reference Guide
MVP-KS
Kickstand
for MVP-7500/8400 Modero® ViewPoint® Wireless Touch Panels
Touch Panels & Accessories
Last Revised: 10/06/2006
Page 2

AMX Limited Warranty and Disclaimer
AMX warrants its products to be free of defects in material and workmanship under normal use for three (3) years from
the date of purchase from AMX, with the following exceptions:
• Electroluminescent and LCD Control Panels are warranted for three (3) years, except for the display and touch
overlay components that are warranted for a period of one (1) year.
• Disk drive mechanisms, pan/tilt heads, power supplies, and MX Series products are warranted for a period of one
(1) year.
• AMX Lighting products are guaranteed to switch on and off any load that is properly connected to our lighting
products, as long as the AMX Lighting products are under warranty. AMX does guarantee the control of dimmable
loads that are properly connected to our lighting products. The dimming performance or quality cannot be
guaranteed due to the random combinations of dimmers, lamps and ballasts or transformers.
• Unless otherwise specified, OEM and custom products are warranted for a period of one (1) year.
• AMX Software is warranted for a period of ninety (90) days.
• Batteries and incandescent lamps are not covered under the warranty.
This warranty extends only to products purchased directly from AMX or an Authorized AMX Dealer.
All products returned to AMX require a Return Material Authorization (RMA) number. The RMA number is obtained
from the AMX RMA Department. The RMA number must be clearly marked on the outside of each box. The RMA is
valid for a 30-day period. After the 30-day period the RMA will be cancelled. Any shipments received not consistent
with the RMA, or after the RMA is cancelled, will be refused. AMX is not responsible for products returned without a
valid RMA number.
AMX is not liable for any damages caused by its products or for the failure of its products to perform. This includes any
lost profits, lost savings, incidental damages, or consequential damages. AMX is not liable for any claim made by a
third party or by an AMX Dealer for a third party.
This limitation of liability applies whether damages are sought, or a claim is made, under this warranty or as a tort claim
(including negligence and strict product liability), a contract claim, or any other claim. This limitation of liability cannot
be waived or amended by any person. This limitation of liability will be effective even if AMX or an authorized
representative of AMX has been advised of the possibility of any such damages. This limitation of liability, however, will
not apply to claims for personal injury.
Some states do not allow a limitation of how long an implied warranty last. Some states do not allow the limitation or
exclusion of incidental or consequential damages for consumer products. In such states, the limitation or exclusion of
the Limited Warranty may not apply. This Limited Warranty gives the owner specific legal rights. The owner may also
have other rights that vary from state to state. The owner is advised to consult applicable state laws for full
determination of rights.
EXCEPT AS EXPRESSLY SET FORTH IN THIS WARRANTY, AMX MAKES NO OTHER WARRANTIES,
EXPRESSED OR IMPLIED, INCLUDING ANY IMPLIED WARRANTIES OF MERCHANTABILITY OR FITNESS FOR
A PARTICULAR PURPOSE. AMX EXPRESSLY DISCLAIMS ALL WARRANTIES NOT STATED IN THIS LIMITED
WARRANTY. ANY IMPLIED WARRANTIES THAT MAY BE IMPOSED BY LAW ARE LIMITED TO THE TERMS OF
THIS LIMITED WARRANTY.
Page 3

FCC Information
This device complies with Part 15 of the FCC Rules. Operation is subject to the following two conditions: (1) this device
may not cause harmful interference, and (2) this device must accept any interference received; including interference
that may cause undesired operation.
Federal Communications Commission (FCC)
Statement
This equipment has been tested and found to comply with the limits for a Class B digital device, pursuant to Part 15 of
the FCC rules. These limits are designed to provide reasonable protection against harmful interference in a residential
installation. This equipment generates, uses and can radiate radio frequency energy, and, if not installed and used in
accordance with the instructions, may cause harmful interference to radio communications. However, there is no
guarantee that interference will not occur in a particular installation. If this equipment does cause harmful
interference to radio or television reception, which can be determined by turning the equipment off and on, the user is
encouraged to try to correct the interference by one or more of the following measures:
• Reorient or relocate the receiving antenna.
• Increase the separation between the equipment and receiver.
• Connect the equipment into an outlet on a circuit different from that to which the receiver is connected.
• Consult the dealer or an experienced radio/TV technician for help.
FCC RF Radiation Exposure Statement
This transmitter must not be co-located or operating in conjunction with any other antenna or transmitter. This
equipment complies with FCC RF radiation exposure limits set forth for an uncontrolled environment. This equipment
should be installed an operated with a minimum distance of 20 centimeters between the radiator and your body.
Page 4

Page 5

Table of Contents
Table of Contents
MVP-KS Kickstand ..............................................................................................1
Overview .................................................................................................................. 1
Specifications ................................................................................................................ 1
Securing an MVP Panel to an MVP-KS ............................................................................ 2
Removing an MVP Panel from an MVP-KS ...................................................................... 2
MVP-KS Kickstand for MVP Panels
i
Page 6

Table of Contents
ii
MVP-KS Kickstand for MVP Panels
Page 7

MVP-KS Kickstand
Overview
The optional MVP-KS Kickstand (FG5965-12) is compatible with both MVP touch panel models and
provides the ability to easily rest an MVP on any flat or level surface. The kickstand’s rubber grip
provides traction on smooth surfaces. The MVP-KS mounts to the rear of the MVP by using a set of
alignment guide pins and a retractable latch to secure the kickstand to the rear of the panel.
MVP latch release lever
Retractable latch
MVP-KS Kickstand
Support arm
Alignment
guide pins
FIG. 1 MVP-KS Kickstand (rear view)
Specifications
MVP-KS Specifications
Dimensions (HWD): • Fully closed: 6.34" x 7.91" x 0.59" (16.10 cm x 20.10 cm x 1.50 cm)
• Fully extended: 6.34" x 7.91" x 4.17" (16.10 cm x 20.10 cm x 10.60 cm)
Weight: • 0.67 lbs (0.30 kg)
Components: • Retractable Latch: This latch grabs onto the metallic plate located on the
rear of the MVP and secures the MVP-KS to the panel.
• Release Lever: This lever is used to retract the MVP-KS lever and release
the secured MVP touch panel.
• Support Arm: This adjustable support arm is used to provide a level
surface support for any MVP attached to the MVP-KS.
Operating/Storage
Environments:
• Operating Temperature: 0° C (32° F) to 40° C (104° F)
• Operating Humidity: 20% - 85% RH
MVP-KS Kickstand for MVP Panels
1
Page 8
MVP-KS Kickstand
Securing an MVP Panel to an MVP-KS
Place the MVP face down and locate the MVP-KS alignment guide pins (FIG. 1).
1.
These pins are inserted into the respective MVP alignment guide insertion holes (located along the
underside of the MVP and at either sides of the connector strip).
2. Grasp both sides of the kickstand and insert the alignment guide pins into the insertion holes on the
bottom of the MVP (FIG. 1).
3. Maintain a kickstand connection to the bottom of the MVP panel (FIG. 2).
alignment pins
FIG. 2 Installing an MVP-KS
4. Press down on the AMX logo to insert the retractable latch into the opening (just above the MVP
metallic plate). Upon proper connection, you should hear a click when the latch grabs onto the
metallic plate.
5. Extend the MVP-KS support arm.
To avoid potential damage to the panel, make sure the kickstand is installed properly
before use.
Removing an MVP Panel from an MVP-KS
Place the MVP panel face down, and pull upwards on the MVP latch release lever, located below
1.
the kickstand’s AMX logo (FIG. 3).
MVP latch release lever
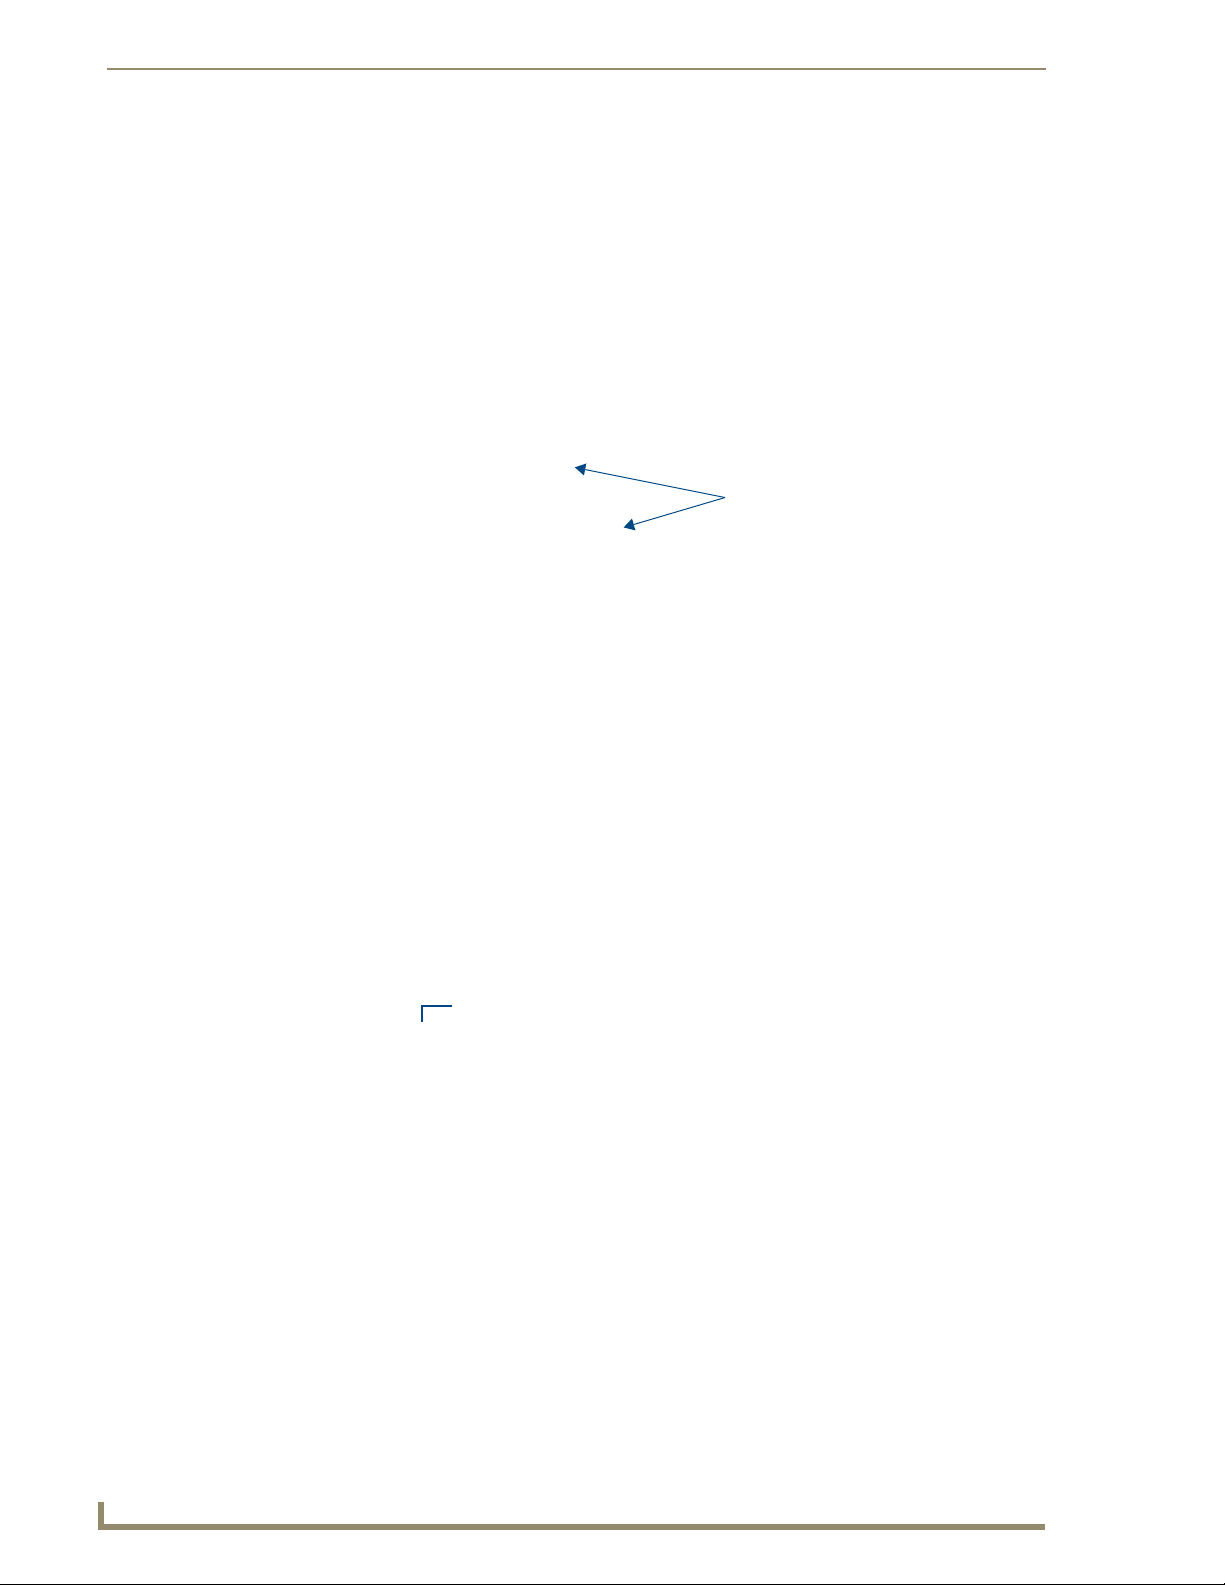
FIG. 3 Releasing the MVP- from the MVP-KS
2. Pull off the MVP-KS from the back of the MVP panel.
2
MVP-KS Kickstand for MVP Panels
Page 9

MVP-KS Kickstand
VP-KS Kickstand for MVP Panels
3
Page 10

It’s Your World - Take Control™
3000 RESEARCH DRIVE, RICHARDSON, TX 75082 USA • 800.222.0193 • 469.624.8000 • 469-624-7153 fax • 800.932.6993 technical support • www.amx.com
2006 AMX. All rights reserved. AMX and the AMX logo are registered trademarks of AMX. AMX reserves the right to alter specifications without notice at any time.
©
10/06
 Loading...