

Page 1
Owner’s Manual
Page 2

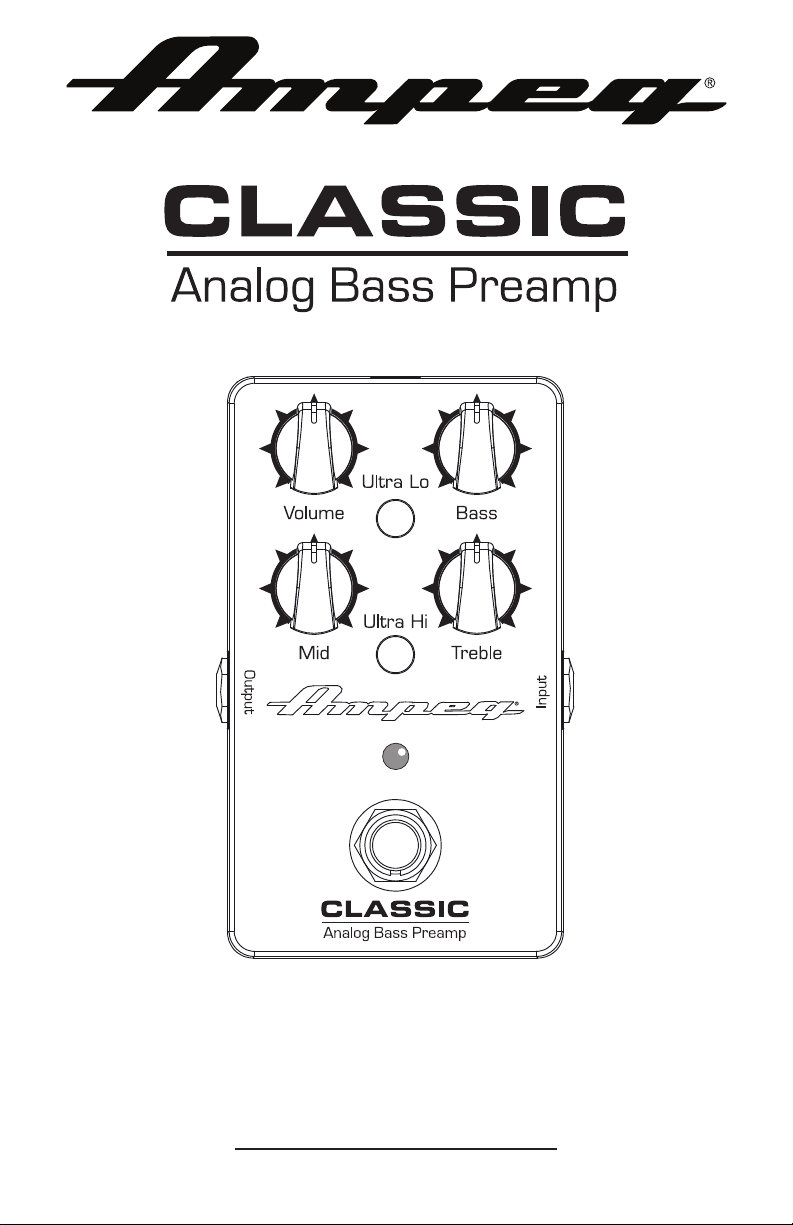
Classic Analog Bass Preamp
TABLE OF CONTENTS
What’s in the Box . . . . . . . . . . . . . . . . . . . . . . . . . . . . . . . . . . . . . . . . 2
Introduction . . . . . . . . . . . . . . . . . . . . . . . . . . . . . . . . . . . . . . . . . . . . . 2
Features . . . . . . . . . . . . . . . . . . . . . . . . . . . . . . . . . . . . . . . . . . . . . . . . 2
Top Panel Features . . . . . . . . . . . . . . . . . . . . . . . . . . . . . . . . . . . . . . . 3
Rear and Bottom Panel Features . . . . . . . . . . . . . . . . . . . . . . . . . . . . 4
Bottom Panel Features . . . . . . . . . . . . . . . . . . . . . . . . . . . . . . . . . . . . 5
Suggested Settings . . . . . . . . . . . . . . . . . . . . . . . . . . . . . . . . . . . . . . . 6
Block Diagram . . . . . . . . . . . . . . . . . . . . . . . . . . . . . . . . . . . . . . . . . . . 7
Technical Specications . . . . . . . . . . . . . . . . . . . . . . . . . . . . . . . . . . . 8
Warranty and Support . . . . . . . . . . . . . . . . . . . . . . . . . . . . . . . . . . . . . 8
What’s in the Box
Classic Analog Bass Preamp Pedal, Quick Start Guide.
Introduction
The Ampeg Classic Analog Bass Preamp pedal is like having a choice of Ampeg amps
right on your pedal board. Dial in a wide range of authentic Ampeg tones with the 3-band
tone stack and highly exible Ultra-Hi and Ultra-Lo circuits. It’s the most aordable way
into the pure analog bass tone of Ampeg.
Like all Ampeg products, your Classic Analog Bass Preamp pedal is designed by
musicians and built using only the best of components. Each pedal is tested to conrm
that it meets our specications, and we believe that this pedal is the absolute best that it
can be.
In order to get the most out of your new pedal, please fully read this Owner’s Manual,
as well as the Important Safety Instructions included with your pedal, before you begin
playing. Best of luck in all of your musical endeavors!
And thank you for choosing Ampeg.
Features
• Delivers a wide range of authentic Ampeg tones
• Classic 3-band tone stack, plus volume
• Ultra-Hi and Ultra-Lo circuits for tonal exibility
• True bypass, analog design with incredible signal-to-noise ratio
• Roadworthy, all-metal chassis construction
• 9V DC supply or battery capable (not included)
2
Page 3

Top Panel Features
54
6
87
9
110
3
2
1. INPUT: The signal output from an
instrument (active or passive) may be
connected to this 1/4" Input by means
of an unbalanced, shielded instrument
cable.
NOTE: There is a –15 dB Pad Jumper
located inside of the pedal. Details on
switching the jumper may be found on
page 5.
NOTE: Unplug the input cable when not
in use, as the 9V battery will drain (and
eventually die). Details on replacing the
battery may be found on page 5.
2. CLASSIC PREAMP SWITCH:
Engage this switch to activate the
Classic Preamp pedal. This pedal is
true bypass, meaning the signal will
pass through from input to output, with
no circuitry in between, when the switch
is disengaged.
3. ON/OFF LED: This LED illuminates
purple when the pedal is engaged.
4. VOLUME: Use this to control the overall
output level. Use it wisely and turn it
down when making connections or
trying something new. Unity is at 12:00.
NOTE: The Volume control is active
only when the pedal is engaged.
Classic Analog Bass Preamp
5. BASS: Use this to adjust the low
frequency level. This provides up to 7
dB of boost, or 20 dB of cut, at 40 Hz.
The low frequency output is at at the
center position.
6. ULTRA LO: This switch, when
engaged, enhances the amount of low-
end output with a 2 dB boost at 40 Hz,
and –10 dB cut at 500 Hz.
7. MID: Use this to adjust the midrange
frequency level. This provides up to 5
dB of boost, or 11 dB of cut, at 500 Hz.
The midrange frequency output is at at
the center position.
Rotate the control counter-clockwise
for a “contoured” sound, (more distant,
less midrange output) or clockwise for a
sound that really cuts through.
8. TREBLE: Use this to adjust the high
frequency level. This provides up to 10
dB of boost, or 10 dB of cut, at 4 kHz.
The high frequency output is at at the
center position.
9. ULTRA HI: This switch, when engaged,
enhances the amount of high-end
output by 7 dB at 8 kHz.
10. OUTPUT: Typically, this 1/4" Output
jack connects to the input of an
external power amplier – or powered
loudspeakers, as long as they have their
own input controls to adjust the volume
level – by means of an unbalanced,
shielded, instrument cable.
However, it may alternatively be
connected to an external mixer,
recorder, or interface. In this way, you
do not have to mic the speaker cabinet
in order to add it to the main mix or
to record. The level of the signal is
aected by the Volume control when
pedal is engaged.
3
Page 4

Rear and Bottom Panel Features
11
11. POWER CONNECTOR: This is where
to connect the optional power supply.
NOTE: Before plugging in the
power supply, make sure that you
are using the correct model power
supply for this product. Failure to do so
may result in damage to your unit and
void your warranty.
A DC-1G Power Supply may be
purchased from an Ampeg Dealer, or
you may purchase one directly from the
Ampeg Online Shop, at
shop.ampeg.com.
For residents outside of the US, please
request the model DC-1G Power
Supply when purchasing from an
Ampeg dealer or distributor in your
region.
Classic Analog Bass Preamp
BOTTOM PANEL ACCESS
Removing the bottom is easy. Simply
start by placing the pedal top down on
a soft, dry cloth.
Remove each of the four screws by
turning them counter-clockwise. Be
sure to keep them in a safe place as
you will need them again!
4
Page 5

Bottom Panel Features
12
13
12. 9V BATTERY: The Classic Analog Bass
Preamp may be powered by 9V battery
instead of using a power supply. As
seen in the illustration above, a battery
ts nicely inside a compartment of the
circuit board, next to the edge of the
pedal.
NOTE: Unplug the input cable when not
in use, as the 9V battery will drain (and
eventually die).
13. –15 dB PAD JUMPER: Moving the
–15 dB Pad Jumper reduces the input
signal by 15 dB. This attenuation is
suited for use with basses that have
active electronics or high-output
pickups.
There are only two possibilities. The
jumper can be on:
• Pins 1-2 (Normal – default)
• Pins 2-3 (-15 dB Pad)
Ok, ok...there could be no jumper, but
that just sets the pedal to its Normal/
default, Pins 1-2 setting (with about 1/2
dB loss).
Referencing the above diagram, slide
the jumper out then back in on the
pins that you want to use for your
instrument. Fingers should work
just ne, but it’s ok to use needle-
nose pliers to remove the jumper, if
necessary.
–15dB
NORMAL
PIN1>>
Classic Analog Bass Preamp
NOTE: If you are experiencing
excessive distortion (distortion begins
at approximately 0.5V RMS) then you
might want to utilize the -15 dB Pad by
moving the jumper to Pins 2-3.
NOTE: When reattaching the bottom
plate to the pedal, line up the
rectangular foam piece over the battery.
Turn the screws clockwise to ax to the
bottom to the pedal.
5
Page 6

Suggested Settings
Set Volume control to taste
= Switch engaged (down)
= Switch disengaged (up)
Slappin’ Da Bass Rock
Classic Analog Bass Preamp
Reggae
Classic Dino
Motown
Pick/Grind
6
Page 7

Block Diagram
Classic Analog Bass Preamp
OUTPUT
BASS TREBLE
CIRCUITRY
TONE CONTROL
INPUT
MIDRANGE
VOLUME
15 dB PAD
[INTERNAL]
7
HI
ULTRA
LO
ULTRA
TRUE BYPASS
Page 8

Classic Analog Bass Preamp
Technical Specications
Signal to Noise Ratio 75 dB
(50 Hz @ 300mV RMS)
Maximum Gain +18 dB
Tone Controls Bass: +7/–20 dB @ 40 Hz
Mid: +5/–11 dB @ 500 Hz
Treble: +10/–10 dB @ 4 kHz
Ultra Hi: +7 dB @ 8 kHz
Ultra Lo: +2 dB @ 40 Hz / –10 dB @ 500 Hz
Impedances Input: 1 M @ Normal, 83 k w/–15 dB Pad
Output: 120
Power Requirements Internal: 9V Battery
External: 9VDC, ≥20 mA, center negative
Size (H x W x D) 2.2 in x 2.6 in x 4.5 in
56 mm x 66 mm x 114 mm
Weight 0.6 lb / 0.3 kg (approximately)
The Classic Analog Bass Preamp is housed in a corrosion resistant, die-cast zinc chassis, so be sure to clean it
with a dry, lint-free cloth. Never spray cleaning agents on the Classic Analog Bass Preamp. Avoid abrasive
cleansers which would damage the finish.
Ampeg continually develops new products and improves upon existing ones. For this reason, the specifications
and information in this manual are subject to change without notice.
Warranty and Support
Visit WWW.AMPEG.COM to...
(1) ...identify WARRANTY coverage provided in your local market. Please keep your
sales receipt in a safe place.
(2) ...REGISTER your product.
(3) ...CONTACT Technical Support, or call 818-575-3600.
www.ampeg.com
26580 Agoura Road, Calabasas, CA 91302-1921 USA
© 2019 Yamaha Guitar Group, Inc. All rights reserved.
Ampeg is a trademark or registered trademark of Yamaha Guitar Group, Inc. in the U.S. and/or other jurisdictions.
Yamaha Guitar Group, Inc.
Rev. A
8
 Loading...