

Page 1
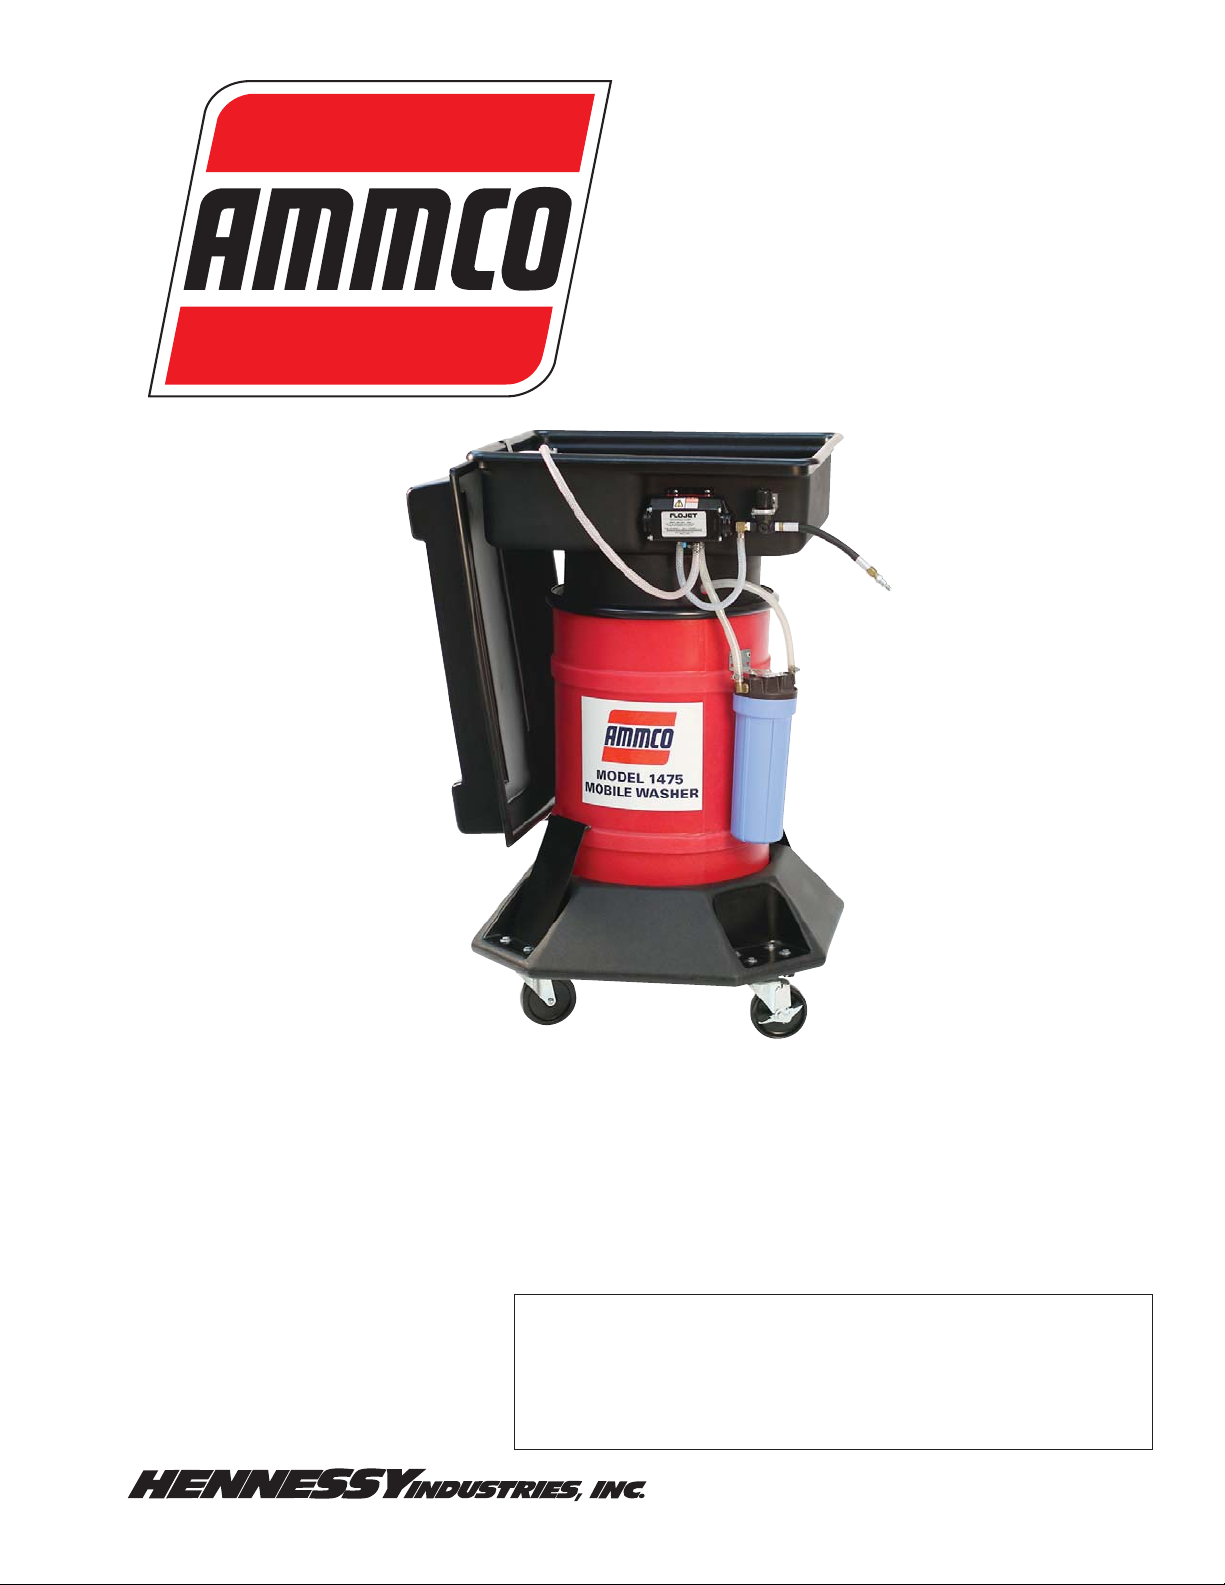
Model 1475
Mobile Washer
Safety Instructions
Setup Instructions
Operating Instructions
Maintenance Instructions
with Parts Identifi cation
READ these instructions before placing unit in
service. KEEP these and other materials delivered
with the unit in a binder near the machine for ease
of reference by supervisors and operators.
1601 J. P. Hennessy Drive, LaVergne, TN USA 37086-3565 615/641-7533 800/688/6359 www.ammcoats.com Manual Part No.: 95000178 00a
HENNESSY INDUSTRIES INC. Manufacturer of AMMCO
®
, COATS®. and BADA® Automotive Service Equipment and Tools. Revision: 05/12
Page 2
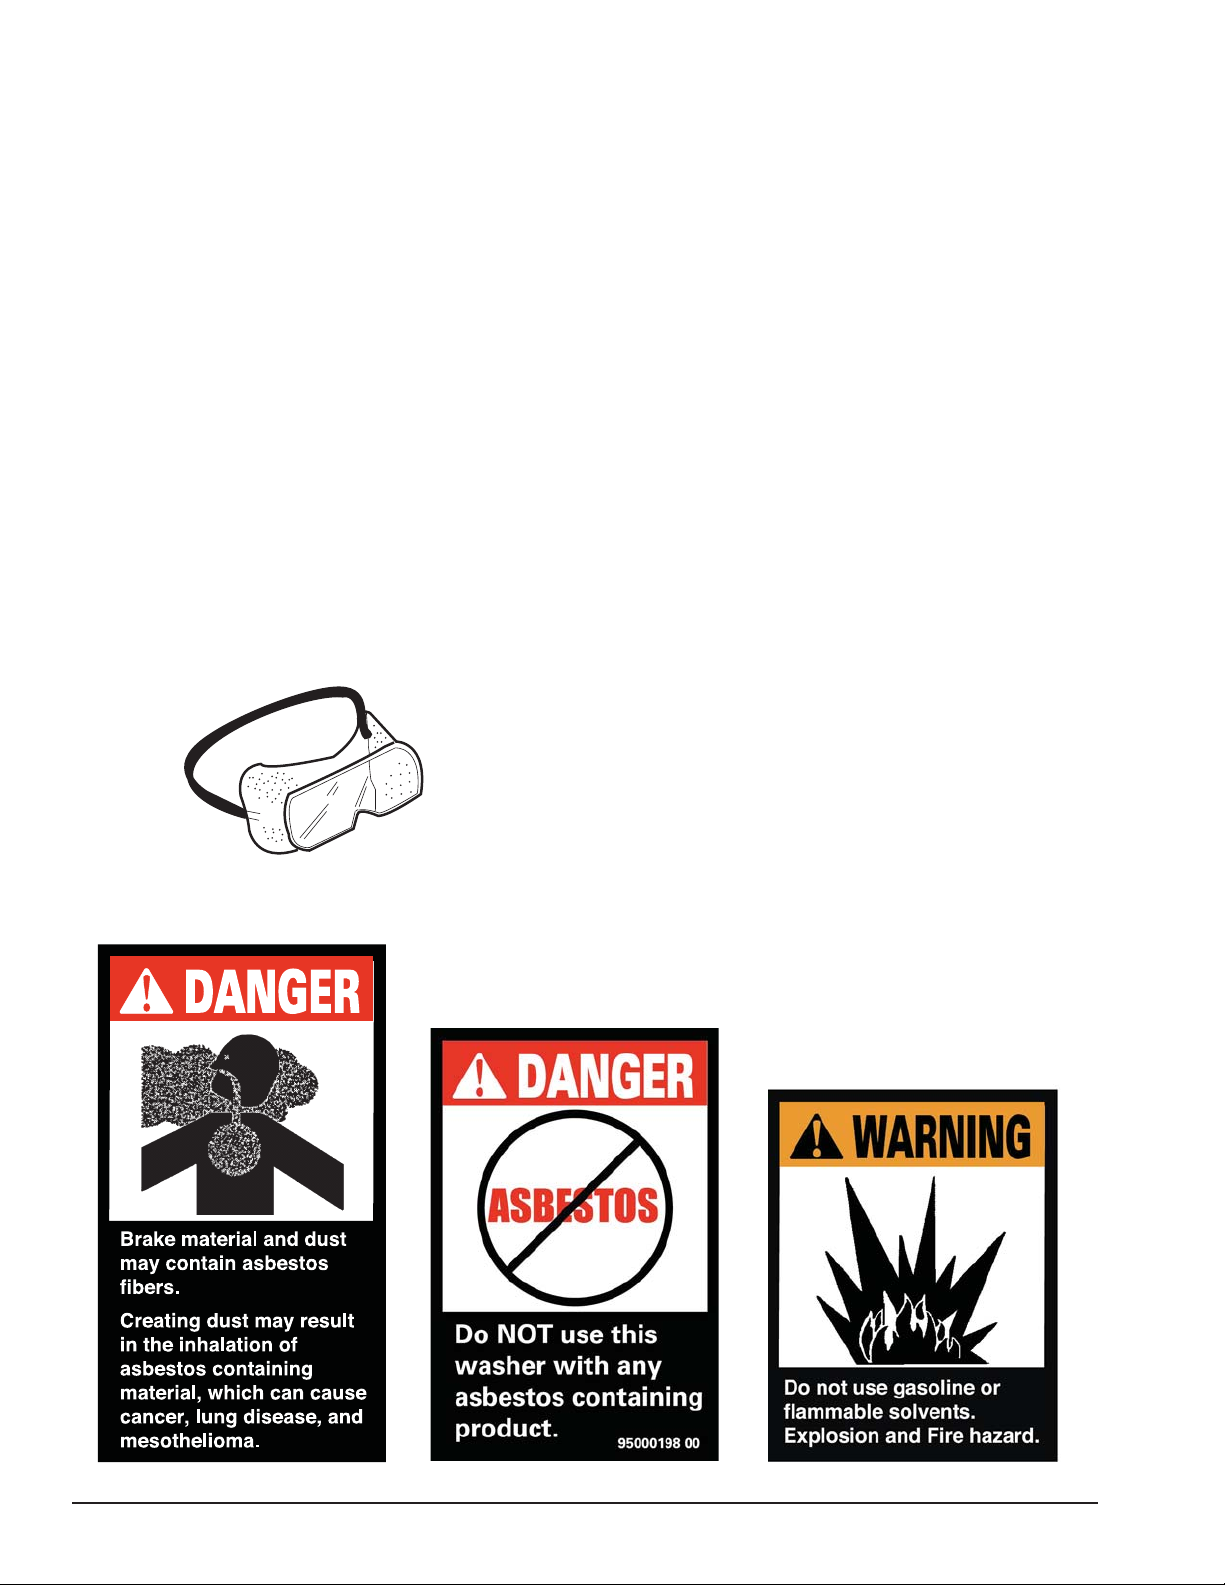
Table of Contents
Safety Instructions
Safety Instructions ...................................2
Owner’s Responsibility ..........................................2
Safety Notices and Decals ....................................2
O.S.H.A. 29 CFR 1910, et al., Compliance .............3
IMPORTANT INFORMATION
READ BEFORE OPERATING .................................3
Setup Instructions ....................................4
Receiving ...............................................................4
Specifications ........................................................4
Assembly ...............................................................4
Operating Instructions ....................... 4 - 5
Disk Brakes ...........................................................4
Drum Brakes ....................................................4 - 5
Maintenance Instructions ........................5
Disposal Of Filters And Cleaning Solution .............5
Filter Sock ..............................................................5
Solution Cartridge Filter .........................................5
Cleaning Solution...................................................5
Cleaning Brush ......................................................5
Parts Identification ............................. 6 - 7
Owner’s Responsibility
To maintain machine and user safety, the responsibility
of the owner is to read and follow these instructions:
• This machine is not to be used with asbestos
containing products. Asbestos containing products can cause cancer, lung disease, and other
serious illnesses, including mesothelioma.
• Follow all installation instructions and make sure
installation conforms to all applicable Local, State,
and Federal OSHA Regulations and Electrical Codes.
• Carefully check the unit for correct initial function.
• Read and follow the safety instructions. Keep them
readily available for machine operators.
• Make certain all operators are properly trained, know
how to safely and correctly operate the unit, and are
properly supervised.
• Allow unit operation only with all parts in place and
operating safely.
• Carefully inspect the unit on a regular basis and perform all maintenance as required.
• Service and maintain the unit only with authorized or
approved replacement parts.
ALWAYS WEAR SAFETY
GOGGLES
ALWAYS
WEAR
SAFETY
• Keep all instructions permanently with the unit and
all decals/labels/notices on unit clean and visible.
• If ownership of the unit is transferred, provide
new owner all information, manuals, and provide
AMMCO new ownership information.
Safety Notices
For your safety, and the safety of others, read and
understand all of the safety notices included here and
on the unit.
2 • Mobile Washer
Page 3

O.S.H.A. 29 CFR 1910, et al., Compliance
To the extent an individual erroneously utilizes this
machine with an asbestos containing product, strict
compliance with the Occupational Safety & Health
(“OSHA”) Standard Regulation 29 CFR 1910, et al., is
mandatory.
Protective Clothing. For any individual that is exposed
to airborne concentrations of asbestos that exceed the
Occupational Safety & Health Administration (“OSHA”)
permissible exposure level, the individual must use
protective clothing such as coveralls or similar fullbody clothing, head coverings, gloves, respirators, and
foot covering. Wherever the possibility of eye irritation
exists, face shields, vented goggles, or other appropriate protective equipment must be provided and worn.
Always use the brake washer in compliance with
O.S.H.A. 29 CFR 1910, et al., regulations:
1. Place the catch basin or catch tray under the brake
assembly, positioned to avoid splashes and spills.
2. Use our Aqueous degreaser to wet or flood the
brake assembly gently, to prevent the asbestos
containing brake dust from becoming airborne.
3. Allow the Aqueous degreaser to flow between the
brake drum and brake support before the drum is
removed.
4. After removing the brake drum, thoroughly wet the
wheel hub and back of the brake assembly to suppress the dust.
IMPORTANT INFORMATION
READ BEFORE OPERATING
1. Do not modify this machine. This parts cleaner is
intended for use with approved cleaning solvents.
2. Do not add other chemicals such as kerosene, fuel
oil or gasoline.
3. Do not leave solvent-soaked rags in parts cleaner.
4. Always wet the shoes and inside the drum thoroughly before removing, if cleaning brakes.
5. Always maintain the proper solution level above the
bottom band on the drum.
6. Use the full flow nozzle to soak down brake drums
before removal.
7. The air pressure has been preset on your air operated parts cleaner. Never exceed 20 pounds of pressure.
8. Replace filters as needed.
9. To change fluid, pump fluid into separate container
using full flow nozzle. Remove snap ring and lower
onto drum. Remove filters and set aside or dispose
of in the proper manner. Remove cleaning basin
from drum. Clean drum and refill with new fluid.
Replace basin and filters. Replace snap ring and
fasten basin to drum.
5. Thoroughly wash the brake support plate, brake
shoes and brake components used to attach the
brake shoes before removing the old shoes.
6. Be sure to clean up your spills of Aqueous degreaser
immediately and dispose of according to all Local,
State, and Federal regulations.
7. Never dry brush. Always make sure that you wet
the brake assembly before any work begins.
Mobile Washer • 3
Page 4

Setup Instructions
Operating Instructions
Receiving
The shipment should be thoroughly inspected as
soon as it is received. The signed bill of lading is
acknowledgement, by the carrier, of receipt in good
condition of the shipment covered by our invoice.
If any of the goods called for on this bill of lading are
shorted or damaged, do not accept them until the carrier
makes a notation of the shorted or damaged goods on
the freight bill. Do this for your own protection.
NOTIFY THE CARRIER AT ONCE if any hidden loss or
damage is discovered after receipt and request him to
make an inspection. If the carrier will not do so, prepare
an affidavit to the effect that you have so notified the
carrier (on a certain date) and that he failed to comply
with your request.
IT IS DIFFICULT TO COLLECT FOR LOSS OR DAMAGE AFTER YOU HAVE GIVEN THE CARRIER A CLEAR
RECEIPT.
File your claim with the carrier promptly. Support
your claim with copies of the bill of lading, freight bill,
invoice, and photographs, if possible.
Although AMMCO’s responsibility ceases upon
delivery of shipment to the carrier, we will gladly assist
in tracing lost shipments. Our willingness to assist
in every possible manner does not make AMMCO
responsible for collection of claims or replacement of
lost or damaged materials.
Specifications
Basin Dimensions .........................20" W x 24" L x 7" D
Overall Dimensions .................... 28" W x 28" L x 41" H
Shipping Dimensions ......... 30" W x 26A" L x 34.25" H
Shipping Weight ................................................ 72 lbs.
Operating Liquid Capacity .................... 8 to 12 Gallons
Assembly
1. Remove machine from shipping carton and inspect
for any damage. Report any damage to the delivering
carrier.
2. Install the four casters and hold-down brackets to
the base using the hardware supplied. Place the locking
casters directly across from each other. Do not tighten
fasteners yet.
Note: Do not add air tool oil or other oils to air inlet of
washer. Oils could damage the air pump and will void
the warranty.
1. Connect shop air to washer. The air regulator on
the washer is pre-set and cannot be adjusted. The maximum air pressure that can be supplied to the washer is
200 psi.
2. The pump will automatically function when the
valve lever is depressed on either the brush or the flex
spout.
Note: It will take a few seconds to prime the fluid
system the first time it is used. After the initial priming,
do not let the pump run dry. Damage to the pump could
occur which will void the warranty.
3. Store cover on basin when the washer is not in use
to help prevent evaporation of cleaning solution. This
also prevents any asbestos in the dried solutions from
becoming air-born.
4. The cover can be used as a catch basin when doing
brake work on the floor or on a service/alignment rack.
Thoroughly rinse cover into basin after using.
Disc Brakes
1. Simply saturate the entire brake assembly using
the flex spout prior to working on brakes.
Note: Never use the brush to clean brake friction
material that will not be replaced nor drums or rotors
that won’t be turned. Any oil or grease that might be
on the brush could be transferred to these brake components.
Drum Brakes
1. Before loosening or removing drum, use the flex
spout to wet the outside and inside of the drum and
brake assembly; first, between the drum and backing
plate. Then, if the vehicle had adjustment slots; remove
the plug and insert the flex spout to wet the inside.
2. If you are doing an inspection, wet the inside of
the drum everywhere except the area between the 10
o’clock and the 2 o’clock to make it easier to determine
if the wheel cylinder is leaking..
3. Place the drum into the base making sure it fits
completely to the bottom. Now tighten caster and
bracket fasteners.
4. Fill unit with the proper amount of water (1/2 full).
Pour one quart of AMMCO cleaner into the barrel.
5. Make sure the basin is locked to the drum using
the snap ring.
6. Connect the unit to your air supply.
7. Make sure brush and spigot assemblies remain
inside of basin whenever pump is on.
4 • Mobile Washer
Page 5

3. Pull the drum off approximately one-inch and wet
the brake assembly again.
4. Remove drum and rinse in basin of washer.
5. Check for wheel cylinder leakage and finish wash-
ing the assembly.
6. If after inspection the brakes do not need servicing,
allow them to air dry before reinstalling the drum.
Note: Never use the brush to clean brake friction
material that will not be replaced nor drums or rotors
that won’t be turned. Any oil or grease that might be
on the brush could be transferred to these brake components.
7. When doing a complete brake job, thoroughly clean
off shoes, drums, and backing plate.
Cleaning Solution
Every two months, or more often as required, the
cleaning solution should be replaced to allow the washer
to continue its cleaning efficiency. Tape or clamp valve
levers open so the cleaning solution can be pumped
down a sanitary sewer in accordance with your local
waste disposal regulations.
Note: Never dispose of cleaning solution into a storm
sewer.
When most of the solution has been pumped out and
the fluid is not a solid stream, add one or two gallons
of water to the washer pan. Disconnect air supply to
the washer when the clean rinse water is almost gone.
Note: Do not let pump run dry. Damage to pump will
occur that will void warranty.
Maintenance
Instructions
Note: Use only original AMMCO® products for your
safety and to ensure compliance to O.S.H.A regulations.
Disposal Of Filters And Cleaning Solution
The AMMCO 1475 Brake Washer is designed to comply with federal, state, and local regulations concerning
the disposal of liquid and solid wastes. However, these
regulations do vary from place-to-place and it is the
shop owner/manager’s responsibility to comply with all
applicable Local, State and Federal regulations.
Filter Sock
If the filter sock becomes full, there will be standing
water in the basin. Remove drain grate and strainer, pull
up on filter sock, and discard sock in accordance with
your local waste disposal regulations. Replace with new
sock.
Solution Cartridge Filter
When solution does not flow in a continuous stream,
replace the cartridge filter on the side of the barrel.
Unscrew filter canister, remove and discard dirty cartridge filter in accordance with your local waste disposal
regulations. Replace with a new cartridge and handtighten canister.
Un-tape valve levers, fill barrel half full with water, and
add one quart of AMMCO cleaner.
Note: Wear eye protection and rubber gloves when
handling the concentrated cleaner.
When replacing the cleaning solution, it is a good prac-
tice to replace all filters at the same time.
It is a good practice to establish a regular routine for
replacing all filters and cleaning solution, such as every
month or two months. The interval for your unit will
depend on local conditions, types of vehicles serviced,
and your volume of brake work. Also, the interval for
changing the solution may be different than that for the
filters.
Cleaning Brush
When brush gets dirty from brake fluid, axle grease,
etc.; clean brush with a degreaser or solvent. Clean
brush in solvent tank, NOT in brake washer. To prolong
brush life and to decrease maintenance, use a shop rag
for removal of heavy grease deposits.
Mobile Washer • 5
Page 6

Parts Identifi cation
ITEM PART NO. DESCRIPTION
1 95000173 Washer Sink
2 95000165 Washer Cover
3 95000168 Mount BW Flange
4 95000180 Brake Washer Base
5 95000172 16 Gal. Red Drum
6 95000181 Drain Plate
7 95000184 Hold Down Bracket
9 95000164 Flo-thru Brush
10 95000185 Nozzle Valve
11 95000186 Valve Fitting
12 95000167 1/4 Loc Line Nozzle
14 NA Brush & Spigot Bracket
15 NA Reg. Mount Bracket
16 NA Lid Bracket
17 95000179 4" Swivel Caster w/Brake
18 95000166 4" Swivel Caster
19 629696 Jet Air Flo Pump
20 95000169 1/4 PTF Mini 5-100 PSI Regulator
21 NA Metal Panel Nut
22 629700 Sock Filter
23 95000183 Sink Strainer
24 95000182 Suction Strainer
25 95000138 Filter Housing
26 629706 50 mic Filter
27 NA Filter Bracket
28 95000188 1/4 Hose x 1/4 MPT Filling EL
29 95000189 5/16 x 3/8 MP, Fitting EL
30 95000191 Fluid Suction Hose
31 95000192 Filter Out Hose
32 95000193 Pump In Air Hose
33 95000190 Air Inlet Hose
34 NS 1/4" Flat Washer
35 NS 1/4-20 Keps Nut
36 NS 1/4-20 x 1.75 HHC Screw
37 NS #10 x 1 Fender Washer
38 NS #10-24 x 1/2 PPHM Screw
39 NS #10-24 Nyloc Nut
* 629702 Oil Absorbent Boom
* 629710 Cleaning Solution, 1 Qt.
* Not Shown
NA = Not Available
NS = Non-stocking
6 • Mobile Washer
Page 7

Mobile Washer • 7
Page 8

95000178 00a 05/12 © Copyright 2012 Hennessy Industries and COATS All Rights Reserved
 Loading...