

American Energy Systems O2-9210 User Manual
Installation Instruction for a O2 Shroud
Part #O2-9200
For Models O2 Inserts units
• Remove from box and verify all parts prior to
installation.
o (3) metal trim panels
o (3) pieces of trim (black or gold)
o (2) PP-1271 angle corners bracket
o (6) PP-160 #14 TEK screws
o (6) PP-177 flat washers
o (1) PP-220 roll of insulation
• Push your Country Flame insert all the way back into the fireplace where it will be when fully installed.
Double-check the location by measuring from both sides of the front of the insert to the edge of the
hearth. These measurements must be the same in order to properly align the unit. The insert flue
opening must be behind the lintel.
• After you have properly aligned the insert in the fireplace, you are ready to mark the trim panels for
mounting. Pressing both right and left trim panels directly against the face of the fireplace. The trim
panels are now in place as they will be when mounting is complete. While holding the trim panel in
place, mark where the front edge of the panel fits up against the unit with a pencil. Do this to each side
panel leaving the top trim panel for last because it will mount directly behind the 2 side panels.
• Pull the unit approximately 18”-20” back from the fireplace for mounting the trim panels. In this step
you will align the front edge of the trim with the mark you had just made, and then mark the slots with a
pencil. By marking the exact center of the slot you will have a slight adjustment up or down, depending
upon the evenness of your fireplace.
• Place trim side panels along the line previously marked and insert your self-tapping screws and washers
with a 3/8” adaptor and drill or drill 7/32” diameter hole. The tightening of the screws secures the trim
panels firmly in place. Now position the trim top panel up tight against the trim side panel and insert the
self-tapping screws and washer to secure the trim top panel the unit.
• Remove the backing from the roll of fiberglass insulation included in your trim panel box. Stick the
insulation to the backside of the trim panels around the perimeter. This insulation will seal up against the
face of the fireplace brick. For stone or irregular surfaces you may have to obtain additional fiberglass
to fill the voids from you local building supply store. Very irregular surfaces with large voids may
require masonry fill.
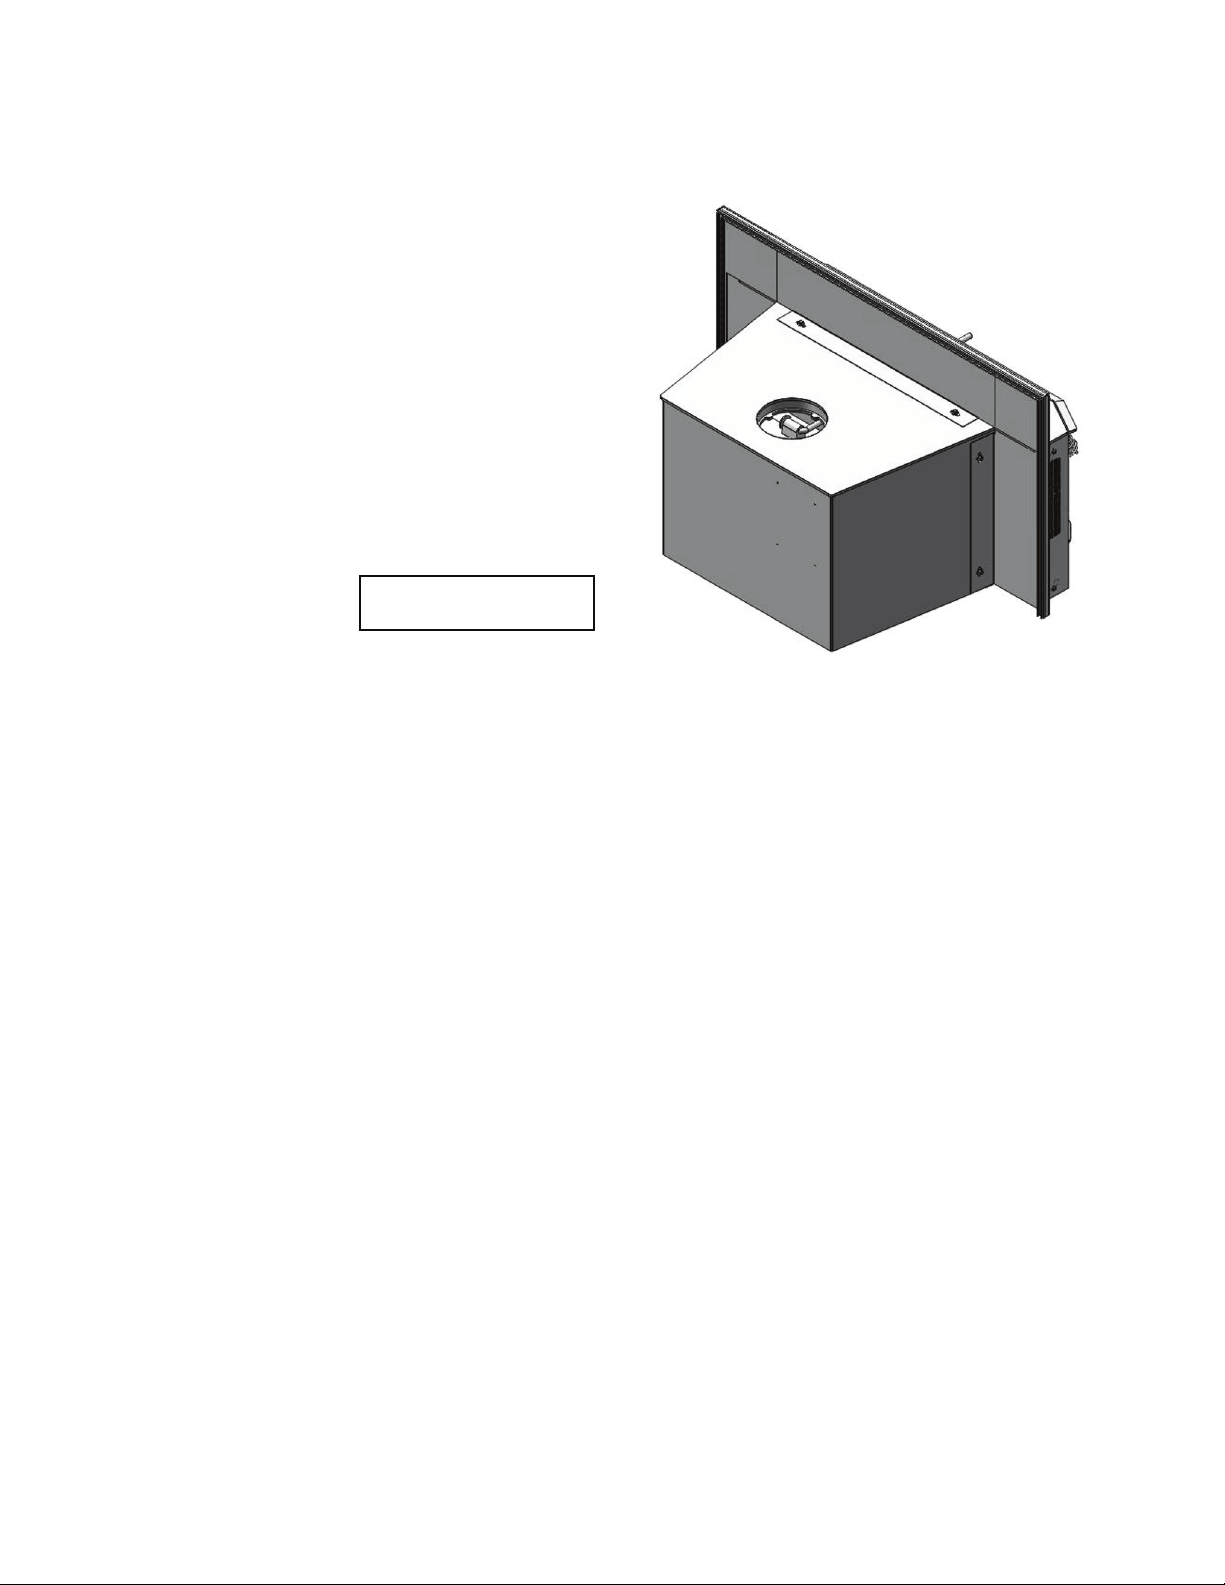
Shown without trim
F:\AESBusinessSystems\AES Technical\Piece part instructions\O2-9200 O2 Shroud Installation
Instructions.doc
• Install the black or brass trim around the outside edge of the panels. Ensure the 2-angle brackets
provided are installed on these black or brass trim. If the bottom of the side trim wants to pull away
from the trim panels a small amount of silicone may be required on the backside of the trim to hold it in
place during installation.
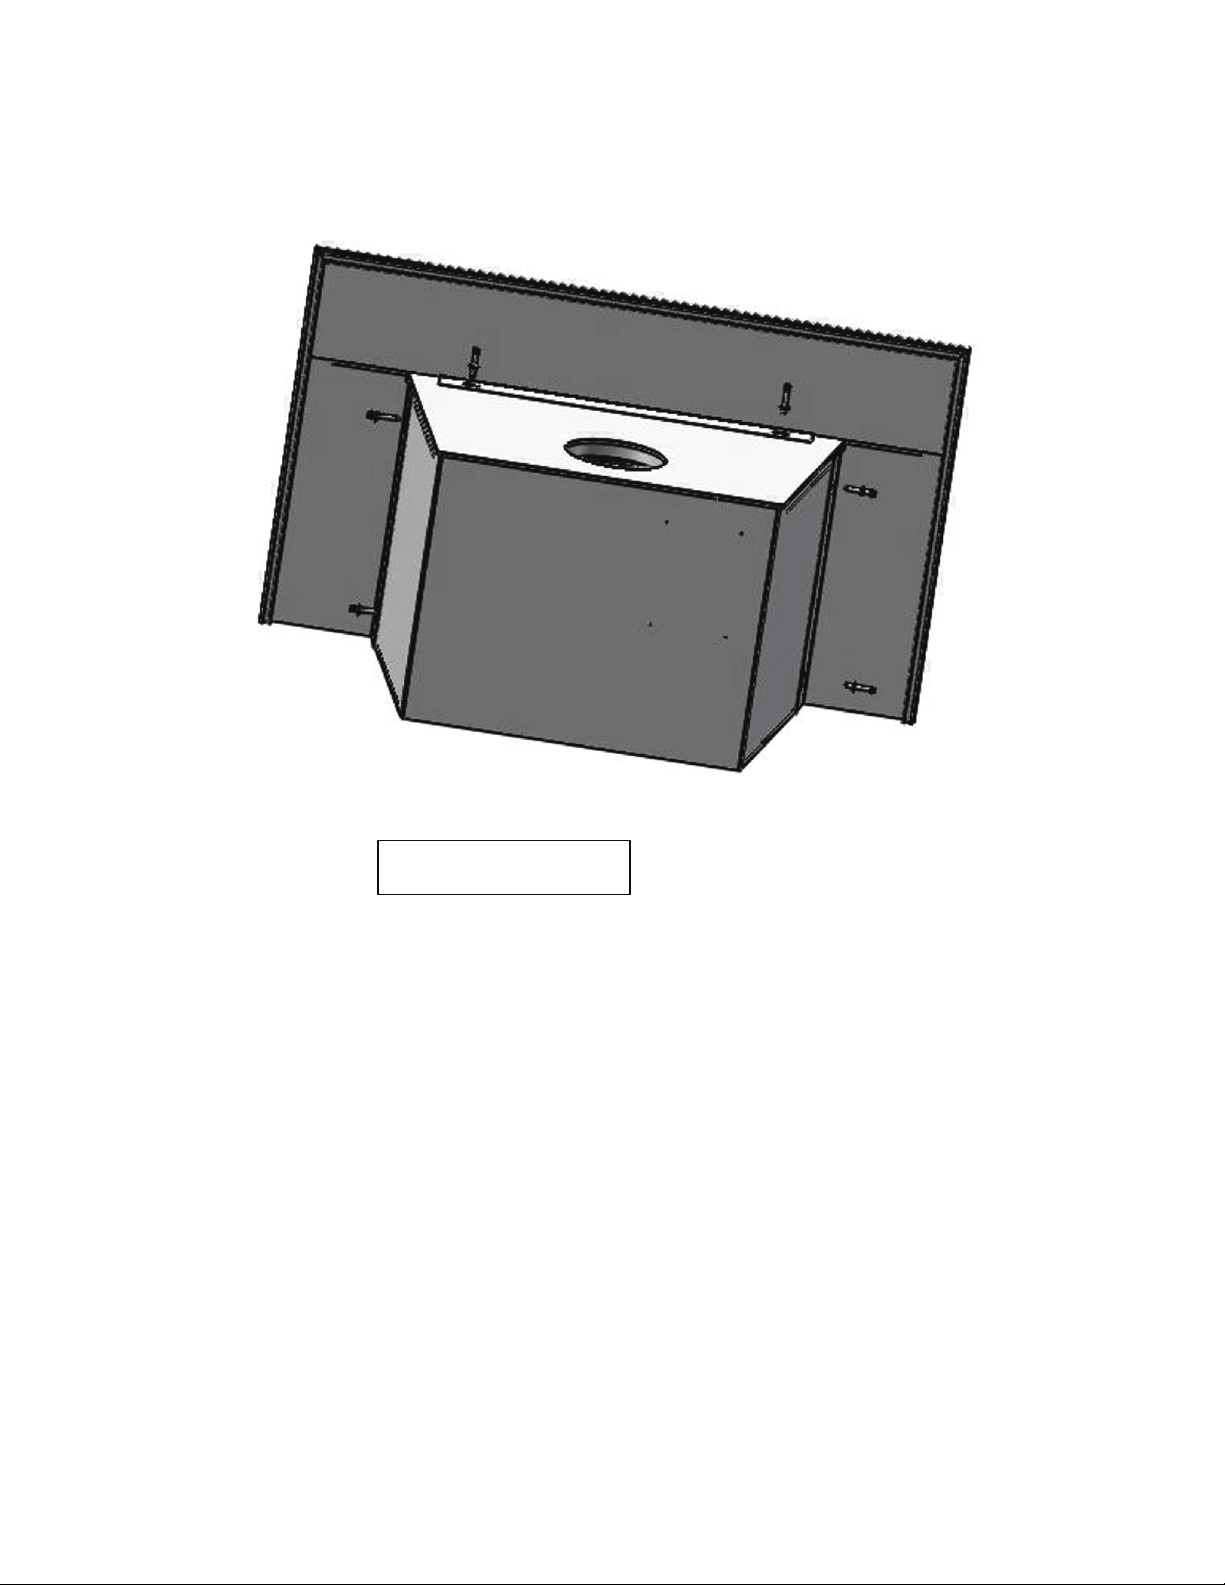
Back of O2 unit
F:\AESBusinessSystems\AES Technical\Piece part instructions\O2-9200 O2 Shroud Installation
Instructions.doc
 Loading...