

American Energy Systems MF3642 User Manual
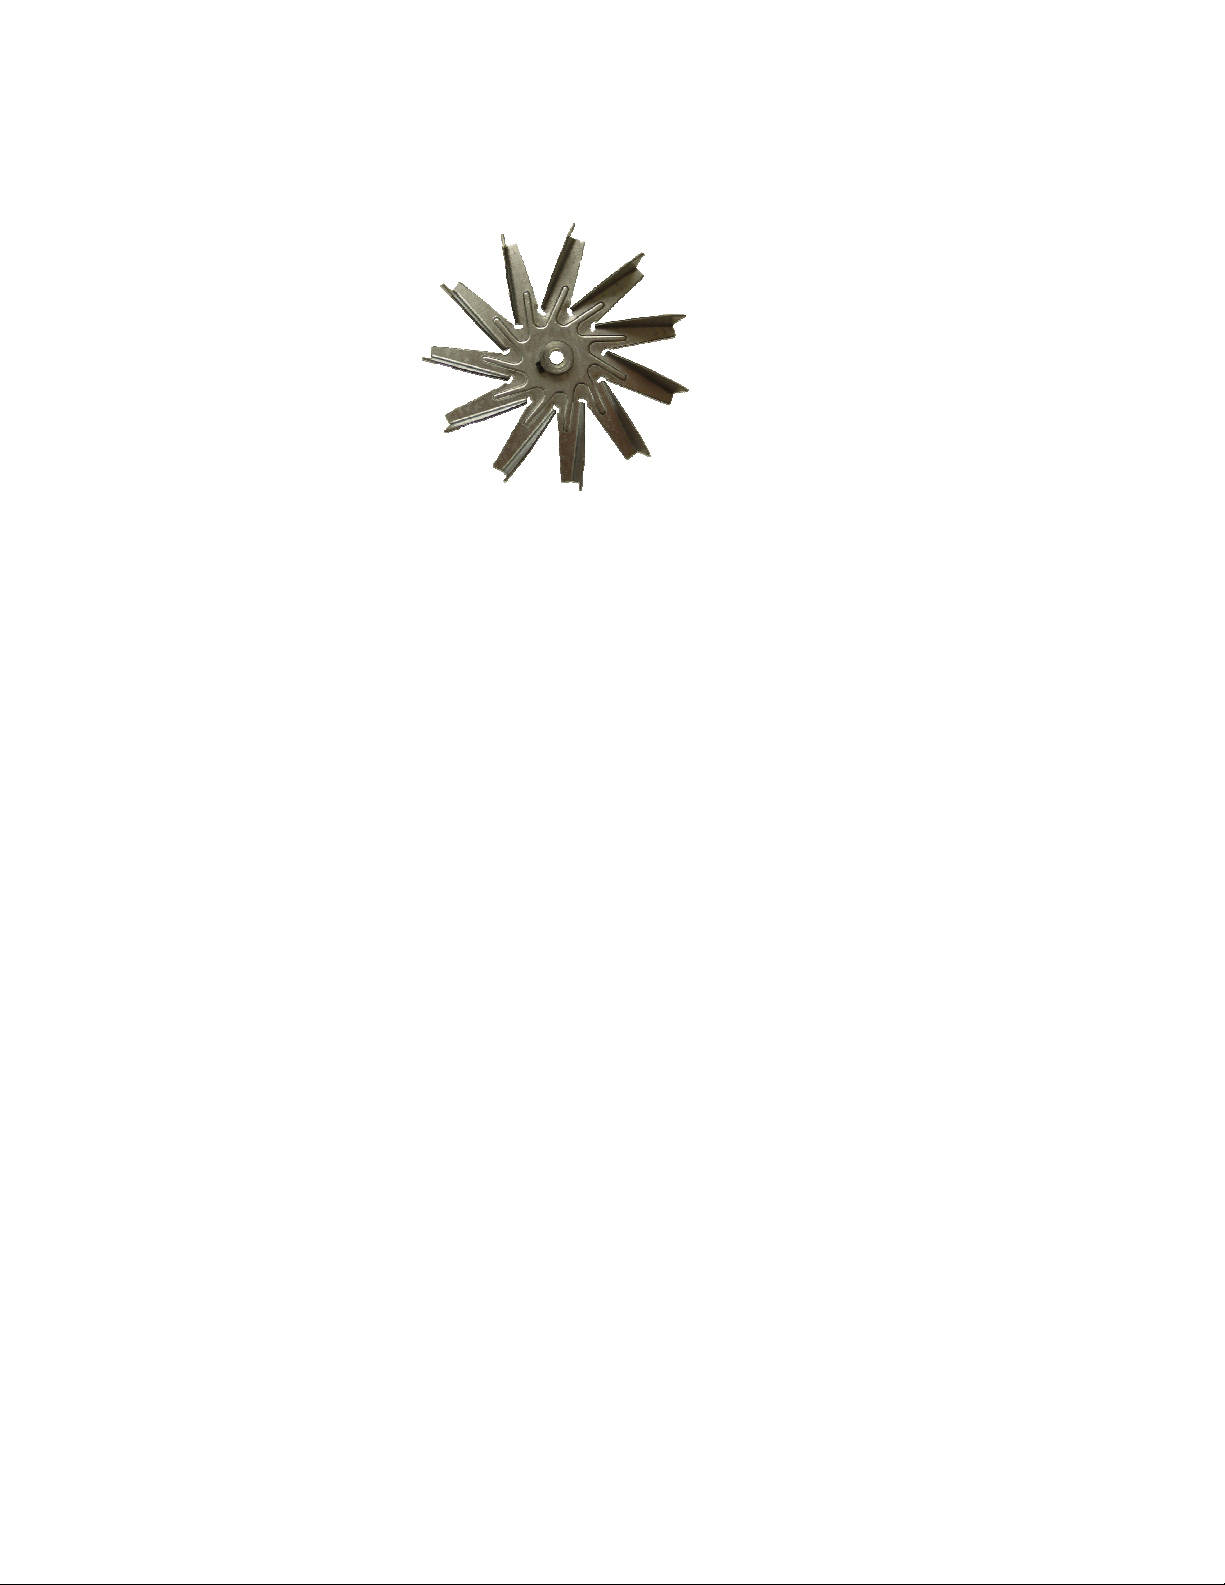
Fan Blade, Exhaust Blower, DC
Part #MF3642
(for all DC Magnum units)
• Unplug the stove before servicing unit.
• Open side panel.
• If you have a model of Baby that has the inspection cover/plate on the outside of the
exhaust manifold, you will be able to take off the cover/plate, to change the blade.
• Take the old fan blade out use a ¼” Allan wrench, loosen the set screw in the center of
fan blade. To loosen set screw, turn counterclockwise.
• Lift old fan blade out, screw set screw clockwise to tighten.
• Install new fan blade, use a 1/8” Allan wrench, loosen the set screw in the center of fan
blade. Slide fan blade down shaft. Make sure that the blade is about 1/16" away from
the back of the housing so that it will not scrape when running. This is not an exact
measurement, just make sure that if you push the blade toward the back of the housing
and turn it by hand that it does not rub on anything.
• Tighten set screw, turn clockwise. Add a light coat of red (RTV) silicone to the gasket
on the cover/plate and bolt it back on.
If blade installation requires blower to be un-installed try to leave the exhaust pipe (this is the
short piece of metal pipe that bolts to the exhaust blower and then goes out the back of the unit)
on the draft blower. You should be able to take the draft blower off once you disconnect the
venting from the short exhaust pipe on the draft blower. Be careful not to harm the gasket that
is between the draft blower housing and the steel housing when taking off the draft blower. If
you do break the gasket or if it looks like it won't seal, I would suggest ordering a new one.
You can take silicone and seal the gasket when you put the draft blower back on but it will be
really hard to get off later so I do not recommend it.
• For the MagnuM Countryside, the tools needed are a 5/16 inch or a 7/16”, tube of high
temp red silicone and caulking gun, ¼ inch socket, utility knife for cutting out old
caulking, and a scraping tool for removing old caulking and housing gasket.
• Unplug the stove.
• Open the left side panel. (It will be necessary to unscrew the knob from the manual draft
control).
F:\AESBusinessSystems\AES Technical\Piece part instructions\MF3642.doc

• Open the right side panel to access the electrical connections.
• Unplug the motor. One of the electrical wires is fastened to a group of wires with a wire
nut. The other has a terminal connection. (It will most likely be necessary to cut 1 or 2 of
the wire straps). Remove the two (2) screws from the vent tube where it hooks onto the
draft blower. (Depending on the venting arrangement you may need to disconnect or
temporarily support the vent pipe).
• Remove the five (5) 5/16 inch screws or ¼-20 bolts from the motor housing and exhaust
housing.
• Scrape the old gasket from the exhaust housing and remove any silicone from the starter
pipe on the exhaust. When putting in the new motor, be very careful to get a good seal
on the new gasket and properly seal the starter exhaust with the silicone.
• If you have cut any of the wire straps make sure the wires are secured, away from any
high temperature parts.
• When putting in the ¼ inch screws to the new motor housing you will notice that there is
plenty of play with it. This is to give you adequate adjustment space to make sure you
can line up the exhaust again. After you have installed the new motor wait
approximately one hour to let the silicone set.
• At that point start the motor and check for any air leaks. Run the stove on the number 3
heat setting to verify that the motor is running at the proper speeds. (It is advisable to
start the new motor before installing it). It will be necessary to wait 24 hours before
firing the stove up to insure that there has been enough time for the silicone to cure.
F:\AESBusinessSystems\AES Technical\Piece part instructions\MF3642.doc
 Loading...