


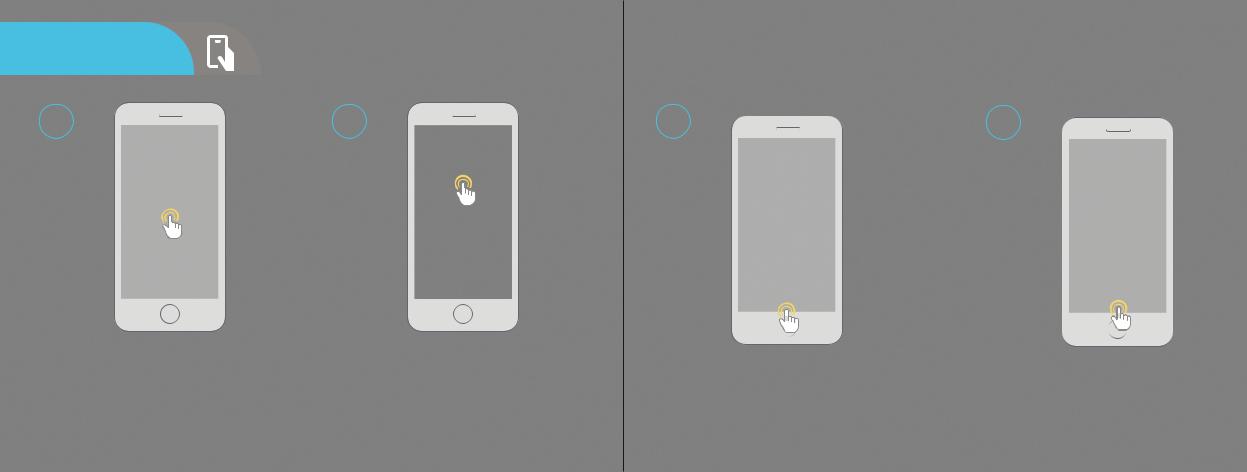
LET US KNOW
WHAT YOU THINK
We sincerely thank you for your business and are committed to ensuring your full satisfaction. If you are not entirely satisfied for whatever reason, please reach out to us and we will do all within our power to make it right.
As a young and growing company, it would mean the world to us if you could leave an honest online review about our product and services.
If your experience has been something less than amazing, please drop us an email at support@amcrest.com
or give us a ring at 1-888-212-7538
wwwfacebook.facebook.c m/a.com/amcrestcrest wwwamcrest.amcrest.com/videos.com/videos
wwwtwitter.twitter.com/a.com/amcrestsecuritycrestsecurity wwwamcrest.amcrest.com/support.com/support
wwwInstagram.instagram.com/a.com/amcresttechnologiescresttechnol gies
Simple. Reliable. Secure.
Simple. Reliable. Secure.
Welcome to the Amcrest Family!
QUICK START GUIDE
IP2M-841W-V3 / IP2M-841B-V3
For the most recent version of this Quick Start Guide visit:
amcrestwww.amcrest.com/quickstartwifi.com/quickstartwifi
www.amcrest.com
www.amcre .com

THANK YOU FOR PURCHASING
AN AMCREST CAMERA!
Please follow the instructions in this Quick Start Guide to get your camera set up.
Set Up Your Camera with Amcrest Cloud .............................................. |
3 |
1.Amcrest Cloud Mobile Setup
Configure your new Amcrest camera, select a username and password, and add it to your Amcrest Cloud account.
Set Up Your Camera with Amcrest View Pro .......................................... |
10 |
1. Ethernet WiFi Camera Setup |
|
Most stable and recommended setup method for WiFi cameras........................................................................... |
10 |
2. WiFi Configuration Setup |
|
Secondary setup method for WiFi cameras.............................................................................................................. |
16 |
Desktop Setup Methods ..................................................................... |
21 |
Access your camera using a Windows PC or Mac computer.
1.Amcrest Surveillance Pro (Recommended)
Most stable and recommended method of accessing your camera from a computer.
2.Amcrest Blue Iris
Professional surveillance software that allows you to view, playback and record up to 64 cameras.
3.Local Desktop Setup Using Web Browsers
Recommended methods for accessing your camera using a web browser.
Alternative Access Methods ................................................................ |
22 |
Alternative setup methods can be used as secondary means for setting up your camera. |
|
Physical Installation ............................................................................ |
24 |
Resources on how to physically install your WiFi camera. |
|
Troubleshooting/FAQ ......................................................................... |
25 |
Frequently asked questions as well as helpful tips when setting up your camera. |
|
Information & Links ............................................................................ |
29 |
Contact information and useful links for additional information. |
|
FCC Compliance Statement ................................................................. |
30 |
Provides insight into the FCC compliance statement for all Amcrest cameras. |
|
GET THE PREMIUM MONITORING EXPERIENCE WITH AMCREST CLOUD
|
Amcrest Cloud |
Amcrest View Pro |
|||
VIDEO STORAGE |
Secure off-site Cloud Storage |
MicroSD card |
|||
(most models) |
|||||
|
|
|
|||
MULTI-VIEW |
View unlimited cameras simultaneously |
View up to |
|||
CAMERA |
16 Cameras |
||||
EXPERIENCE |
|
|
|||
|
+ Alexa Support |
+ Camera Health Check |
+ Push Notifications |
+Two-Way Audio |
|
EXTRA FEATURES |
+ Email Alerts |
+ Motion Detection |
+ Motion Detection |
+ MicroSD Recording |
|
|
+ Push Notifications |
+ Direct Video Download |
+ Email Alerts |
+ NVR Recording |
|
|
|
|
|
*NVR not included |
|
PRICING |
Limited Free Plan |
FOREVER FREE |
|||
Premium plans start at $6/Camera/Month |
|||||
|
|
|
|||
|
Begin Amcrest Cloud |
Begin Amcrest View Pro |
|||
|
Setup on Page 3 |
Setup on Page 10 |
|||

SETUP YOUR
CAMERA WITH AMCREST CLOUD
AMCREST CLOUD
MOBILE SETUP
Setup procedure for adding a new camera to Amcrest Cloud.
•Before starting, it is recommeded to reset your camera. Simply unplug the power source and plug it back in.
•Please make sure your camera is plugged into a power source and your Ethernet cable is connected from the camera to your router. The Ethernet cable can be removed after setup.
•Make sure your camera and mobile device are on the same network during setup.
1Download and open the Amcrest Cloud app from the App Store or Play Store.
2
Once you have downloaded the Amcrest Cloud app, open the app and allow all notifications.
Press Sign Up to create a new Amcrest Cloud account. If you have already signed up for Amcrest Cloud, login and skip to step 5.
3 |
4 |
|
|
|
|
|
|
|
|
|
|
|
|
|
|
|
|
|
|
To sign up for an Amcrest Cloud account, enter your name, |
Accept the terms of use for the account. To view the terms of |
||||
and choose a username and password for the cloud account. |
use, click on View Terms. Tap on Agree to accept the terms of |
||||
Enter the password again into the Confirm password section. |
use and proceed with Amcrest Cloud setup. |
||||
Next, enter your email address. This will be the email address |
|
|
|
||
that will be associated with your cloud account. Enter the |
|
|
|
||
same email address into the Confirm email address section |
|
|
|
||
and press the Sign Up button when you are done. |
|
|
|
||
3 |
4 |

AMCREST CLOUD
MOBILE SETUP
5 |
6 |
7 |
8 |
|
|
|
|
|
|
|
|
|
|
|
|
|
|
|
|
|
|
|
|
|
|
|
|
|
|
|
|
|
|
|
|
|
|
|
|
|
|
|
|
|
|
|
|
|
|
|
|
|
|
|
|
|
|
|
|
|
|
|
|
|
|
|
|
|
|
|
|
|
|
|
|
|
|
|
|
|
|
Tap on Add Camera. |
Give the camera a name (Ex. Garage, Living Room, |
Scan the QR code |
on the back/side/bottom of the |
If you are adding a new camera that does not have a set |
||||||||
|
|
|
Kitchen, etc.) and tap Next to continue. |
camera or manually enter the camera's serial number into |
password the app will automatically detect that a new |
|||||||
|
|
|
|
|
|
the Enter camera S/N (serial number) field. Press Next to |
camera is being added. Tap on OK to continue. |
|||||
|
|
|
|
|
|
|
continue. |
If you already have a set password for your camera, enter |
||||
|
|
|
|
|
|
|
|
|
|
|||
|
|
|
|
|
|
Note: On Android mobile devices, tap on Scan QR Code to |
the username and password, press Next, and skip to |
|||||
|
|
|
|
|
|
access the QR code reader. |
step 10. |
|||||
|
|
|
|
|
|
5 |
|
|
|
6 |
||
AMCREST CLOUD
MOBILE SETUP
9
Set a new password for your device. The password must be between 8 to 32 characters long and contain only letters and numbers.
When you have finished setting the password, enter the password again in the Confirm Camera Password section. Tap Next to continue.
10
If you are connecting a WiFi device to the cloud and would like to enable WiFi via the Ethernet WiFi Setup Method, tap on Setup Camera WiFi.
Additionally, if you would like to skip the WiFi setup process and have your WiFi camera running solely as a wired device, tap on Skip WiFi Setup.
7
11 |
12 |
Note: For Android 8.0 and above users, you will have to enable Location Permissions in order to scan for your WiFi Network
|
|
|
|
|
|
|
|
|
|
|
|
If you wish to enable WiFi on your WiFi device, tap Scan to |
Confirm and adjust any needed settings |
||||
scan and select your WiFi network from the Wireless |
for your camera. When all settings have |
||||
Network List. |
been confirmed, tap on Finish. |
||||
Enter the password for your WiFi network into the |
|
|
|
||
Password field. When the WiFi password has been |
|
|
|
||
entered, tap Next to continue. |
|
|
|
||
8
 Loading...