

Page 1
4 III,
ana.
—" □□□ n
m
AUTOMATIC DRYER
OPERATING INSTRUCTIONS
Models
TEA400
and
TGA400
Amana Refrigeration Inc.
Amana, Iowa 52204
A Raylhaon Company
Part No. 57922R2
3/85
Page 2
TO DRY CLOTHES
FABRIC SElKnDR
□
Aim>MA1K'
CLEAN LINT FILTER:
use.
LOAD DRYER: Open dryer door.
Shake out laundry and place in
dryer.
CLOSE DOOR: Dryer will not op
erate with door open.
SELECT DRYING TEMPERATURE:
4
The FABRIC SELECTOR controls
the drying temperature.
SELECT TIMER SETTING in cycle
5
desired: AUTOMATIC REGULAR,
TIME or PERMANENT PRESS. These
cycles control the drying time.
START DRYER: Press the PUSHTO-START button.
before each
□
TO STOP DRYER AT ANY TIME:
Open dryer door or turn timer knob to
OFF position.
TO RESTART DRYER: Close door, re
set timer if necessary and press PUSHTO-START button. Amana dryers are
designed so they will not operate if the
door is open.
Page 1
Page 3

ABOUT YOUR
AMANA DRYER
AUTOMATIC CYCLES
The AUTOMATIC REGULAR cycle is designed to dry large and aver
age size loads of similar weight fabrics. When properly set for the
load, the dryer will determine the exact length of drying time, shut
the heat off when the clothes are dry and tumble for approximately
five minutes with no heat before stopping at the OFF position.
Uniformity of fabrics is important to ensure that all items will dry
in the same length of time.
THE TIMER KNOB WILL NOT ADVANCE WITH THE SAME REGU
LARITY IN THE AUTOMATIC CYCLE AS IT DOES IN THE TIME
CYCLE. See "ABOUT YOUR AUTOMATIC CYCLES", Page 4.
LOAD TYPES FOR AUTOMATIC REGULAR CYCLE
MAX-DRY — For fabrics that absorb a lot of water such as cotton
quilts, rugs and unusually large or heavy items. This setting will not
be required for most loads.
NORMAL — For cottons such as cotton knits, corduroys, cotton work
clothes and mixed loads.
DELICATE — For medium and lightweight fabrics (not permanent
press) as in sheets, dresses, dress shirts and for delicate items.
These cycles have approximately 5 minute cool-down (no-heat) period
at the end of the cycle,
PERMANENT PRESS cycle — For permanent press, polyester knits
and other synthetics that are "no-iron".
The last 5 minutes of the cycle is an automatic cool-down (no-heat)
period to condition the clothes and to lessen wrinkling for permanent
press loads.
Page 2
Page 4

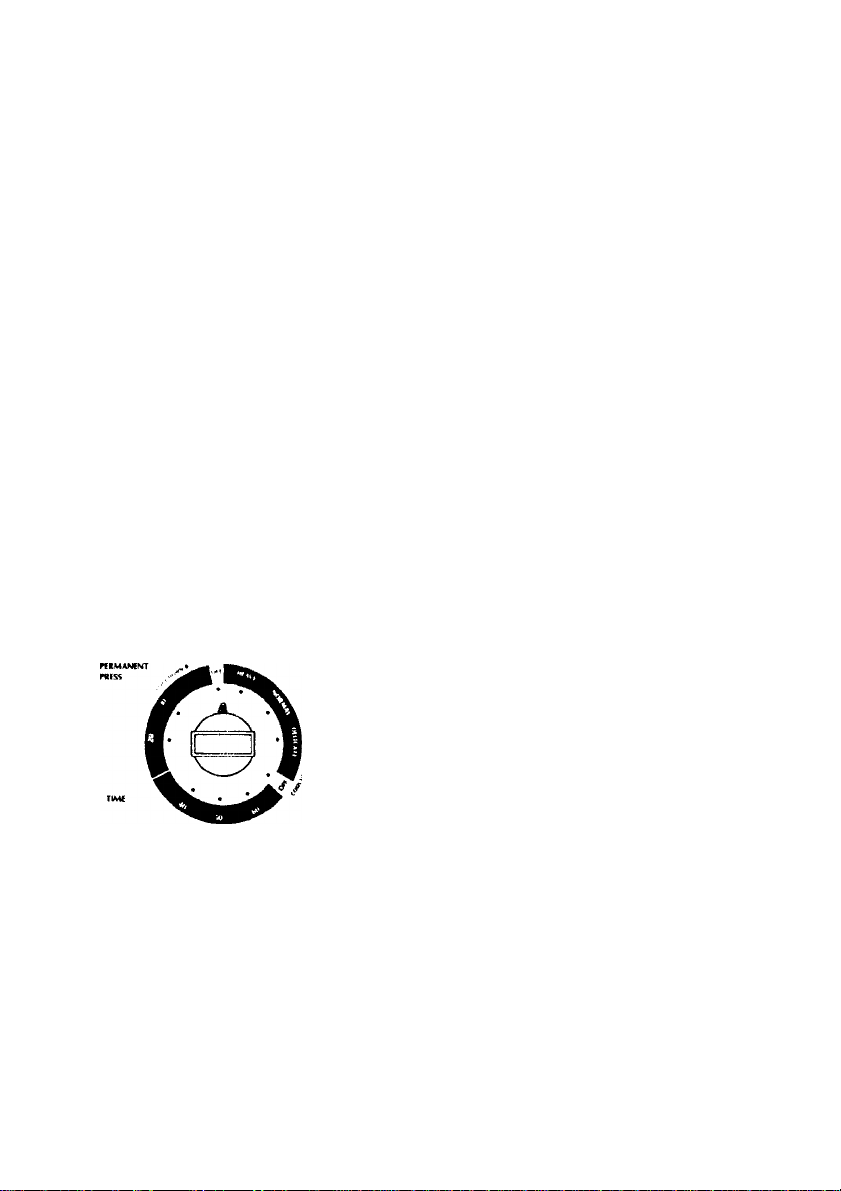
ABOUT YOUR AUTOMATIC CYCLES
The timer knob does not advance at an even pace in the automatic
cycles as it does in the time cycle.
For instance you may notice the timer knob remains in the same po
sition for 15 minutes before it begins to move. THE TIMER IS NOT
MALFUNCTIONING. This only means it took 15 minutes for the load
to become dry enough to start advancing the timer knob.
The length of time it takes for the timer knob to begin advancing de
pends on the type and size of load being dried. The following are ex
amples of settings used in the various automatic cycles.
MAX-DRY
Use this setting when drying rela
tively full loads of heavy cottons.
Page 4
NORMAL
Use this setting for cotton work
clothes, cotton sheets, dresses and
shirts.
DELICATE
Use this cycle for sheer and very
lightweight cottons and those items
labeled "Dry With Low Heat". Set
FABRIC selector on "delicate”
when using the DELICATE cycle.
Page 5

TIME CYCLE
This cycle will operate the dryer for the number of minutes for
which it is set (up to 70). Use for any load desired. Use for items
you might want to remove while still damp.
Turn the timer knob for the number of minutes required for drying.
This cycle has a 5 minute cool-down (no-heat) period. The dryer will
not heat if set for 5 minutes or less.
SUGGESTED DRYER SETTINGS
LOAD TYPE
COTTONS
Heavyweight/Average load
Mediumweight/Average load Normal
Lightweight/Average load
The times suggested are approximate. Your loads, installation and
drying requirements will determine the setting you should use.
FABRIC SETTING
(Temperature)
Normal 40-60
Normal
or
Delicate
MINUTES
(Approximate)
35-45
15-30
FLUFF
This is a no-heat cycle that tumbles and circulates room tempera
ture air through the load. Use for any items that should not be dried
with heat. Use also for fluffing shag rugs, bedspreads, pillows and
other items. The dryer will automatically shut off at the end of all
cycles when the no-heat "FLUFF" button on the FABRIC selector is
used.
Page 5
Page 6

LINT FILTER
The lint filter is located at the front of the dryer in the lower part of
the door opening (see illustration below).
CLEAN THE LINT FILTER BEFORE DRYING EACH LOAD. A clean
lint filter insures efficient drying.
The filter can be taken out to remove lint.
TO REMOVE LINT: Wipe across the filter with damp fingers.
TO REMOVE LINT FILTER: Lift filter up and out of door opening.
Filter may be washed if any residue is noticed on it.
TO REPLACE FILTER: Place filter in door recess and push in firm
ly. Be sure the edge of the filter with the word FRONT printed faces
the front of the dryer.
THE LINT FILTER MUST BE IN PLACE IN THE DOOR OPENING
WHEN USING DRYER OR LOADING AND UNLOADING DRYER.
LINT FILTER
EXHAUST SYSTEM
We recommend the dryer be exhausted to the outside atmosphere to
assure maximum drying efficiency. The duct pipe should be cleaned
periodically to remove any obstructions. Check occasionally to make
sure the flapper on the outside weather hood moves freely, is not
pushed in and that nothing has been shoved against it. Check too that
the flapper is not standing open. If it is open, leaves or even snow
could plug it. Any restriction of the air from the dryer will decrease
drying efficiency.
Page 8
 Loading...