

Page 1

17. Connectivity Layout
INSTALLATION MANUAL
IVECO
Model: Daily VI & Daily VII
Year: Daily VII > 2019 & Daily VI > 2014
Kit content: double DIN facia plate; mounting
brackets + screws; SWRC CAN bus & LIN bus
wiring harness; antenna adapters; camera
adapter; USB/AUX adapter; speaker adapter
16
1
Page 2

Content and wiring harness connections
1. This is how the original dashboard looks
like.
12
2
11
5
6
14
13
15
16
1A/1B - to RADIO connectors
2 -to CAR connector
3 -CAMERA input
4 -AUX input
5 -CAMERA control/REMOTE out
6 -POWER ANTENNA output
7 -to optional/extra SERVICES:
Orange – Reverse output
Green – Speed output
8 -to INTERFACE connector
10
1a
1b
3
4
8
7
9
Optional 1
Optional 2
9 - to LIN BUS – (point 7 / page 4-5)
10 - External power access
11 - SPEAKER connection (point 9 / page 9)
12 - CAN BUS access – (point 7 / page 4-7)
13 - FAKRA antenna adapter
14 - ISO/DIN antenna adapter
15 - USB/AUX adapter
16 - CAMERA input adapter
OPTIONAL 1 → (point 7 / page 5)
OPTIONAL 2 → (point 9 / page 9)
2. Remove the drawer and unscrew the
two screws as shown in the picture.
3. Remove the rubber compartment as
shown in the picture.
4. Unscrew the central screw and remove
the original facia.
5. In order to fit the radio unit some plastic
parts need to be cut and removed. The
parts to be removed are the four flaps
and the plastic rectangular central
protrusion highlighted in the pictures.
6. Connect the harness as indicated on left
side (page 2).
32
Page 3
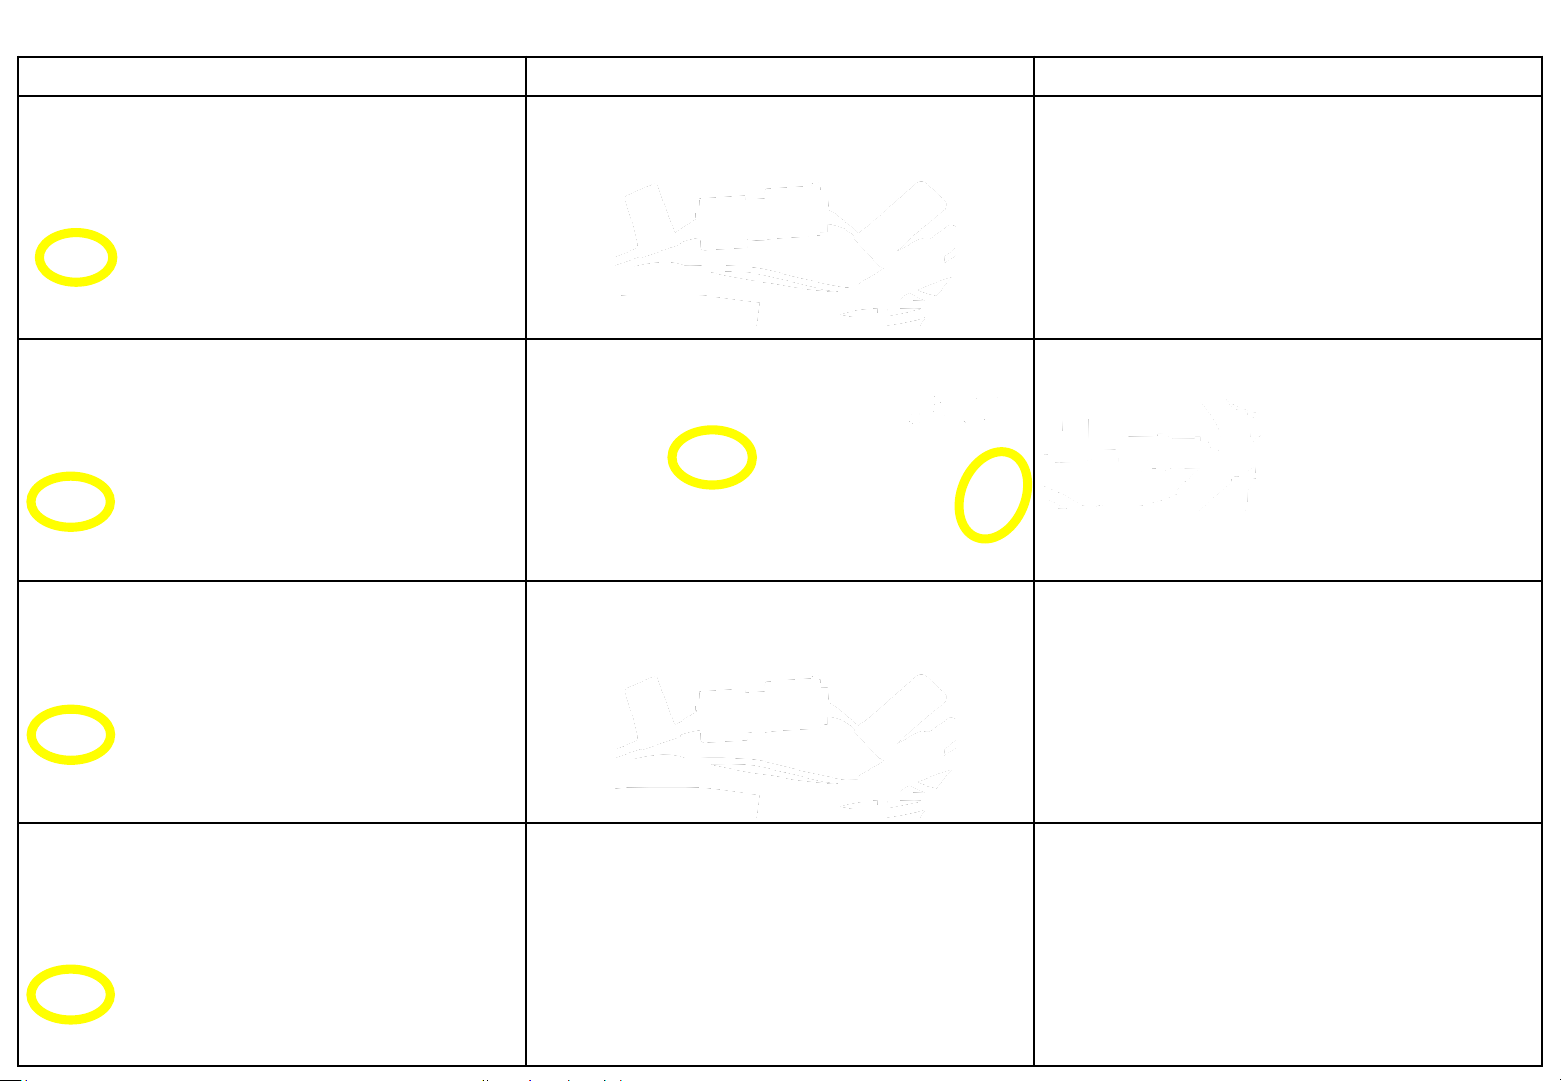
7.1. Set the harness according to the configuration of your vehicle – Iveco Daily VII
CONFIGURATION STEP 1 STEP 2
Configuration without radio steering wheel
controls and open dash
Configuration with radio steering wheel
controls and open dash
Configuration with radio steering wheel
controls and DAB radio
C2 and C3 connected. Select the configuration indicated in the picture.
Remove the tape and connect the brown and
thin white cables to cables (9) (see page 2)
of the interface harness.
C2 and C3 connected. Select the configuration indicated in the picture.
For more details see page 12 of the manual.
C1 and C3 connected.
Select the configuration indicated in the picture.
For more details see page 12 of the manual.
For more details see page 12 of the manual.
Configuration with radio steering wheel
controls and HI-CONNECT radio
For Daily VII with HI-CONNECT radio additional
parts → KIT-903ID-NAV is needed.
Please contact us to get assistance.
5
Page 4
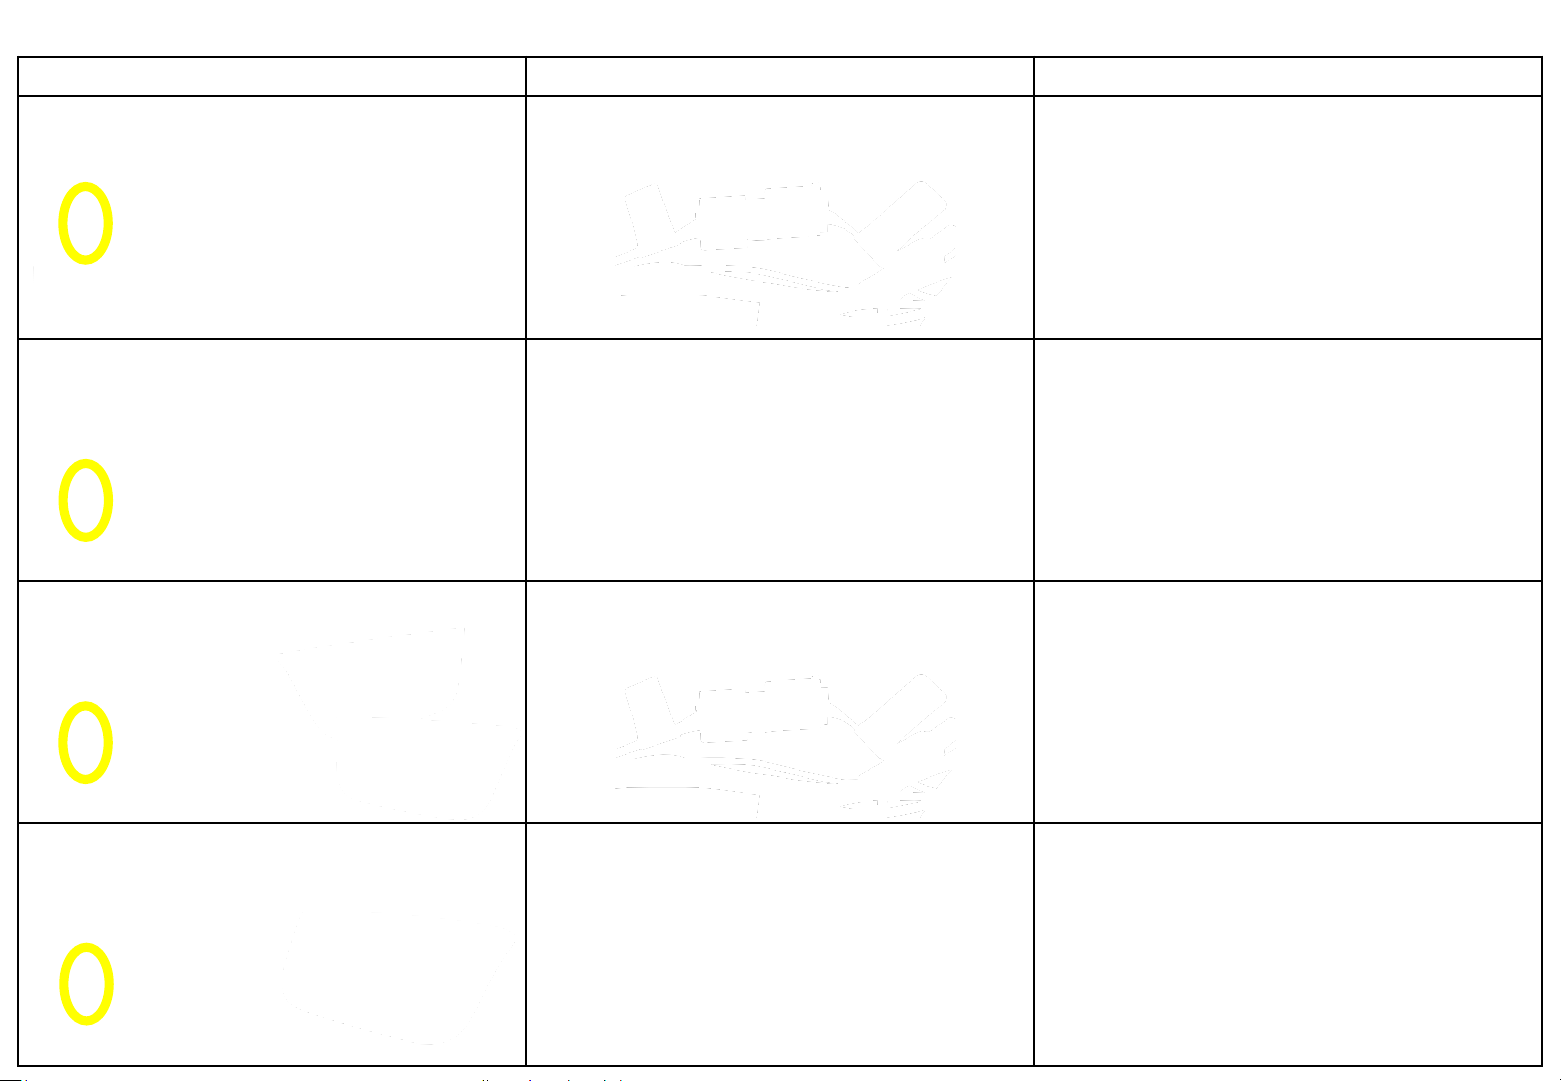
For Daily VI with Radio Preparation and SWRC with
voltage cables for SWRC
403ID6 is needed.
7.2. Set the harness according to the configuration of your vehicle – Iveco Daily VI
CONFIGURATION STEP 1 STEP 2
Configuration without radio steering wheel
controls and open dash
Configuration with radio steering wheel
controls and open dash
Configuration with radio steering wheel
controls and BT or DAB radio
C2 and C3 connected. Select the configuration indicated in the picture.
→ KWE-
Please contact us to get assistance.
C2 and C3 connected. Select the configuration indicated in the picture.
For more details see page 12 of the manual.
Select OPEN DASH 2019 or DAB RADIO 2019
indicated in the picture.
For more details see page 12 of the manual.
CAN must be OK,
LIN must be OK
in VEHICLE MENU
SETTINGS
(see page 13).
For more details see page 12 of the manual.
Configuration with radio steering wheel
controls and IVECONNECT radio
Select your original
installed radio type
(BT or DAB)
(see page 12).
Not compatible with Daily VI and IVECONNECT
radio.
7
Page 5
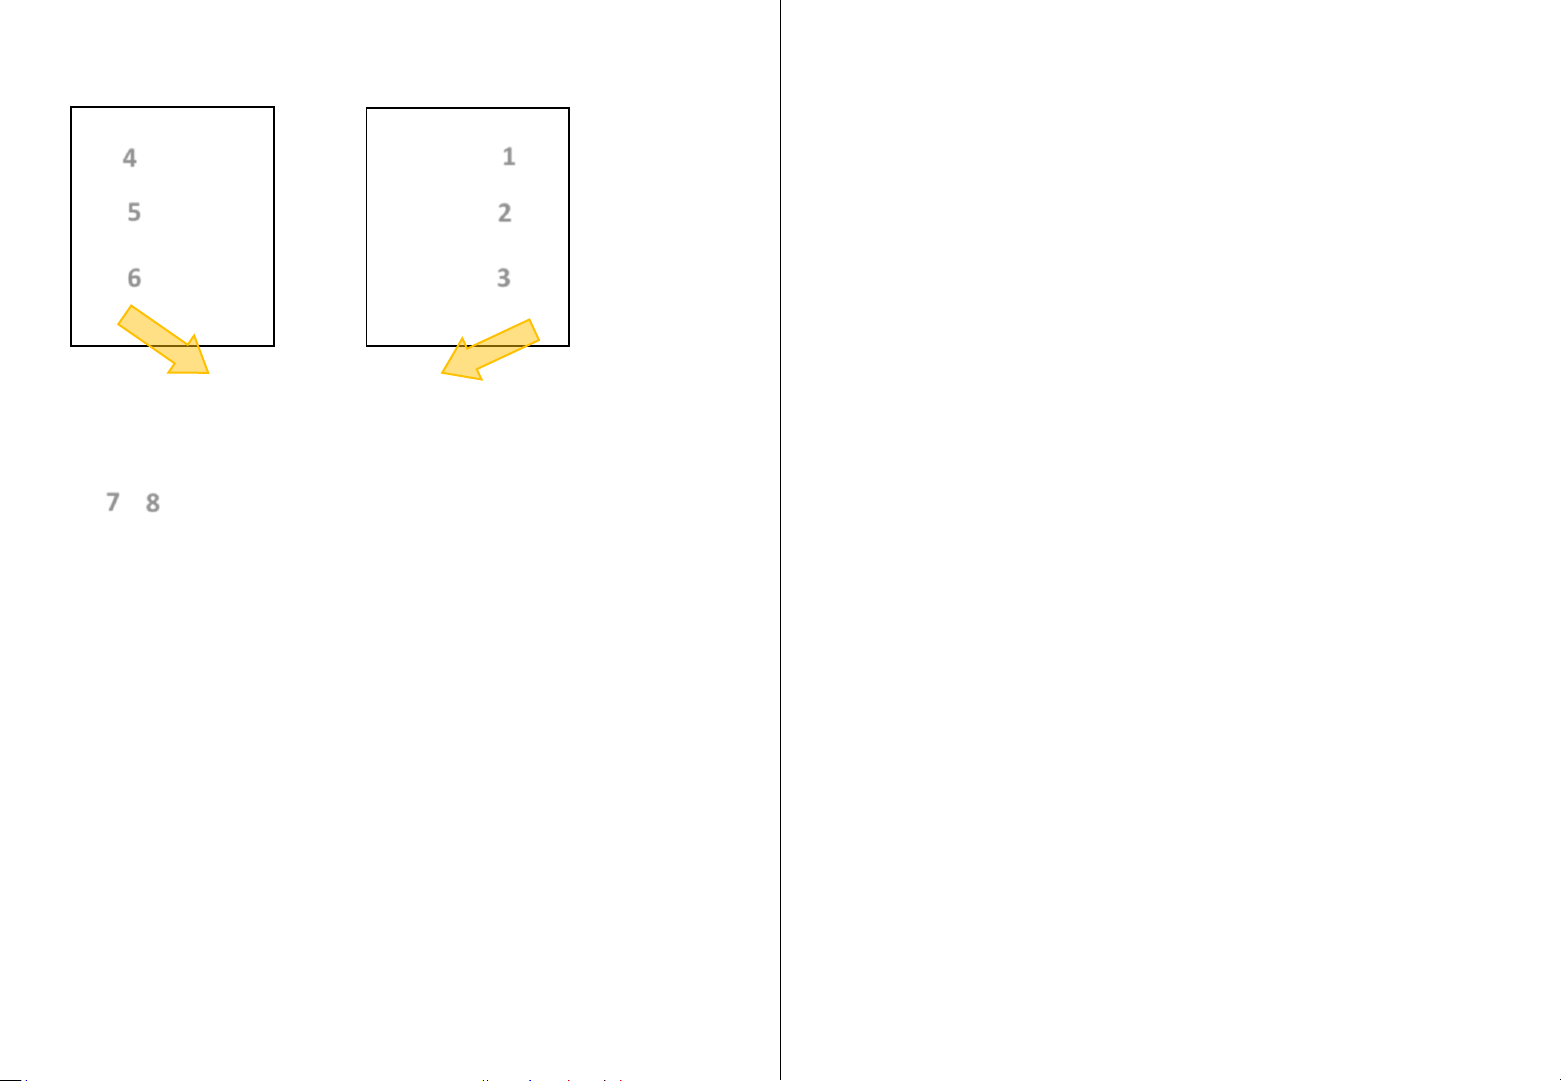
8. Steering wheel remote control functions.
9. Pair your phone and make a call.
Iveco Daily VII steering wheel remote control functions.
4
5
6
7
8
Iveco Daily VI steering wheel remote control functions.
1
2
3
1- Volume +
2- Mute
3- Volume -
4- Seek +
5- Source
6- Seek –
7- Accepting
8- Voice
9
If you hear the audio from WRONG SPEAKERS → install OPTIONAL 2
(see page 2 point 11).
incoming call
1- Mute 5- Accepting incoming call/Voice
2- Volume + 6- Seek +
3- Volume – 7- Seek –
8
4- Source 8- Reject incoming call
9
Page 6
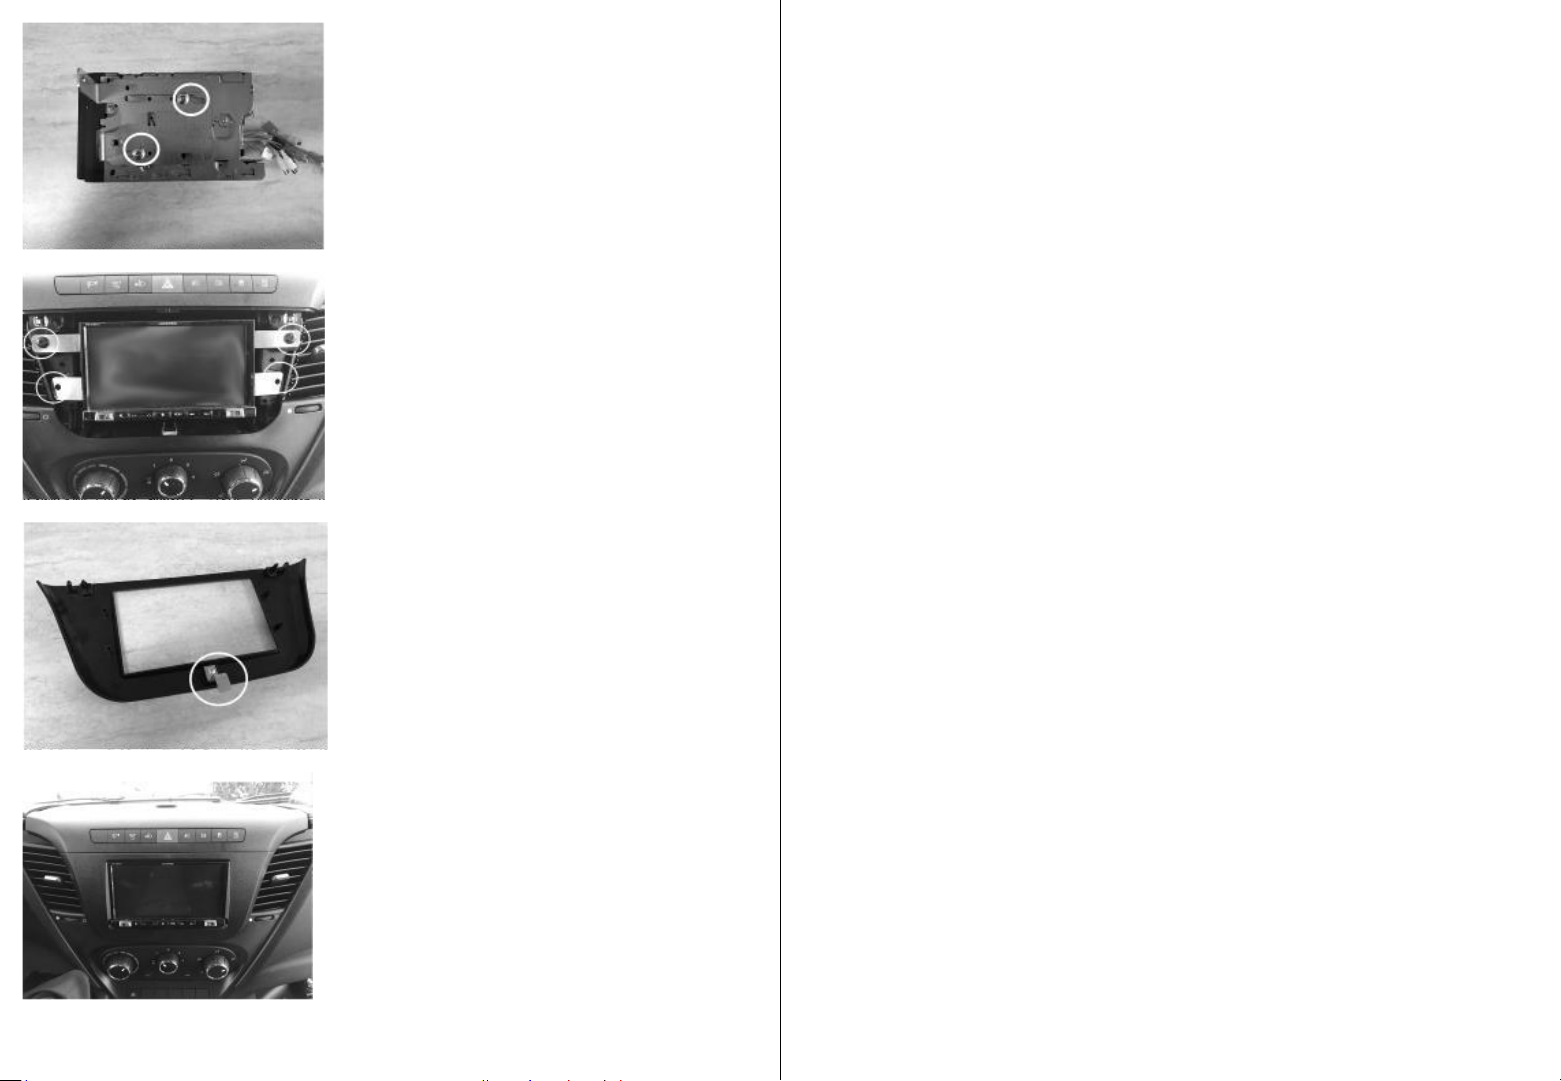
10. Take the left and right brackets and fix
them with the supplied screws as shown
in the picture.
Connect the harness as indicated on
page 2.
11. Make all connections, check the proper
functioning of the whole system and fix
the head unit with the OEM screws as
shown in the picture.
12. Fix the metal bracket with the supplied
screw as shown.
13. Mount the facia plate on the dashboard.
This is the final result.
1110
Page 7
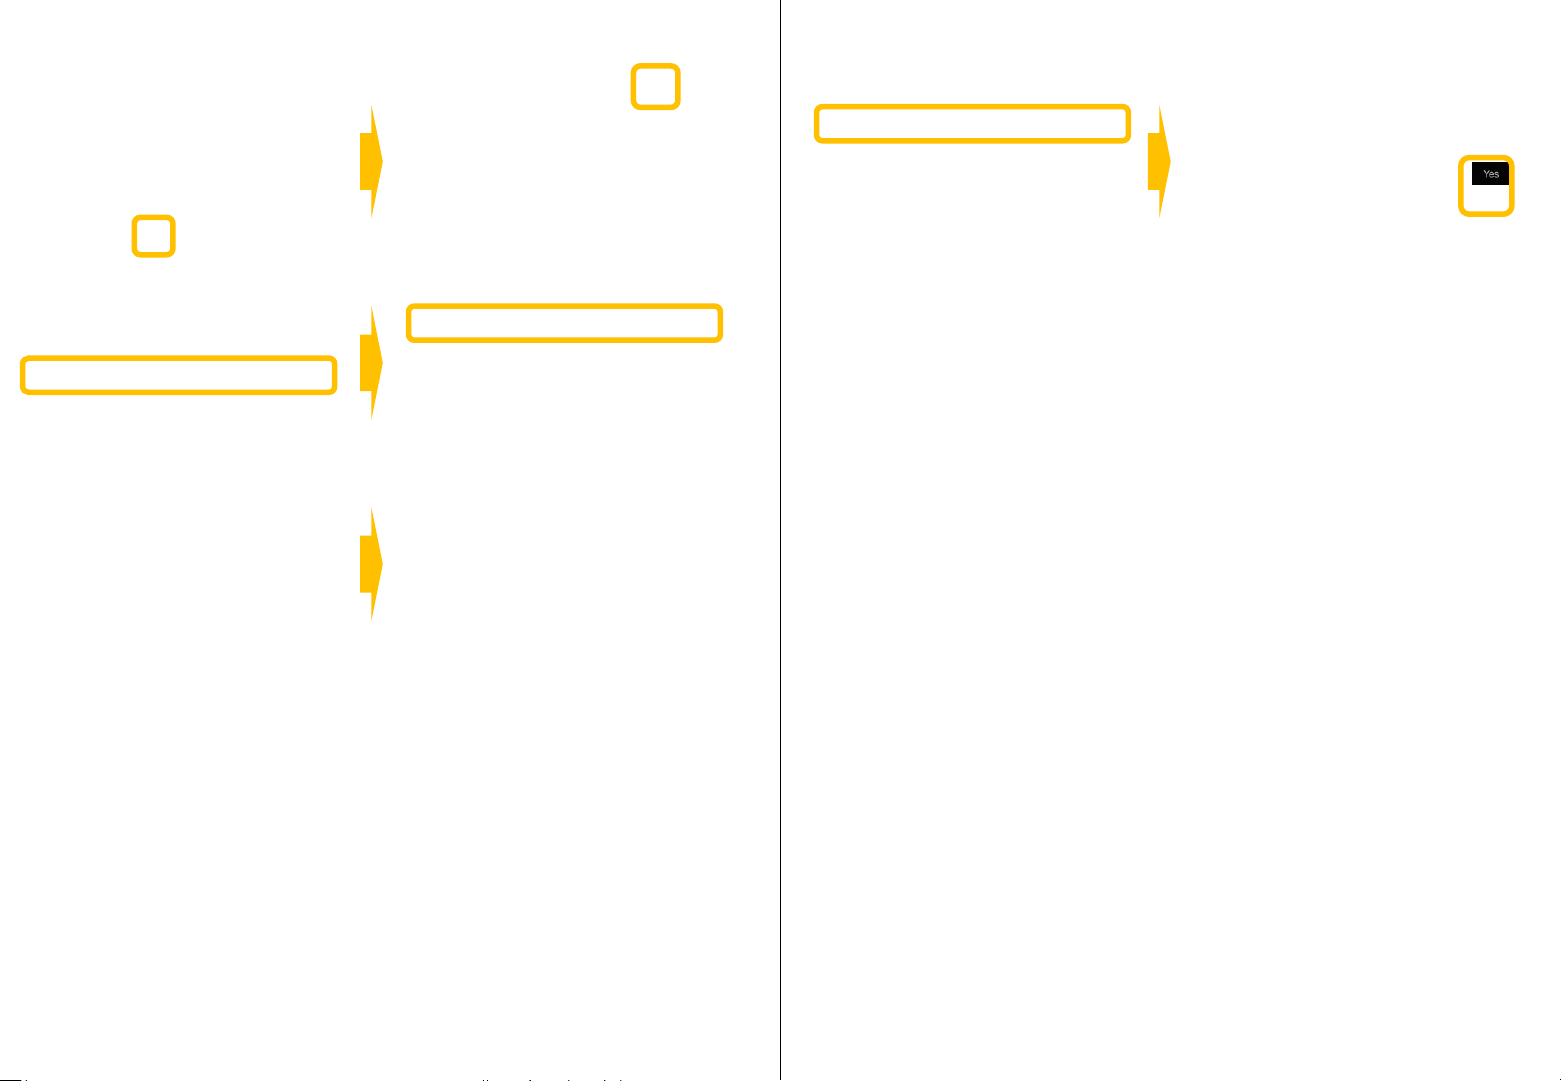
14. Access the interface radio setting menu as shown in the pictures. 15. Access the interface information as shown in the pictures.
CAN / LIN Activity (Yes / No)
- If the CAN / LIN connection to the vehicle is correct, display shows "Yes“.
Choose your original installed
radio type.
Confirm (Reboot) your radio type.
1312
Page 8

16. Access the interface settings as shown in the pictures.
Ignition Logic (only if supported by vehicle)
- Switch between Key and Door
- Key = the radio switches on automatically
when the key is turned in the ignition lock
- Door = the radio switches on
automatically when the central locking
(must be supported by the vehicle)
of the door is opened (PRE-ignition)
Ignition HOLD Minutes
- Adjustable between 0 and 30 min(s)
- The radio "runs on" the set time (0 to 30
min(s)) when the ignition is switched off
from the vehicle / radio
Reverse Logic
- Switch between Natural and Delayed
- Natural = Switches the reversing signal
with activation / deactivation of the
reverse gear immediately ON / OFF
- Delayed = Switches the reversing signal
with activation / deactivation of the
reverse gear with a delay ON / OFF
Reverse ON HOLD Seconds (0 to 30sec(s))
- When you are engaging the reverse gear,
the interface will trigger the reverse to
the radio after the time period
(0 to 30sec(s)) specified in the menu.
Reverse OFF HOLD Seconds (0 to 30sec(s))
- When you are removing the reverse gear,
the interface will remove the reverse to
the radio after the time period (0 to
30sec(s)) specified in the menu.
(The camera image of the rear-view
camera is displayed accordingly longer.)
Button Illumination
(only X903D-ID/X903DC-F)
- Switch the button illumination:
Orange, Dim Orange, Yellow, Dim Yellow,
Red, Dim Red, Green, Dim Green, Blue,
Dim Blue, White, Dim White
Preflight Check
(menu item not available)
- Driver receives notification before start if
equipment is secured
Button Configuration
(only X903D-ID/X903DC-F)
- Configures the respective key assignment
depending on the installed position of
the keys (not used)
Steering Wheel
(only X903D-ID/X903DC-F)
- Switchable between Left (default) and
Right
Factory Settings
- Resets all interface settings
1514
 Loading...