

Page 1
USER MANUAL
www.AlphaCommunications.com
42 Central Drive, Farmingdale NY 11735-1202
Phone: 631-777-5500 Fax: 631-777-5599
Toll-Free: 1-800-666-4800
Email: info@alphacommunications.com
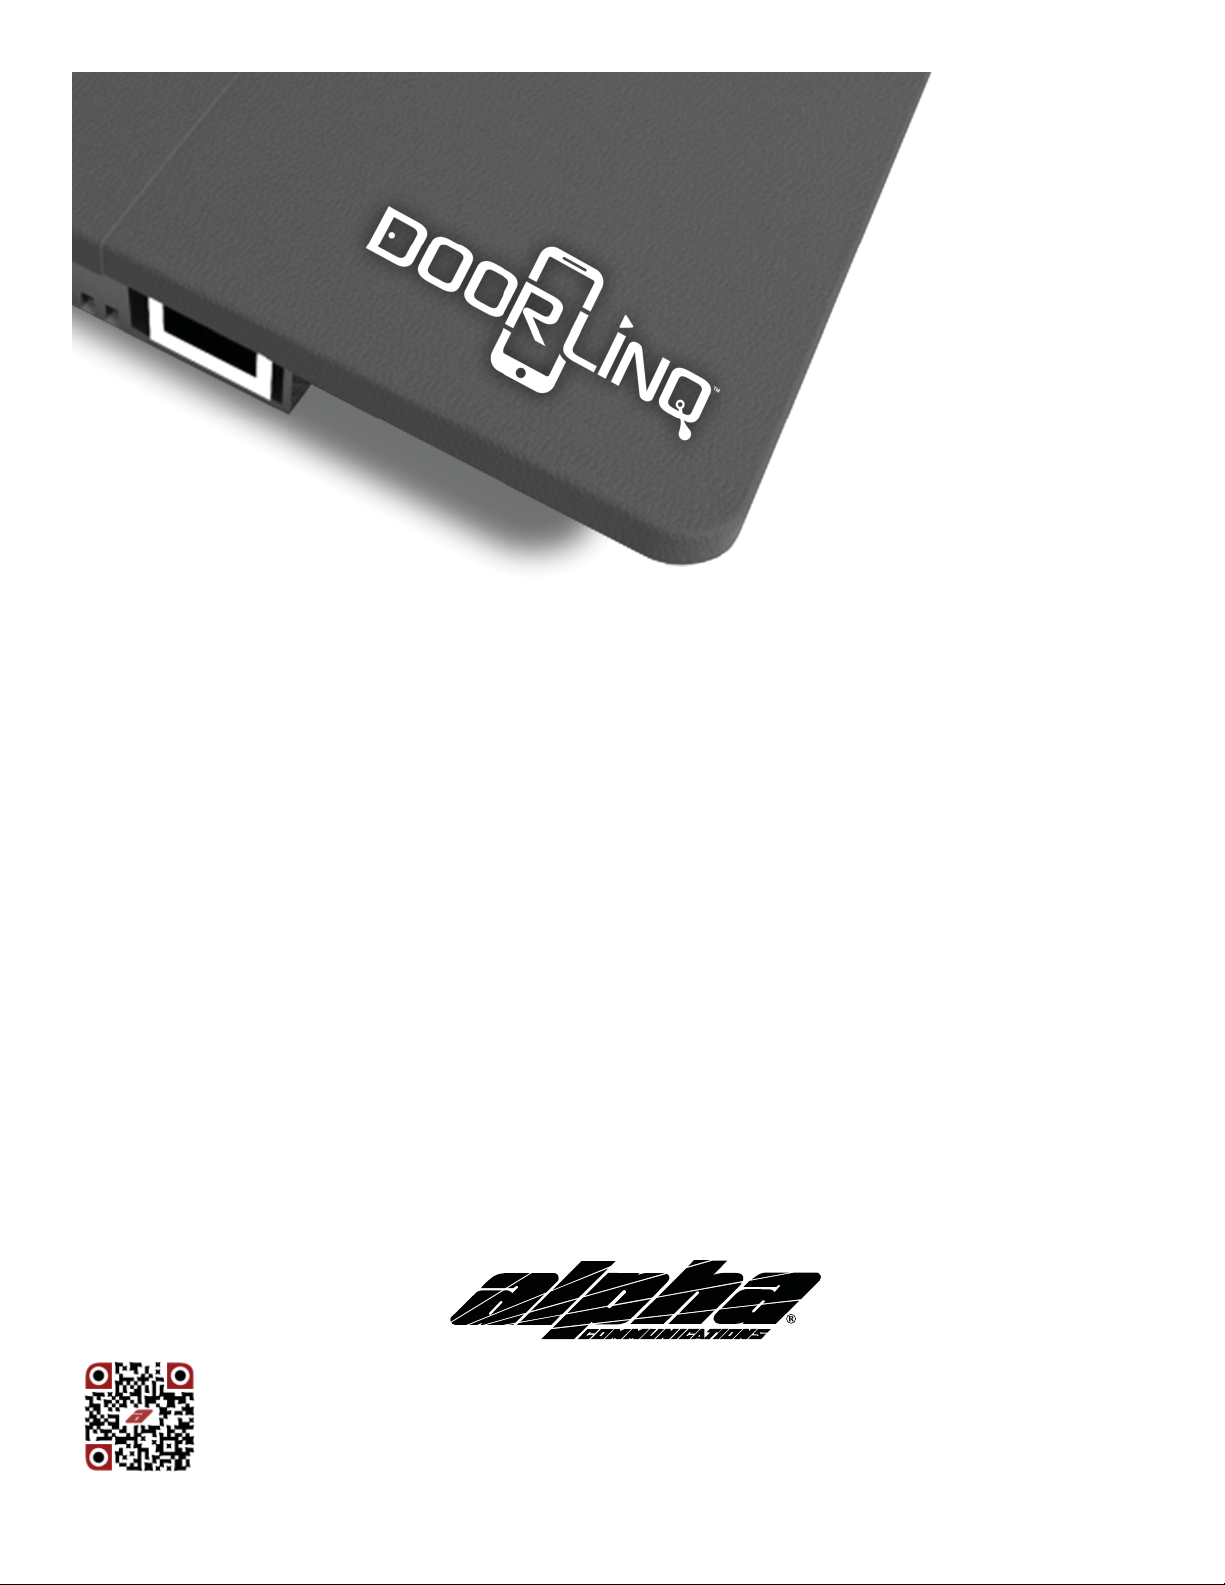
AWD220
(Rev 1) 09/2016
Page 2
QUICK START GUIDE
1. Simple Installation
DOORLINQ™ is wired exactly like a monitor. It is paralleled to the previous monitor, or if there are no monitors, it wires directly
to the outdoor remote station(s). See “Block Wiring Diagram” and “Detailed Wiring Diagram” on page 3.
Connecting to a system without any monitors:
Connect CN1 on the DOORLINQ™ unit to Indoor 1 and Indoor 2 on the outdoor remote. If you have a second outdoor
remote, connect CN2 on the DOORLINQ™ unit to Indoor 1 and Indoor 2 on the second outdoor remote. Plug-in the
included power supply, and connect it to the jack marked Power on the DOORLINQ™ unit.
Connecting to a system with 1-2 monitors:
Connect CN1 on the DOORLINQ™ unit to CN1A on the last monitor on the line. Plug-in the included power supply, and
connect it to the jack marked Power on the DOORLINQ™ unit. Plug-in the included power supply, and connect it to the jack
marked Power on the DOORLINQ™ unit.
2. Mobile Application Download
DOORLINQ™ utlizes the mobile app called ControlCam. It is available to
download free onto as many mobile devices as you’d like. ControlCam is currently compatible with Google Android devices and Apple iOS devices. Please
make sure to keep your app version up-to-date for optimal functionality.
Page 2
Page 3

BLOCK WIRING DIAGRAM
DETAILED WIRING DIAGRAM
Page 3
Page 4

2. Initial Setup
Option 1: Hard-Wiring DOORLINQ™ to Your Ethernet with RJ45 and CAT5 Cable
1. Plug one side of the CAT5 Cable into the RJ45 connector to the back-side of the DOORLINQ™ unit. Plug the other end into your
networking hardware.
2. Skip to section 3 “Adding DOORLINQ™ to Other Mobile Devices after Initial Setup”
Option 2: Using Wi-Fi to Connect DOORLINQ™ to Your Ethernet
Step 1: Perform a factory-reset on your DOORLINQ™ unit.
To do this, locate the recessed reset button on the under-side
of the unit. Using a small screwdriver, depress the button for 5
seconds, or until a reset tone is heard. You MUST com-
plete this step even if the unit is brand new
from the factory. Once done, please wait 1-2 minutes for
the unit to reboot, then proceed to NEXT STEPS for your device
type.
NEXT STEPS FOR iOS DEVICE (iPhone, iPad, etc..) WI-FI SETUP
Step 2: In your device’s settings, go to Wi-Fi settings and connect your device to the network named LIDxxxxxxxx.
Step 3: Open the ControlCam App.
Step 4: Click Add a Device
Step 5: Click Add a New Device
Step 6: Click Start Confi guring
Step 7: Choose the name of the correct Wi-Fi Network you want DOORLINQ™ connected to. Enter your Wireless Network
Password and click Setting.
Step 8: Input the default username (admin) and password (1234) and click OK to confi rm. The DOORLINQ™ may restart,
so please wait about 1 minute for a full startup.
Step 9: From the device list, click the triple-dots in the upper-right hand corner of your door station’s row and turn on
the Outdoor Call-In option.
NEXT STEPS FOR ANDROID DEVICE WI-FI SETUP
Step 2: Open the ControlCam App.
Step 3: Click Enter Now
Step 4: Click Add a Device
Step 5: Click Add a New Device
Step 6: The app will show that it is Searching... and will list the DOORLINQ™ unit ID.
NOTE: If it is not found, please start back at Step 1. Be sure to factory reset the unit and wait for it reboot.
Step 7: Click the DOORLINQ™ unit ID, and then click Start Confi guring.
Step 8: Select the correct Wi-Fi Network ID and Enter the Password for that Network.
Step 9: When the connection succeeds, the app will say Confi guration Successful. Click OK.
Step 10: Input the default username (admin) and password (1234) and click OK to confi rm. The DOORLINQ™ may
restart, so please wait about 1 minute for a full startup.
Page 4
Page 5

3. Adding DOORLINQ™ to Other Mobile Devices after Initial
Step 1: Make sure your mobile device is connected to the same network as the DOORLINQ™ unit.
Step 2: Download, Install and Open the ControlCam App.
Step 3: Click Enter Now
Step 4: Click Add a Network Device
There are 3 methods to add a network device:
Option A: LAN Search
Click LAN Search then click the found device. Input default username (admin) and password (1234). Click
OK. The DOORLINQ™ has successfully been added.
Option B: QR Code Scan
Click QR Code Scan. Scan the QR Code on the bottom of the DOORLINQ™ unit. Input default username (admin)
and password (1234). Click OK. The DOORLINQ™ has successfully been added.
Option C: Manually Input
Click Manuall Input then input the DOORLINQ™’s ID (found on the QR Code on the bottom of the DOORLINQ™ unit)
default username (admin) and password (1234). Click OK. The DOORLINQ™ has successfully been added.
Step 5: From the device list, click the triple-dots in the upper-right hand corner of your door station’s row and turn on the
Outdoor Call-In option.
4. Modifying DOORLINQ™ Date & Time Settings
NOTE: Most settings require advanced networking knowledge. Please do not
make any changes unless you are certain about the steps you’re taking. Thank
you.
Step 1: Find the IP Address of your DOORLINQ™ unit from your router DHCP Client List, or other applicable network tool.
Step 2: Enter the IP Address of the DOORLINQ™ unit into a web browser. You will enter the settings page for the IP Camera.
Step 3: Enter Username (default: admin) and Password (default: 1234)
Step 3: Click Login
Step 4: To Navigate to Date and Time Settings, click:
Confi g -> System -> System Time -> Synchronize with Local Computer to Set Local Time
Page 5
Page 6

4. Mobile Application User Guide
Talking
When the visitor calls, the device will receive the ring alert. The user can click Accept or Decline of the pop-up call alert. Press
and Hold “ “ to start talking and release to listen.
Unlocking The Door
Input unlock password while talking or monitoring (Same DOORLINQ™ password, default: 1234)
Monitoring
Click the device on the device list to begin monitoring the outside environment. If you want to talk with the visitor and hear
sound click on the Microphone and Headset icons
Image Capture
Click the Camera icon to capture a still image of the live video strem
Video Recording
Click the Video Camera icon to start video recording. When fi nished, click the icon with a circle and triangle.
Deleting a DOORLINQ™ Device from the App
Step 1: Click the Triple-Dots in the upper-right hand corner of the DOORLINQ™’s listing.
Step 2: Turn OFF the option for Outdoor Call-In
Step 3: Click Edit
Step 4: Click Delete
Step 5: Click OK to confi rm deletion
Changing a DOORLINQ™ Unlock Password
Step 1: Click the Triple-Dots in the upper-right hand corner of the DOORLINQ™’s listing.
Step 2: Turn OFF the option for Outdoor Call-In
Step 3: Click Unlock Password Setting
Step 4: Input your old password and then enter your desired new password
Step 5: Click Setting to confi rm changes
Page 6
 Loading...