


Model : ABLDVD2202-HDIDUC
22” Digital LCD TV
with DVD DVBt “Freeview” HDMI USB
SD card reader
3
4
5
6
MAINS LEAD connection 7
ANTENNA (aerial) connection 7
SCART connection 8
Y.Pb,Pr connection 8
S-VIDEO connection 9
VGA (PC) connection 9
HDMI connection 10
CAM (conditional access module) 11
USB and SD CARD ports 33
SERVICE PORT 36
Remote Control TV mode 12
Remote Control DTV mode 13
Remote Control Teletext mode 14
Remote Control DVD mode 15
Remote Control Setup 16
Tuning Menu 17
Auto Tuning 17
DTV Manual Tuning 18
ATV Manual Tuning 18
Program Edit 19
Picture Menu 20
Sound Menu 21
Time Menu 22
Option Menu 23
Lock Menu 24
Fast Channel List 25
Input Source 25

Basic Operation 26
Digital Audio / J PEG Playback 26
Function settings 27
System Setup 27
Screen Saver 28
Password 28
Rating 29
Language Setup 30
Audio Setup 31
USB and SD Card Reader 33
34
35
36
36
37
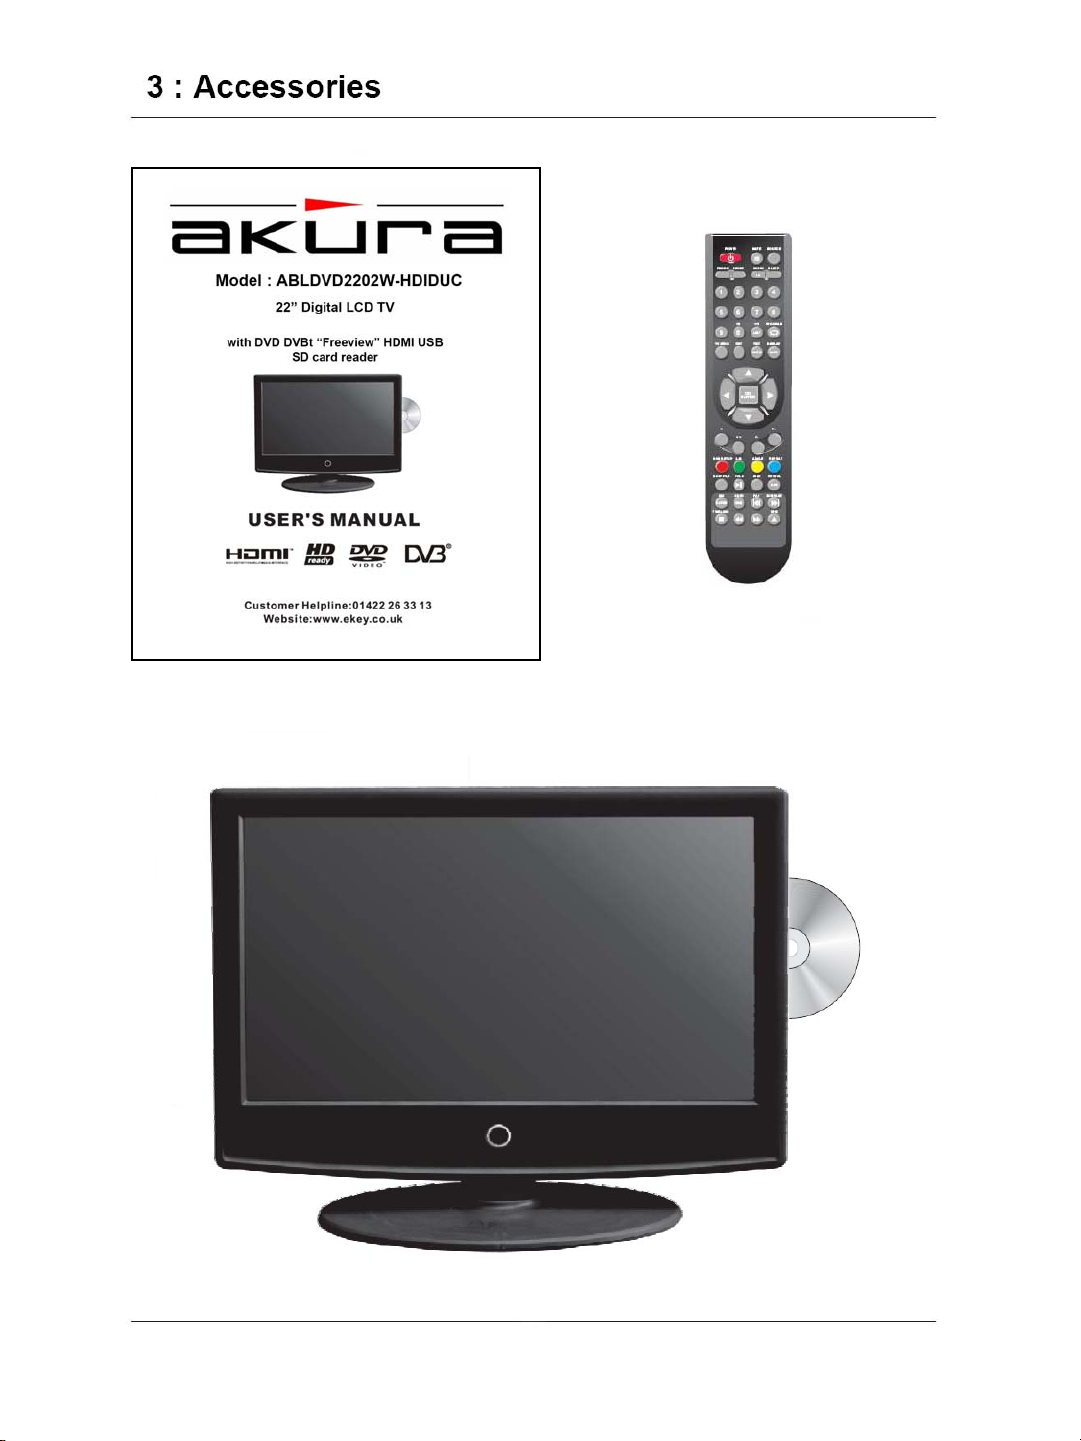
User Manual
Remote Control
LCD TV Set
5

4 : Front Controls and Rear Connections
Front View
USB Port
SD Card port
Standby Led
Infra red
Receiver
Mains
Switch
Rear and Left side view.
Eject. Press to eject DVD disc.
Play/Pause. Press once to play, press again to
pause.
Stop. Press to stop DVD playing.
Vol + / Vol - Adjusts volume level and adjusts
levels in Menu mode.
P+ / P- Selects TV channels an d item s in menu
mode
Menu. Enters menu mode.
Source. Selects signal source
Power. Press once to bring TV out of standby.
Press again to return TV to standby.
Input / Output Connections
HDMI : High quality input from DVD or other
source.
VGA : Connect RGB output from PC.
SCART : Connect normal quality signals from
VCR or other source.
S-VIDEO : Connect good quality video signal
from VCR/DVD or other source.
Y,Pb,Pr : Connect good quality video signals
from VCR/DVD or other source.
AUDIO : Connect audio from PC, or when
using S-VIDEO or Y, Pb,Pr signals.
PHONE. Connect headphones.
RF : Connect a Tv antenna.
SERVICE PORT : Do NOT connect to this port
6
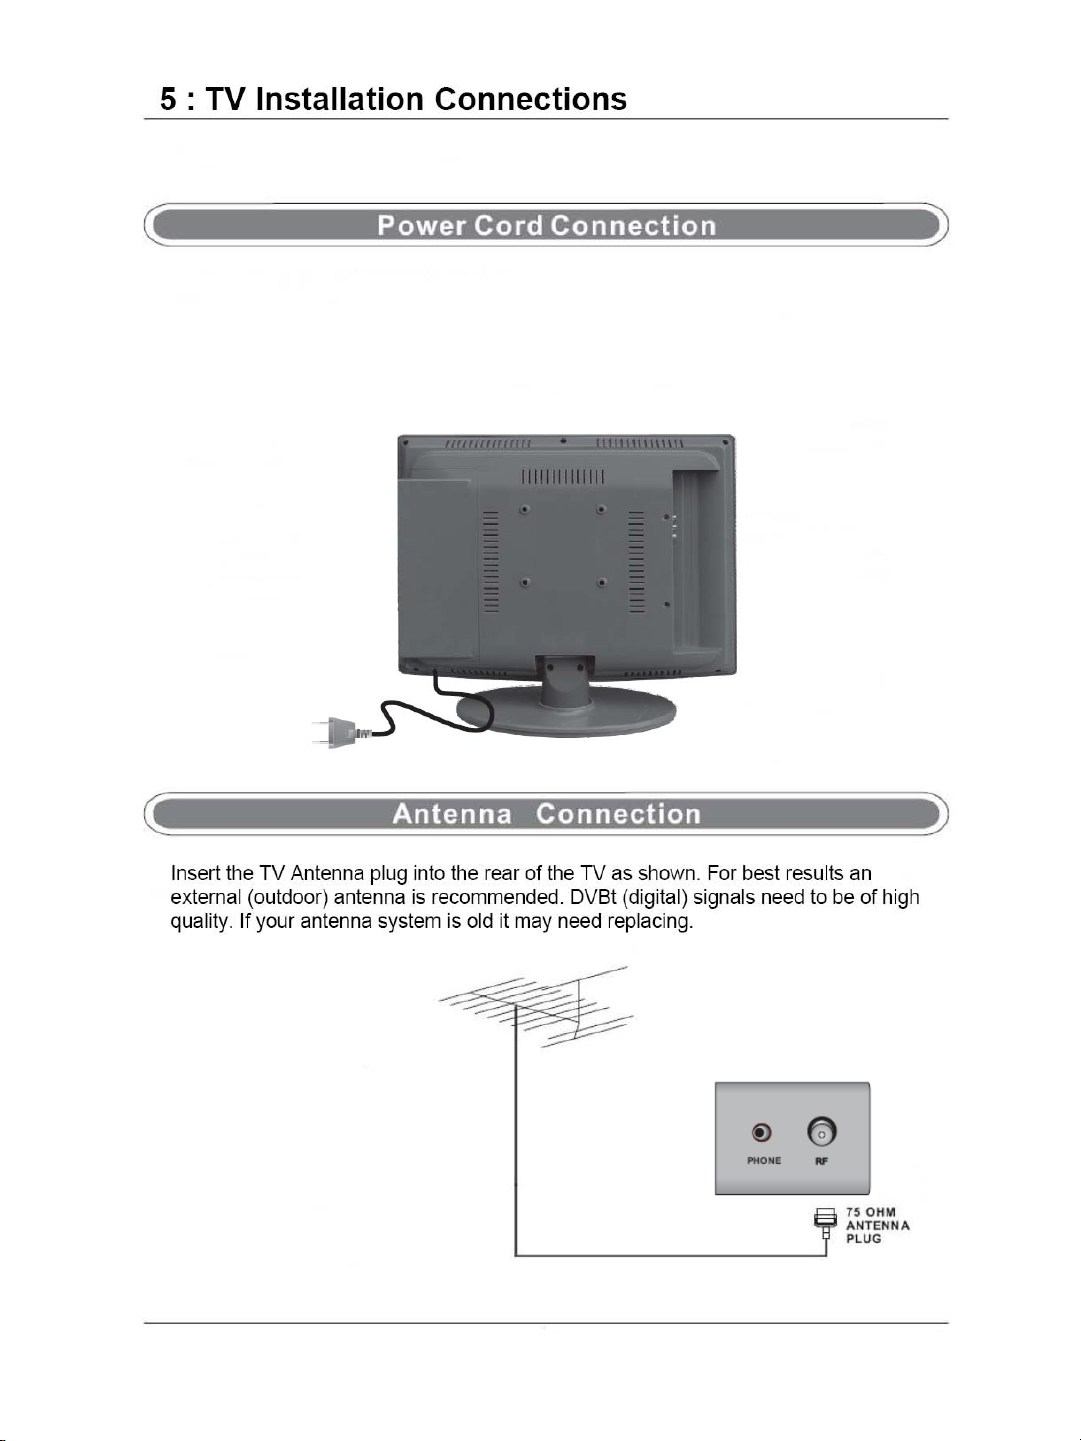
Connect the mains plug into the mains supply connector and switch on. Turn on the mains
switch at the front lower right side of the TV, a red led will be displayed and the TV is in standby.
Press the “POWER”
green. The AKURA Logo wil
seconds, this is normal. After the delay the TV will operate normally.
button on the side of the TV and it will come out of standby, the led will turn
be displayed and then the TV screen will go black for approx 10
7
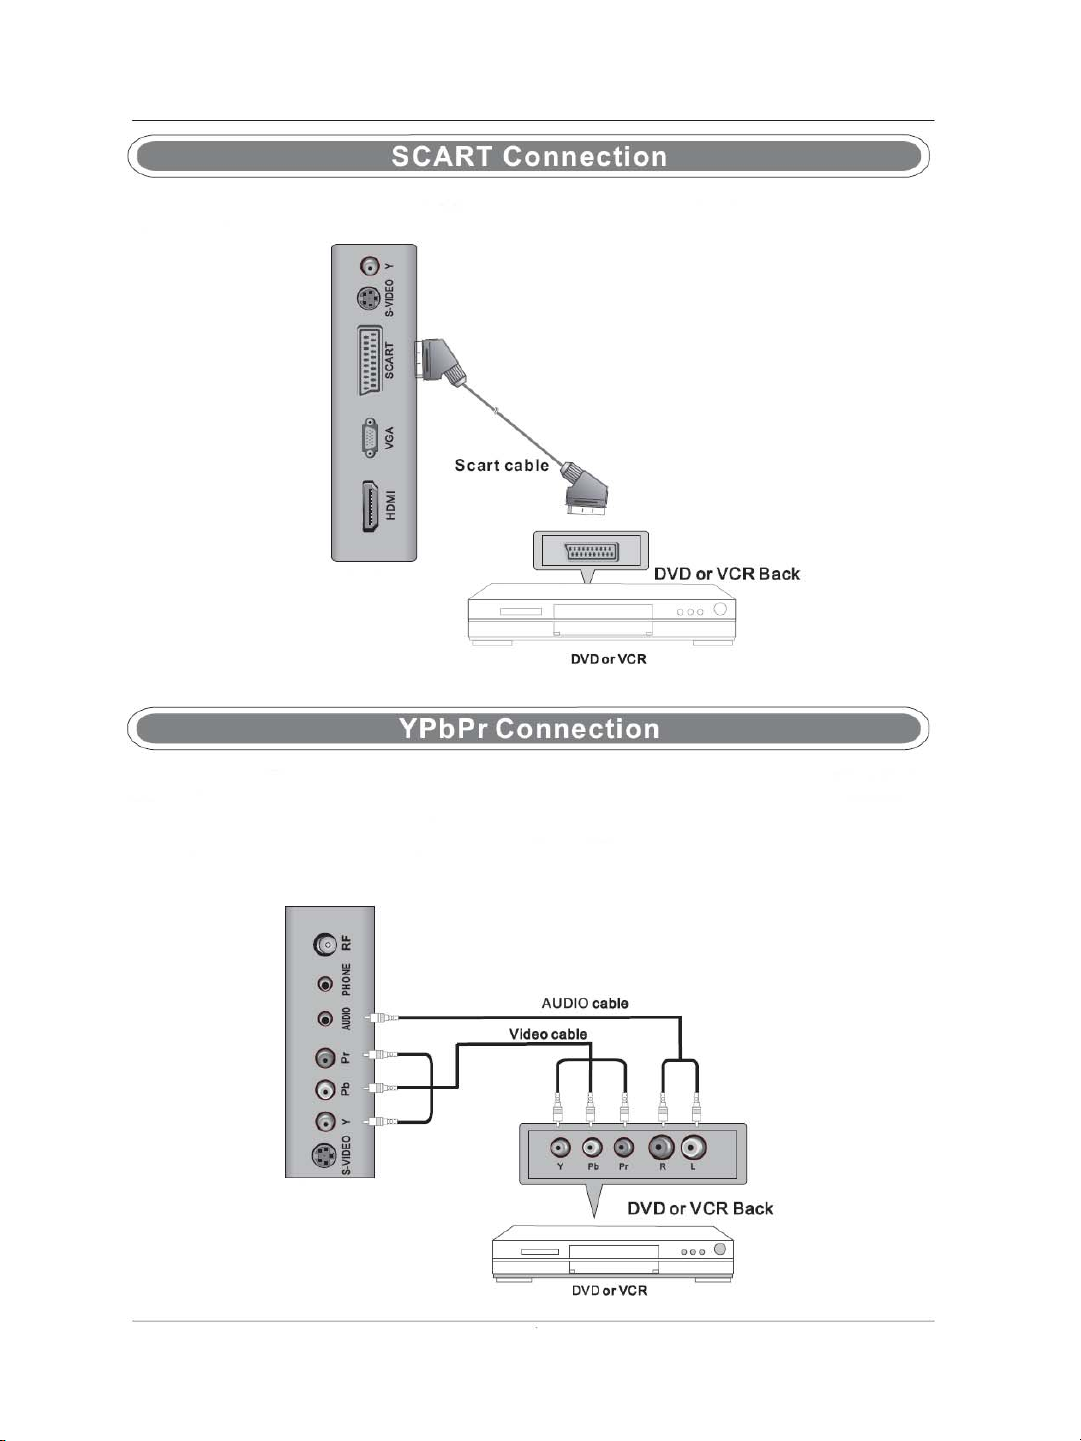
Connect a SCART lead (not supplied) from the DVD/VCR and to the SCART connector on the TV.
Select SCART using the SOURCE button of the TV.
Connect the Y PbPr
supplied). The picture quality will be improved, compared with SCART or AV input. Connect the Audio
output of the DVD,VCR or other item to the Audio input sockets of the TV, using a stereo RCA cable , (not
supplied). Select Y,Pb,Pr
than one video cable to each item as this may cause interference
output of the DVD, VCR or other item to the Y PbPr
using the SOURCE button on the remote control or TV. Do not connect more
on the picture.
8
input on the TV. (lead not
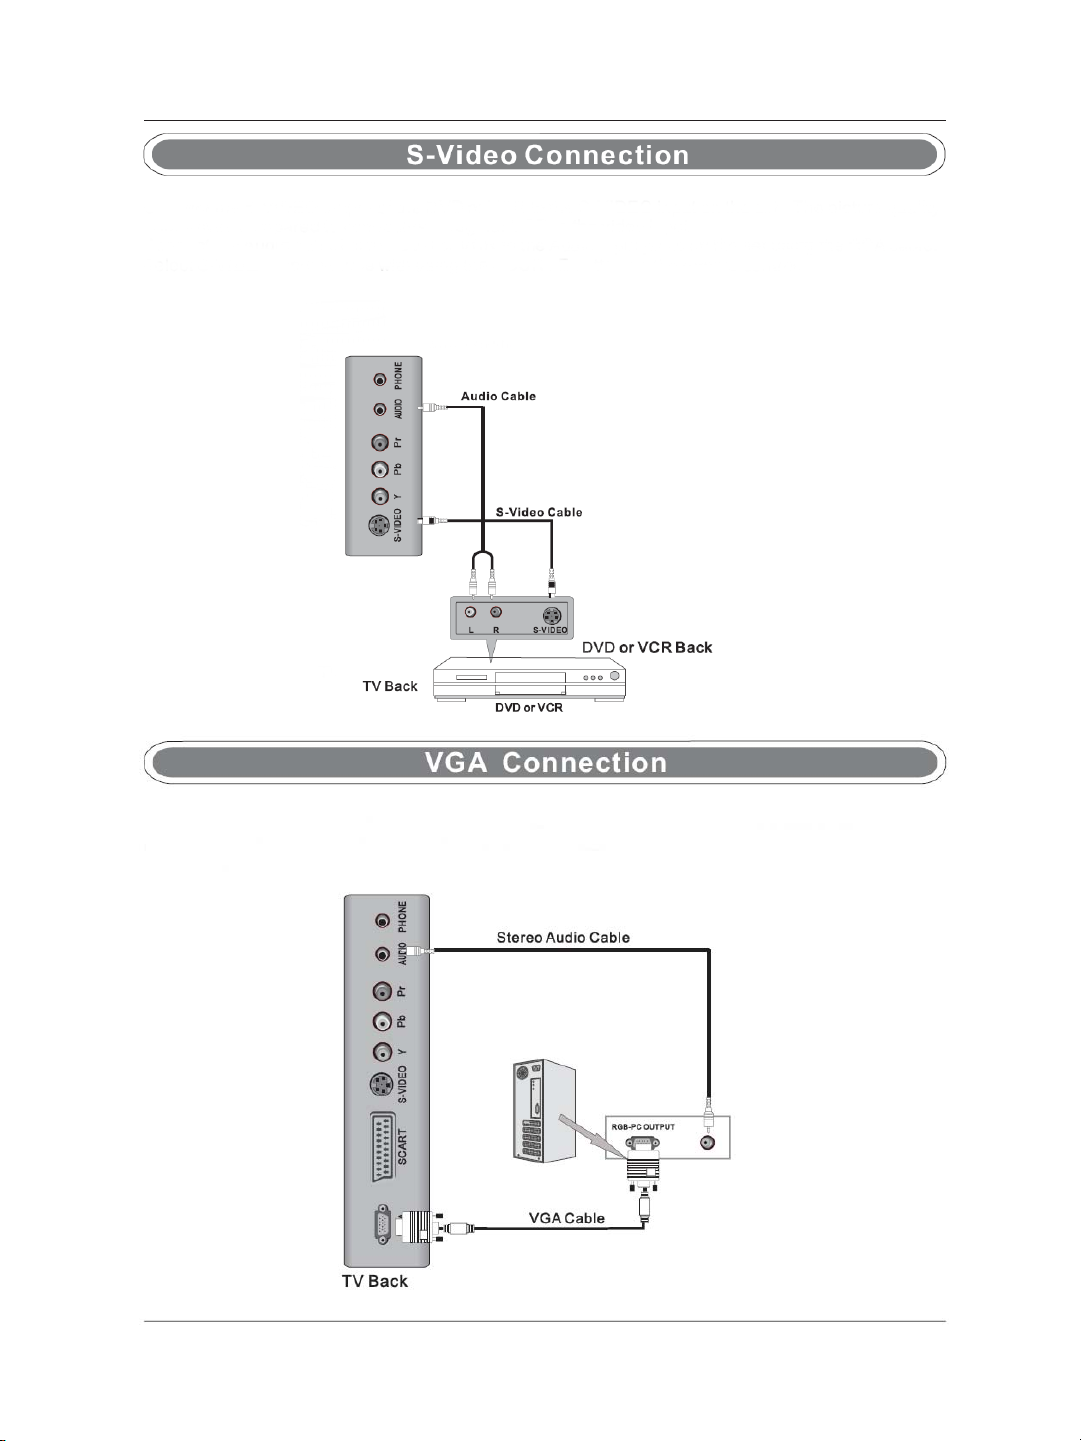
Connect the S_VIDEO output of the DVD, VCR or other item, to the
S-VIDEO input on the TV. The picture
quality will be improved compared with SCART or AV input. Connect the Audio output of the DVD, VCR or
other item to the Audio input sockets on the TV using a stereo RCA cable (not supplied). Select S-VIDEO
using the SOURCE button on the remote control or TV. Do not connect more than one video cable to each
item as this may cause interference on the picture.
Connect the VGA output from your PC to the VGA input of the TV. If you are using sound, connect the PC
audio to the TV PC audio input (leads not supplied). Use the SOURCE button to select VGA
9
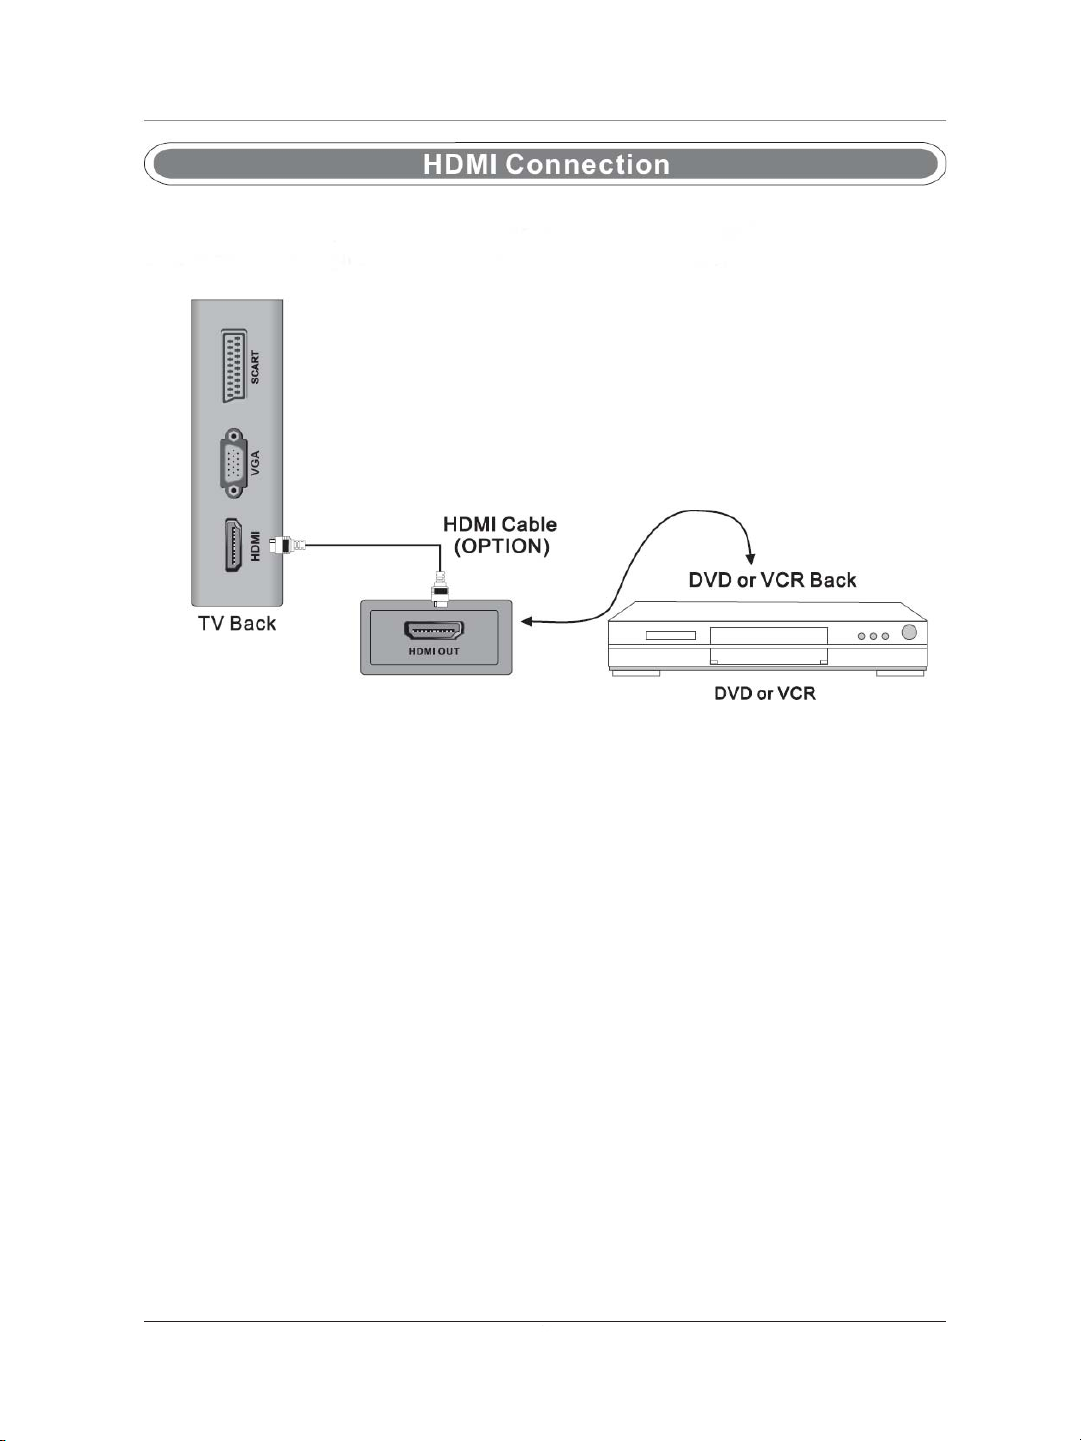
Connect HDMI output from DVD/VCR or X box or similar to the TV and use the “SOURCE”
select HDMI 1. (Lead not supplied)
button to
10

11
 Loading...