

®
Mini-Converter
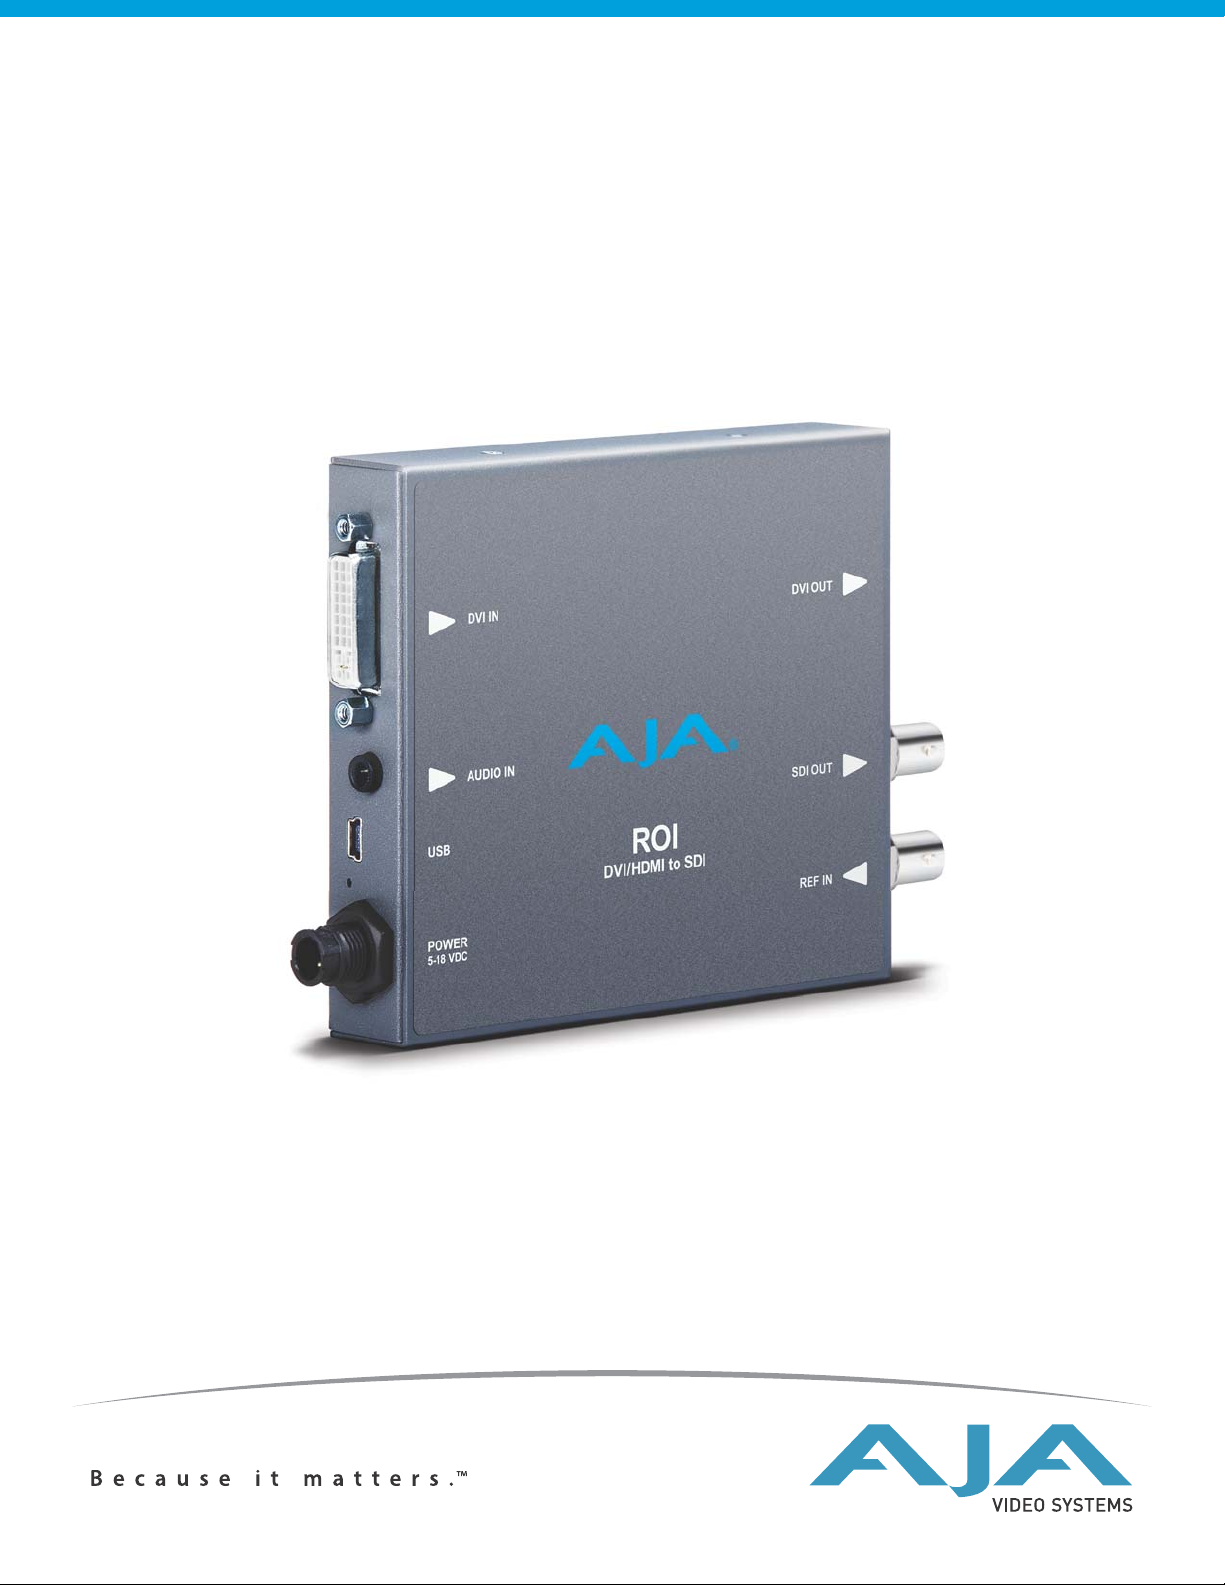
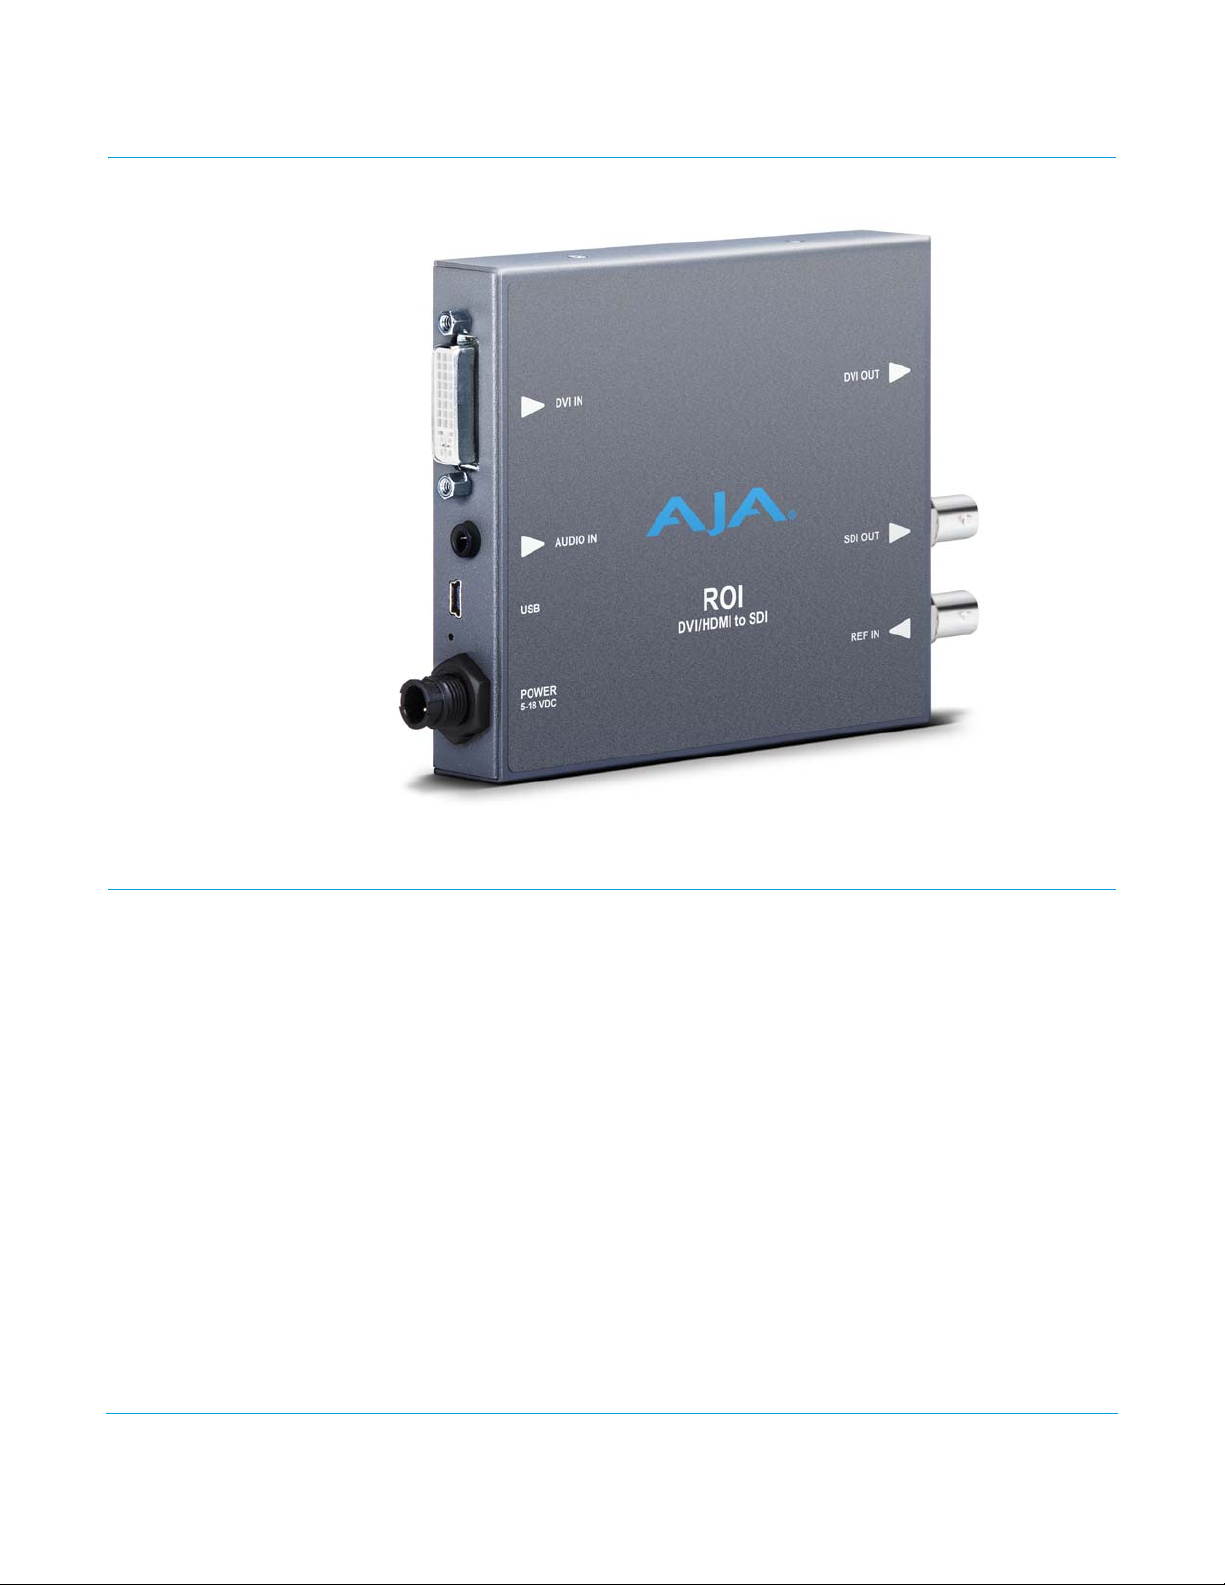
ROI
Installation & Operation Guide
Version 1.1
Published: June 11, 2013

Table of Contents
Notices . . . . . . . . . . . . . . . . . . . . . . . . . . . . . . . . . . . . . . . . . . . . . . . . . . . . . . . . 3
Trademarks . . . . . . . . . . . . . . . . . . . . . . . . . . . . . . . . . . . . . . . . . . . . . . . . . . . . . . . . . . . . . . . . . . . . . . . 3
Copyright . . . . . . . . . . . . . . . . . . . . . . . . . . . . . . . . . . . . . . . . . . . . . . . . . . . . . . . . . . . . . . . . . . . . . . . . . 3
Contacting Support . . . . . . . . . . . . . . . . . . . . . . . . . . . . . . . . . . . . . . . . . . . . . . . . . . . . . . . . . . . . . . . 3
Chapter 1: Introduction . . . . . . . . . . . . . . . . . . . . . . . . . . . . . . . . . . . . . . . . 4
Overview. . . . . . . . . . . . . . . . . . . . . . . . . . . . . . . . . . . . . . . . . . . . . . . . . . . . . . . . . . . . . . . . . . . . . . . . . . 4
Features:. . . . . . . . . . . . . . . . . . . . . . . . . . . . . . . . . . . . . . . . . . . . . . . . . . . . . . . . . . . . . . . . . . . . . . 5
MiniConfig Overview: . . . . . . . . . . . . . . . . . . . . . . . . . . . . . . . . . . . . . . . . . . . . . . . . . . . . . . . . . 5
Block Diagram. . . . . . . . . . . . . . . . . . . . . . . . . . . . . . . . . . . . . . . . . . . . . . . . . . . . . . . . . . . . . . . . . . . . . 6
I/O Connections . . . . . . . . . . . . . . . . . . . . . . . . . . . . . . . . . . . . . . . . . . . . . . . . . . . . . . . . . . . . . . . . . . . 6
Typical ROI Configurations. . . . . . . . . . . . . . . . . . . . . . . . . . . . . . . . . . . . . . . . . . . . . . . . . . . . . . . . . 7
Installation . . . . . . . . . . . . . . . . . . . . . . . . . . . . . . . . . . . . . . . . . . . . . . . . . . . . . . . . . . . . . . . . . . . . . . . . 8
Chapter 2: Operation . . . . . . . . . . . . . . . . . . . . . . . . . . . . . . . . . . . . . . . . . .10
USB Control and Setup—Using AJA MiniConfig . . . . . . . . . . . . . . . . . . . . . . . . . . . . . . . . . . . 10
Running MiniConfig . . . . . . . . . . . . . . . . . . . . . . . . . . . . . . . . . . . . . . . . . . . . . . . . . . . . . . . . . . 11
Operating MiniConfig . . . . . . . . . . . . . . . . . . . . . . . . . . . . . . . . . . . . . . . . . . . . . . . . . . . . . . . . 12
Tabbed Screens . . . . . . . . . . . . . . . . . . . . . . . . . . . . . . . . . . . . . . . . . . . . . . . . . . . . . . . . . . . . . . 14
Input Region of Interest Tab . . . . . . . . . . . . . . . . . . . . . . . . . . . . . . . . . . . . . . . . . . . . . . . . . . 14
Output Tab . . . . . . . . . . . . . . . . . . . . . . . . . . . . . . . . . . . . . . . . . . . . . . . . . . . . . . . . . . . . . . . . . . 18
Audio Tab . . . . . . . . . . . . . . . . . . . . . . . . . . . . . . . . . . . . . . . . . . . . . . . . . . . . . . . . . . . . . . . . . . . 20
Update Tab Screen . . . . . . . . . . . . . . . . . . . . . . . . . . . . . . . . . . . . . . . . . . . . . . . . . . . . . . . . . . . 21
Info Tab Screen . . . . . . . . . . . . . . . . . . . . . . . . . . . . . . . . . . . . . . . . . . . . . . . . . . . . . . . . . . . . . . 22
Appendix A: Specifications . . . . . . . . . . . . . . . . . . . . . . . . . . . . . . . . . . . .24
Appendix B: Safety & Compliance . . . . . . . . . . . . . . . . . . . . . . . . . . . . . . 25
Federal Communications Commission (FCC) Compliance Notices . . . . . . . . . . . . . . . . . . 25
Class B Interference Statement . . . . . . . . . . . . . . . . . . . . . . . . . . . . . . . . . . . . . . . . . . . . . . . 25
FCC Caution . . . . . . . . . . . . . . . . . . . . . . . . . . . . . . . . . . . . . . . . . . . . . . . . . . . . . . . . . . . . . . . . . 25
Canadian ICES Statement . . . . . . . . . . . . . . . . . . . . . . . . . . . . . . . . . . . . . . . . . . . . . . . . . . . . . . . . . 25
European Union and European Free Trade Association (EFTA)
Regulatory Compliance . . . . . . . . . . . . . . . . . . . . . . . . . . . . . . . . . . . . . . . . . . . . . . . . . . . . . . . . . . . 26
Declaration of Conformity . . . . . . . . . . . . . . . . . . . . . . . . . . . . . . . . . . . . . . . . . . . . . . . . . . . . 26
Korea KCC Compliance Statement . . . . . . . . . . . . . . . . . . . . . . . . . . . . . . . . . . . . . . . . . . . . . . . . 27
Taiwan Compliance Statement . . . . . . . . . . . . . . . . . . . . . . . . . . . . . . . . . . . . . . . . . . . . . . . . . . . 27
Japanese Compliance Statement . . . . . . . . . . . . . . . . . . . . . . . . . . . . . . . . . . . . . . . . . . . . . . . . . 27
Translated caution statements, warning conventions & messages. . . . . . . . . . . . . . . . . . 27
Before operating your Mini-Converter, please read this document . . . . . . . . . . . . . . . . . 28
Warranty Information . . . . . . . . . . . . . . . . . . . . . . . . . . . . . . . . . . . . . . . . .34
Limited Warranty . . . . . . . . . . . . . . . . . . . . . . . . . . . . . . . . . . . . . . . . . . . . . . . . . . . . . . . . . . . . . . . . . 34
AJA ROI Converter v1.1 www.aja.com
2

Notices
Trademarks
Copyright
AJA®, KONA®, Ki Pro®, KUMO® and XENA® are registered trademarks of AJA Video, Inc.,
Ki
Pro Mini™, Io Express™, Io HD™, Io™ and “Work. Flow.” are trademarks of AJA Video, Inc.
AirPort, Apple, the Apple logo, AppleShare, AppleTalk, FireWire, iPod, iPod Touch, Mac,
and Macintosh are registered trademarks of Apple Computer, Inc. Final Cut Pro,
QuickTime and the QuickTime Logo are trademarks of Apple Computer, Inc. Avid, Avid
Media Composer and Avid DNxHD are trademarks of Avid Technology, Inc. All other
trademarks are the property of their respective holders.
Copyright © 2013 AJA Video, Inc. All rights reserved. All information in this manual is
subject to change without notice. No part of the document may be reproduced or
transmitted in any form, or by any means, electronic or mechanical, including
photocopying or recording, without the express written permission of AJA Inc.
Contacting Support
Telephone: +1.800.251.4224 or +1.530.271.3190
Web: http://www.aja.com
Support Email: support@.aja.com
Sales Email: sales@aja.com
When calling for support, have all information at hand prior to calling.
To contact AJA Video for sales or support, use any of the following methods:
AJA ROI Converter v1.1 www.aja.com
3
Chapter 1: Introduction
Overview
AJA’s ROI (region of interest) scaling converter can be used out-of-the-box to convert
either DVI or HDMI input signals to SDI output. In default mode, ROI automatically
detects the input DVI format and converts it to the SDI video format. In this startup Auto
mode, the full-size DVI input is output to the SDI output. The picture’s aspect ratio is
maintained and if the SDI monitor is larger than the DVI input, unused area is filled with
matte color. Default audio setup passes 8-channel HDMI audio.
To realize the full power of ROI, however, you will use the supplied USB cable and AJA’s
MiniConfig application (included on your CD) to select SDI output format and perform a
host of region-of-interest (ROI) and output display scaling operations.
Audio Handling: Analog audio from the host can be input via a standard 3.5mm audio cable and mapped
to the embedded SDI stream. Alternatively, if the input is HDMI, the embedded audio can
be the audio input.
Control Interface: For control, the ROI is connected to a computer via USB. The ROI has no local, physical
user-interface (no dipswitch settings). The ROI can operate stand-alone without a USB
connection to the host. In this mode, the ROI automatically adapts to the input DVI/HDMI
signal, and operates according to defaults or as last configured via the AJA MiniConfig
application (see
AJA ROI Converter v1.1 www.aja.com
“Operation” on page 10).
4

IMPORTANT: The ROI Converter honors HDCP protection and performs in the following manner:
If the input content is HDCP protected, the ROI converter will display video on the DVI
pass-through connector, but not on the SDI output.
For sources that have HDCP turned on all the time, the ROI converter will not display on
the SDI output but will display only on the DVI pass-thru.
If a DVI monitor is not connected to the DVI pass-thru, then the EDID information comes
from the ROI converter directly. In this case, the EDID information from the ROI will not
accept the incoming HDCP protected input even though some sources will turn off the
HDCP encryption for unprotected content.
ROI will not provide an SDI output for HDCP content - and the EDID source changes
depending on if a monitor is plugged in or not.
Features: • Convert DVI/HDMI inputs to SDI/HD-SDI
• User-adjustable “region of interest”
• 4:3/16:9 conversion modes supported
• Setup via PC/Mac using USB port and supplied USB cable (AJA MiniConfig software
application supplied on CD)
• Frame-rate conversion
• Automatic configuration to input video raster and frame rate
• SDI output configurable to most common SD and HD formats (1080i59.84 max)
• Genlock with reference input
• Audio input via 3.5mm2-channel analog input or 8-channel HDMI embedded
• Embedded SDI audio out (up to 8 channels)
• Uses universal input +5V power supply AJA model DWP-U-R1 (included)
•5-year warranty
NOTE: Frame rates are limited by the 165Mhz maximum rate of the DVI Receiver
MiniConfig
Using AJA’s MiniConfig application, you can set up and control the following:
Overview:
Video: • Output format select
• Aspect Ratio convert
• 4:3 to 16:9: Sidebar, 14:9, Full
• 16:9 or 16:10 to 4:3: Letterbox, Full
• 16:10 to 16:9: Letterbox, Full
Region of Interest: •On/Off
• Size/Position (scroll bars, buttons, or numerical entry)
Audio: • Input Select: Analog (2-channel), HDMI (8-channel)
• Mute Audio out
Input Data Range Control: • 1-255 (default – 8-bit nomenclature)
•16-235
Genlock: • Standard sync options
AJA ROI Converter v1.1 www.aja.com
5
Block Diagram
Reference
Input
Mini
Audio
Jack
USB
Port
DVI In
Pass-Thru Path
Free Run
Audio Delay
Audio ADC
USB Cong
Control
8 CH
SRC
InterlacerFRC/Genlock
Keyer
ROI Scaler
SDI Output
DVI/HDMI
Output
DVI/HDMI
Input
Deinterlacer
Sync Stripper
Embedder
Matte Gen
DVD/HDMI Input
+ 5 VDC
SDI Output BNC
DVI/HDMI
Output Connector
Right Side View
USB Port
Analog 2-channel
Audio Input
Green Power LED
Reference Input
Power Input
For Operation details see “USB Control and Setup—Using AJA MiniConfig” on page 10.
Figure 1. ROI Converter/Scaler, Simplified Block Diagram
I/O Connections
Figure 2. ROI Converter/Scaler
AJA ROI Converter v1.1 www.aja.com
DVI/HDMI Input: Connects to your Computer or single-link source device.
6
ROI
DVI
USB
DVI
SDI output
Source computer
w/ MiniCong
Video
Monitor
Computer desktop
monitor
(ROI pass-through)
To connect an HDMI video input to the ROI DVI input connector, use a passive DVI-toHDMI adapter (user-supplied). You can also use a cable adapter that has a DVI connector
on one end of the cable and an HDMI connector on the other.
Analog Audio: A single 3.5 mm analog audio connector accepts two channels of analog audio which
can be embedded into the SDI output as determined by the default configuration or
audio configuration selections using AJA MiniConfig.
USB Port: Accepts USB mini connector
DVI/HDMI Output: This is a pass-through output for use on a second computer monitor for using Screen
Picker. Connections are the same as described for DVI/HDMI input above.
SDI Video Output: Standard BNC connector for coaxial SDI monitor connection.
Reference Video Input: The Reference BNC accepts an Output timing reference signal. The reference can be SD
Blackburst or HD tri-level sync. Permissible reference video inputs include:
• 525 Color Black
• 625 Color Black
• 1080i Tri-level Sync
• 720p Tri-level Sync
Setup options available via the MiniConfig interface are described under “Genlock” on
page 19
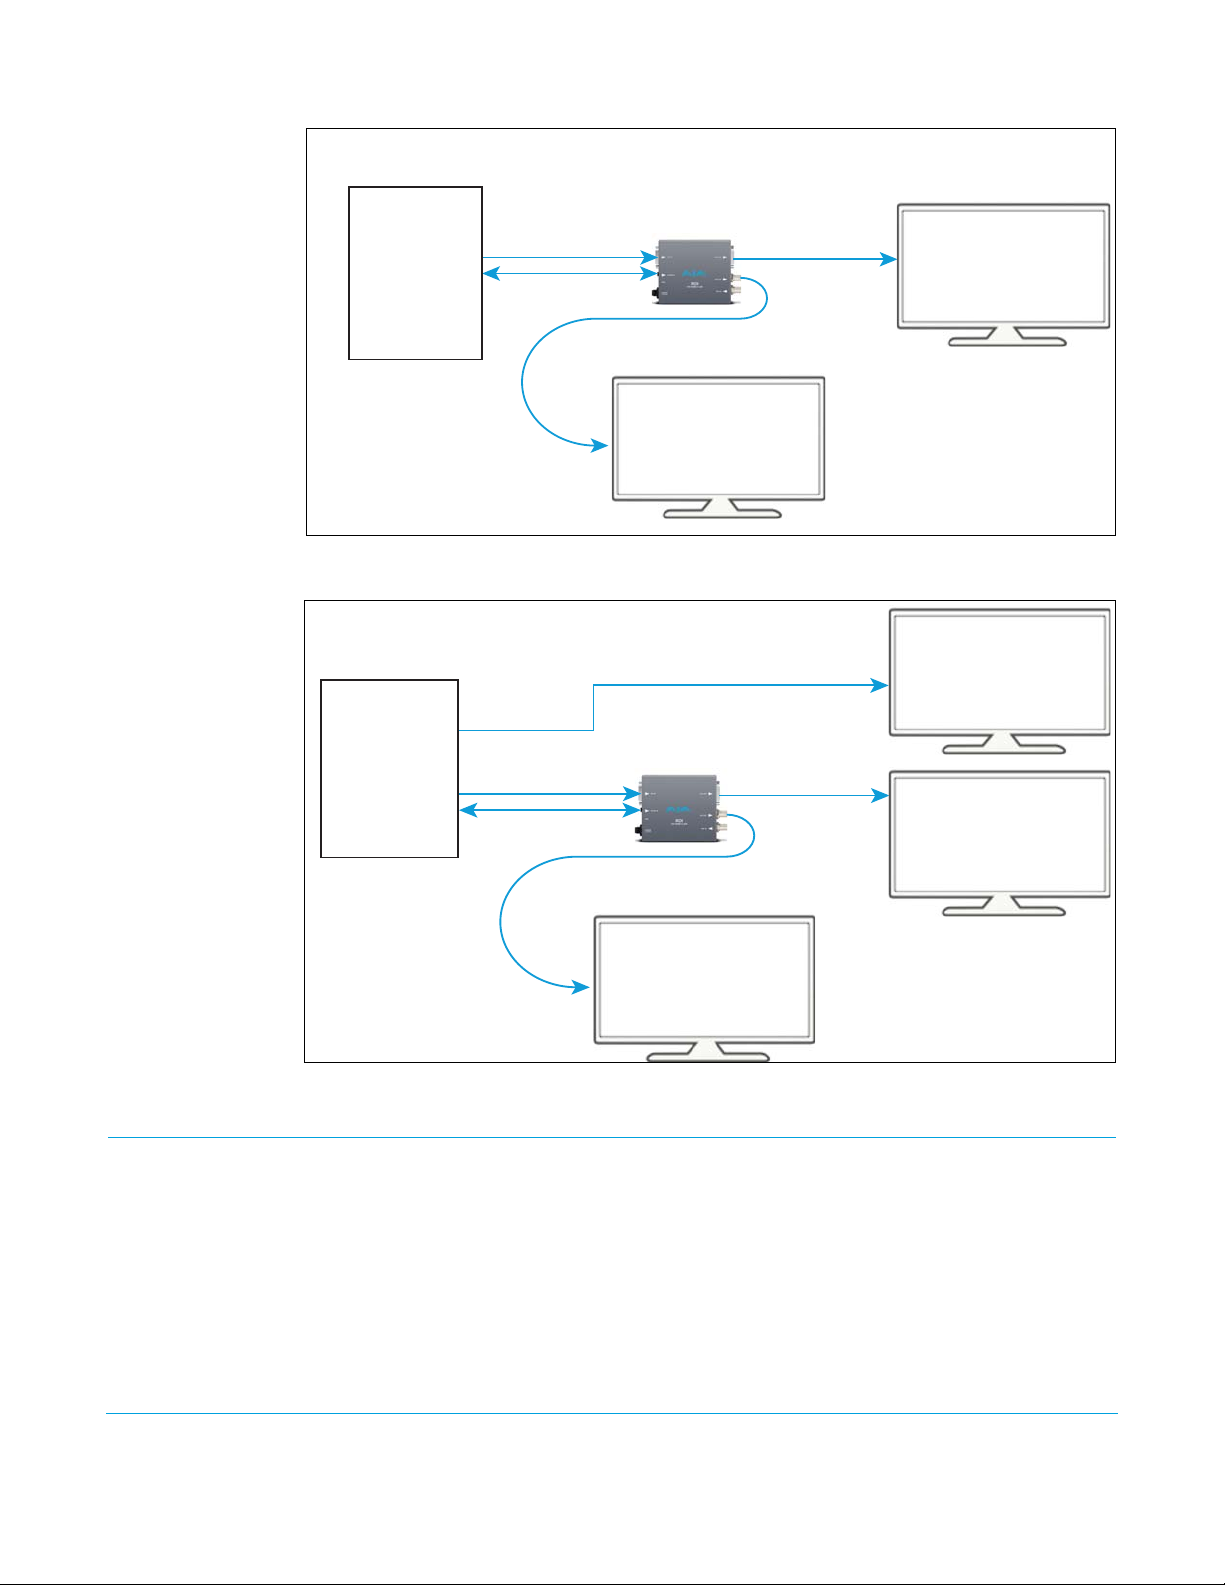
Typical ROI Configurations
Three typical configurations for using the ROI for scaling of desktop region-of-interest
video are illustrated in the following figures. In these configurations, the pass-through
monitor is used to view the subject desktop video and use the MiniConfig application’s
Screen Picker function to select the desired region for output to SDI (see
Selection” on page 15).
NOTE: When using the Screen Picker function, the MiniConfig panel must be located on the Target
(pass-through) monitor with the subject desktop video.
Figure 3. ROI with Laptop Computer, System Interconnect Diagram
“Variable
AJA ROI Converter v1.1 www.aja.com
7
ROI
DVI/HDMI DVI/HDMI
USB
SDI output
Source computer
w/ MiniCong
Video
Monitor
Computer desktop
monitor
(ROI Pass-through)
Computer Out
ROI
DVI/HDMI DVI/HDMI
USB
SDI output
Source computer
Tow er
w/ MiniCong
Video
Monitor
DVI/HDMI
Computer
2nd desktop
monitor
(ROI Pass-through)
Computer desktop
monitor
Monitor 2 Out
Monitor 1 Out
Figure 4. ROI with Single Computer Output, System Interconnect Diagram.
Figure 5. ROI with Tower Computer & Two Monitors, System Interconnect Diagram
Installation
AJA ROI Converter v1.1 www.aja.com
Typically, ROI installation consists of the following steps:
1. Ensure the ROI is disconnected from power.
2. Connect your computer or video console (DVI/HDMI) monitor output to the ROI DVI
input connector.
3. Connect the ROI DVI output connector to a second computer monitor (optional).
4. Connect video monitor to the convertor SDI output BNC.
5. Connect two-channel analog audio input to analog audio connector (optional)
8

6. Apply power to the converter (AJA power supply included).
7. The ROI will now run using the default factory settings. If you wish to alter the factory
settings, you’ll need to:
• Install the AJA MiniConfig software (supplied on CD) your computer
• Attach the ROI converter via USB cable (included)
• Make your changes using MiniConfig setup screens.
This process is detailed in“Operation” on page 10.
AJA ROI Converter v1.1 www.aja.com
9

Chapter 2: Operation
USB Control and Setup—Using AJA MiniConfig
The ROI can be used right out of the box for some applications since it is designed to
recognize inputs and perform standard actions automatically by default. However, to use
its full capability, you must use AJA’s MiniConfig software application for PCs and Macs.
This same application can be used to update to new Mini-Converter software released by
AJA.
Installing MiniConfig on a Mac: To install the application on a Mac, you may download the application
for AJA
or insert the CD supplied with the Mini-Converter into the
computer. Simply drag the “AJA MiniConfig” app. to your applications
folder.
NOTE: Macintosh computers must be Intel-based (G5, G4 and earlier models will not work with
MiniConfig).
Installing MiniConfig on a PC: To install the application
on a Windows PC, insert
the CD supplied with
the Mini-Converter into
the computer, locate the
“MiniInstaller”
application, and then
double-click it.
A Setup Wizard will
guide you through the
installation. Just click
Next to begin.
Answer all questions in
the subsequent
dialogues; when you’re
done, you will be able to
locate the MiniConfig application in the AJA folder in the Programs listing.
AJA ROI Converter v1.1 www.aja.com
10
Running MiniConfig Connect the Mini-Converter to the PC or Mac via the supplied USB cable. Connect the
external power supply (supplied) to the Mini-Converter.
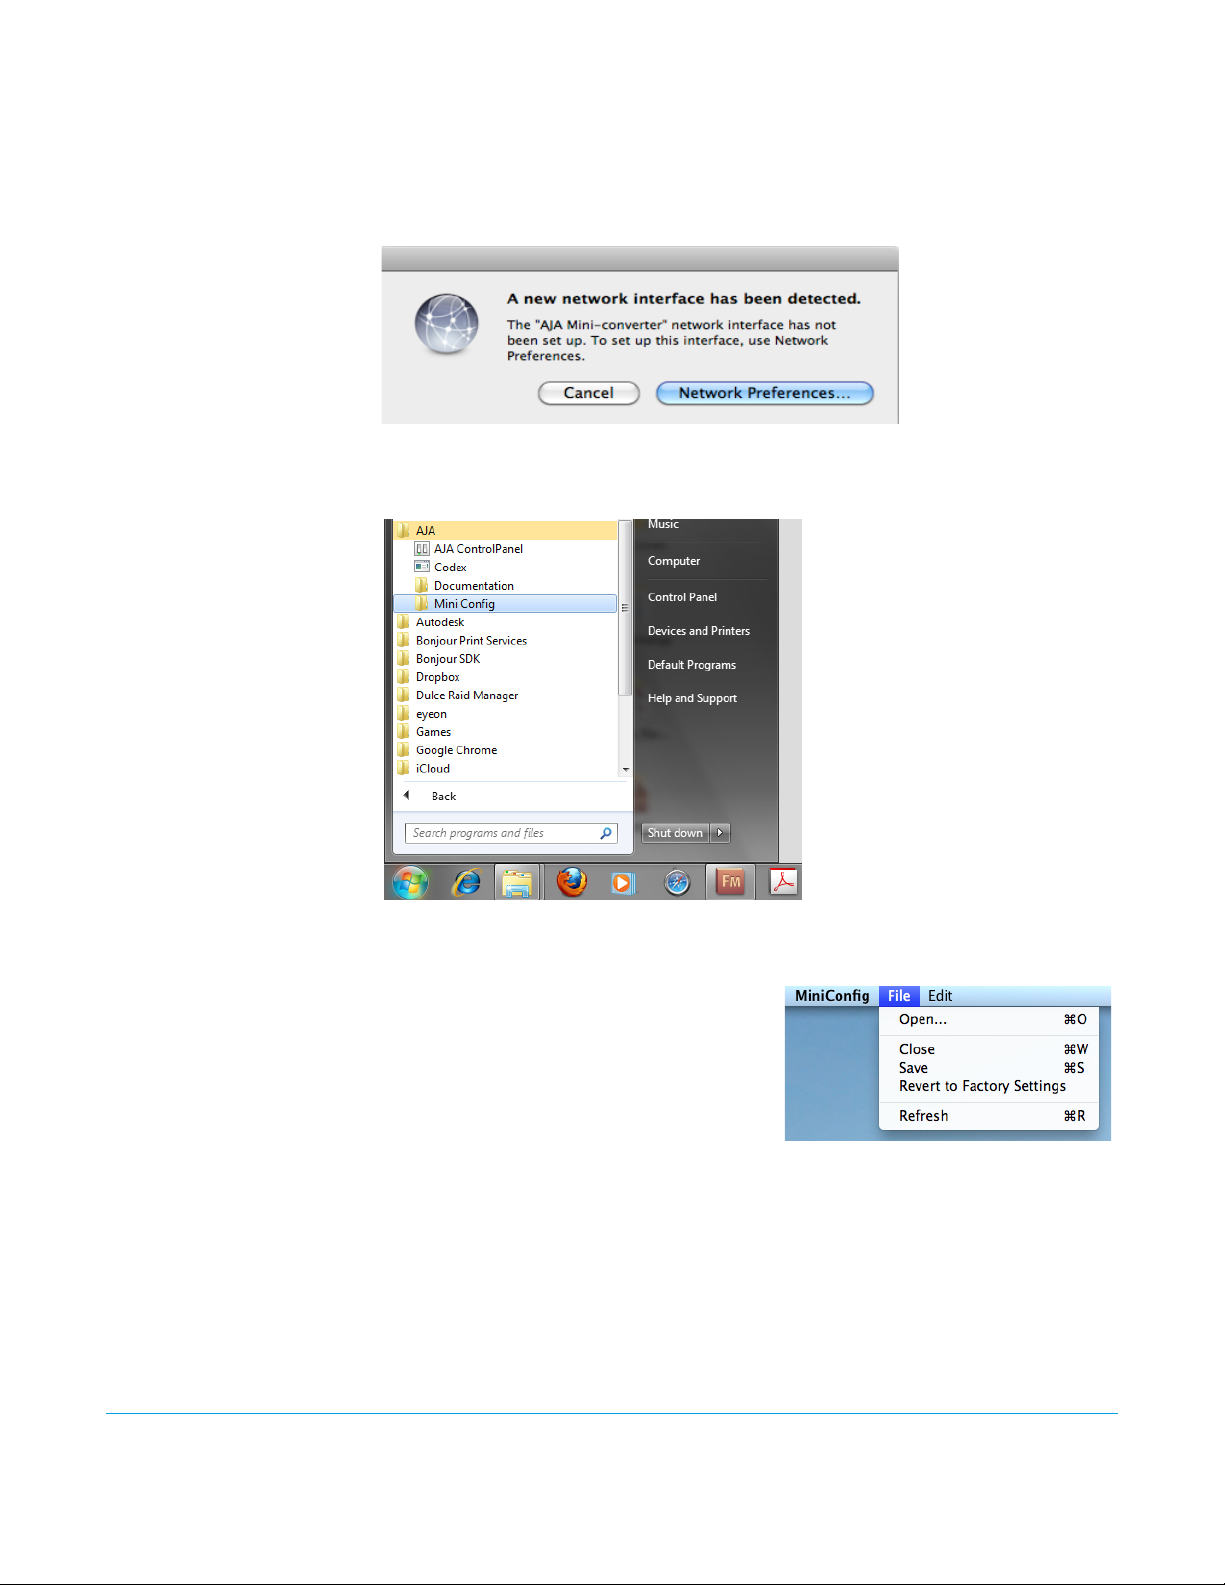
NOTE: On a Mac, when the Mini-Converter is connected to the USB port, you may see an alert like
that shown following. If you do, press Cancel—this alert can be ignored.
PC Startup: To run MiniConfig on a PC, find the AJA MiniConfig in the program list and locate the AJA
folder and the MiniConfig application inside.
Mac Startup: To run MiniConfig on a Mac, double-click the Applications folder and locate the AJA
MiniConfig application. Double-click the application to launch it.
Saving Setups: A File menu at the top of the MiniConfig
application menu bar allows you to Save the
state of the
settings, to a file for later recall. This allows you
to set up the converter for different
applications, storing each (with Save) to a
unique name for easy recall—using the Open
menu item. A Revert to Factory Settings menu item similarly allows you to change the
settings back to AJA’s factory defaults. An Edit menu allows you to cut and paste values
to/from fields, just as in other applications.
AJA ROI Converter v1.1 www.aja.com
Mini-Converter, with your current
11
 Loading...