

AJA 4K2HD User Manual
Mini-Converter
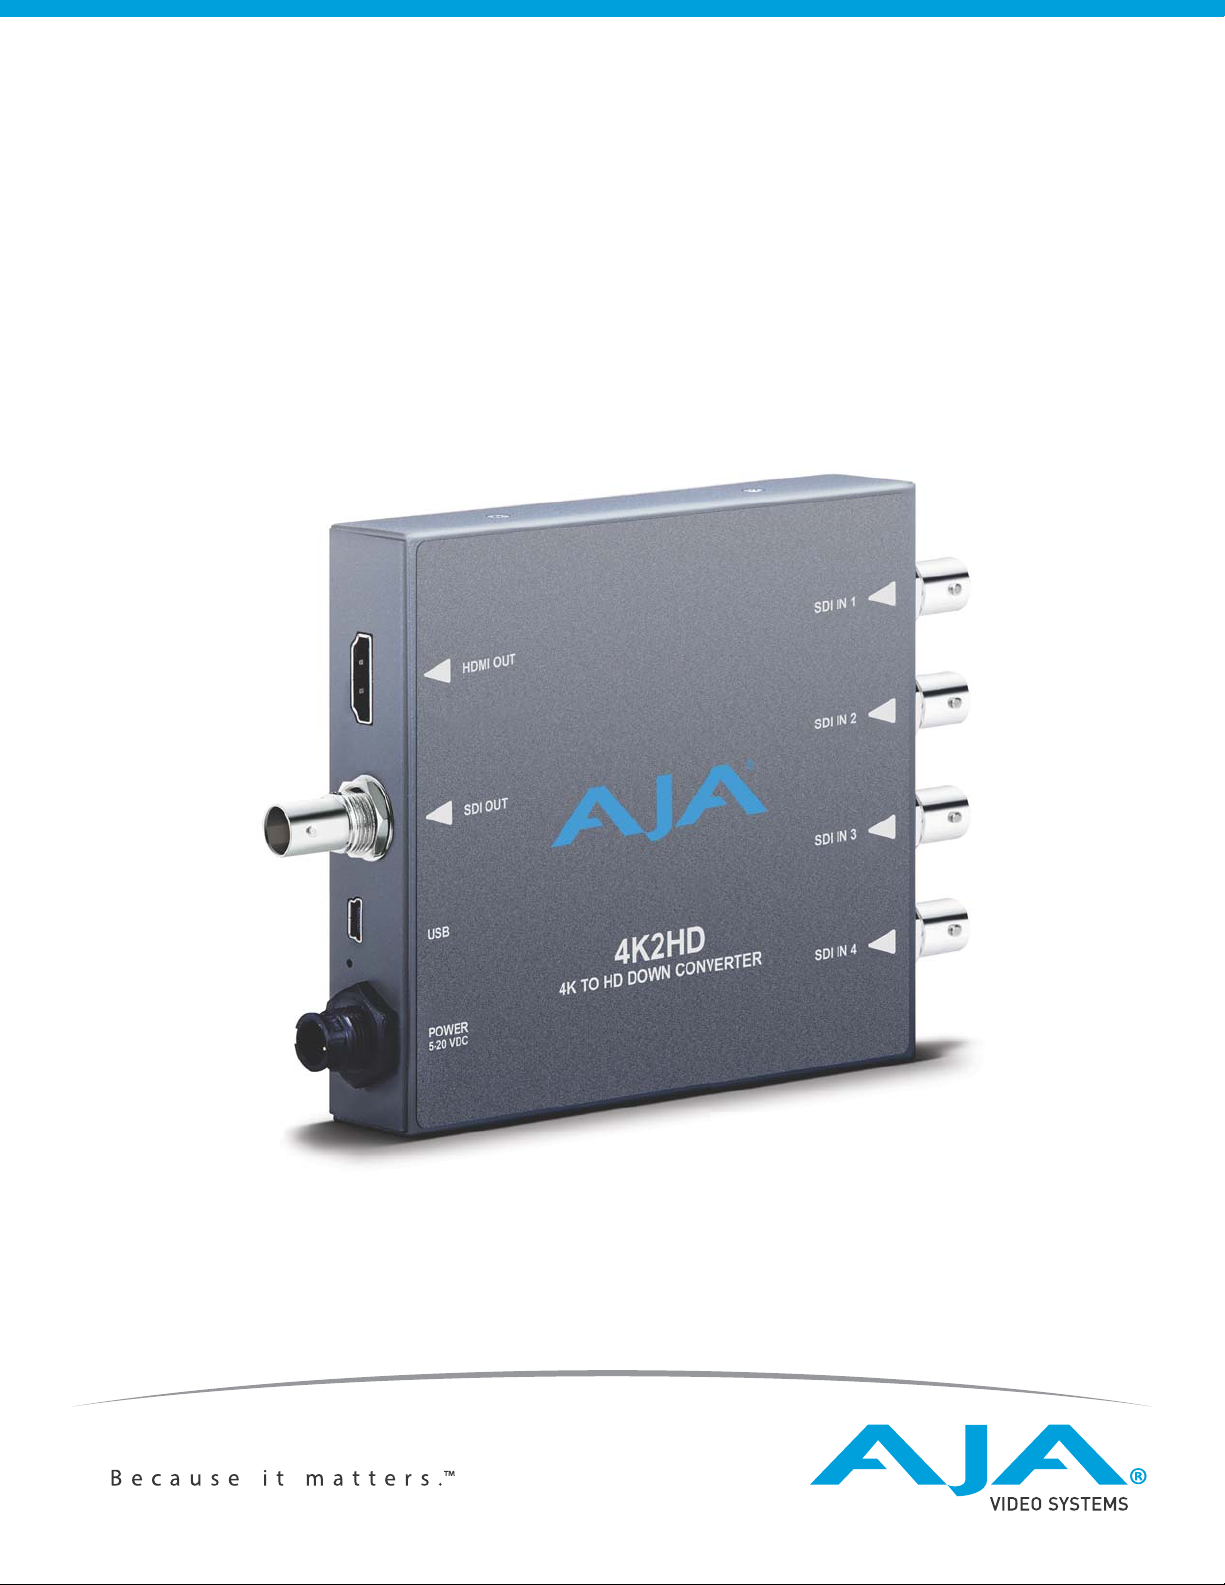
4K2HD
Installation & Operation Guide
Version 1.7
Published: March 31, 2014

Table of Contents
Notices . . . . . . . . . . . . . . . . . . . . . . . . . . . . . . . . . . . . . . . . . . . . . . . . . . . . . . . . 4
Trademarks . . . . . . . . . . . . . . . . . . . . . . . . . . . . . . . . . . . . . . . . . . . . . . . . . . . . . . . . . . . . . . . . . . . . . . . 4
Copyright . . . . . . . . . . . . . . . . . . . . . . . . . . . . . . . . . . . . . . . . . . . . . . . . . . . . . . . . . . . . . . . . . . . . . . . . . 4
Contacting Support . . . . . . . . . . . . . . . . . . . . . . . . . . . . . . . . . . . . . . . . . . . . . . . . . . . . . . . . . . . . . . . 4
Chapter 1: Introduction . . . . . . . . . . . . . . . . . . . . . . . . . . . . . . . . . . . . . . . . 5
Overview. . . . . . . . . . . . . . . . . . . . . . . . . . . . . . . . . . . . . . . . . . . . . . . . . . . . . . . . . . . . . . . . . . . . . . . . . . 5
4K2HD Operating Modes . . . . . . . . . . . . . . . . . . . . . . . . . . . . . . . . . . . . . . . . . . . . . . . . . . . . . . 5
Default Operation . . . . . . . . . . . . . . . . . . . . . . . . . . . . . . . . . . . . . . . . . . . . . . . . . . . . . . . . . . . . . 6
Video Output . . . . . . . . . . . . . . . . . . . . . . . . . . . . . . . . . . . . . . . . . . . . . . . . . . . . . . . . . . . . . . . . . 6
HDMI and SDI Output Control Differences . . . . . . . . . . . . . . . . . . . . . . . . . . . . . . . . . 6
MiniConfig Control . . . . . . . . . . . . . . . . . . . . . . . . . . . . . . . . . . . . . . . . . . . . . . . . . . . . . . . . . . . . 6
MiniConfig Control Functions . . . . . . . . . . . . . . . . . . . . . . . . . . . . . . . . . . . . . . . . . . . . . 6
Features . . . . . . . . . . . . . . . . . . . . . . . . . . . . . . . . . . . . . . . . . . . . . . . . . . . . . . . . . . . . . . . . . . . . . . . . . . 7
Block Diagram. . . . . . . . . . . . . . . . . . . . . . . . . . . . . . . . . . . . . . . . . . . . . . . . . . . . . . . . . . . . . . . . . . . . . 8
I/O Connections . . . . . . . . . . . . . . . . . . . . . . . . . . . . . . . . . . . . . . . . . . . . . . . . . . . . . . . . . . . . . . . . . . . 8
Installation . . . . . . . . . . . . . . . . . . . . . . . . . . . . . . . . . . . . . . . . . . . . . . . . . . . . . . . . . . . . . . . . . . . . . . . . 9
Chapter 2: Operation . . . . . . . . . . . . . . . . . . . . . . . . . . . . . . . . . . . . . . . . . .10
USB Control and Setup—Using AJA MiniConfig . . . . . . . . . . . . . . . . . . . . . . . . . . . . . . . . . . . 10
Installing MiniConfig on a Mac. . . . . . . . . . . . . . . . . . . . . . . . . . . . . . . . . . . . . . . . . . . . . . . . 10
Installing MiniConfig on a PC . . . . . . . . . . . . . . . . . . . . . . . . . . . . . . . . . . . . . . . . . . . . . . . . . 10
Running MiniConfig . . . . . . . . . . . . . . . . . . . . . . . . . . . . . . . . . . . . . . . . . . . . . . . . . . . . . . . . . . 10
Operating MiniConfig . . . . . . . . . . . . . . . . . . . . . . . . . . . . . . . . . . . . . . . . . . . . . . . . . . . . . . . . 11
Tabbed Screens. . . . . . . . . . . . . . . . . . . . . . . . . . . . . . . . . . . . . . . . . . . . . . . . . . . . . . . . . . 12
Input Tab Screen . . . . . . . . . . . . . . . . . . . . . . . . . . . . . . . . . . . . . . . . . . . . . . . . . . . . . . . . . . . . . 13
Input Video Selections . . . . . . . . . . . . . . . . . . . . . . . . . . . . . . . . . . . . . . . . . . . . . . . . . . . 13
Output Tab Screen . . . . . . . . . . . . . . . . . . . . . . . . . . . . . . . . . . . . . . . . . . . . . . . . . . . . . . . . . . . 14
Output Video Selections . . . . . . . . . . . . . . . . . . . . . . . . . . . . . . . . . . . . . . . . . . . . . . . . . 14
HDMI Tab Screen. . . . . . . . . . . . . . . . . . . . . . . . . . . . . . . . . . . . . . . . . . . . . . . . . . . . . . . . . . . . . 15
Audio Tab Screen . . . . . . . . . . . . . . . . . . . . . . . . . . . . . . . . . . . . . . . . . . . . . . . . . . . . . . . . . . . . 16
Audio Selections. . . . . . . . . . . . . . . . . . . . . . . . . . . . . . . . . . . . . . . . . . . . . . . . . . . . . . . . . 16
Update Tab Screen . . . . . . . . . . . . . . . . . . . . . . . . . . . . . . . . . . . . . . . . . . . . . . . . . . . . . . . . . . . 17
Software Update Procedure . . . . . . . . . . . . . . . . . . . . . . . . . . . . . . . . . . . . . . . . . . . . . . 17
Info Tab Screen . . . . . . . . . . . . . . . . . . . . . . . . . . . . . . . . . . . . . . . . . . . . . . . . . . . . . . . . . . . . . . 18
Appendix A: Specifications . . . . . . . . . . . . . . . . . . . . . . . . . . . . . . . . . . . .19
Supported Video Formats . . . . . . . . . . . . . . . . . . . . . . . . . . . . . . . . . . . . . . . . . . . . . . . . . . . . . . . . 19
Video Input . . . . . . . . . . . . . . . . . . . . . . . . . . . . . . . . . . . . . . . . . . . . . . . . . . . . . . . . . . . . . . . . . . 19
Video Output . . . . . . . . . . . . . . . . . . . . . . . . . . . . . . . . . . . . . . . . . . . . . . . . . . . . . . . . . . . . . . . . 20
Audio Formats . . . . . . . . . . . . . . . . . . . . . . . . . . . . . . . . . . . . . . . . . . . . . . . . . . . . . . . . . . . . . . . . . . . 20
Physical . . . . . . . . . . . . . . . . . . . . . . . . . . . . . . . . . . . . . . . . . . . . . . . . . . . . . . . . . . . . . . . . . . . . . . . . . . 20
Appendix B: Safety and Compliance . . . . . . . . . . . . . . . . . . . . . . . . . . . .21
Federal Communications Commission (FCC) Compliance Notices . . . . . . . . . . . . . . . . . . 21
Class B Interference Statement . . . . . . . . . . . . . . . . . . . . . . . . . . . . . . . . . . . . . . . . . . . . . . . 21
FCC Caution . . . . . . . . . . . . . . . . . . . . . . . . . . . . . . . . . . . . . . . . . . . . . . . . . . . . . . . . . . . . . . . . . 21
Canadian ICES Statement . . . . . . . . . . . . . . . . . . . . . . . . . . . . . . . . . . . . . . . . . . . . . . . . . . . . . . . . . 21
European Union and European Free Trade Association (EFTA)
Regulatory Compliance . . . . . . . . . . . . . . . . . . . . . . . . . . . . . . . . . . . . . . . . . . . . . . . . . . . . . . . . . . . 22
4K2HD v1.7 www.aja.com
2

Declaration of Conformity . . . . . . . . . . . . . . . . . . . . . . . . . . . . . . . . . . . . . . . . . . . . . . . . . . . . 22
Korea KCC Compliance Statement . . . . . . . . . . . . . . . . . . . . . . . . . . . . . . . . . . . . . . . . . . . . . . . . 23
Taiwan Compliance Statement . . . . . . . . . . . . . . . . . . . . . . . . . . . . . . . . . . . . . . . . . . . . . . . . . . . 23
Japanese Compliance Statement . . . . . . . . . . . . . . . . . . . . . . . . . . . . . . . . . . . . . . . . . . . . . . . . . 23
Translated Warning and Caution Messages. . . . . . . . . . . . . . . . . . . . . . . . . . . . . . . . . . . . . . . . 23
Before Operation Please Read These Instructions . . . . . . . . . . . . . . . . . . . . . . . . . . . . . . . . . . 24
Warranty Information . . . . . . . . . . . . . . . . . . . . . . . . . . . . . . . . . . . . . . . . .31
Limited Warranty . . . . . . . . . . . . . . . . . . . . . . . . . . . . . . . . . . . . . . . . . . . . . . . . . . . . . . . . . . . . . . . . . 31
Index. . . . . . . . . . . . . . . . . . . . . . . . . . . . . . . . . . . . . . . . . . . . . . . . . . . . . . . . .32
4K2HD v1.7 www.aja.com
3

Notices
Trademarks
Copyright
AJA®, KONA®, Ki Pro®, KUMO® and XENA® are registered trademarks of AJA Video, Inc.,
TruZoom™, TruScale™, Ki
trademarks of AJA Video, Inc. AirPort, Apple, the Apple logo, AppleShare, AppleTalk,
FireWire, iPod, iPod Touch, Mac, and Macintosh are registered trademarks of Apple
Computer, Inc. Final Cut Pro, QuickTime and the QuickTime Logo are trademarks of Apple
Computer, Inc. Avid, Avid Media Composer and Avid DNxHD are trademarks of Avid
Technology, Inc. All other trademarks are the property of their respective holders.
HDMI, the HDMI logo and High-Definition Multimedia Interface are trademarks or
registered trademarks of HDMI Licensing LLC. DVI is a registered trademark of DDWG. All
other trademarks are the property of their respective holders.
Copyright © 2014 AJA Video, Inc. All rights reserved. All information in this manual is
subject to change without notice. No part of the document may be reproduced or
transmitted in any form, or by any means, electronic or mechanical, including
photocopying or recording, without the express written permission of AJA Inc.
Pro Mini™, Io Express™, Io HD™, Io™ and “Work. Flow.” are
Contacting Support
Telephone: +1.530.271.3190
FAX : +1.530.271.3140
Web: http://www.aja.com
Support Email: support@aja.com
Sales Email: sales@aja.com
When calling for support, have all information at hand prior to calling.
To contact AJA Video for sales or support, use any of the following methods:
4K2HD v1.7 www.aja.com
4
Chapter 1: Introduction
Overview
4K2HD Operating Modes
AJA's 4K2HD downconverts professional SDI 4K/UHD signals to HD resolution using AJA's
high-quality scaling for cost-effective monitoring and conversion. 4K2HD’s HD-SDI and
HDMI outputs are both live all the time, producing fantastic-looking HD images for on set
monitoring or direct-to-air broadcast. 4K2HD supports high frame rate (HFR) 4K inputs at
50 and 60fps and converts the HD output to 50 and 60fps for accurate viewing. 4K2HD's
configuration options can extract an HD resolution image from the 4K input to provide a
one-to-one pixel image for 4K focus checks on HD displays. Configuration can be set
remotely via AJA MiniConfig software control over USB.
4K2HD has three working modes: 4K Down-Conversion mode, Non-4K mode, and Center
Cut mode. The first two modes are selected automatically depending on the input video.
These modes can also be manually set using the MiniConfig application.
• 4K Down Conversion mode: If the format of the input video is detected as 4K format,
or the unit is configured by MiniConfig, 4K input video is down-scaled to 2K video and
then output on both the HDMI and the SDI outputs.
• Non-4K mode: If the format of input video is detected as non-4K video source, e.g.
720p60, or the unit is configured by MiniConfig, 4K2HD will not try to make 4K video
from four video inputs. Instead, it will output video to HDMI/SDI from the selected SDI
input.
• Center Cut mode: 4K2HDwill be in Center Cut mode if the input video is 4K format, and
the mode has been enabled through MiniConfig. In this mode the 2K center of 4K input
video will be output to the HDMI and SDI outputs. No down-scaling occurs, and the
output format is either 1920x1080 or 2048x1080 (depending the input source and the
2K cropping configuration).
4K2HD v1.7 www.aja.com
5

Default Operation The 4K2HD auto configures to the connected inputs. The auto-configure function
identifies the connected inputs and generates the default outputs for the given input.
Default operation can be overridden and set manually using AJA’s MiniConfig
application.
NOTE: Signal conversion requires the presence of a valid SDI video signal on the SDI IN 1 BNC.
For single SD or HD inputs, BNC input 1 is the default input. For dual-link 1.5Gb HD
inputs, and 4K dual-stream 3Gb SDI inputs, inputs 1 and 2 are default. Where applicable,
both level A and B 3Gb inputs are auto-detected and supported.
When connecting the 4K2HD with multiple SDI inputs in the auto-configure mode
(default), as the user connects the first HD-SDI to input 1, the unit will output that input
as a full screen HD. As soon as the second input is connected, the unit will know that
either QuadHD or 4K x 2160 is present and the display will change to show the two
connected quadrants in the upper left and upper right of the output. The remaining two
quadrants will be displayed as they are connected.
It is possible to use two dual stream 3G inputs to make 3840 or 4K video. In this case SDI1
and SDI2 are assumed to be the inputs: SDI1 linkA makes the top left quadrant, SDI1 linkB
makes the top right quadrant, SDI2 linkA makes the lower left quadrant, and SDI2 linkB
makes the lower right quadrant. To use this mode change the Video Source Selection to
'2 X SDI 4K'.
Video Output 4K2HD has two output connectors, HDMI and SDI, that are both active simultaneously.
For 4096x2160 inputs, the 4K2HD will output 2048x1080 if 2K crop option is turned off
(through MiniConfig), otherwise 4096x2160 inputs will be scaled to 2048x1080, then
cropped to 1920x1080. 4K2HD will not scale 4096 to 1920 pixels.
The HDMI and SDI output connectors will generally be the same video, with the
exception of non-4K PsF video input.
SDI passthrough is enabled by default if the input video is 2K/HD PsF. In this case, SDI
output is PsF format, and HDMI output is progressive format. The HDMI output is delayed
one frame, compared to the SDI output. The SDI passthrough can be disabled by
MiniConfig. If disabled, the SDI output will be progressive format, the same as HDMI
output, with no frame delay.
HDMI and SDI Output
Control Differences
Some video output control options are only applicable to HDMI output, such as color
range, sample structure or HDMI/DVI standard. Some options are only applicable to SDI
output, such as Level B control, or PsF passthrough. And some output control options are
applied to both, such as Center Cut.
MiniConfig Control Configuration set via MiniConfig is stored in the 4K2HD unit through subsequent power
cycles.
MiniConfig Control
Functions
Input Video Selections: • Video Source (Auto, 4xSDI 4K, 2xSDI 4K, 2xSDI HD-DL, SDI 1-4)
• Color Space (Auto, 422 YCbCr, 444 RGB, or 444 YCbCr)
• RGB Range (SMPTE or Full color range).
• Bit Depth (Auto, 8-bit, or 10-bit)
4K2HD v1.7 www.aja.com
6

•Video Format (Auto, Progressive, Interlaced, or PsF).
• 3G-B Mode (Auto, Dual Link, 2xHD, 1 x HD DS1, 1 x HD DS2)
Output Video Selections: • 4K Convert (Downconvert, Center Cut)
• 2K Crop (On or Off)
• SDI Out (Passthrough or Processed)
HDMI Output: • Color Space (Auto, 4:2:2 YCbCr , 4:4:4 RGB, 4:4:4 YCbCr
• Bit Depth (Auto, 8-bit, or 10-bit)
• RGB Range (Auto, SMPTE or Full)
• Color Dithering (Off or On)
• HDMI/DVI (Auto, HDMI, or DVI)
Audio: • Input Source (Ch 1-8 or Ch 9-16 from any SDI input)
• HDMI Channel Count (Auto, 2, 8)
•Audio Offset In Frames
Features
• 4K (4096x2160) and UltraHD (3840x2160) support (see "Appendix A: Specifications on
page 19" for a complete list of supported inputs)
• Down-conversion to support 4K on HD-SDI and HDMI devices
• Simultaneous HD-SDI and HDMI output
• True 4K downscaled and cropped for HD output
• Center cut of original 4K frame supported for focus checks
• Supports 4K/UHD 50/60fps high frame rate input formats
• Configurable via AJA MiniConfig software for Mac and PC
• DWP-U-R1 Power Supply Included
•5-year warranty
NOTE: 3D is not supported in this converter.
NOTE: 720p 4:4:4 formats are not supported in this release.
4K2HD v1.7 www.aja.com
7

Block Diagram
USB Bus
(connect to
PC or Mac)
Control
12C to HDMI XMIT and
EDID Readback
SDI In 1
SDI Out
with Embedded
Audio
SDI In 2
Reclock
Reclock
Reclock
Reclock
SDI
RCVR
SDI
RCVR
SDI
RCVR
SDI
RCVR
HDMI
XMIT
SDI
XMIT
SDI In 3
SDI In 4
Video
Video
Processing
Audio
Processing
Audio
HDMI Output
with Embedded
Audio
I/O Connections
Figure 1. 4K2HD Converter, Simplified Block Diagram
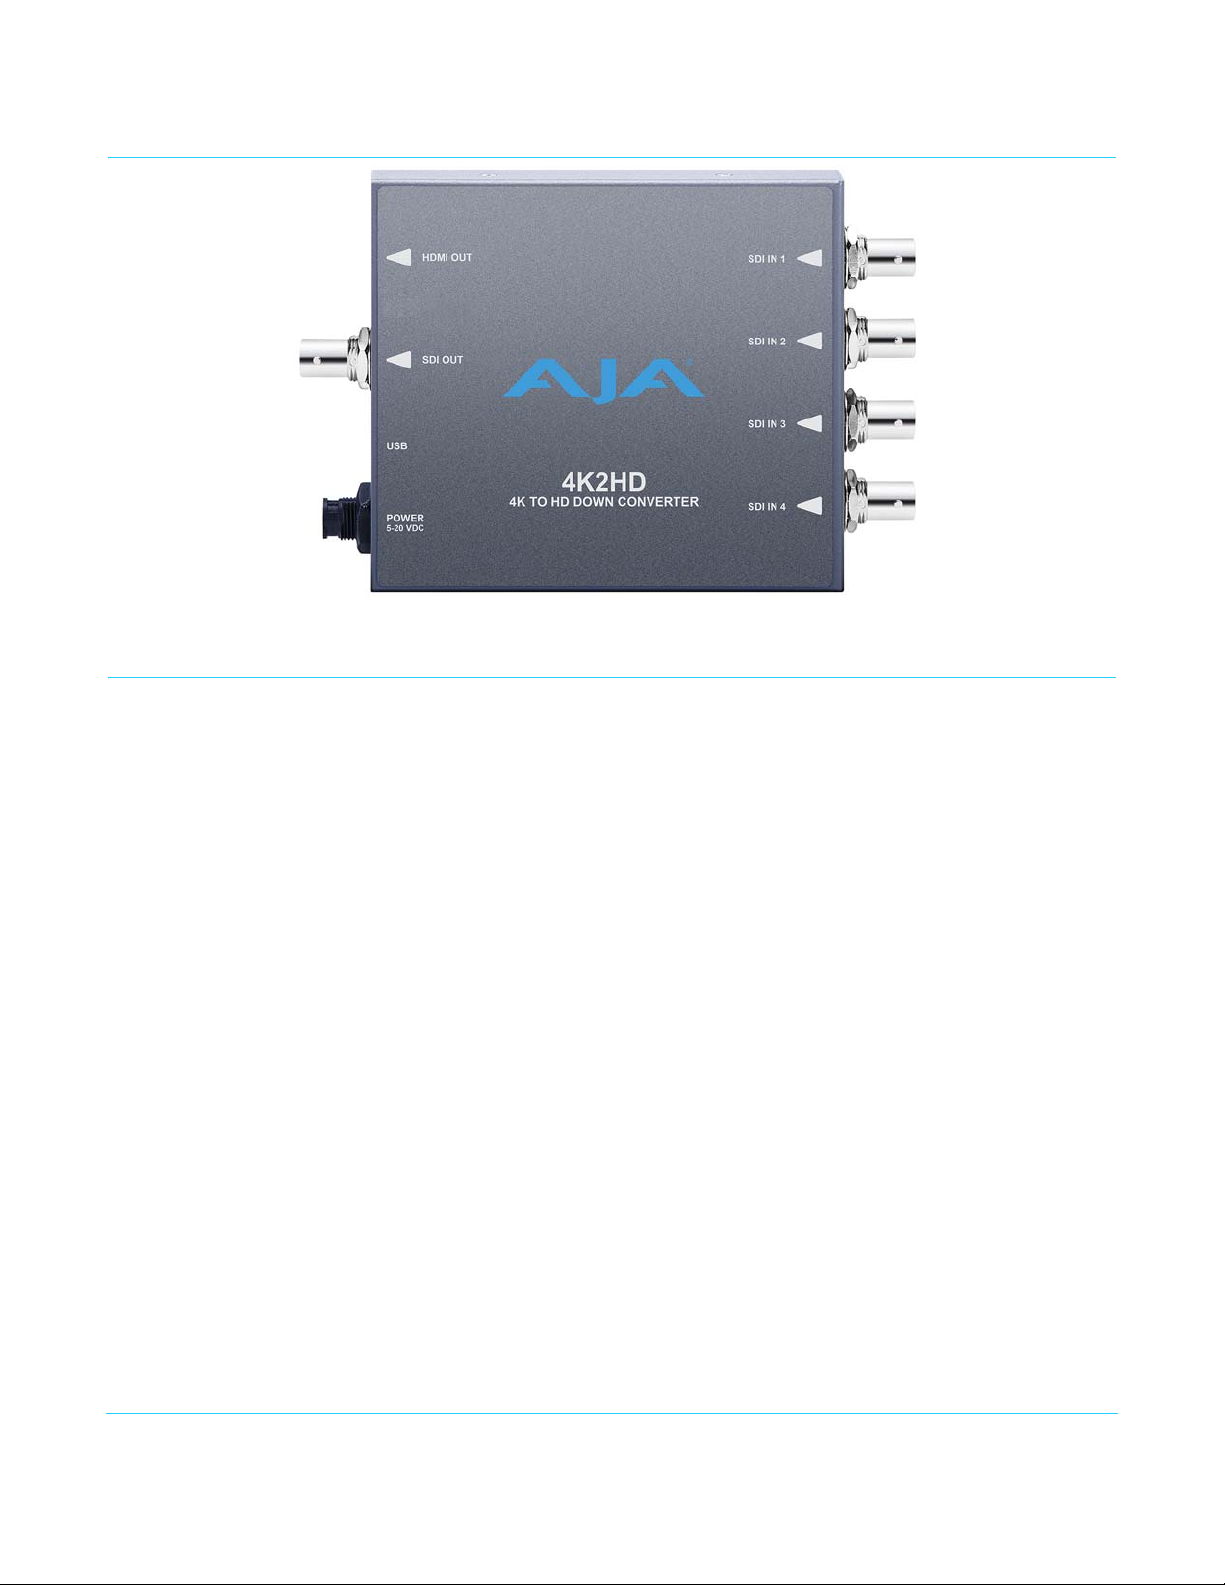
Figure 2. 4K2HD Converter Connection
HDMI
Output
SDI
Output
USB
Port
Power
LED
DC
Power
Input
NOTE: LEDs adjacent to each SDI input connector indicate by color the detected signal type. Green is
SD-SDI, red is HD-SDI, and amber/orange is 3G-SDI.
SDI Inputs 1 - 4
with signal LEDs
4K2HD v1.7 www.aja.com
8

Installation
Typically, 4K2HD installation consists of the following steps:
1. Ensure the 4K2HD is disconnected from power.
2. Connect video equipment to the converter BNCs and HDMI connector.
3. Apply power to the converter (AJA power supply included).
4. The 4K2HD will now run using the default factory settings. If you wish to alter the
factory settings, you’ll need to:
• Install the AJA MiniConfig software on your computer.
• Attach the 4K2HD via USB.
• Make your changes using MiniConfig setup screens.
This process is detailed in “USB Control and Setup—Using AJA MiniConfig” on page 10.
4K2HD v1.7 www.aja.com
9
Chapter 2: Operation
USB Control and Setup—Using AJA MiniConfig
The 4K2HD can usually be used right out of the box for most applications since it is
designed to recognize inputs and perform standard actions automatically by default.
However you can also manually configure the 4K2HD using a supplied software
application for PCs and Macs called “MiniConfig.” This same application can be used to
update Mini-Converter firmware released by AJA.
Installing MiniConfig on a Mac
NOTE: Macintosh computers must be Intel-based (G5, G4 and earlier models will not work with
Installing MiniConfig on a PC
To install the application on a Mac, insert the CD supplied with the
Mini-Converter into the computer, drag the “AJA MiniConfig”
application for your platform (Mac or PC) to your desktop or an
applications folder.
MiniConfig).
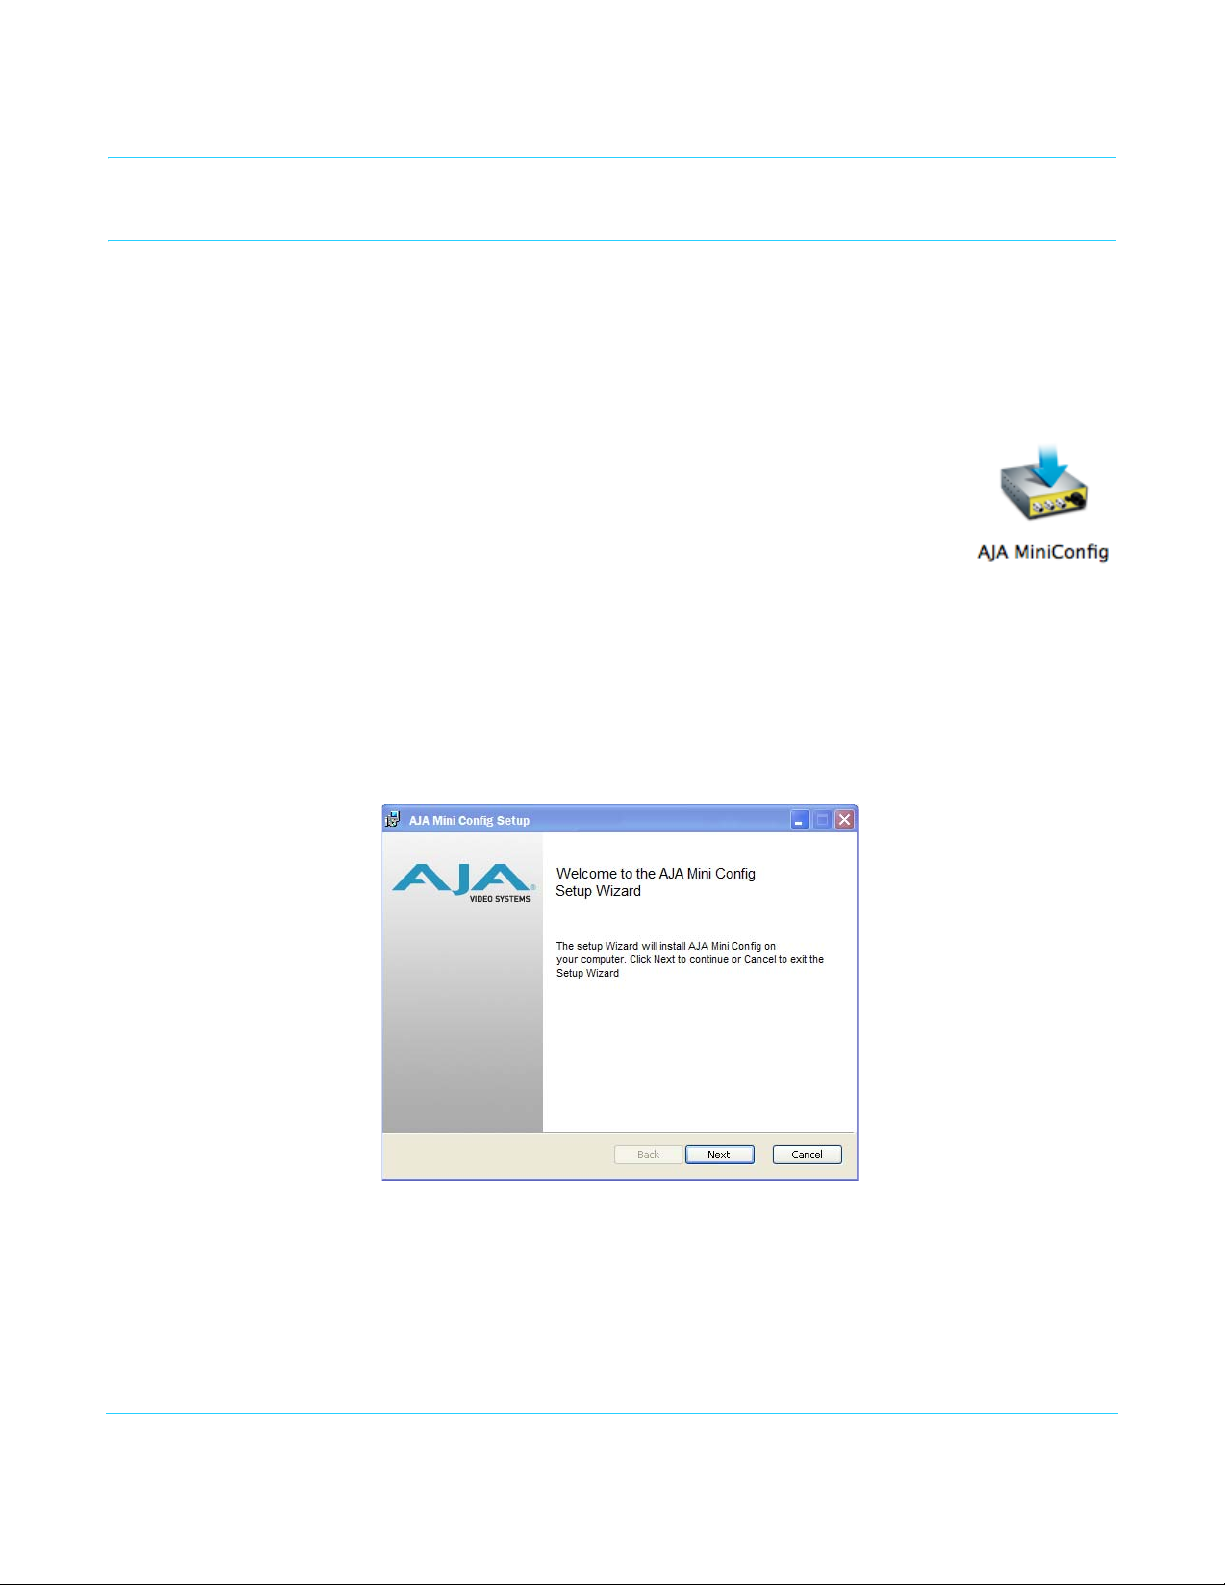
To install the application on a Windows PC, insert the CD supplied with the MiniConverter into the computer, locate the “MiniInstaller” application, and then doubleclick it.
Figure 3. MiniConfig Setup Wizard on PC
A Setup Wizard will guide you through the installation. Just click Next to begin.
Answer all questions in the subsequent dialogues; when done, you will be able to locate
the MiniConfig application in the AJA folder in the Programs listing.
Running MiniConfig Connect the Mini-Converter to the PC or Mac via the supplied USB cable. Connect the
external power supply (supplied) to the Mini-Converter.
4K2HD v1.7 www.aja.com
10
 Loading...