

Page 1
RE CY CLING AND DIS POSAL
Electronic components and construction comply with RoHS
standards.
Packaging is recyclable. Please recycle.
WA RNINGS
Do not get the STOMP 6 wet or place in direct sunlight for extended periods
of time.
Do not put in trash. Please recycle.
Do not power with AC Adapter when battery is installed.
TRADEMARKS
iPhone, iPod, iOS, iPad, MAC are trademarks of Apple, Inc.
Android is a trademark of Google, Inc.
AirTurn, and STOMP 6 and respective logos are trademarks of AirTurn, Inc.
PO Box 3359 Nederland, CO 80466
www.airturn.com 888-247-1223
support@airturn.com
STOMP 6 Instructions
Description .............................................................................. 2
Battery vs DC power ............................................................... 2
Setup and Pairing ..................................................................... 2
Reset the Pairing ...................................................................... 3
Turning off the STOMP 6 ....................................................... 3
MODES ................................................................................... 3
Changing the MODE ............................................................... 4
Key Repeat Function ............................................................... 4
iOS Virtual Keyboard .............................................................. 5
Troubleshooting ....................................................................... 5
Unit Identification ................................................................... 6
Warranty .................................................................................. 6
Radio Information ................................................................... 7
Recycling and Disposal ........................................................... 8
Warnings ................................................................................. 8
Trademarks .............................................................................. 8
8
Page 2
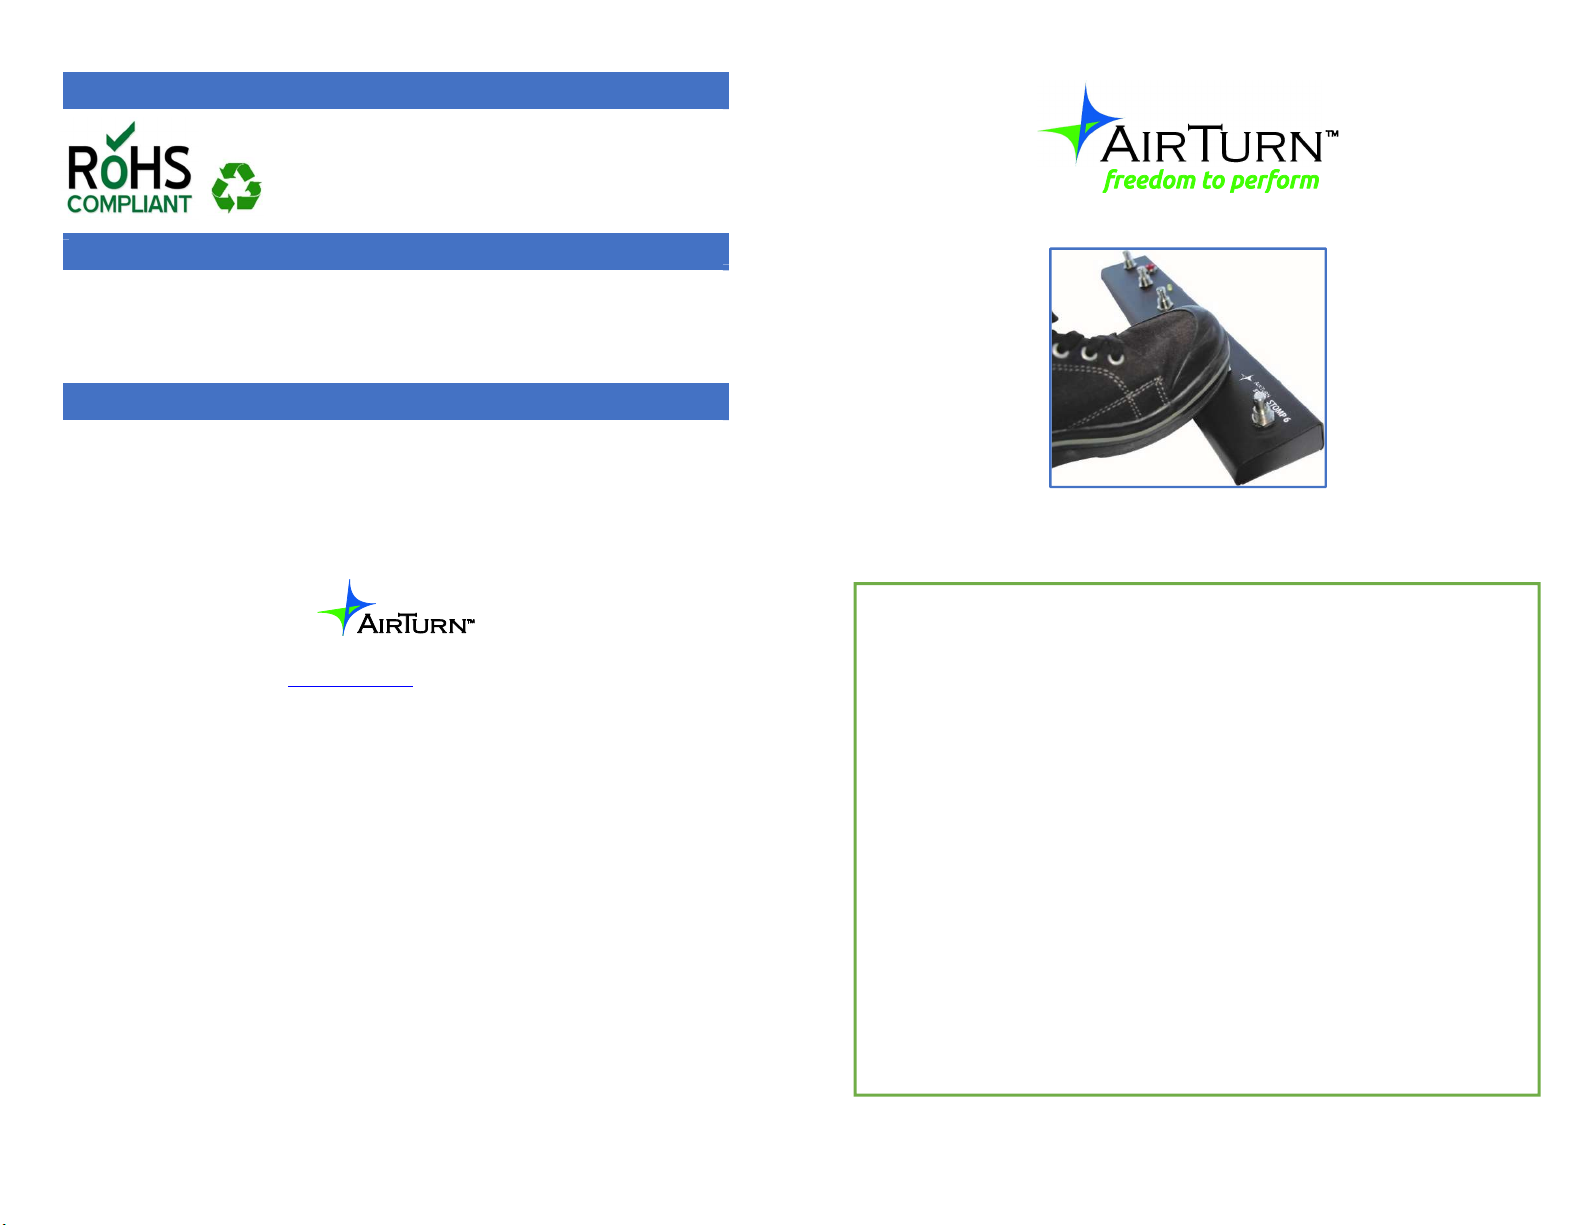
STOMP 6 Instructions
Thank you for your purchase of an AirTurn STOMP 6 wireless controller. We
hope you enjoy the wonderful convenience of hands-free page turning, effects
management, lighting control, transcription control, media players, camera
control and other creative ways to trigger events with the STOMP 6. Send your
suggestions and comments to support@airturn.com.
DE SCRIPTION
and responsibilities of AirTurn to the purchaser with respect to the Product and shall constitute full
satisfaction of all claims, whether based on contract, negligence, strict liability or otherwise. In no
event shall AirTurn be liable, or in any way responsible, for any damages or defects in the Product
which were caused by repairs or attempted repairs performed by anyone other than an authorized
servicer, nor shall AirTurn be liable or in any way responsible for any incidental or consequential
economic or property damage. Some states do not allow the exclusion of incidental or consequential
damages, so the above exclusion may not apply to you.
THIS WARRANTY GIVES YOU SPECIFIC LEGAL RIGHTS. YOU MAY ALSO HAVE OTHER
RIGHTS, WHICH VARY FROM STATE TO STATE.
The STOMP 6 functions with select apps for Apple iOS™ iPhones, iPads, and
iPods, in addition to Bluetooth-equipped Android devices with apps that have
been designed to be compatible with the STOMP 6. Bluetooth equipped PC’s and
MAC’s may also use the STOMP 6 controllers in standard office apps and music
reading software.
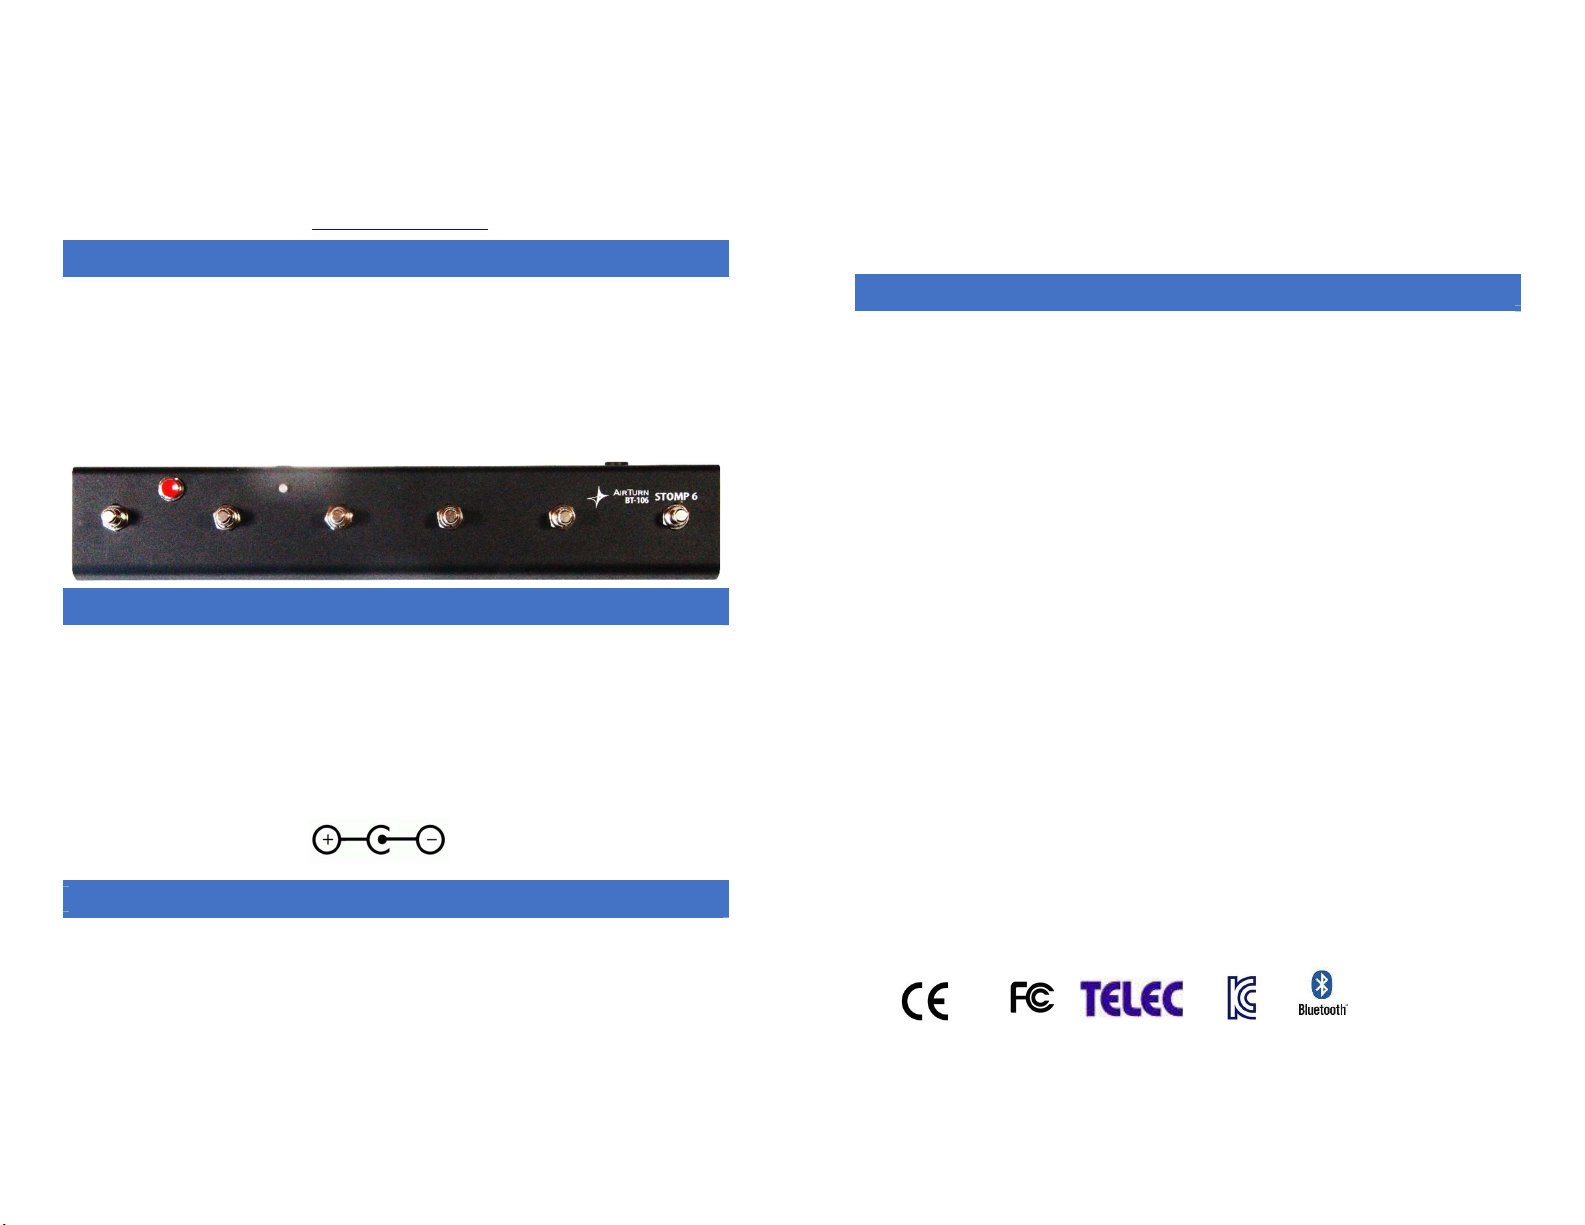
The STOMP 6 consists of a power switch, six switches, an LED indicator, 9 volt
battery and a 9 volt jack for power.
BATTERY VS DC PO WER
Your STOMP 6 comes with a battery that is disconnected. To connect or replace
the battery, remove the 6 screws on the bottom of the case and plug in the battery.
If you intend to store the STOMP 6 for extended periods disconnect the battery.
The STOMP 6 was primarily intended to be an externally powered device using
a 9 volt DC adapter.
Disconnect the battery when using external power. Failure to do so will void
your warranty. The power supply must be a center negative supply.
SETU P AND PAIRI N G
To use the STOMP 6 with your MAC, PC, Android or iPad, make sure the host
computer you are using is in discovery mode. (Check the instructions that came
with your computer or Bluetooth USB dongle. For iPad users, go into “Settings”,
then select “Bluetooth” and make sure it is turned on).
Turn on the STOMP 6 by pressing the power button for 1 second. The LED will
blink green then orange several times (if paired), and attempt to pair with your
computer. If your host computer requests a code, use 0000. If you are presented a
random code to validate the STOMP 6, accept it.
RA DI O INFORMATIO N
Bluetooth 2.1/2.0/1.2/1.1 certified (3.0 compliant)
Bluetooth v2.0+EDR support
Low power
Approximate Range:
After One Wall 50 feet, After Two Walls 35 feet After Three Walls 20 feet
This device complies with Part 15 of the FCC Rules.
Operation is subject to the following two conditions:
(1) this device may not cause harmful interference, and
(2) this device must accept any interference received, including interference that may cause undesired operation.
CAUTION: Changes or modifications not expressly approved by the party responsible for compliance could void
the user’s authority to operate the equipment.
NOTE: This equipment has been tested and found to comply with the limits for a Class B digital device, pursuant
to Part 15 of the FCC Rules. These limits are designed to provide reasonable protection against harmful
interference in a residential installation. This equipment generates, uses and can radiate radio frequency energy,
and, if not installed and used in accordance with the instructions, may cause harmful interference to radio
communications. However, there is no guarantee that interference will not occur in a particular installation. If this
equipment does cause harmful interference to radio or television reception, which can be determined by turning
the equipment off and on, the user is encouraged to try to correct the interference by one or more of the following
measures:
--Reorient or relocate the receiving antenna.
--Increase the separation between the equipment and receiver.
--Connect the equipment into an outlet on a circuit different from that to which the receiver is connected.
--Consult the dealer or an experienced radio/TV technician for help.
FCC ID:T9J-RN42
Part 15 Subpart B: 2008 Class B
CRF Title 47 Part 15 Subpart C
Unintentional frequency radiation report is available upon request. Immunity testing with battery only.
2
7
Page 3

5. On an iOS device, try resetting the network. Select General>Settings>Reset>
Reset Networks. Recheck connection after the device restarts. (Note: this
procedure will cause you to lose network password settings and they will have to
be re-entered.)
On the iPad, under the “Devices” heading within the Bluetooth settings, you
should see the STOMP 6 appear, either as a keyboard, or as “AirTurn” with a
serial number. Tap on top of the device name to connect and complete the pairing
process. Once connected, it will blink green once every 2 seconds.
6. If the connection appears to drop, be sure all power saving settings are turned
off on the host computer. For example, Autolock should be set to never on iOS
devices.
Go to www.airturn.com/support for more information. Additional questions can
be emailed to support@airturn.com
UN I T IDENTIFI CATI ON
The unit name in your Bluetooth host consists of several codes to help with
support and identifying your specific device. For example:
AirTurn106v142-220A
106 refers to the model number.
v142 refers to the firmware version.
220A refers to the MAC address.
This is helpful if there are many STOMP 6 units in the same location. Your MAC
address will always be the same so you can easily identify your unit. You will find
your specific MAC address labeled on the bottom of your STOMP 6.
WA R RANTY
AirTurn, Inc., (“AirTurn”), warrants to the first consumer purchaser that the AirTurn STOMP 6 (the
“Product”), when shipped in its original container, will be free from defective workmanship and
materials, and agrees that it will, at its option, either repair the defect or replace the defective Product
or part thereof with a new or remanufactured equivalent at no charge to the purchaser for parts or
labor for one year from date of purchase.
This warranty does not apply to any appearance items of the Product nor to any Product the exterior
of which has been damaged or defaced, which has been subjected to misuse, abnormal service or
handling, or which has been altered or modified in design or construction, nor does it apply to cables
or batteries that may be supplied.
In order to enforce the rights under this limited warranty, the purchaser should request a RMA
number via email or phone following the directions on the support page at www.airturn.com/support.
The purchaser shall return the product at their expense. The repaired or replaced product will be
returned at the expense of AirTurn.
The limited warranty described herein is in addition to whatever implied warranties may be granted
to purchasers by law. ALL IMPLIED WARRANTIES INCLUDING THE WARRANTIES OF
MERCHANTABILITY AND FITNESS FOR USE ARE LIMITED TO ONE YEAR FROM THE DATE
OF THE PURCHASE. Some states do not allow limitations on how long an implied warranty lasts,
so the above limitation may not apply to you.
The warranties described herein shall be the sole and exclusive warranties granted by AirTurn and
shall be the sole and exclusive remedy available to the purchaser. Correction of defects, in the
manner and for the period of time described herein, shall constitute complete fulfillment of all liabilities
6
RE SET THE PAIRI N G
A reset of the pairing is required if you switch to a new host device or you
upgrade the operating system. To reset the pairing on the STOMP 6, turn
it on, wait 3 seconds, press and hold the power button for 8 seconds until
the LED blinks a rapid series of green and red, then release. If pairing is
unsuccessful, delete the device displayed on the host computer and reset the
STOMP 6 pairing again. Initial discovery may take up to 30 seconds (longer on
some older PC and MAC computers). To delete the STOMP 6 from the iPad’s
Bluetooth Device listing, tap the “i” in the circle opposite the STOMP 6’s serial
number, then press the “Forget this Device” button and then the “Forget”
confirmation button.
Note: Reset pairing for both devices each time you change to a new host device
such as using the STOMP 6 with your desktop computer and then with your
iPad. Also reset both the host and STOMP 6 if the pairing is dropped by the
host.
TURNING OFF TH E STOMP 6
Turn off the STOMP 6 by pressing the power button for 2-3 seconds until
the LED turns red and blinks twice. Release and the LED will blink 3
more times while the unit shuts down. Turning power off on the host
computer will automatically turn off the STOMP 6 after 3 minutes.
MODES
There are six modes that come ready to use on your STOMP 6. Modes are used
to send different signals to the host computer, depending on the computer and the
application being used.
MODE 1 PC/MAC Turns pages for most office document and PDF
software on PC/MAC computers.
MODE 2 ProTools Recording Mode for ProTools
MODE 3 Tablet This is for most iOS and Android devices. It is the
default mode of a new STOMP 6.
MODE 4 Transcription Signals used in some transcription software.
MODE 5 Multi Media For most media players such as iTunes – iOS
cameras and video also can use the first switch as a trigger.
MODE 6 Assisted Technology
The following table shows each Mode and respective switch function:
3
Page 4

MODE 1 MODE 2
1) Page Up 1) 3
2) Page Down 2) ;
3) Left Arrow 3) P
4) Right Arrow 4) Shift + R
5) Enter 5) Space
6) b 6) Ctrl + Z
MODE 3 MODE 4
1) Up Arrow 1) F9
2) Down Arrow 2) F7
3) Left Arrow 3) F4
4) Right Arrow 4) Ctrl + Shift + T
5) Enter 5) F8
6) b 6) F3
MODE 5 MODE 6
1) Volume Up/Camera 1) Space
2) Volume Down 2) Enter
3) Previous Song 3) 1
4) Next Song 4) 2
5) Play/Pause 5) Home (iPad)
6) Home (iPad) 6)Virtual Keyboard
CH ANGI NG THE MODE
1. Turn on the STOMP 6.
2. Press and hold the Switch 6 for 2 seconds. The LED will flash red once
per second from 1 to 6 flashes. The number of flashes corresponds to the
same MODE number. Be sure to count the flashes.
3. Release Switch 6 following the number of flashes that reflects the desired
MODE. The orange LED will flash the number of times indicating which
MODE has been set.
until released. Variances may occur in the repeat timing due to environmental
factors.
IOS VIRTUAL KEY B OAR D
Some applications require the use of the keyboard to enter text or to interact with
the application. Since the STOMP 6 is an external keyboard, the iPad or other iOS
device by default disables its own virtual keyboard.
To display the virtual keyboard, open any text box on the iPad, then tap in the text
box to activate the cursor. Then, quickly press and release the power switch while
the STOMP 6 is connected to the iPad. If you close the virtual keyboard from
within the application, you can press the power switch again to reactivate it. This
is a toggle switch so pressing it will toggle the virtual keyboard on and off. Note
that iPhones may require toggling on the keyboard for each use.
TROUBLESHOOTIN G
STOMP 6 IS NOT CONNECTING OR PAIRING
1. Delete the AirTurn device on your host computer. On an iOS device, go to the
Bluetooth settings, (Settings>General> Bluetooth), and press the “i” in the circle
next to the AirTurn selection and then press the Forget this Device button, then
OK.
2. Turn off Bluetooth on the host device.
3. Hold the power button on the STOMP 6 for 8 seconds until you see the LED
light blink red/green rapidly several times.
4. Turn on the STOMP 6
5. Turn on Bluetooth on the host device.
6. The STOMP 6 should appear after 5-9 seconds depending on the host.
7. Touch or click the listing when it appears and it will connect after another few
seconds.
Example: To set MODE 3 hold Switch 6 for 3 flashes of the red LED, release
and the orange LED will flash 2 times to confirm the MODE 2 setting.
Note: Once the MODE has been set, it will remain the same until it is changed
following the above steps.
KEY REPEAT FUNC TION
To turn on the Key Repeat function, hold down switches 2 and 4 together. Once
you have turned it on, holding down a pedal or button, (except button 6) in any
MODE for more than two seconds will repeat the key action twice per second
4
STOMP 6 IS CONNECTED BUT NOT WORKING
1. Check the Mode. To change the mode to the default mode 3, hold down button
6 until the red led blinks 3 times and release.
2. Make sure you are using an app that supports the STOMP 6. (Check the AirTurn
website. http://airturn.com/apps)
3. Check the application instructions to make sure you have the application set up
for the AirTurn.
4. On an iOS device be sure you are not running too many applications. See your
iOS instructions for closing apps.
5
 Loading...