

Page 1

AC.TOP
Wireless Access Point
Quick Installation Guide
Page 2
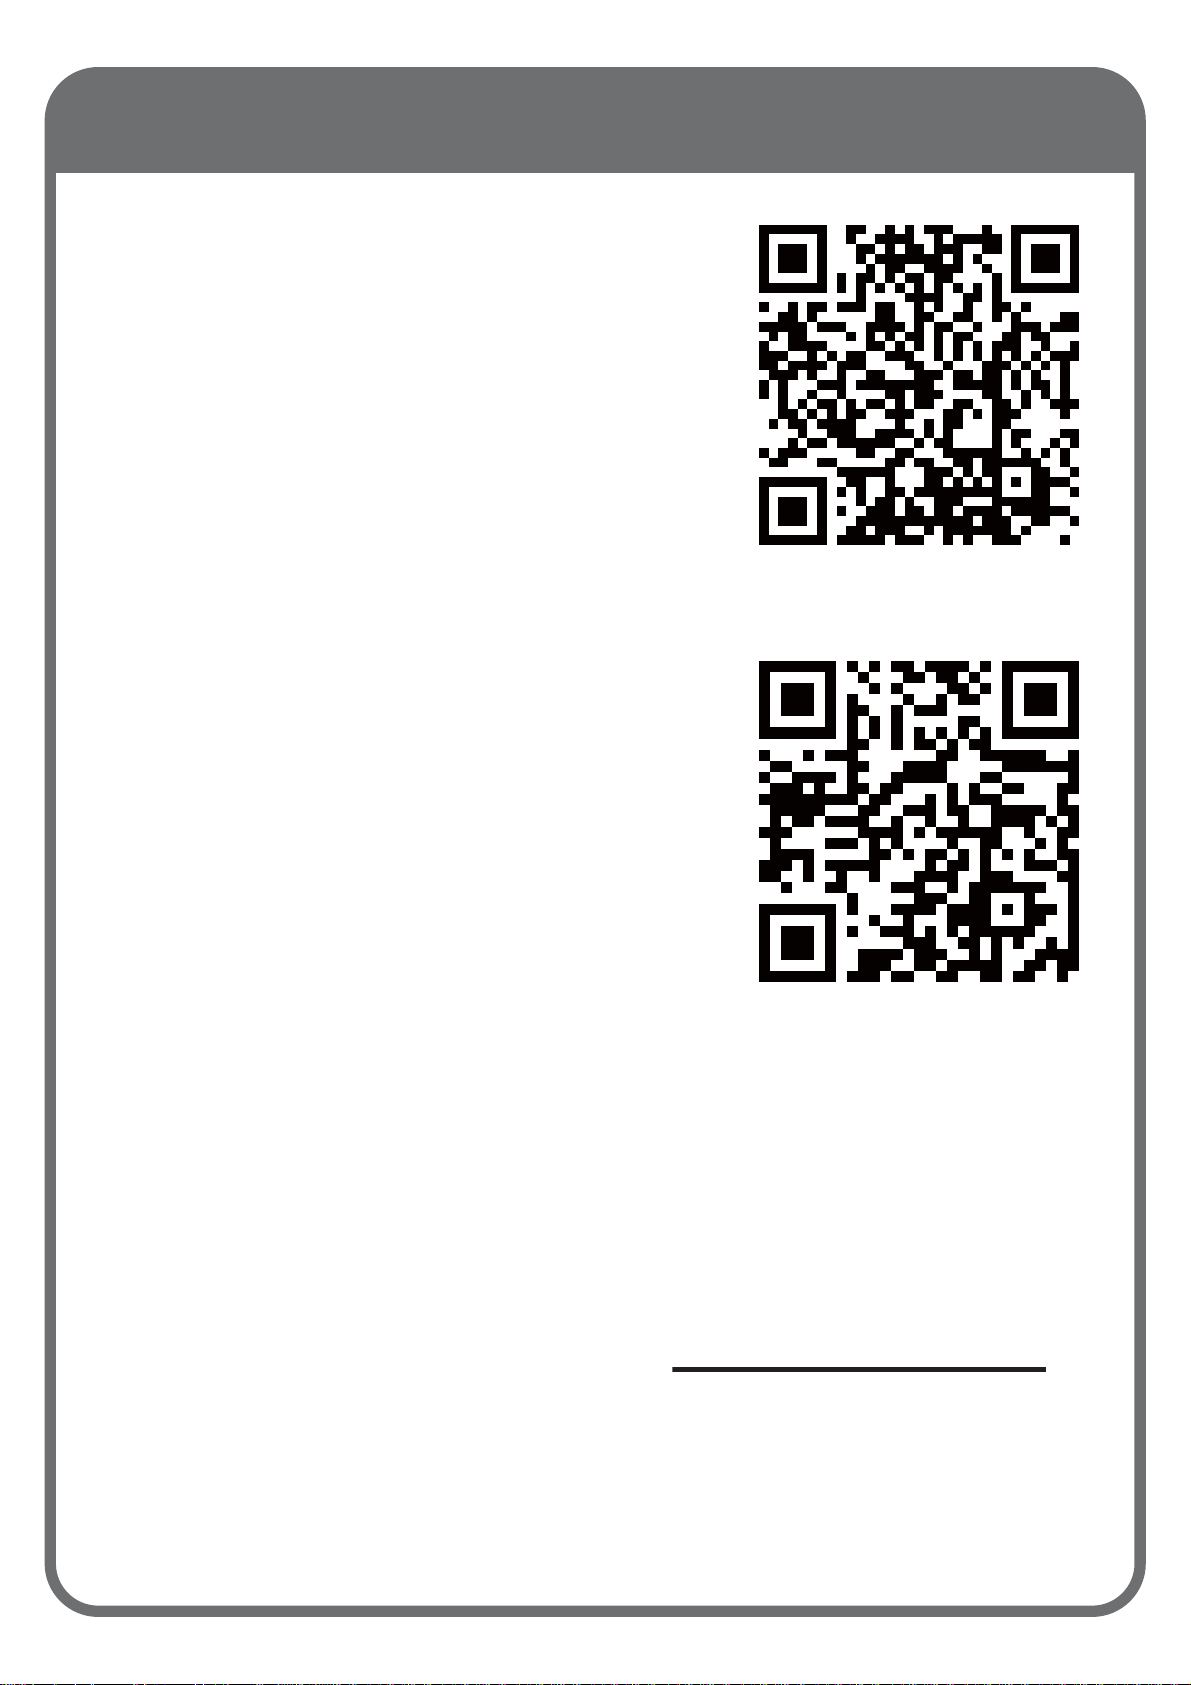
Support
You can download the
complete guides and
supporting programs from
<http://www.airlive.com/pro
duct/ac.top/download>, or
scan the QR code here.
Please consult with the FAQs
<http://www.airlive.com/pro
duct/ac.top/faq> before
writing to OvisLink Tech
Support Team for further
assistance
For any other question, please read the user
manual in the CD or mail to tech@airlive.com
for technical support.
Page 3
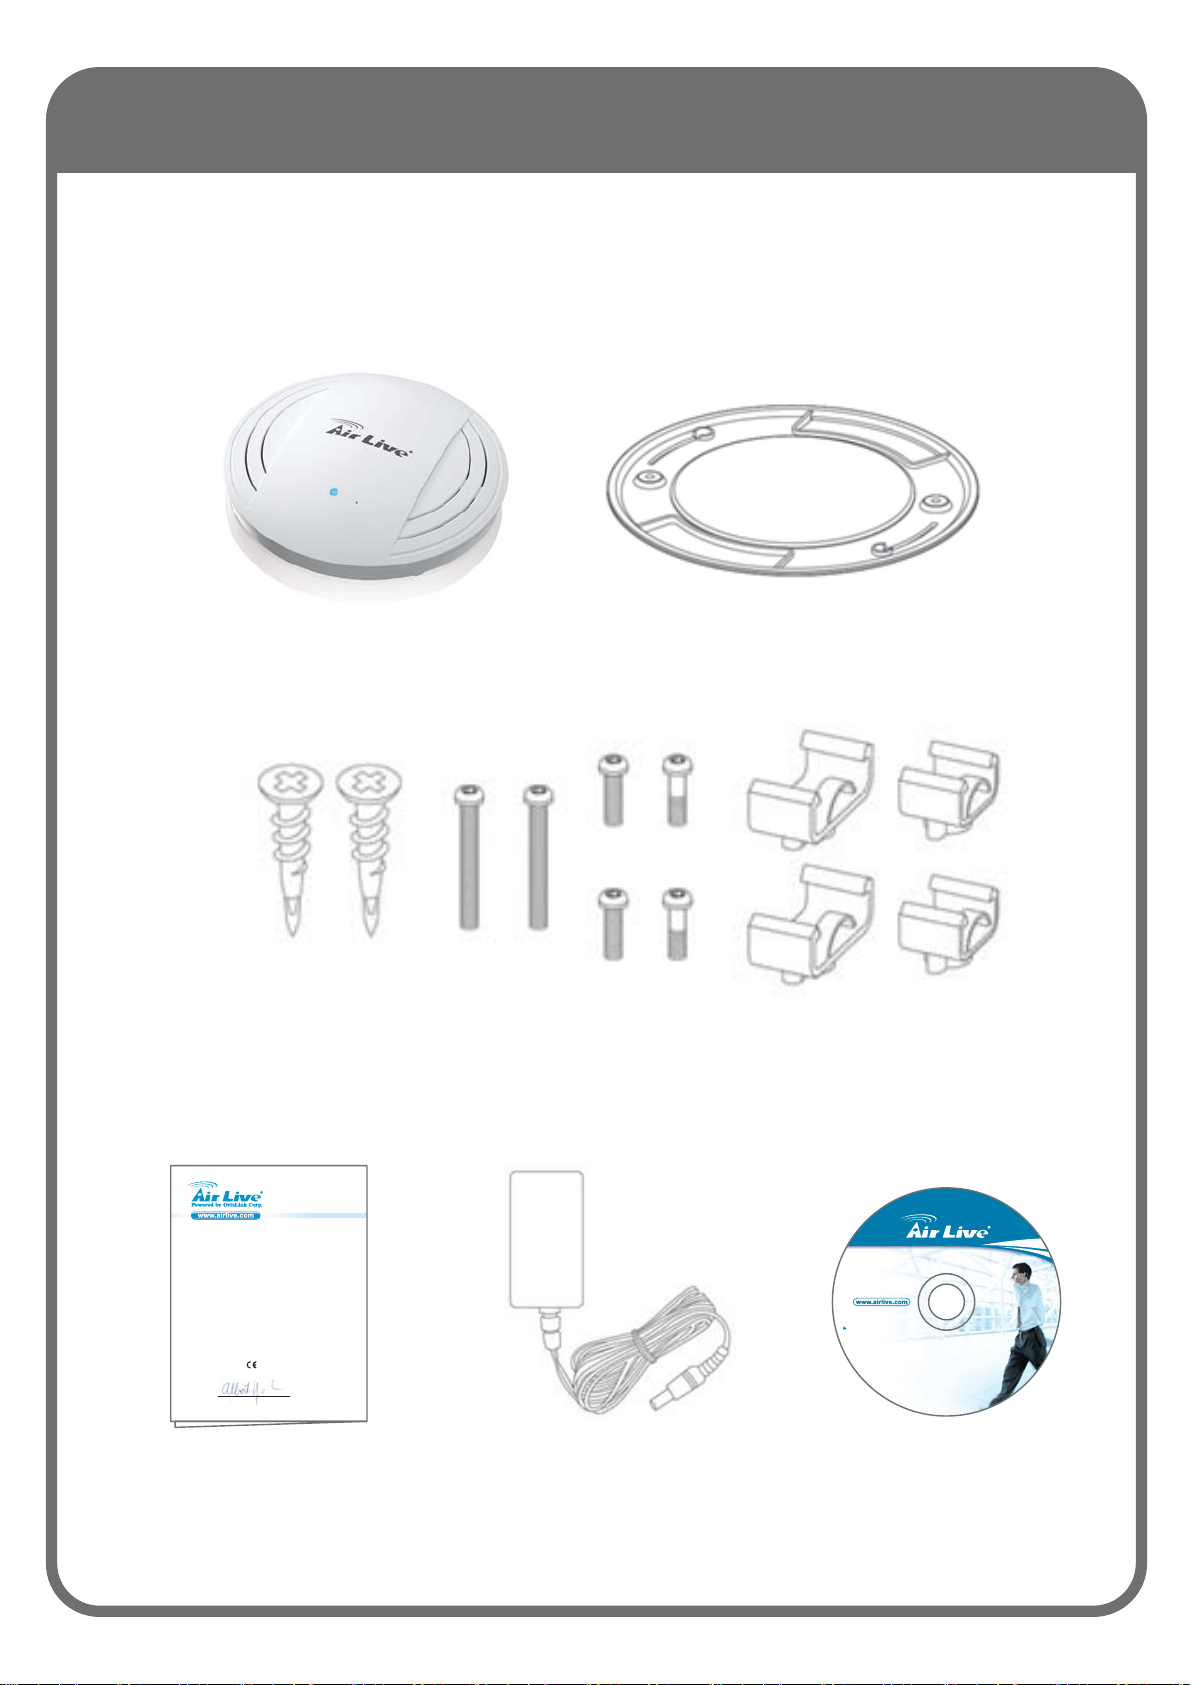
AC.TOP Package Contents
Yeh
VER.20140926
11 AC Wide Range Ceiling Mount
PoE Access Point
AC.TOP
T
h
e
T
o
t
a
l
N
e
t
w
o
r
k
i
n
g
S
o
l
u
t
i
o
n
s
Please check the package contents and contact
your distributor if any part is missing.
AC.TOP
Declaration of Conformity
We, Manufacturer/Importer
OvisLink Corp.
5F, No.6, Lane 130, Min-Chuan Rd., Hsin-Tien Dist.,
New Taipei City 231, Taiwan
Declare that the product
11 AC Wide Range Ceiling Mount PoE Access Point
AirLive AC.TOP
is in conformity with
In accordance with 2004/108/EC Directive and 1999/5 EC-R & TTE Directive
Clause
Description
■
EN 55022: 2010(Class B)
Information technology equipment - Radio disturbance characteristics Limits and methods of measurement
■
EN 55024: 2010
Information technology equipment - Immunity characteristics Limits and methods of measurement
■
Information technology equipment - Safety -- Part 1: General
EN 60950-1:2006+
requirements
A11:2009+A1:2010
A12:2011
■
CE marking
Manufacturer/Importer
Signature:
Name:Albert Yeh
Position/ Title : Vice President Date:2014/09/26
Place : Taiwan
Ceiling Mount Bracket
T-Rail Mounting Kit & Screws
Quick
Power Adapter
User Manual CD
Installation Guide
Page 4
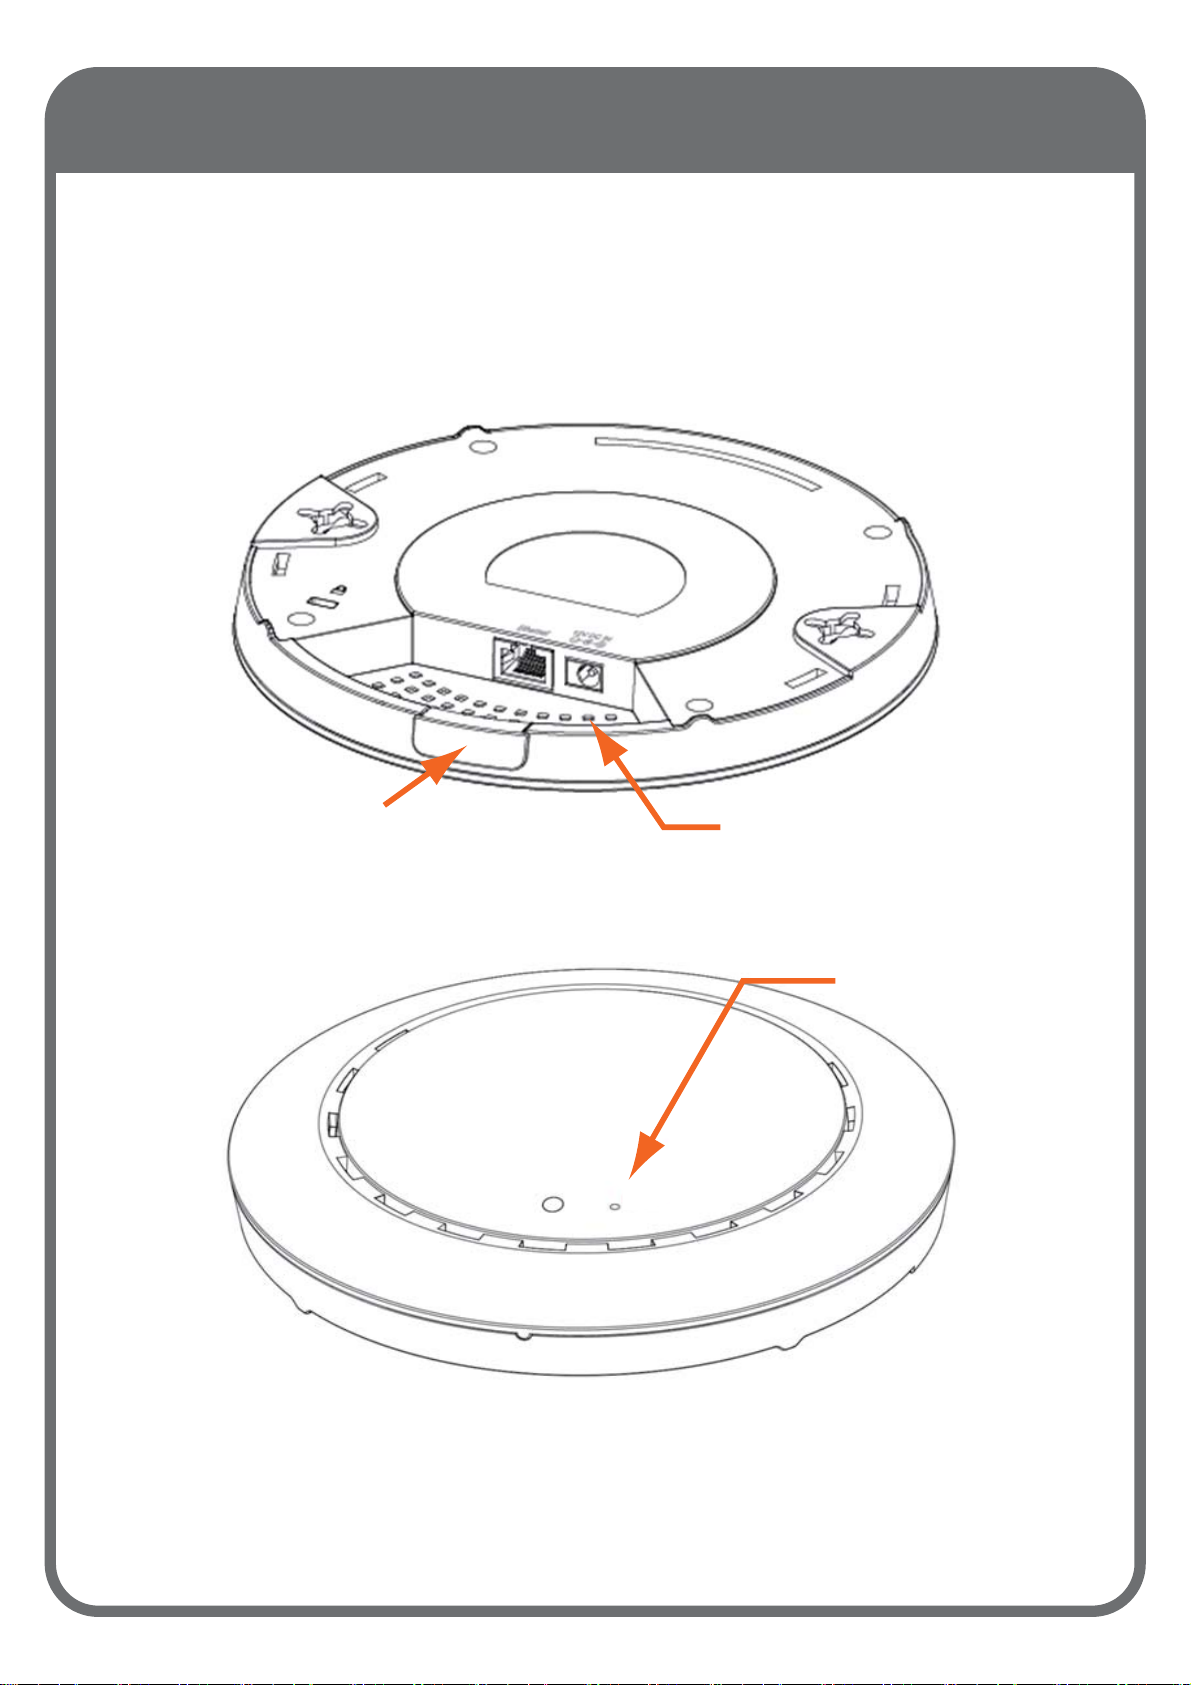
I/O Interface
PoE Ethernet Port
Power Jack (DC IN)
Reset Button
Page 5

Mounting the AC.TOP: Ceiling Mount01
1
Place the ceiling mount bracket to a ceiling
in your desired location and insert screw
through hole (x 2) and tighten to fix the
bracket in place,
Insert screw through hole and into the rear
2
of screw and tighten to provide additional
strength.
3
When the ceiling bracket is in place, insert
screw into hole (x 2) on the access point.
4
Fix the access point to the ceiling bracket by
inserting the attached screws into hole and
twisting the access point.
5
Lock the access point firmly into place by
twisting it to align screws with the grooves in
the ceiling mount.
Page 6

Mounting the AC.TOP: Ceiling Mount01
Page 7

Mounting the AC.TOP :Wall Mount02
To mount the access point to a T-Rail, please
follow the instructions below and refer to
diagram C, D & E.
1
Select the correct size T-Rail bracket from
the two sizes which are included in the
package contents.
2
Attach the T-Rail bracket into hole using
screw (x 2) as shown in C.
3
Clip the access point onto your T-Rail using
the attached T-Rail bracket.
C
Page 8

D
Mounting the AC.TOP :Wall Mount02
E
Page 9

Power up the Camera03
Connect the 12V adapte to power up the
AC.TOP
12V DC
You can also use RJ45 ethernet cable to power
up the camera if you have PoE switch.
PoE Switch
8642
7531
RJ-45
POE-FSH1008AT
8-port POE + 2 Combo Gigabit 802.3at
Device Guard Web Smart Switch
8642
PoE
G2
LNK/ACT
LNK
PoE
LNK
LNK/ACTPWRRST
G1 G1 G2
7531
Page 10

Connect AC.TOP to Network04
a. Connect AC.TOP to the LAN port of the
switch.
b. Connect switch to the LAN port of the router.
c. Connect the PC/NB to the LAN port of the
switch.
POE-FSH1008AT
8-port POE + 2 Combo Gigabit 802.3at
Device Guard Web Smart Switch
8642
PoE
G2
LNK/ACT
LNK
PoE
LNK
LNK/ACTPWRRST
G1 G1 G2
7531
8642
7531
Switch
PC/NB Router
Page 11

Access AC.TOP via Browser05
The default IP address of AC.TOP is
192.168.1.254. Please set your PC/NB to the
same subnet
http://192.168.1.254
Enter the AC.TOP’s IP address into browser to
visit the AC.TOP web UI. The default
username/password is admin/airlive
 Loading...