

Page 1
Quick Installation Guide
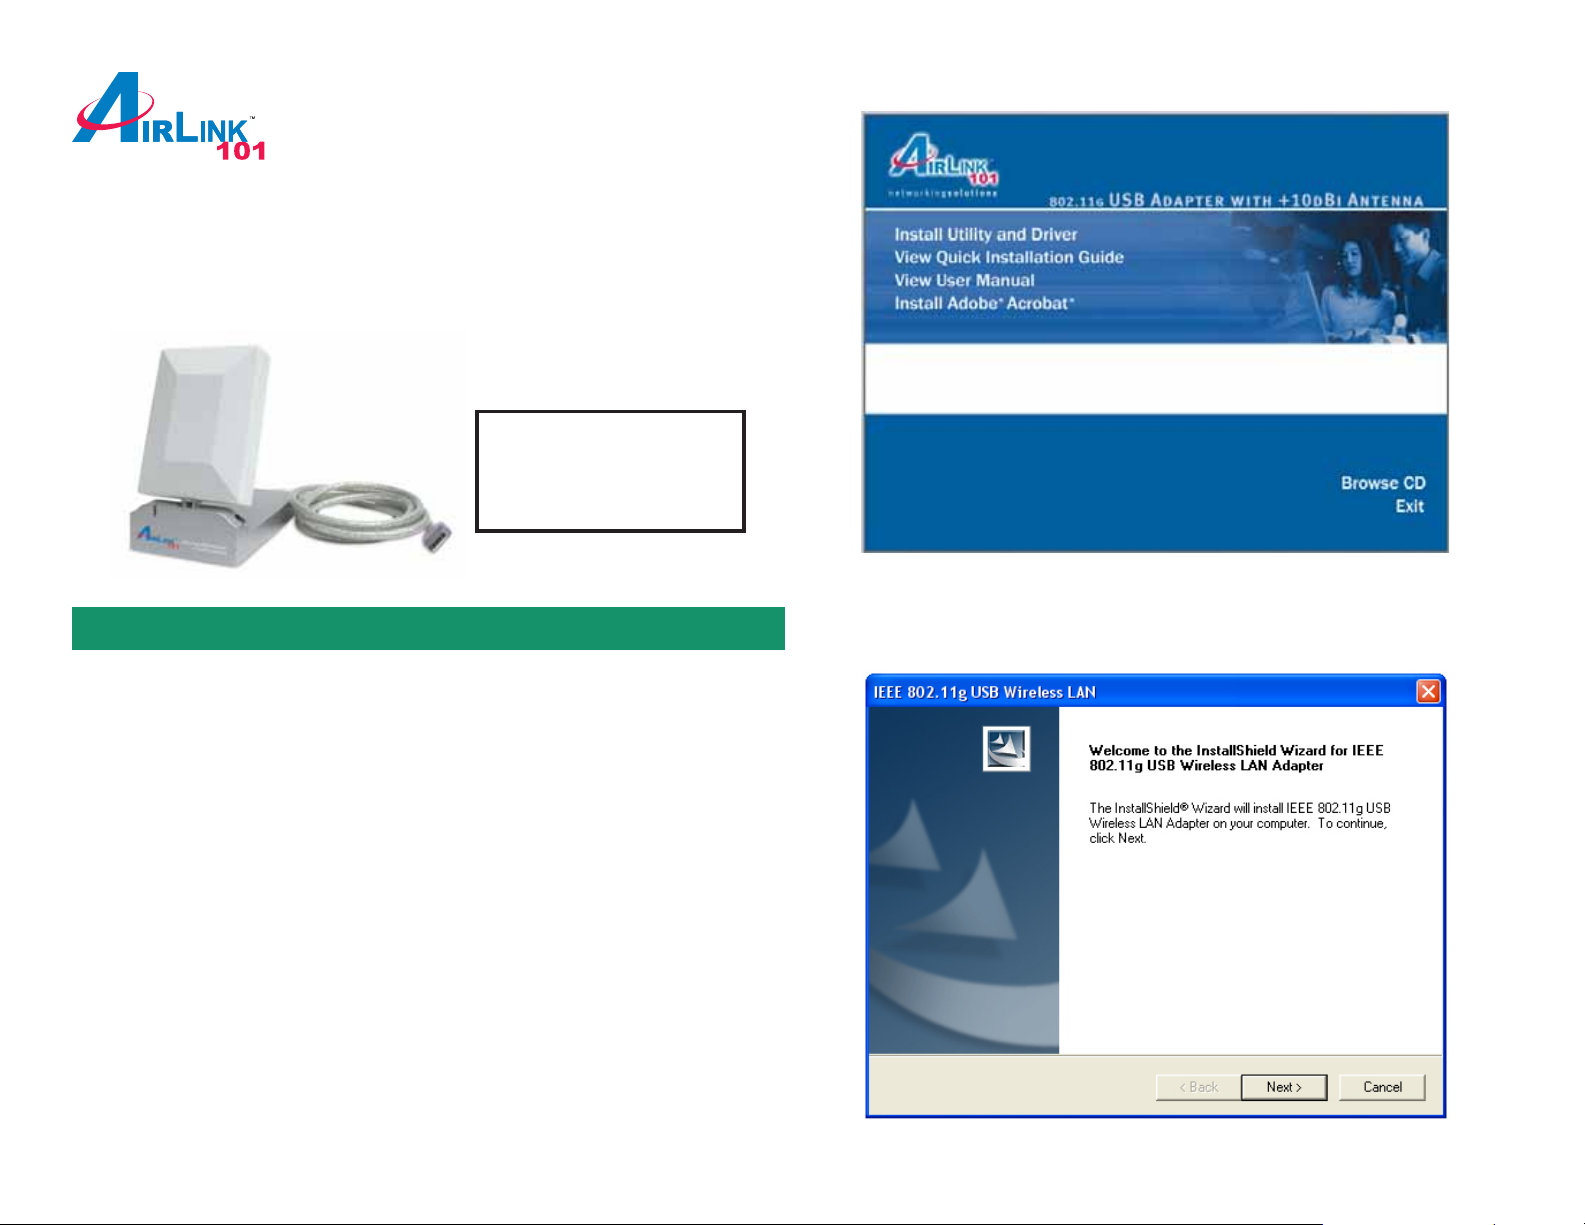
802.1 1g USB Adapter with +10dBi Antenna
Model # AWLL3055
Package Contents:
• USB 2.0 Adapter
• Driver & Utility CD
• Quick Installation Guide
Ver . 1A
Section 1
Install Driver & Utility
Note: Before installing the utility software, DO NOT insert the USB adapter into
your computer . If the adapter is inserted already, Windows will detect the adapter
and request for a driver . Click Cancel to quit the wizard and remove the adapter
from your computer.
Step 1 Insert the provided Driver and Utility CD into your CD drive.
Step 2 Click Inst all Driver and Utility from the autorun window .
Note: If the autorun window doesn’t appear automatically go to Start, Run, and
type D:\Utility\Setup.exe (where D is the letter of your CD drive) and click OK.
Step 3 Click Next at the welcome screen.
Page 2
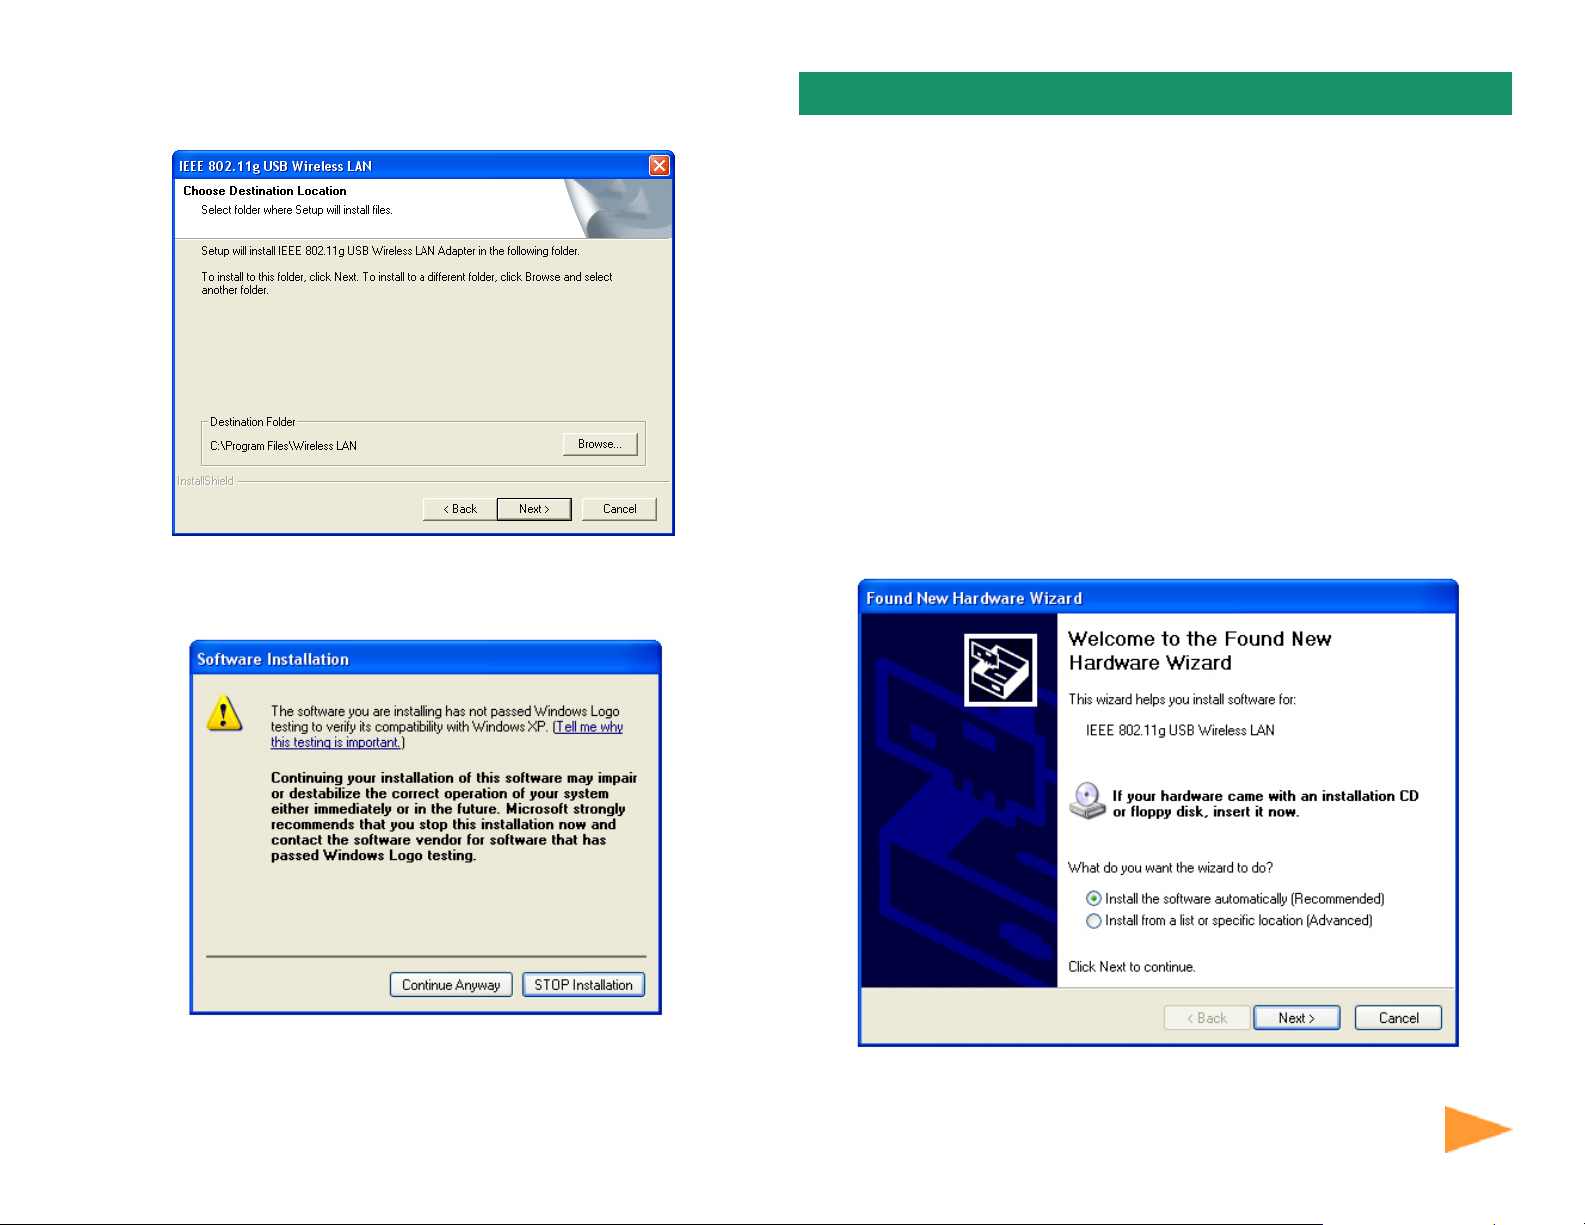
Step 4 Click Next to accept the default destination location for the driver to be
installed in or click Browse to select the desired location.
Step 5 For Windows XP, click Continue Anyway at the Windows Logo
Compatibility screen.
Section 2
Install Driver
Note: In most cases, Windows will automatically install the driver after the
computer is restarted. If the Found New Hardware Wizard appears, follow the
instructions below. The Found New Hardware Wizard will look different depending
on your operating system. Follow the on-screen instructions to complete the
installation. For Windows 98SE and ME users, you may be prompted to insert the
Windows 98SE or ME CD during the driver installation. Be sure to have your
Windows 98SE or ME CD ready .
Step 1 After the computer is rest arted, insert the USB adapter into the USB port
of the computer. If there is not enough room to insert the adapter directly to the
USB port, you may use the supplied USB extension cable for more space.
Step 2 Select Install the software automatically and click Next.
For Windows 2000, click Yes at the Digital Signature screen.
Step 6 Remove the Driver & Utility CD from your CD drive and then restart your
computer.
Continue on Back
Continue on back...
Page 3

Step 3 For Windows XP, click Continue Anyway at the Windows Logo
Section 3
Compatibility screen.
For Windows 2000, click Yes at the Digital Signature screen.
Note to Windows XP Users:
If you encounter the Wireless Zero Configuration dialog box, click Yes to enable
the Wireless LAN Utility to configure your USB adapter .
Step 1 Select the SSID of your wireless router/access point from the Available
Network list and click on the Connect this site button.
For Windows 98SE or ME, insert the Windows 98SE or ME CD if prompted to do
so and click OK.
Step 4 Click Finish. Restart the computer if you are prompted to do so.
Section 3
Configuring the USB Adapter
T o open the utility, go to Start, (All) Programs, IEEE 802.1 1g USB W ireless LAN
Adapter, IEEE 802.1 1g USB W ireless LAN Utility.
Step 2 V erify that the adapter has adequate Signal Strength and Link Quality
and then restart the computer .
You have completed the configuration.
Page 4

Section 4
For Windows 2000/XP
Step 1 Go to Start, Run, type cmd and click OK.
Troubleshooting
Step 2 At the command prompt, type ipconfig/release and press Enter.
A If the utility cannot be opened or it reports that the adapter is not found,
uninstall the driver and utility and try installing again. You can also verify if the
driver is installed properly in the Device Manager . For instructions on how to
access the Device Manager, please refer to the User’s Manual on the provided CD.
B If you do not see your wireless router/access point in the A vailable Network list,
reset your wireless router/access point and click on Refresh.
C If WEP is ON, it means that the wireless router/access point has encryption
enabled. Be sure to set the identical encryption settings on the USB adapter’s
utility as well. Please see the user manual for help on setting up the WEP
security.
D If the adapter has adequate signal strength and link quality , but cannot access
the Internet, verify that you are able to obtain an IP address from your wireless
router/access point.
Section 4
For Windows 98SE/ME
Step 1 Go to Start, Run, type winipcfg and click OK.
Step 2 Select the adapter from the drop-down menu and click Release.
Step 3 After the IP address is released, type ipconfig/renew and press
Enter. Y ou should get an IP address like 192.168.x.y (where x and y are
unique numbers assigned by your wireless router/access point). If you
don’t get an IP address, reset the wireless router/access point and then
try ipconfig/renew again.
E You must have USB 2.0 compatible hardware and install the latest USB 2.0
driver from Microsoft in order to reach the maximum possible transfer rate.
For more advanced features and additional details, please refer to
the User’s Manual on the provided CD.
Section 5
Technical Support
E-mail: support@airlink101.com
T oll Free: 1-888-746-3238
Web Site: www .airlink101.com
Step 3 After the IP address is released, click Renew. You should get an IP
address like 192.168.x.y (where x and y are unique numbers assigned by
your wireless router/access point). If you don’t get an IP address, reset the
wireless router/access point and then try Renew again.
*Theoretical maximum wireless signal rate based on IEEE standard 802.11g specifications. Actual data throughput will vary . Network conditions
and environmental factors, including volume of network traffic, building materials and construction, mix of wireless products used, radio
frequency interference (e.g., cordless telephones and microwaves) as well as network overhead lower actual data throughput rate.
Copyright © 2006 AirLink101. All rights reserved. AirLink101, the stylized AirLink101 logo, specific product designations, and all other words
and logos that are identified as trademarks and/or service marks are, unless noted otherwise, the trademarks and service marks of AirLink101.
All other product or service names are the property of their respective holders. AirLink101 products are protected under numerous U.S. and
foreign patents and pending applications, mask work rights, and copyrights.
 Loading...