

Page 1
Quick Installation Guide
802.1 1g Wireless Cardbus Adapter
Rev. 1.2
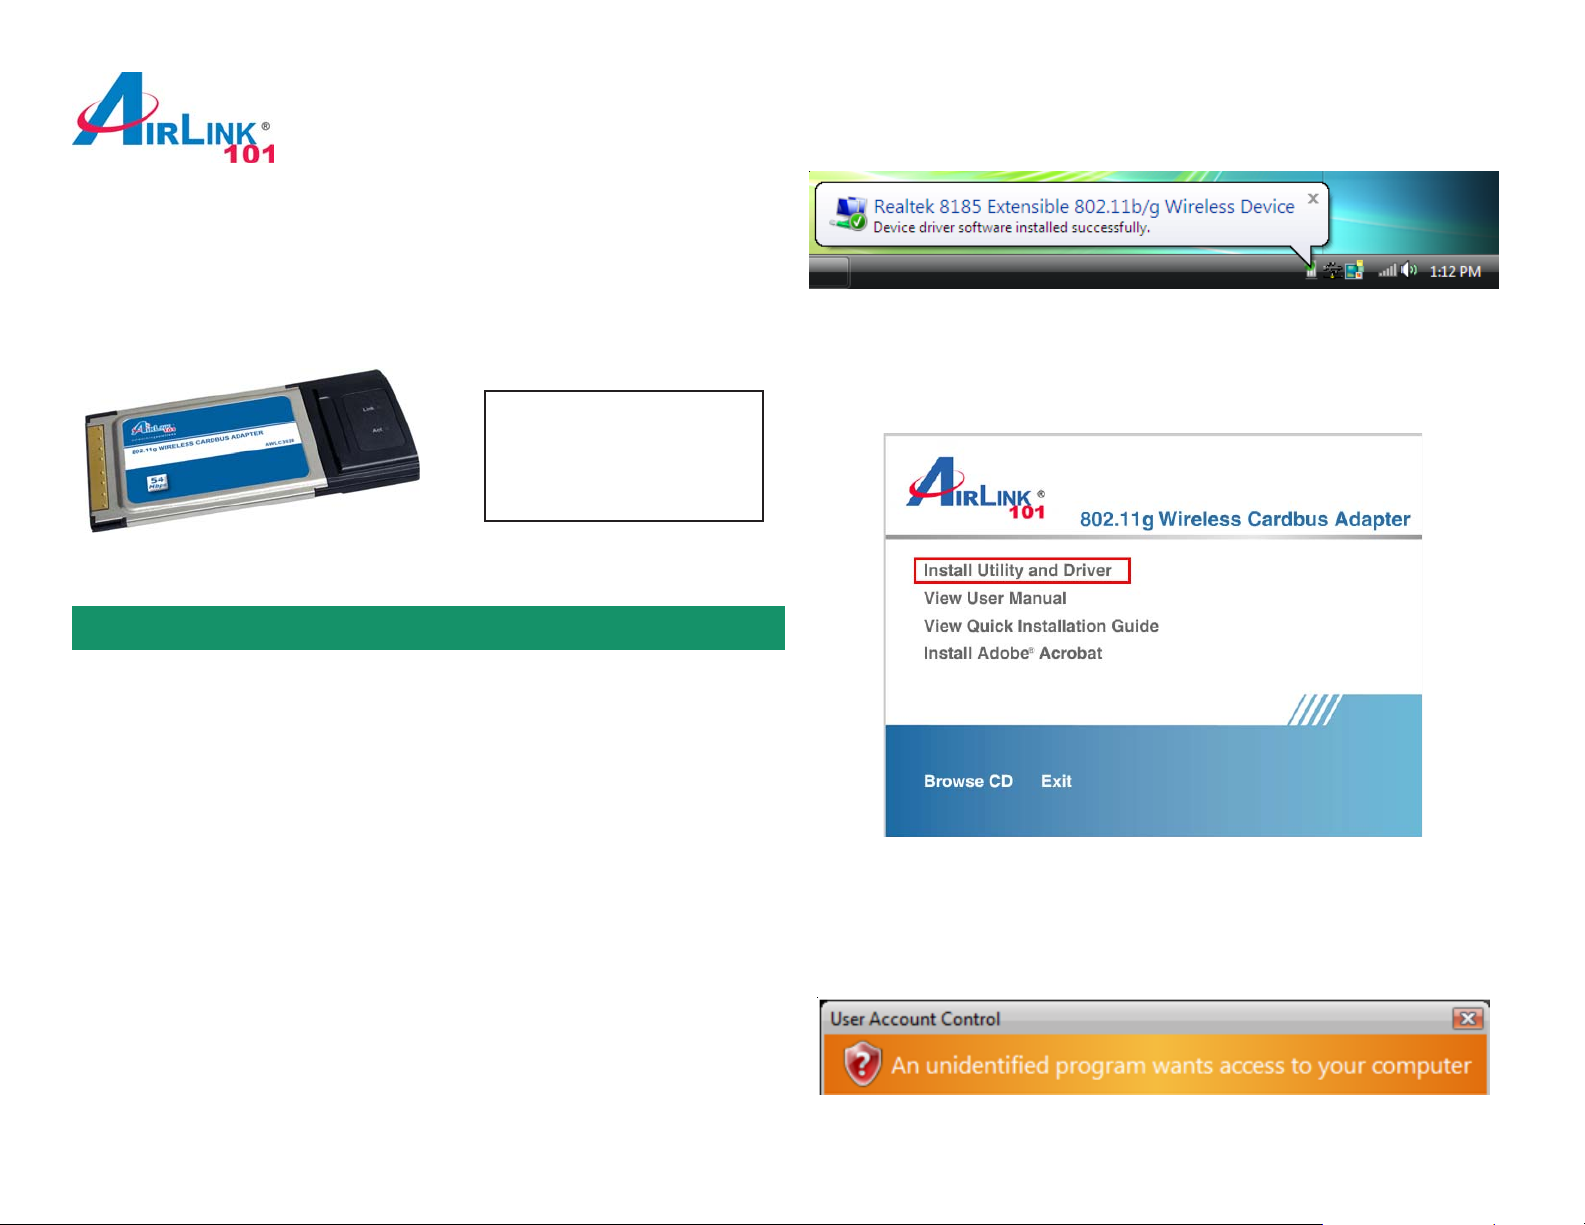
Windows Vista Users: After turning on the computer , Windows will install its built
in driver for this card. A popup window will appear telling you that the driver was
installed correctly .
Model # A WLC3028
Package Content:
• Wireless Cardbus Adapter
• Driver & Utility CD
• Quick Installation Guide
Section 1
Install Utility Software
This Quick Installation Guide only provides the basic instructions. For more
advanced features such as configuring encryption settings, please refer to the
User’s Manual on the provided CD.
Note: Be sure to power off your computer before inserting the Cardbus adapter.
Once you see this message, insert the installation CD and continue to S tep 1.
Step 1 The Autorun screen will pop up. Select Install Driver and Utility from the
menu.
Note: If the Autorun screen doesn’t appear automatically go to Start, Run, and
type D:\Utility\Setup.exe (where D is the letter of your CD drive) and click OK.
Insert the Cardbus adapter into an available Cardbus slot and turn on your
computer.
Windows 2000/XP Users: After turning on the computer , Windows will launch the
Found New Hardware Wizard. The Found New Hardware Wizard appears
differently depending on your operating system. Click Cancel to quit the wizard
and insert the Installation CD into your CD drive Skip ahead to Step 1.
Windows Vista Users: At this point, you may get a warning message like the one
below . Make sure that you click “Allow” to continue with the installation.
Page 2
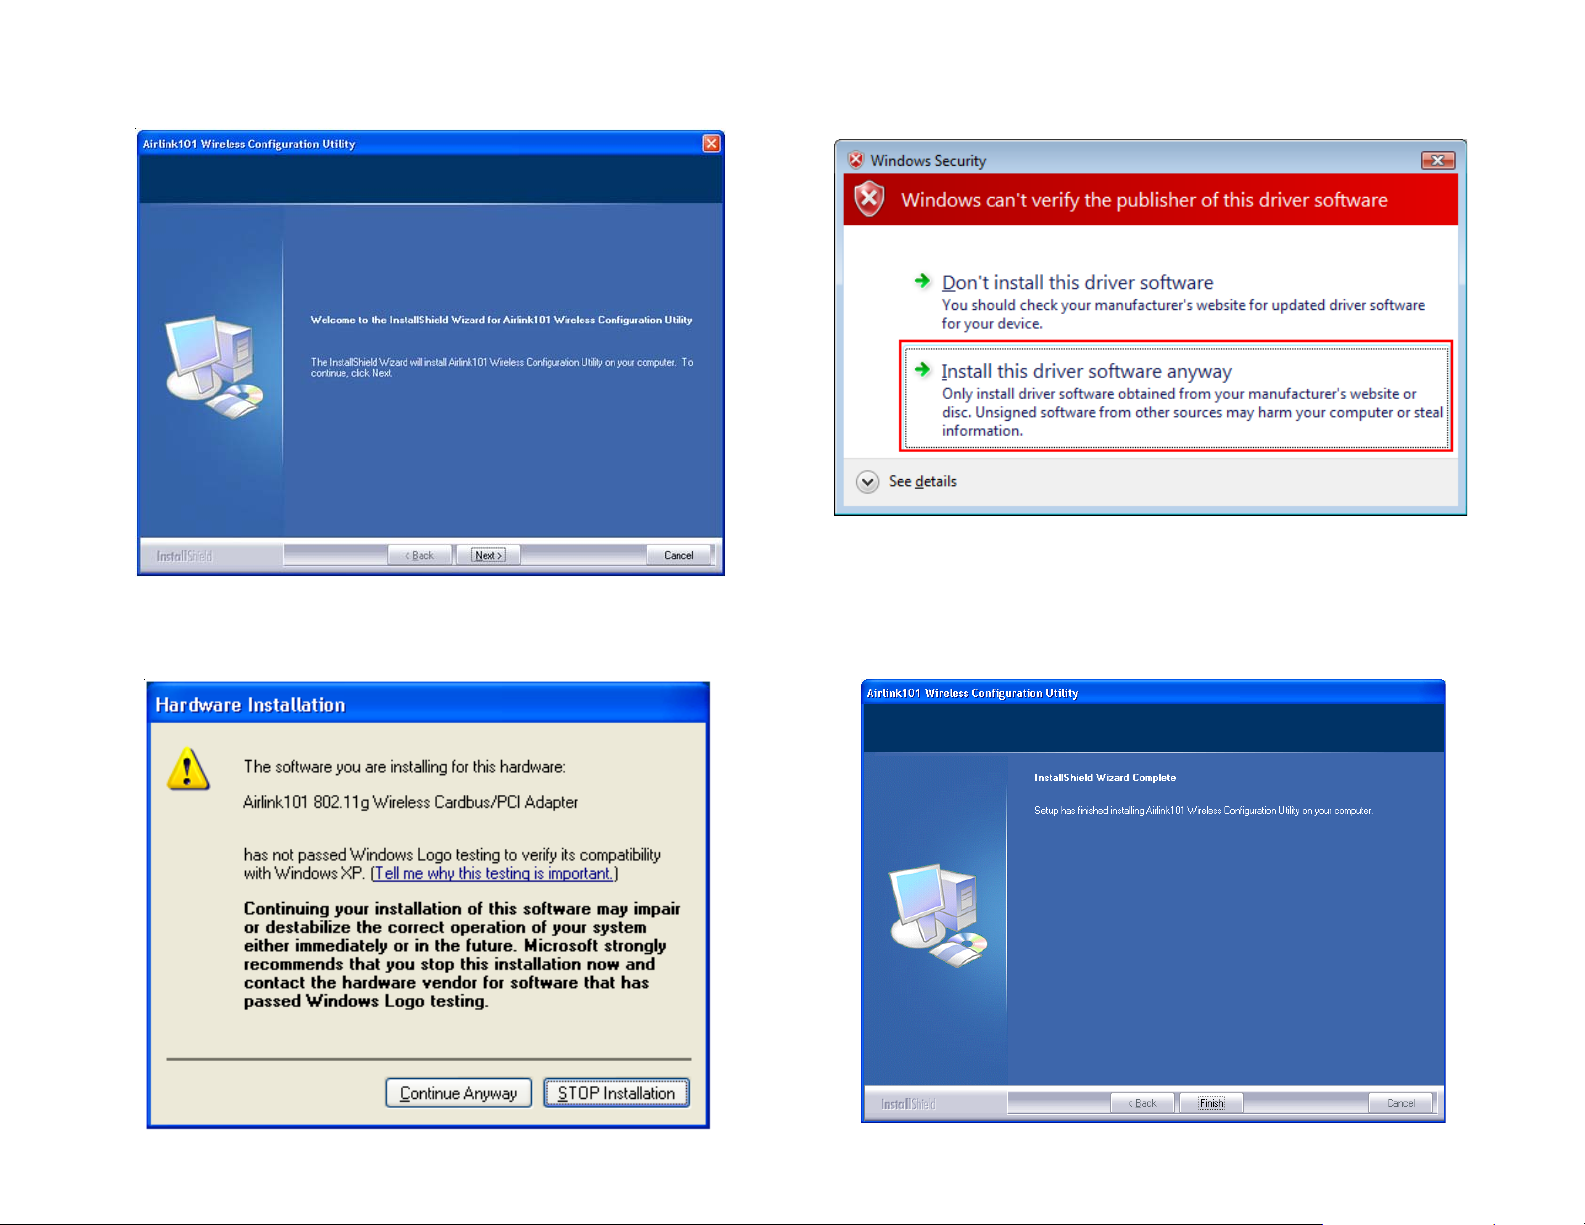
Step 2 Click Next at the welcome screen. Windows Vista Users: When the Windows Security box appears, click Install
this driver software anyway .
Windows 2000/XP Users: Click Continue Anyway at the Windows Logo
Screen. (For Windows 2000, click Yes at the Digital Signature Not Found
prompt).
Step 3 Click Finish to complete the installlation.
Page 3

Section 2
Configuring the Wireless Adapter
Windows Vista Users: For instructios on using Windows Vista’s built in utility,
please skip ahead.
Windows XP Users:
You must disable the Wireless Zero Configuration Utility. Please follow the step s
below to disable XP’s wireless utility .
Double-click on the Wireless Network Connection Icon in the system tray and
then click on Properties or Advanced.
When the new wireless network connection properties window appears, go to the
Wireless Networks tab, uncheck the Use Windows to configure my wireless
network settings check box and click OK.
To open the utility , double click on the Wireless Configuration Utility icon in the
system tray at the bottom right-hand corner of your screen.
Go to the Available Network tab, select the SSID (Network Name) of the
wireless network you wish to connect to, and click Add to Profile.
Page 4

If the network you are attempting to connect to does not have encryption enabled,
you will recieve a warning about connecting to an unsecured network. Click OK
to complete the connection.
If the network you are attempting to connect to is configured for encryption, the
following window will appear:
Enter the encryption settings for the network and click OK to complete the
connection.
You should now be connected. Click on the general tab to check the status of
your connection. It should say Associated next to status, and there should be
green bars next to Signal Strength and Link Quality.
Windows Vist a Users: To connect to a network using the Windows Vista utility,
right click on the networking icon down in the bottom right hand corner.
Then click on Connect to a network.
Select your network from the list and click Connect.
If the network you are connecting to does not have encryption enabled, you will
see the following warning:
Page 5

Click Connect Anyway to connect to the network.
If the network you are attempting to connect to has encryption enabled, a box will
appear asking you to enter your encryption key .
Y ou should now be connected to your network.
T o save the connection settings so that you don’t have to go through the connection setup process each time you start your computer , check the boxes for Save
this network and Start this connection automatically, then click Close to
complete the setup.
Enter your encryption key into the box and click Connect to establish a connection. If you do not know what your encryption key is, contact your router manu-
facturer for assistance.
Troubleshooting: If you are experiencing problems with the connection (unable
to connect, low signal strength, slow connection speed, not working, unstable
wireless connection) you will want to tune your router’s signal by changing
channels on the router.
Y ou do not need to change the channel on the card, it will automatically pick up the
new channel after you reboot. The only channel that you need to change is the
router’s channel.
Y our router has 1 1 different channels to choose from. S tart with channel 1 and work
your way up. Each time you change the channel on the router , make sure that you
restart the wireless computer before trying to connect again. Keep going through
the channels until you find one that gives you a stable connection.
For instructions on changing channels, refer to the documentation that came with
your router.
Page 6

For instructions on configuring and connecting to a router with Wi-Fi Protected
Setup (WPS), Please refer to Section 4.7 of the User Manual Located on the
CD. The adapter can only use Wi-Fi Protected Setup with routers that support
Wi-Fi Protected Setup.
Section 3
Technical Support
E-mail: support@airlink101.com
T oll Free: 1-888-746-3238
Web Site: www .airlink101.com
*Theoretical maximum wireless signal rate based on IEEE standard 802.11g specifications. Actual data throughput will vary . Network conditions and environmental factors, including volume of network traffic, building materials and construction, mix of wireless products used, radio
frequency interference (e.g., cordless telephones and microwaves) as well as network overhead lower actual data throughput rate. Specifications are subject to change without notice. All products and trademarks are the property of their respective owners. Copyright ©2007
Airlink101®
 Loading...