

Page 1
D1000 ScreenTape Assay for TapeStation Systems
Quick Guide
The Agilent 4150 (G2992AA) and 4200 (G2991AA and G2991BA) TapeStation systems are automated platforms for
scalable, flexible, fast, and reliable electrophoresis of nucleic acids.
This Quick Guide is intended for use with the Agilent 4150 and 4200 TapeStation systems only. A Quick Guide specific
for use with the Agilent 2200 TapeStation system is available online.
The D1000 ScreenTape assay is designed for analyzing double-stranded DNA molecules from 35 to 1000 basepairs.
Specifications
Analytical specifications D1000 ScreenTape assay
Sizing range 35 – 1000 bp
Typical resolution 35 – 300 bp: 15 %, 300 – 1000 bp: 10 %
Sensitivity
Sizing precision
Sizing accuracy
Quantitative precision 0.1 – 1 ng/µL: 15 % CV, 1 – 50 ng/µL: 10 % CV
Quantitative accuracy
Quantitative range 0.1 – 50 ng/µL
Maximum buffer concentration in
sample
Physical specifications
Analysis time 16 samples: <20 min, 96 samples: <90 min
Samples per consumable 16
Sample volume required 1 µL
Kit stability 6 months
Kit size 112 samples
1
2
3
1
2
2,3
2
Signal-to-noise >3 (single peak)
Measured using one ladder per ScreenTape device
Sizing Accuracy for analysis with electronic ladder: ±20 %
0.1 ng/µL
5 % CV
±10 %
±20 %
20 mM KCl, 60 mM phosphate buffer, 60 mM guanidine-HCl, 240 mM NaCl,
60 mM NaOAc
Page 2
D1000 ScreenTape Assay for TapeStation Systems
Storage Conditions
• Reagent vials and ScreenTape devices: 2 – 8 °C (36 – 46 °F).
• Store partially used ScreenTape devices upright at 2 – 8 °C (36 – 46 °F) for a maximum of 2 weeks.
• Never freeze ScreenTape devices. Discard any accidentally frozen ScreenTape devices.
Kit Components
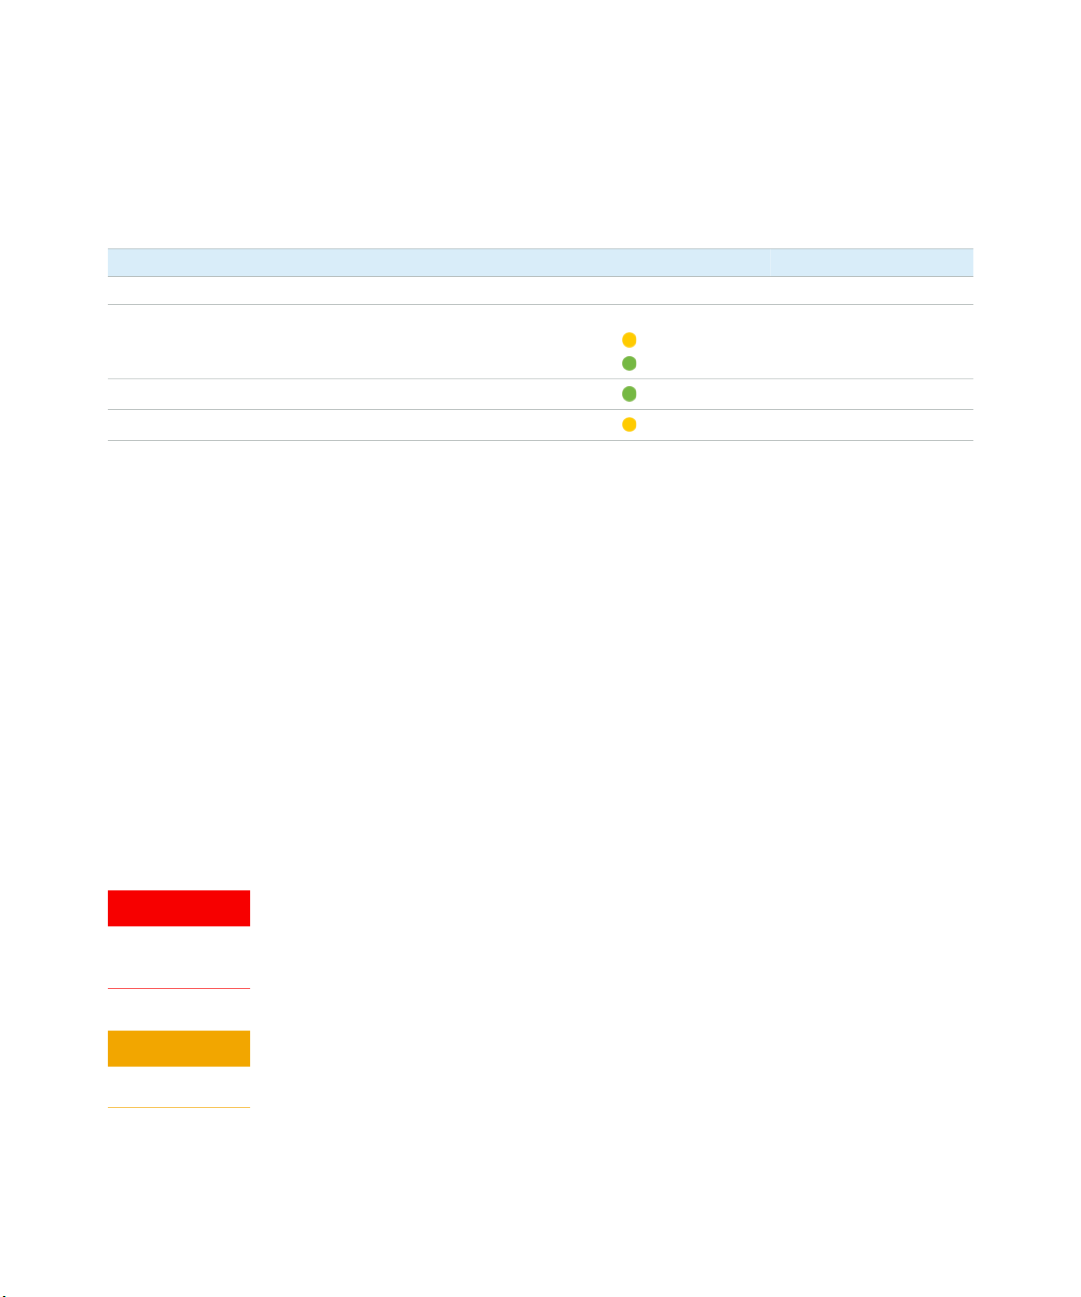
Part Number Name Color Amount
5067-5582 D1000 ScreenTape 7 ScreenTape devices
5067-5583 D1000 Reagents
• D1000 Ladder
• D1000 Sample Buffer
5067-5602 D1000 Sample Buffer 1 vial, 400 µL
5067-5586 D1000 Ladder 1 vial, 10 µL
2 vials
10 µL
400 µL
Limited Use Label License
Some products within this assay contain SYBR™ Green I, which is licensed from Life Technologies Corporation for use
in research and development only. SYBR™ is a registered trademark of Life Technologies Corporation.
For Research Use Only
Not for use in Diagnostic Procedures.
Additional Material Required for Analysis with the TapeStation Systems
• Loading tips (5067-5598, 1 pk or 5067-5599, 10 pk)
• Optical Tube 8x Strip (401428) and Optical Tube Cap 8x Strip (401425)
• Vortex mixer IKA MS3 with 96-well sample plate adapter
• 96-well sample plates (5042-8502) and 96-well Plate Foil Seal (5067-5154) (4200 TapeStation systems only)
Additional Equipment Required (Not Supplied)
• Volumetric micropipettes for handling volumes from 1 to 15 µL
• Centrifuges for tube strips and 96-well sample plates
WAR NI NG
CA UTI ON
2
Toxic agents
Refer to product material safety datasheets for further information.
When working with the ScreenTape assay follow the appropriate safety procedures such as
wearing safety goggles, laboratory gloves and protective clothing.
Damage to the TapeStation systems
Only use the recommended consumables and reagents with the TapeStation systems.
Page 3

D1000 ScreenTape Assay for TapeStation Systems
Essential Measurement Practices
Read about good measurement practices in the Agilent Information Center and/or in the System Manual.
Environmental
conditions
Steps before sample
preparation
Pipetting practice • Pipette reagents carefully against the side of the 96-well sample plate or sample tube
Mixing and
centrifugation
recommendations
• Ambient operating temperature: 12 – 37 °C (54 – 99 °F)
• Keep reagents during sample preparation at room temperature
• Allow Sample Buffer to equilibrate at room temperature for 30 min prior to use
• Vortex each vial and briefly spin down
• Flick ScreenTape device to eliminate bubbles in the buffer chamber
• Ensure that no sample or Sample Buffer remains within or on the outside of the tip
• Care must be taken due to viscosity of the Sample Buffer
• Apply foil seal to 96-well sample plate or cap the tube strips before mixing and centrifugation
• Centrifuge to collect liquid at the base; then vortex using the IKA MS3 vortexer and adaptor at
2000 rpm for 1 min
• Briefly centrifuge and visually confirm that all liquid is collected at the bottom of the 96-well
sample plate or tube strips and any air bubble is removed
• Run samples immediately after preparation
Ladder Considerations
• Ladder is exclusively loaded from location A1 on the tube strip holder.
• Always use a complete tube strip when running ladder or samples from the tube strip holder.
• For best sizing and molarity quantification results, a ladder per ScreenTape device is recommended. Alternatively,
an electronic ladder is available, which can be selected in the Agilent TapeStation Controller software.
3
Page 4
D1000 ScreenTape Assay for TapeStation Systems
Sample
Buffer
DNA
3 µL
1 µL
Flick
Samples, tips, and ScreenTape device
Vortex 1 min
D1000
Spin down 1 min
D1000 ScreenTape Assay Operating Procedure
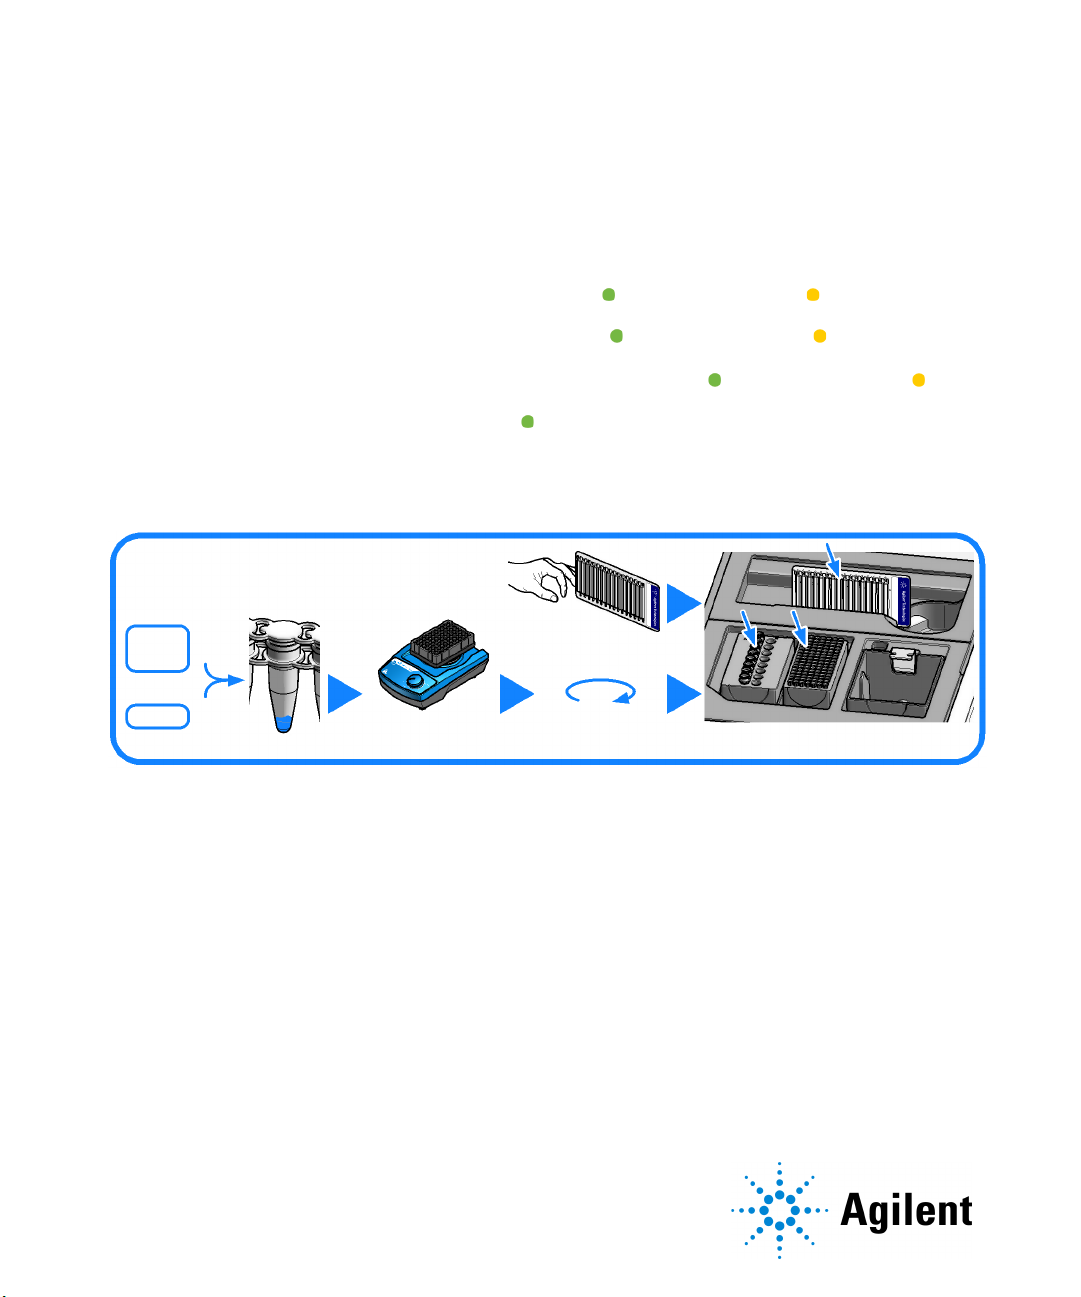
1 Allow D1000 Reagents to equilibrate at room temperature for 30 minutes.
2 Launch the Agilent TapeStation Controller software.
3 Flick the D1000 ScreenTape device and insert it into the ScreenTape nest of the TapeStation instrument.
4 Select required sample positions in the TapeStation Controller software.
5 The required consumables (tips, further ScreenTape devices) are displayed in the TapeStation Controller software.
6 Vortex reagents and samples. Spin down before use.
7 Prepare ladder:
• For 1 ScreenTape device: pipette 3 µL D1000 Sample Buffer ( ) and 1 µL D1000 Ladder ( ) at position A1 in a
tube strip.
• For 2 ScreenTape devices: pipette 6 µL D1000 Sample Buffer ( ) and 2 µL D1000 Ladder ( ) at position A1 in a
tube strip.
• For more than 2 ScreenTape devices
position A1 in a tube strip.
8 For each sample, pipette 3 µL D1000 Sample Buffer ( ) and 1 µL DNA sample in a tube strip (401428) or 96-well
sample plate
9 Apply caps to tube strips and/or foil seals to 96-well sample plates.
10 Mix liquids using the IKA MS3 vortexer at 2000 rpm for 1 min.
11 Spin down samples and ladder for 1 min.
1
.
1
: pipette 15 µL D1000 Sample Buffer ( ) and 5 µL D1000 Ladder ( ) at
Sample Analysis
1 Load samples into the TapeStation instrument. Place ladder in position A1 on tube strip holder.
2 Carefully remove caps of tube strips. Visually confirm that liquid is positioned at the bottom.
3 Click Start.
4 The TapeStation Analysis software opens automatically after the run and displays results.
Technical Support and Further Information
For technical support, please visit www.agilent.com/chem/contactus. Visit Agilent Technologies’ web site. It offers
useful information, support and current developments about the products and technology:
www.agilent.com/genomics/tapestation.
1
Agilent 4200 TapeStation system only
www.agilent.com
Agilent Technologies Inc. 2018-2021
Printed in Germany, Edition: 01/2021
*G2991-90031*
Part No: G2991-90031 Rev. C
Document No: SD-UF0000094 Rev. C
 Loading...