

Page 1
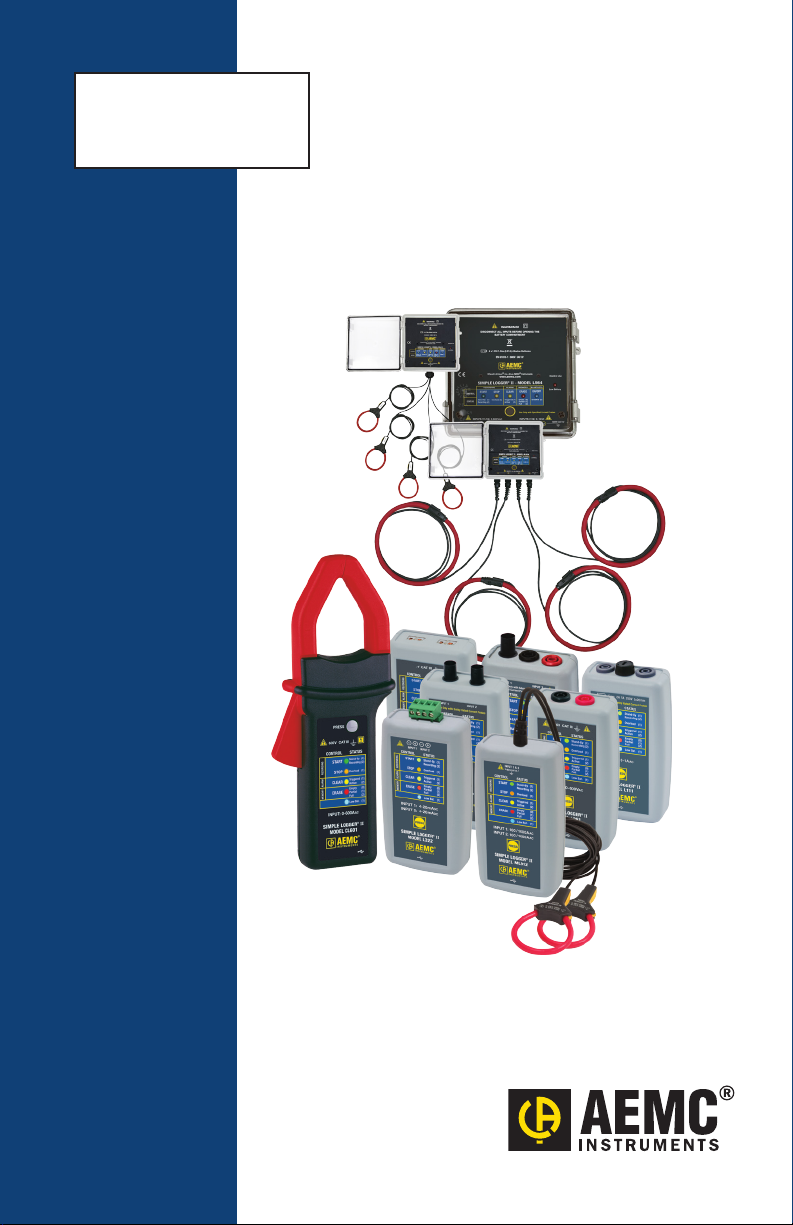
QUICK START
USER GUIDE
Simple
Logger
®
II
Page 2

Page 3

Statement of Compliance
Chauvin Arnoux®, Inc. d.b.a. AEMC® Instruments
certifies that this instrument has been calibrated
using standards and instruments traceable to
international standards.
We guarantee that at the time of shipping your
instrument has met its published specifications.
An NIST traceable certificate may be
requested at the time of purchase, or obtained
by returning the instrument to our repair and
calibration facility, for a nominal charge.
The recommended calibration interval for this
instrument is 12 months and begins on the date of
receipt by the customer. For recalibration, please
use our calibration services. Refer to our repair
and calibration section at www.aemc.com.
Serial #: ________________________________
Catalog #: _______________________________
Model #: ________________________________
Please fill in the appropriate date as indicated:
Date Received: _________________________________
Date Calibration Due: _______________________
Chauvin Arnoux®, Inc.
d.b.a AEMC® Instruments
www.aemc.com
Page 4

Thank you for purchasing an AEMC® Simple Logger® II.
For best results from your instrument and for your safety, read the enclosed operating
instructions carefully and comply with the precautions for use. These products must be only
used by qualied and trained users.
Signies that the instrument is protected by double or reinforced insulation.
CAUTION - Risk of Danger! Indicates a WARNING and that the operator must
refer to the user manual for instructions before operating the instrument in all cases
where this symbol is marked.
Risk of electric shock. The voltage at the parts marked with this symbol may be
dangerous.
Refers to a type A current sensor. This symbol signies that application around and
removal from HAZARDOUS LIVE conductors is permitted.
Ground/Earth
Important instructions to read and understand completely.
Important information to acknowledge.
Battery
Fuse
USB socket
Compliance with the Low Voltage & Electromagnetic Compatibility European directives (73/23/CEE & 89/336/CEE)
In the European Union, this product is subject to a separate collection system for
recycling electrical and electronic components In accordance with directive WEEE
2002/96/EC
Denition of Measurement Categories (CAT)
• CAT IV - 3-Phase at utility connection, outdoor conductors:
- Origin of installation, or where low-voltage connection is made to utility power
- Electricity meters, primary overcurrent protection equipment
- Outside and service entrance, service drop from pole to building, runs between
meter & panel
- Overhead line to detached building, underground line to well pump
• CAT III - 3-Phase distribution, including single-phase commercial lighting:
- Equipment in xed installations, such as switchgear and polyphase motors
- Bus and feeder in industrial plants
- Feeders and short branch circuits, distribution panel devices
- Appliance/equipment outlets with short connections to service entrance
• CAT II - Single-phase, receptacle-connected loads:
- Appliances, portable tools, and other similar light industrial/household loads
- Outlet and long-branch circuits
- Outlets at more than 30 ft from CAT III source
- Outlets at more than 60 ft from CAT IV source
Page 5

Precautions Before Use
These instruments comply with safety standard EN 61010-1 (Ed 2-2001) or EN 610102-032 (2002) for voltages and categories of installation, at an altitude below 2000m
and indoors, with a degree of pollution at most equal to 2.
• Do not use in explosive atmosphere or in the presence of ammable
gases or fumes.
• Do not use on voltage networks greater than categories mentioned above.
• Observe the maximum voltages and intensities assigned between terminals
and earth.
• Do not use it if appears damaged, incomplete or improperly closed.
• Before each use, check the condition of the insulation of cables, case and
accessories. Anything which appears damaged (even partially) must be
reported for repair or scrapping.
• Use leads and accessories of voltages and categories at least equal to those
of the instrument.
• Observe the environmental conditions of use.
• Use only recommended fuse.
fuse (L111).
• Do not modify the instrument and use only original replacement parts.
Repairs or adjustments must be performed by authorized personnel.
Disconnect all leads before replacing the
• Replace the batteries when the “Low Bat” LED is blinking.
all cables from the instrument or remove the clamp on from the cable before
opening the access door to the batteries.
•
Use protective equipment when security conditions are required.
Keep your hands away from unused terminals of the device.
•
When handling probes, probe tips, current sensors and alligators clips,
•
keep ngers behind the guards.
• For measurements of dangerous voltages, rst connect the black lead to the black
terminal of the instrument and then connect this lead to the low voltage point of
the source to measure (potential closer to Earth). Then connect the red lead to the
red terminal of the instrument and connect the lead to the hot source to measure.
Disconnection must be done respecting the reverse order, rst disconnect the hot
lead and then red then black lead
.
Disconnect
Page 6

Initial Setup
The Simple Logger® II (SLII) must be connected to DataView® before it can be congured.
To connect the SLII to your computer do the following:
1. Install the DataView® software, making sure to select the Data Logger Control
Panel as an option (it is selected by default). De-select any Control Panels you
do not need.
2. If prompted, restart the computer after the installation is complete.
3. Insert the batteries into the SLII (also see Erasing the Memory below).
4. Connect the SLII to the computer using a USB cable for 1 and 2 channel instruments or Bluetooth for 4 channel instruments.
Never use the USB connection for a 4 channel logger without removing all
inputs rst.
5. Wait a few seconds for the SLII drivers to install. The drivers are installed the rst
time the SLII is connected to the computer. The Windows operating system will
display messages indicating when the installation is complete.
6. Start the Data Logger Control Panel by double-clicking on the Data Logger
shortcut icon placed on the desktop during the installation.
7. Click Instrument in the menu bar, and select Add an Instrument.
8. The Add an Instrument Wizard dialog box opens. This is the rst of a series
of screens that lead you through the instrument connection process. The rst
screen prompts you to select the connection type (USB or Bluetooth). Choose
the connection type and click Next.
9. Complete the remainder of the Add an Instrument Wizard screens. Press the
Help button for information about how to complete each screen.
10. When you are nished, the instrument will appear in the Data Logger Network
branch in the Navigation frame, with a green check mark next to its name.
Erasing the Memory
When batteries are inserted into the instrument, the memory will be marked as full. Therefore, before starting a recording, the memory must be erased:
1. Click Instrument in the menu bar, and select Erase Memory.
2. Select Yes when asked to verify erasing the memory.
Setting the Instrument’s Clock
To ensure an accurate time stamp of measurements recorded in the instrument, set the
instrument’s clock as follows:
1. Select Set Clock from the Instrument menu. The Date/Time dialog box will be
displayed.
2. Select the Synchronize with PC Clock button.
NOTE: The time can also be set by changing the values in the Date and Time elds, and
then clicking OK.
Page 7

Configuring the Instrument
Before starting a recording on the instrument, various recording options should be congured. To do this, select Congure from the Instrument menu. The Congure Instrument
screen appears. This consists of multiple tabs that contain groups of related options.
Detailed information for each of these options is available by pressing the Help button.
For example, the Recording tab sets recording options. The instrument can be congured
to start recording at a date/time in the future, or congured to record only when Start
Recording is selected from the instrument’s control button. You can also start a recording
session immediately from the Control Panel.
To congure the instrument to start recording at some time in the future, select the Schedule Recording check box and specify the desired start and stop date and time. To cong-
ure the instrument to start from the instrument’s control button, ensure that the Schedule
Recording and Record now options are unchecked. To start a recording immediately from
the Control Panel, click the Record now check box.
This tab also contains a eld that displays (1) total instrument memory, (2) free available
memory, and (3) the amount of memory required for the recording session as it is currently
congured. Check this eld to ensure you have sucient memory to complete the congured recording.
For example, to congure the instrument to immediately record for 15 minutes at a storage
period of ve seconds and sampling period of 200 milliseconds:
1. Select 5s from the Storage period drop down list.
2. Select 200 ms from the Sample period drop down list.
3. Select 15 min from the Length drop down list.
4. Place a check next to the Record now option.
5. Click OK.
The conguration settings will be written to the instrument. After a few seconds the
instrument’s LEDs will indicate that it is recording. The recording status can be viewed in
the Control Panel status window.
Downloading Recorded Data
After the recording stops, the data can be downloaded and viewed.
1. If a connection to the instrument has not been established, reconnect as previously instructed.
2. Highlight the instrument’s name in the Data Logger Network branch, and expand
it to display the folders Recorded Sessions and Real-time Data.
3. Click the Recorded Sessions folder to download the recordings currently stored
in the instrument’s memory. During the download, a status bar may be displayed.
4. Double-click the session to open it.
5. The session appears listed in the My Open Sessions branch in the Navigation
frame. You can view the session, save it to a le on the computer, or export it to a
DataView report or Excel-compatible spreadsheet.
To learn more about all the options available in the Data Logger Control Panel and DataView®, consult the Help system by pressing F1 or selecting Help in the menu bar.
Page 8

10/16
99-MAN 100401 v4
Chauvin Arnoux®, Inc. d.b.a. AEMC® Instruments
15 Faraday Drive • Dover, NH 03820 USA • Phone: (603) 749-6434 • Fax: (603) 742-2346
www.aemc.com
 Loading...