

Page 1
GEBRAUCHSANWEISUNG NOTICE D’UTILISATION GEBRUIKSAANWIJZING OPERATING INSTRUCTION
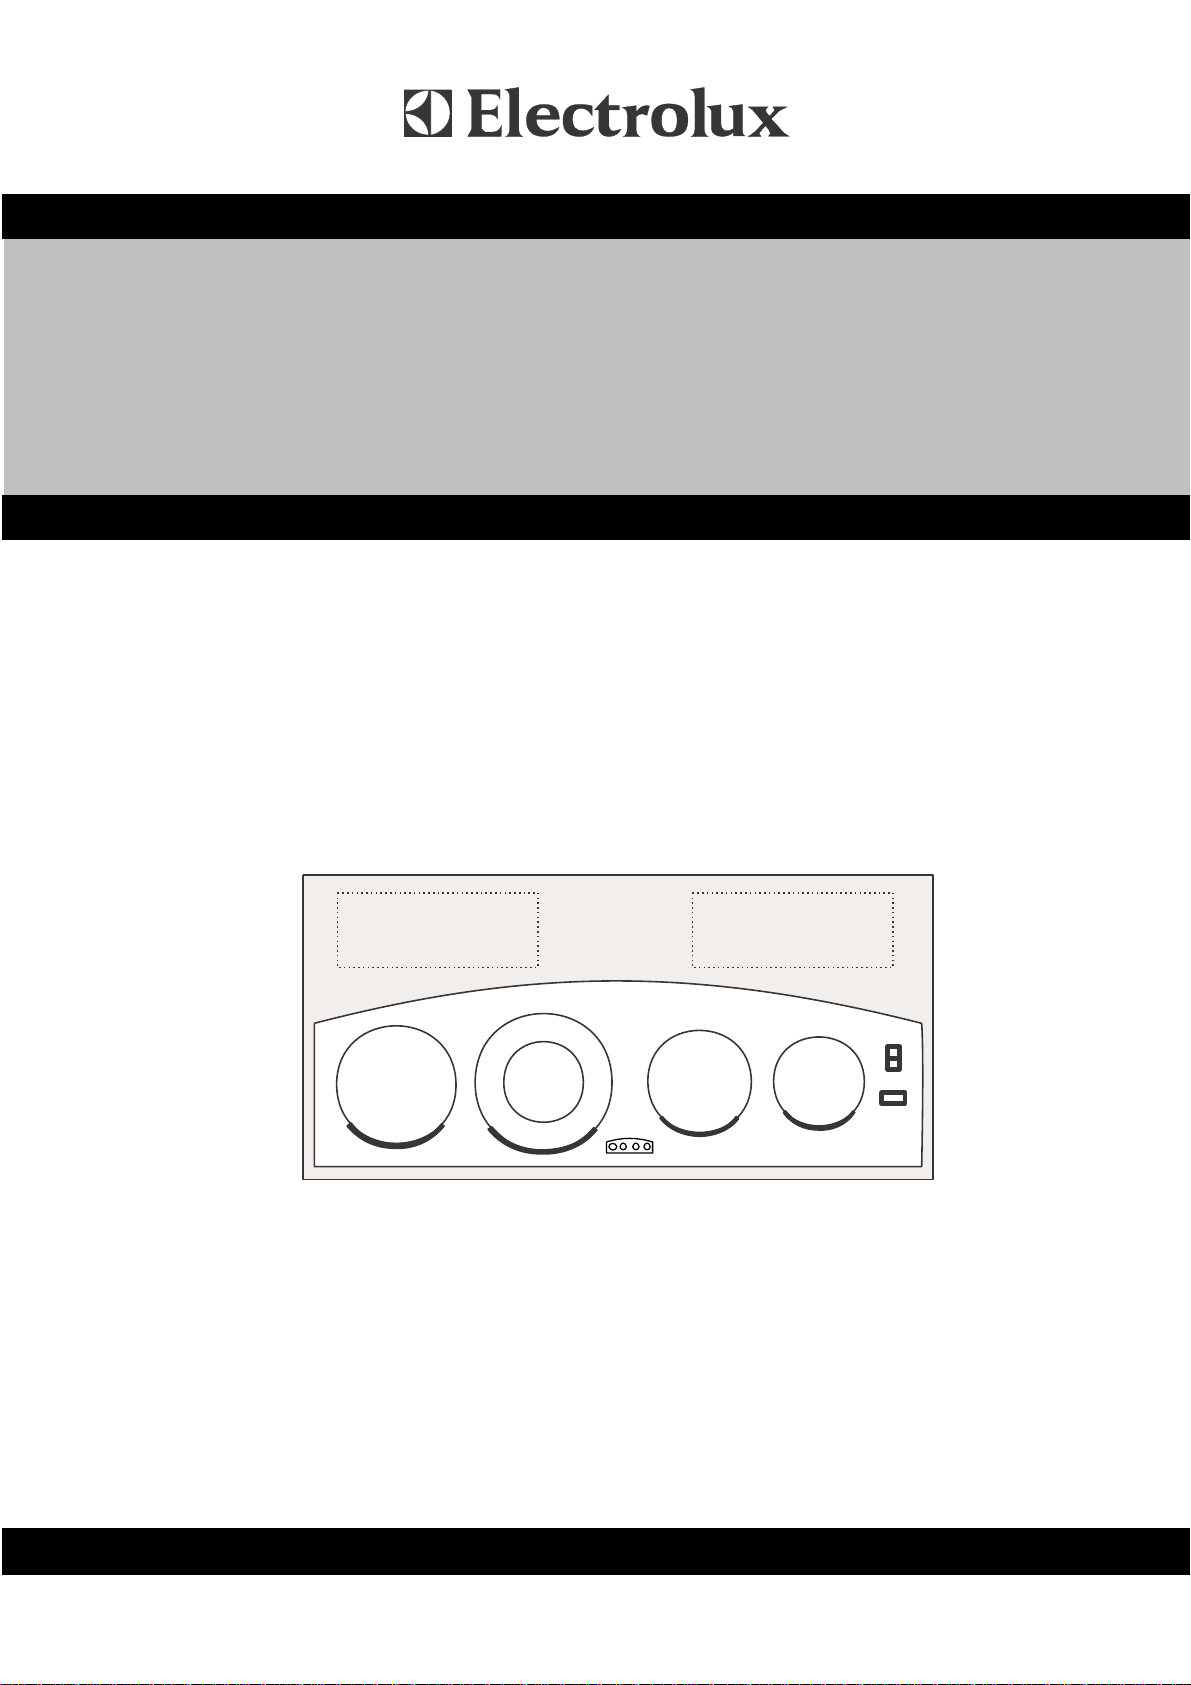
GLASKERAMIK-KOCHFLÄCHE
PLAN DE CUISSON VITROCÉRAMIQUE
KERAMISCH KOOKPLATEAU
GLASS CERAMIC HOB
EHC 010 X
EHC 010 X
D F/B NL GB
Page 2

Dear costomer GB
We thank you for choosing a ceramic hob of
ELECTROLUX. Thus you chose quality, innovation
and durability. The se operating and assembly instructions will allow you to become acquainted with the
appliance and to do everything within its possibilities.
32
This appliance conforms
with EC-Directi ve
72/23/EEC, 89/336/EEC, 93/68/EEC
Page 3

Contents GB
Inbouw van het kookplateau . . . . . . . . . . 34
Before the first use . . . . . . . . . . . . . . . . 35
Description of the hob . . . . . . . . . . . . . . 35
EHC 010 X . . . . . . . . . . . . . . . . . . . . 35
Cooking zones . . . . . . . . . . . . . . . . . . 36
Switching on the two-circuit zone . . . . . . . . 36
Switching on the warming zone . . . . . . . . . 36
Residual Heat Indicator . . . . . . . . . . . . . . 36
Cooking equipment . . . . . . . . . . . . . . . 37
Maintenance . . . . . . . . . . . . . . . . . . . 38
Cleaning after each use . . . . . . . . . . . . . . 38
Stain removal . . . . . . . . . . . . . . . . . . . 38
Installation . . . . . . . . . . . . . . . . . . . . 39
Specifications . . . . . . . . . . . . . . . . . . . 39
Fastening . . . . . . . . . . . . . . . . . . . . . 39
Electrical connection . . . . . . . . . . . . . . . 39
Important for the d isassembly of th e hob . . . . . 40
33
Page 4
Inbouw van het kookplateau
Before using the hob for the first
time, read the operating and assembly instructions carefully.You
protect yourself and avoid damag e
of your appliance.
The appliance must be installed by a qualified
electrician.
Use the hob only upon its installation. This protects
you from touching electric parts.
Repairs of electric appliances must be undertaken
by qualified electricians only . Imp roper rep ai rs can
cause serious harm and danger for th e user.
The appliance is only disconnected from the mains
when the fuse is turned off or the mains connection
is interrupted.
Prevent little children from touching the cook top
when in use. Children also can burn themselves by
pulling pans or pots off the hob.
The cooking zones heat up quickly when they are
turned on. Turn them on only when you have placed
a saucepan onto the cooking area.
Use only pans with flat bases without rough edges
to avoid remaining scratches
The ceramic hob surface is resistant to extreme
temperatures. Neither cold nor heat can harm it.
Avoid to drop anything on the hob. Punctiform
impacts, e.g. by the fall of a salt shaker, can cause
fissures and cracks.
If any cracks appear on the hob surface, the hob has
to be switched off immediately. Disconnect the
appliance from the mains and inform the service
department.A defective hob surface allows overboiling food to penetrate and the co ntact with live parts.
Electrolux declines any li ability sh ould the appli ance be used improperly and the safety measures not
be observed. Please not e t he main t en ance an d c leaning instructions carefully. Using other hobs than
those of Electrolux-B rand exc lu d es an y liability.
Keep these operating and assembling instructions!
The residual heat i ndicator int egrated in t he electronics tells you whether a cooking zone is switched on
or still hot.
If you use a socket close to the hob, take care that
the cable of the a ppliance does not touch the hot
surface of the hob.
Be careful by using the hob as a working-table or
when depositing items on the hob’s surface. The
items you place on the hob could easily catch fire
when turning on the hob accidentally. Afterwards
the hob should be clean ed th orou g h l y.
Never leave the hob unattended when working with
oil and fats because of the danger of fire.
Sugar (solid or liquid) as well as plastic should never
get onto the hot surface of the hob. Also, never use
plastic or aluminium foil dish es. The y melt at high
temperatures and can cause fissures and cracks
when the hob cools down. Spills of sugar or melted
plastic material must be removed while the hob is
still warm and before the remains have set.
Scrape off the remains of sugar or plastic with a
scraper. Protect your hands.
34
Page 5

Before the first use
Clean your ceramic hob carefully before its first use. Afterwards clean it
regularly when it is just warm or cold.
Avoid continued burning of food or
dirt until it is solified.
Ceramic hobs are treated and cleaned th e same way as
glass. Never use aggressive detergents or sponges with
abrasive surface. When you use the ceramic hob for t he
first time it can tempo rarely emit an odeu r cau sed by a
vaporation of water in the isolation.
Description of the hob
EHC 010 X
1. Cooking zone Ø 180 mm, 1800 W
2. Cooking zone Ø 120/210 mm, 2200 W
(double-circuit zone)
3. Cooking zone Ø 160 mm, 1500 W
4. Cooking zone Ø 140 mm, 1200 W
5. Warmhalteplatten 2x 120 W
6. Residual heat indicator
5
1
2
63 4
5
6
35
Page 6

Cooking zones
The cooking zones are indicated by markings on the
ceramic top.
The cooking zones are operated via the corresponding
switch box or built-in oven and this is in the respective
manuals.
The dimensions of the cooking zones are such that they
accommodate standard size d sau ce pan s .
Switching on the two-circuit zone
The second heating circuit is activated when the control
knob is turned all the way to its end stop (noticeable
stop). The temperature can be controlled by turning
back the knob to the wanted position on t he opposite
direction. Setting it back to zero turns off the cooking
zone.
Switching on the warming zone
The warming zone will be turned on and off by the
touch-control unit located on the ceramic surface in
front of the warming zone. By touchin g the corresponding field, I resp. 0 will be switc hed on resp. turn ed off.
Residual Heat Indicator
This warning lamp lights up when the surface of the
cooking zone reaches a t emperature which could cau se
burning.This lamp also remains lit after the heated-up
area has been switched off as long as the residual heat
of the surface still could cause burns. The lamp will
only go out when there is no more dan ger (temperature
below 50°C).The lamp with four lights indicates the
corresponding cooking zones. This way it is possible to
see at once which zone still hot.
EIN
AUS
36
Page 7

Cooking equipment
Specially tested cooking and frying pans for ceramic
hobs exist.The following advice should be considered
to achieve an optimal en ergy consumptio n as well as to
avoid that overboiling food can be burn t onto the cooking zones. Cooking pans with aluminium or copper
bottoms are unsuitable for use. These ma terials can
cause stains which can not be removed anymore.
Bottom of pans:
Cooking and frying pans should have a flat and solid
base. A base with rough edges can scratch and leave
abrasion marks on the ceramic surface! Ask for elec tric
saucepans.
Size of pans:
Pan or pot diameters should be a little bit larger than the
diameter of the cooking zone.
Lid of pans:
A lid prevents heat to escape.
Note:
Always place the pan first before you switch on the
cooking zone, otherwise unnecess ary energy is consumed.
Do not deposit items on the hob’s surface.
The cooking zone and the bottoms of saucepans
should be dry and clean. Thus you save unnecessary
cleaning work.
Sugar (solid or liquid) as well as plastic material
should never get onto the hot surface of the hob. If
it does happen do not turn off the cooking zone!
Sugar, plastic or kitchen foil remains should immediately be scraped off the hot cooking zone with a
scraper. If the cooking zone cools down without
being cleaned it co ul d l ead to fis sures an d c racks in
the ceramic surface.
The ceramic hob surface is resistant to extreme
temperatures. Neither cold nor heat can harm it.
Punctiform impacts, e.g. by the fall of a salt shaker,
can cause fissures and cracks. The maintenance
remains the same for glass and ceramic hobs. Nev er
use aggressive detergents or scouring powder and
sponges with abrasive surfaces.
Caution: As soon as any crack in the heating surface
becomes visible, disconnect the appliance immediately
from the supply.
37
Page 8

Maintenance
Ceramic hobs are treated and cleaned the same way as
glass. Never use ag gressiv e detergen ts or sponges with
abrasive surface.
Cleaning after each use
Slight, not burnt soiling has to be wiped off with
a damp cloth without using detergents. The use of
detergents may lead to disco-louring. These heavy
stains can not be wiped off easil y by the first attempt
and sometimes not even with a special detergent.
Burnt soiling has to be removed with a scraper.
Afterwards wipe off the ceramic hob with a damp
cloth.
Stain removal
Light metallic sta ins (aluminium remains) can be
removed from the coole d down cooki ng zone with
a special detergent. Calcareou s deposi ts (caused by
overboiling water) can be removed with vinegar or
a special detergent.
Removal of sugar, sugar-containing food,plastic
objects or kitchen foil
The cooking zone involved must not be turned off!
The remains have to be scraped off the hot cooking
zone immediately with a scrape r. The cooking zo ne
can be switched off after the removal of the soilin g.
It may be cleaned with a special detergent after it
has cooled down.
The mentioned detergents are available in super-markets, electrical shops, drug stores, grocery stores and
kitchen studios.
Scrapers are available in craft shops and department
stores as well as in decoration stores.
Do not apply detergents on hot cooking zones. Best is
to let the detergent dry on the surface and to wipe it off
with a damp cloth.
If there are remains of cleaning agents wipe them off
before you turn on the heat again. Remains could corrode.
ELECTROLUX declines any liability should the
appliance be used improperly and the safety measures not be observed!
38
Page 9

Installation
Specifications
Outside Dimensions:
Width: 1000 mm
Depth: 520 mm
Cut-out Dimensions:
Width: 984 mm
Depth: 504 mm
Supply Voltage: 230 V
Frequency: 50 Hz
Prod-nr:
6.94 kW 230 V ~ 50 Hz
SC
+
S
1000
Typ 086.0.A
520
941 592 708
Serie
EHC 010 X
(600)
Total Connected Load: 6.94 kW
- Please examine the appliance for any damage su-
stained during transportation! Only install components which are in perfect condition! Handle
carefully when installing! Do not let any sharpedged
or pointed tools (screw drivers etc.) be placed or fall
onto the glass top!
- Cut out worktop to prescribed measuremen ts or tem-
plates (saw exactly along t he scribing).
- Check seal for perfect fit and overall cover. Lower
the ceramic hob into place and align orrectly.
Fastening
- Place the whole ceramic-hob into the cut-out. Press
firmly on one side then on the opposite side to snap-in
the unit.
min. 50
504 ± 1
min. 50
R3
min. 50
984 ± 1
Electrical connection
- The electrical connection of the ceramic hob to the
specially provided built-in switch box and to the
built-in range sho uld on l y be carried o ut b y a t rain ed
technician.
- During assembly the switch box and the stove must
be idle.
- Connect cable-plug with appropri ate receptacle fixed
on range or controlbox.
3
36
Z
min. 35
ca. 3
39
Page 10

Installation
-
Furthermore attention should be paid to the assembly
instructions for the built-in switch box or stove to
which the hob is connected!
Protection against accidental contact mus t be ensured by assembly.
- If the hob is operated from a switch box then it is
necessary to have an interm ediate b ottom to ensur e
protection against accidental contact!
- The distance between the underside of the hob and
the furniture underneath must be at least 60 mm.
- If the appliance is not connected by means of plugs,
then, at the time of installati on, a device which makes
it possible to separate the appliances at all its terminals from the mains by a contact gap of at least 3 mm
must be added to them.
min. 50 mm
min. 50 mm
min. 50 mm
- The arrangement of the hob-built-in stove/switch box
may be seen in the form of a special table which is
given as an appendix to these instructions.
- Before assembly and putting into operation of the
appliance the range of possibilities for combining the
hob with the stove/switch box is to be c hecked by
referring to the appropri ate ins tructions fo r assemb ly
and putting into operation.
Important for the disassembly of the hob
- The supply of mains current to t he applian ce must be
cut off (for example by unscrewing the safety devices).
- In order to take out the whole glassceramic hob, use
a medium flat screwdriver or spatula. Put it in between frame and working-ta ble on the area where the
snap-in ressorts are located.
In terms of fire protection, the appliance conforms
to Type Y (IEC 335-2-6). Only appliances of this
type may be installed on one side of adjacent upright
furniture housings or walls.
Attention: As soon as a crack is visible in the top, the
equipment has to be disconnected from the mains.
40
Page 11

EHC 010 X
EPM 410 X
Page 12

374 2587-00 / 02.96
 Loading...