

Page 1
Technical Support
If you need any assistance to get your unit functioning properly, please have your
product information ready and contact Addonics Technical Support at:
Hours: 8:30 am - 6:00 pm PST
Phone: 408-453-6212
Email: http://www.addonics.com/support/query/
v5.1.11
www.addonics.com
T E C H N O L O G I E S
User Guide
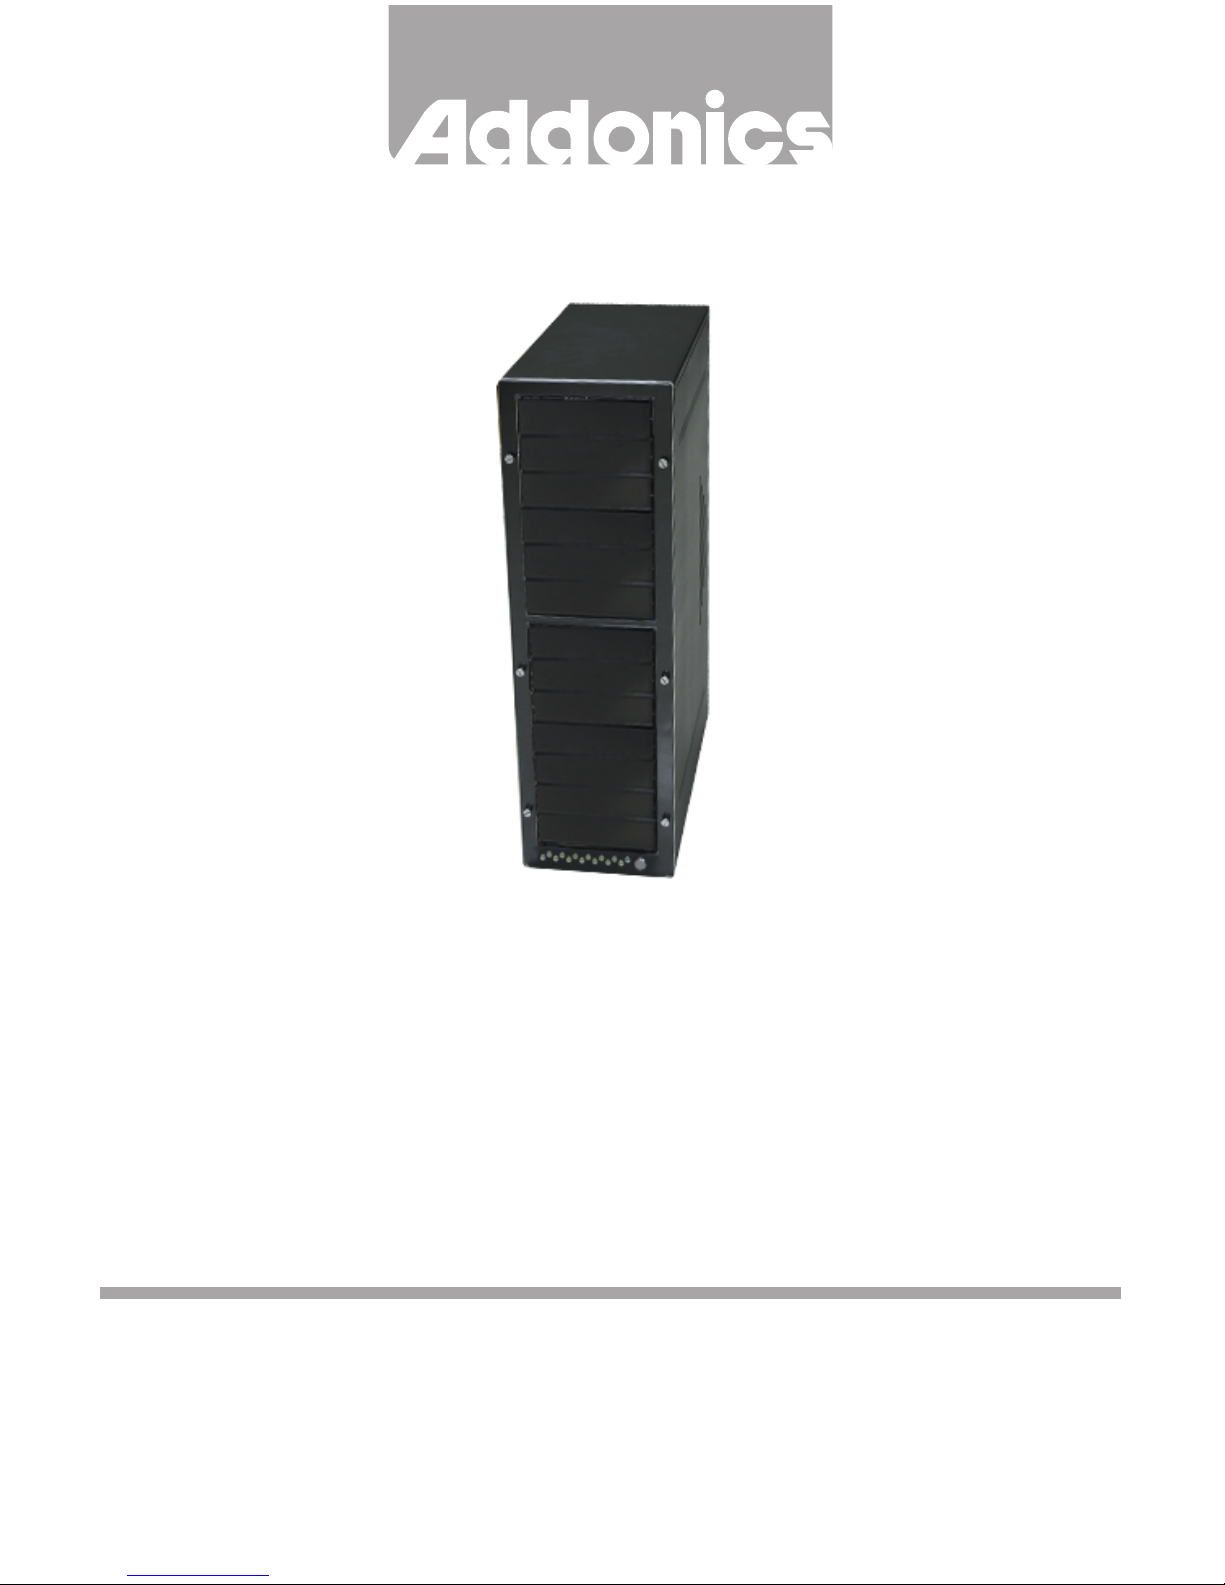
Storage Tower XIII
(ST13)
Page 2
www.addonics.com Technical Support (M-F 8:30am - 6:00pm PST) Phone: 408-453-6212 Email: www.addonics.com/support/query/
Removing Cover of Storage
Tower XIII
Loosen the 3 screws at the back of the tower for
each side panel using a Philips screwdriver.
Push each side panel toward the rear of the
tower to disengage and remove.
Installing drives into the
Storage Tower
Each of the 13 bays in Storage Tower XIII can
directly secure one 5.25” device such as an
optical drive or a 3.5” device such as a hard
drive mounted in a 3.5”-5.25” bracket. The bays
may also be used in groups to secure larger
devices such as a disk array without the need
for modification.
For each of the 13 bays there is one LED
located at the bottom of the cabinet for drive
status indication, suitable for connecting to an
internal controller unit such as a Port Multiplier.
On the rear of the Tower are four SCSI-1
cutouts and one mounting plate, suitable for
installing a variety of Port Multipliers, bridge
devices and/or adapters for bringing the internal
drive data connections to the outside of the
tower.
Powering up the Storage Tower
STEP 1. On the rear of the Storage Tower,
check the red AC input switch for the correct
main voltage setting and change it if necessary
before connecting the power cord.
STEP 2. Turn on the main AC switch on the
back of the tower.
STEP 3. Press the power button on the front of
the tower. The green Power LED next to the
front power switch will glow.
Screws
SCSI-1
cutouts
Mounting
plate
AC input
switch
Main AC switch
 Loading...